Співпраця
МИСТЕЦТВО
КРАСА ТА ЗДОРОВ'Я
РЕМЕСЛО
КУЛЬТУРА ТА ІСТОРІЯ
РОЗВАГИ
СЕРЕДОВИЩЕ
ЇЖА ТА НАПІЇ
ЗБОРНА ІНЖЕНЕРІЯ
НАУК
СПОРТ
ТЕХНОЛОГІЯ
НОСИМО
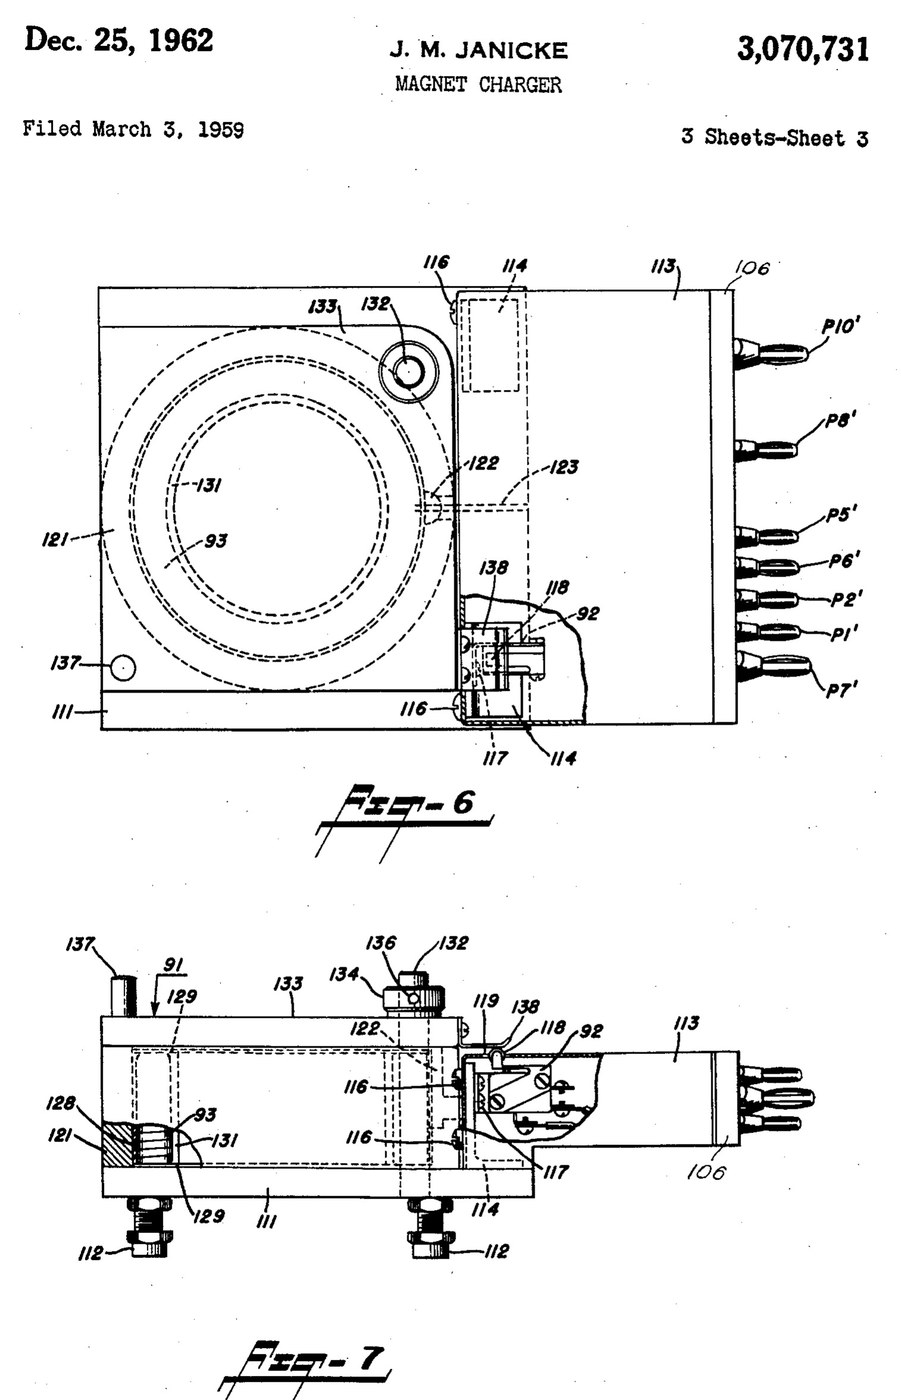


Magnetiser: Capacitor-Discharge Magnet Charger with a Wire-Wound Fixture (Janicke, US 3,070,731, 1962)
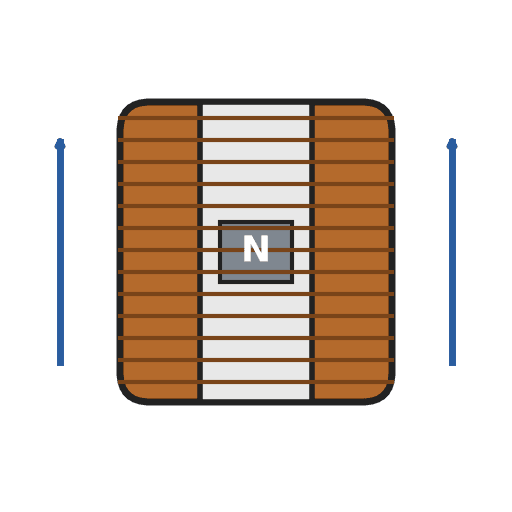
An impulse magnetiser. A capacitor is charged to a high voltage, then an ignitron dumps it all at once through a coil. The magnet sits inside the coil in a closed steel pot, so almost all of the flux goes through it.
Result: a magnet charger that magnetises rods, bars and blocks in one pulse, with an interlocked lid.
Source: J. M. Janicke, US 3,070,731 (1962). Unknown: voltages, capacitance, coil windings, field strength and sizes. Picture: the patent drawing.
Експерт
Unknown
Інструкції
1
1
Build the charging supply
Build the charging supply
Feed a line switch from the mains through two fuses, with a pilot lamp. Wire a high-voltage transformer with two primaries, which a high-low switch puts in series or in parallel. Run its centre-tapped secondary to two mercury-vapour rectifier tubes, "or the like", with their own filament transformer, so they charge the energy-storage capacitor. A charging on-off switch with a red lamp switches the high-voltage side. A meter with multiplier resistors across the capacitor shows its voltage. Ours: toggle switches, neon lamps, a moving-coil meter. Not given: any voltage or value.
Матеріали для цього кроку:
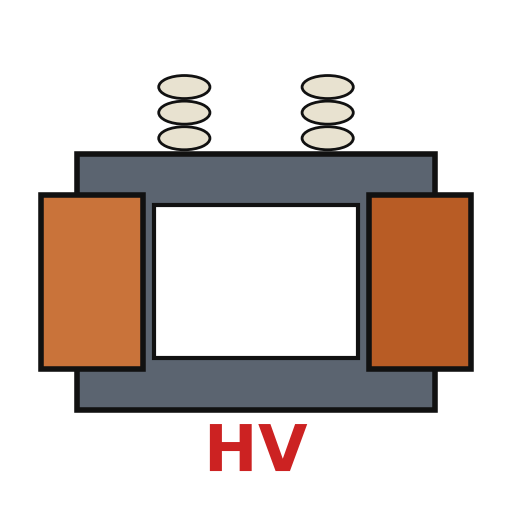 Високовольтний трансформатор1 high-voltage transformer
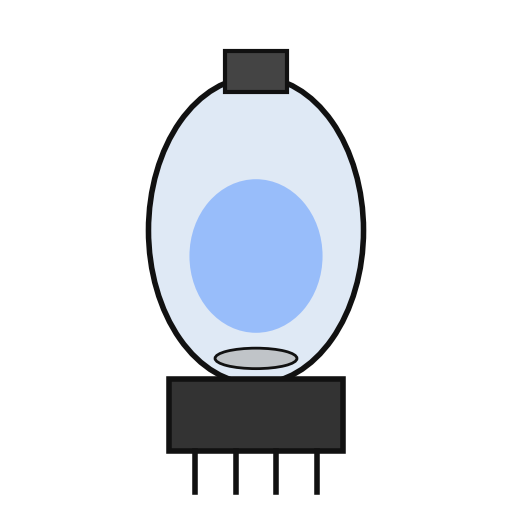 Ртутна випрямна лампа2 rectifier tubes
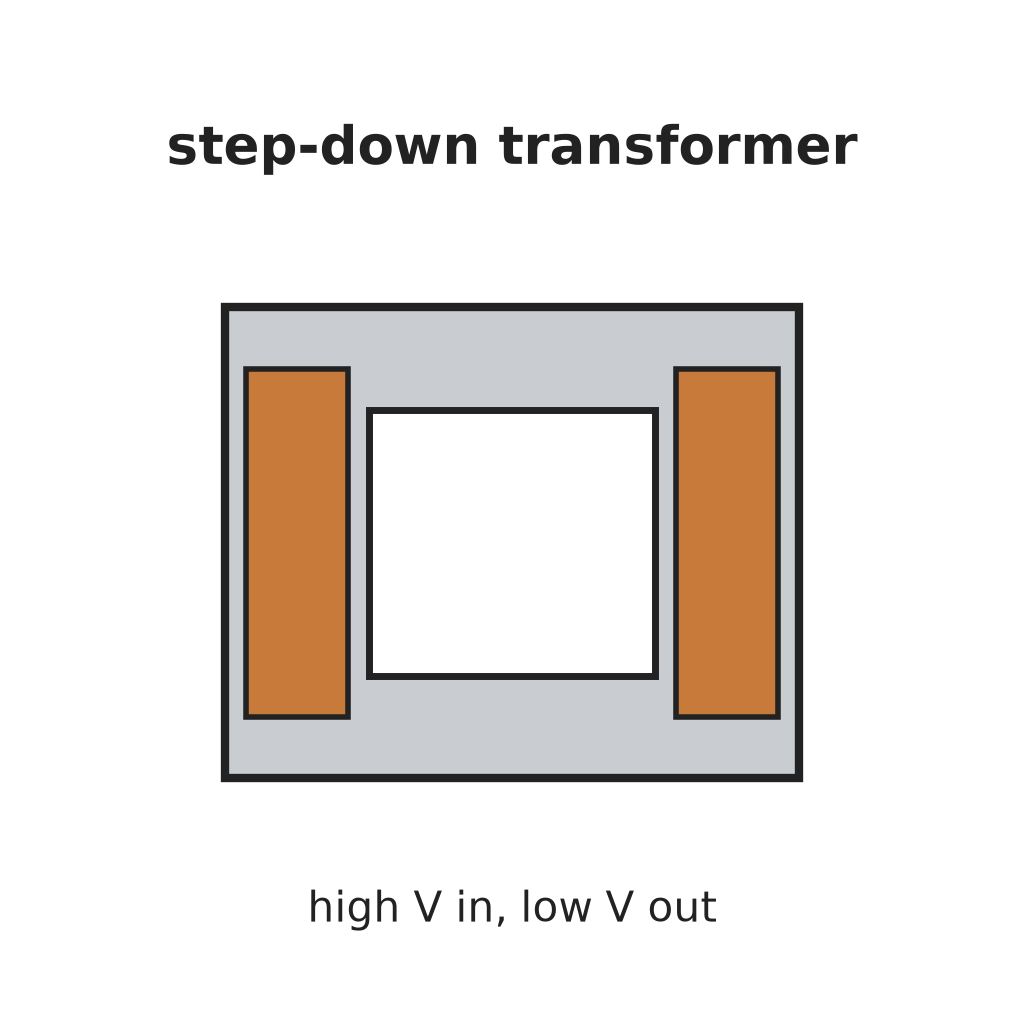 Знижувальний трансформатор1 filament transformer
 Накопичувальний конденсатор1 storage capacitor
 Щитовий прилад магнітоелектричної системи1 voltage meter
 Невідомий резистор2 meter multipliers
 Тумблер3 line, charging and high-low switches
 Плавкий запобіжник2 fuses
 Неонова індикаторна лампа2 pilot and red lamps
Необхідні інструменти ({count})
 Паяльник
 Інструмент для знімання ізоляції
2
2
Add the delay and the bleeder
Add the delay and the bleeder
Put a thermal time-delay relay before the charging switch: about thirty seconds after switch-on it energises a control relay, which feeds the charging switch and holds itself on. A third contact of the control relay lifts a bleeder resistor off the capacitor while the charger runs. When the charger is shut down the relay drops out and the bleeder drains the dangerous high-voltage charge from the capacitor.
Матеріали для цього кроку:
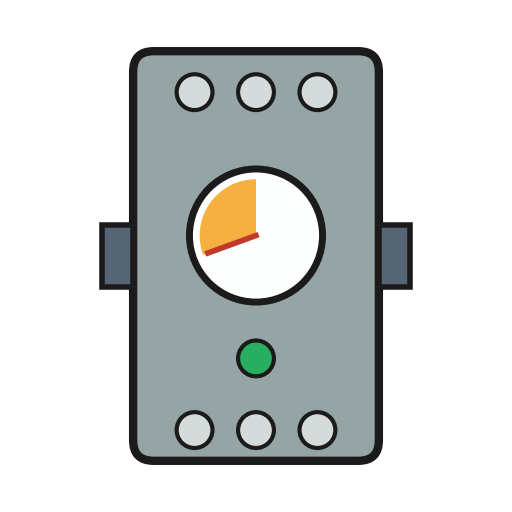 Реле часу1 thermal delay relay
 Реле1 control relay, three contact setsНевідомий резистор1 bleeder resistor
Необхідні інструменти ({count})
ПаяльникІнструмент для знімання ізоляції3
3
Fit the ignitron firing circuit
Fit the ignitron firing circuit
Put an ignitron in the discharge path of the storage capacitor, as its switch. The meter's multiplier resistors also form a divider that charges a small firing capacitor. Pressing the push button discharges the firing capacitor through a small limiting resistor into the ignitron's igniter, and the ignitron conducts. Not given: the firing capacitor's type and value.
Матеріали для цього кроку:
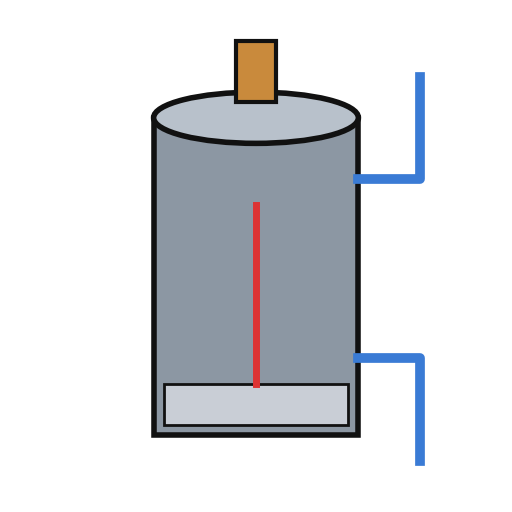 Ігнітрон1 discharge switch
 Невідомий матеріал1 firing capacitorНевідомий резистор1 limiting resistor
 Кнопка1 charge button
Необхідні інструменти ({count})
ПаяльникІнструмент для знімання ізоляції4
4
Build the wire-wound fixture
Build the wire-wound fixture
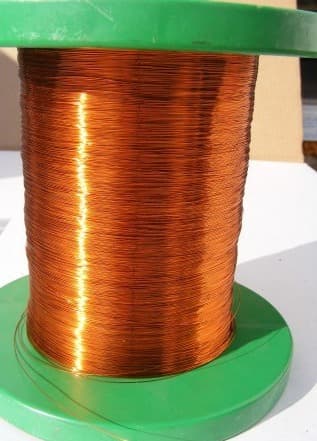
Weld a hollow cylindrical shell onto a base plate on levelling legs, both of magnetic material, to make a pot. Cut slots through the shell and the base plate so they cannot act as a shorted single-turn winding. Set the coil inside the shell in potting compound, with ring-shaped end pieces and a hollow cylindrical core in it. Hinge a square magnetic cover on a post beside the shell, held by a collar and set screw, with a handle. An L-shaped plate on the cover closes a switch in the igniter circuit only when the cover is shut. Wire the coil between the storage capacitor and the ignitron anode. Ours: mild steel, enamelled copper wire, casting epoxy. Not given: sizes, turns.
Матеріали для цього кроку:
 Лист маловуглецевої сталі1 base plate and cover
 Кругла труба з м'якої сталі1 shell
 Мідний дріт в емалевій ізоляції1 coil
 Чорна заливна епоксидна смола1 potting compound
 Невідомий метал1 end pieces, core, post, legs
 Мікроперемикач (із важільцем)1 lid interlock switch
Необхідні інструменти ({count})
 Апарат дугового зварювання
 Свердлильний верстат
 Набір викруток
 Невідомі розміри
5
5
Charge a magnet
Charge a magnet
Put the magnet inside the core. Fill most of the air gap between it and the base plate and cover with soft iron, but leave a small gap near the cover, or the cover will be hard to swing open afterwards. Lay insulating material about 1/16 inch thick on top of the magnet. Close the cover, which arms the igniter switch, charge the capacitor, and press the button: one pulse magnetises it. Ours: wrought iron for the soft iron.
Необхідні інструменти ({count})
 Пруток кованого заліза
 Невідомий ізоляційний матеріал
Матеріали
20- 1 high-voltage transformerЗаповнювач
- 2 rectifier tubesЗаповнювач
- 1 filament transformerЗаповнювач
- 1 storage capacitorЗаповнювач
- 1 voltage meterЗаповнювач
- 1 limiting resistorЗаповнювач
- Заповнювач
- 2 fusesЗаповнювач
- 2 pilot and red lampsЗаповнювач
- 1 thermal delay relayЗаповнювач
- 1 control relay, three contact setsЗаповнювач
- 1 discharge switchЗаповнювач
- 1 firing capacitorЗаповнювач
- Заповнювач
- 1 base plate and coverЗаповнювач
- 1 shellЗаповнювач
- Заповнювач
- 1 potting compoundЗаповнювач
- 1 end pieces, core, post, legsЗаповнювач
- 1 lid interlock switchЗаповнювач
Необхідні інструменти
8- 2 vendors sell this, none ship to you yetЗаповнювач
- Заповнювач
- Заповнювач
- Заповнювач
- Заповнювач
- Заповнювач
- Заповнювач
- Заповнювач
Матеріали з пов'язаних креслень


За цим кресленням виготовляють
CC0 Суспільне надбання
Це креслення випущено під ліцензією CC0. Ви можете вільно копіювати, змінювати, поширювати та використовувати цю роботу для будь-яких цілей без запиту дозволу.
Підтримайте мейкера, купуючи продукти через його креслення, де він отримує Комісію мейкера встановлену вендорами, або створіть нову ітерацію цього креслення та включіть його як зв'язок у власне креслення для розподілу доходу.