Making Deer Antler Coat Toggles — Tine-Section Fasteners for Duffle Coats
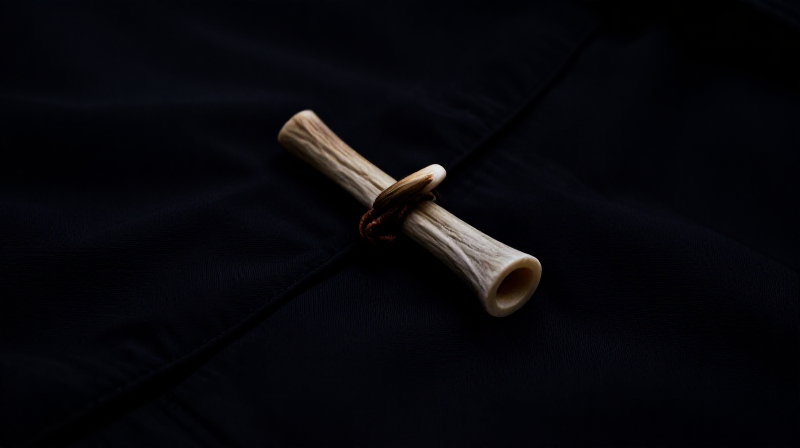
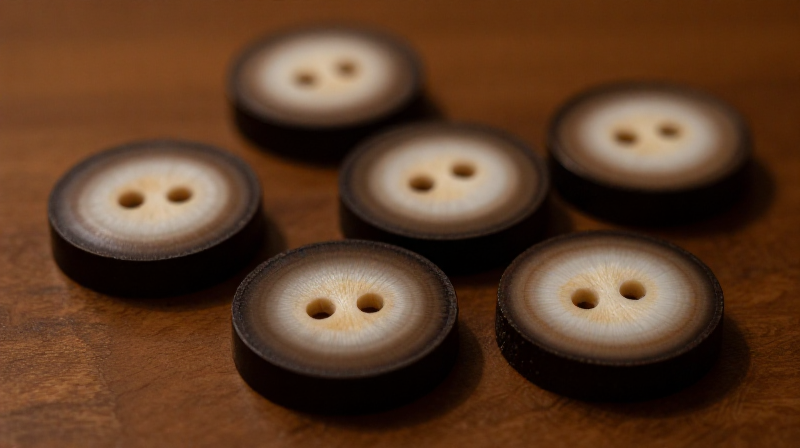
A coat toggle is a short, tapered cylinder with a centre hole for a cord loop — the fastening mechanism of duffle coats, outdoor jackets, and many traditional garments. Deer antler toggles are hard-wearing, waterproof, and each one is unique in colour and shape. They are functionally superior to plastic toggles and last the lifetime of the garment.
This blueprint covers making a matched set of 3-4 toggles from deer antler tine sections: cutting to length, drilling the cord hole, smoothing the ends, and sealing with beeswax.
Інструкції
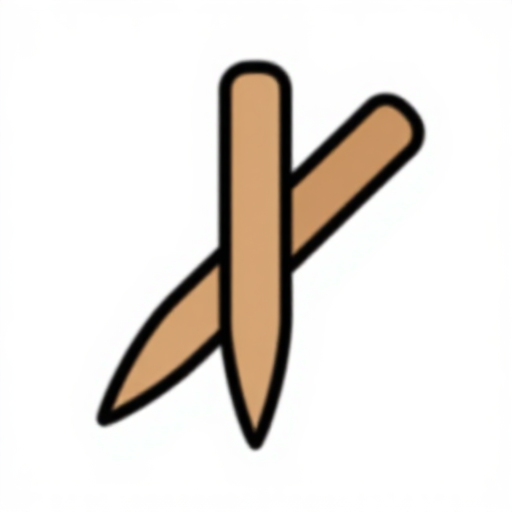
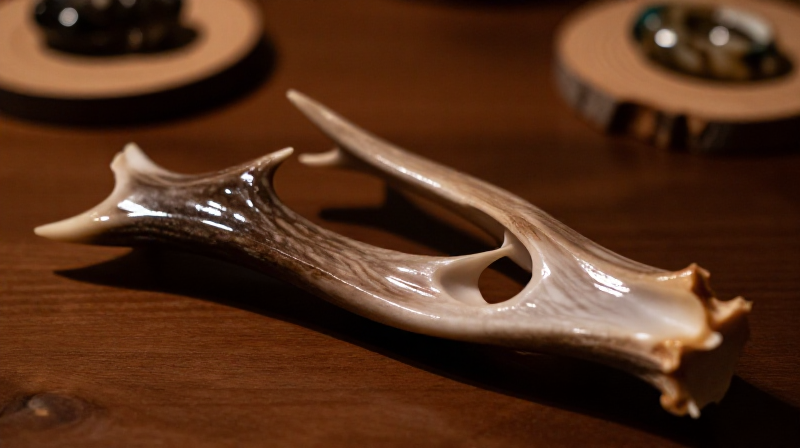
Select matching tine sections
Select matching tine sections
Choose tines of similar diameter for a matched set. A standard duffle coat needs 3-4 toggles. Cut tine sections 5-7 cm long from the same tine so colour and diameter are consistent. The natural taper and slight curve of a deer tine gives an attractive shape that needs minimal work.
Матеріали для цього кроку:
 Deer Antler Section1 штука
 Deer1 штука
Необхідні інструменти ({count})
 Hacksaw
 Bench Vise
Drill the centre cord hole
Drill the centre cord hole
Drill a 3-4 mm hole through the centre of each toggle, perpendicular to its length. This is where the cord loop passes through. Clamp gently in the vise and drill at low speed. The hole should be centred so the toggle hangs level when threaded onto the coat.
Необхідні інструменти ({count})
 Cordless Drill
 Drill Bit Set
Round the ends and smooth
Round the ends and smooth
Round both cut ends slightly with a wood rasp so they slide easily through the toggle loop without snagging fabric. Sand through 120, 220, and 400 grit for a smooth feel. Ease all sharp edges — a toggle is handled every time the coat is fastened.
Матеріали для цього кроку:
 Sandpaper (120 Grit)1 аркуш
 Sandpaper (220 Grit)1 аркуш
 Sandpaper (400 Grit)1 аркуш
Необхідні інструменти ({count})
 Wood Rasp
Seal with beeswax
Seal with beeswax
Rub melted beeswax into each toggle and buff with a soft cloth. The wax waterproofs the surface — important for outerwear fasteners exposed to rain. Body oils from regular handling will maintain the finish over time.
Матеріали для цього кроку:
 Beeswax15 г
Матеріали
6- 1 штукаЗаповнювач
- 1 штукаЗаповнювач
- 1 аркушЗаповнювач
- 1 аркушЗаповнювач
- 1 аркушЗаповнювач
- 15 гЗаповнювач
Необхідні інструменти
5- Заповнювач
- Заповнювач
- Заповнювач
- Заповнювач
- Заповнювач
Матеріали з пов'язаних креслень
Пов'язані креслення
Ці креслення діляться знаннями — техніки, матеріали або принципи
Related blueprints
Other builds that share materials, tools, or techniques with this one.

CC0 Суспільне надбання
Це креслення випущено під ліцензією CC0. Ви можете вільно копіювати, змінювати, поширювати та використовувати цю роботу для будь-яких цілей без запиту дозволу.
Підтримайте мейкера, купуючи продукти через його креслення, де він отримує Комісію мейкера встановлену вендорами, або створіть нову ітерацію цього креслення та включіть його як зв'язок у власне креслення для розподілу доходу.