
МИСТЕЦТВО
КРАСА ТА ЗДОРОВ'Я
РЕМЕСЛО
КУЛЬТУРА ТА ІСТОРІЯ
РОЗВАГИ
СЕРЕДОВИЩЕ
ЇЖА ТА НАПІЇ
ЗЕЛЕНЕ МАЙБУТНЄ
ЗБОРНА ІНЖЕНЕРІЯ
НАУК
СПОРТ
ТЕХНОЛОГІЯ
НОСИМО
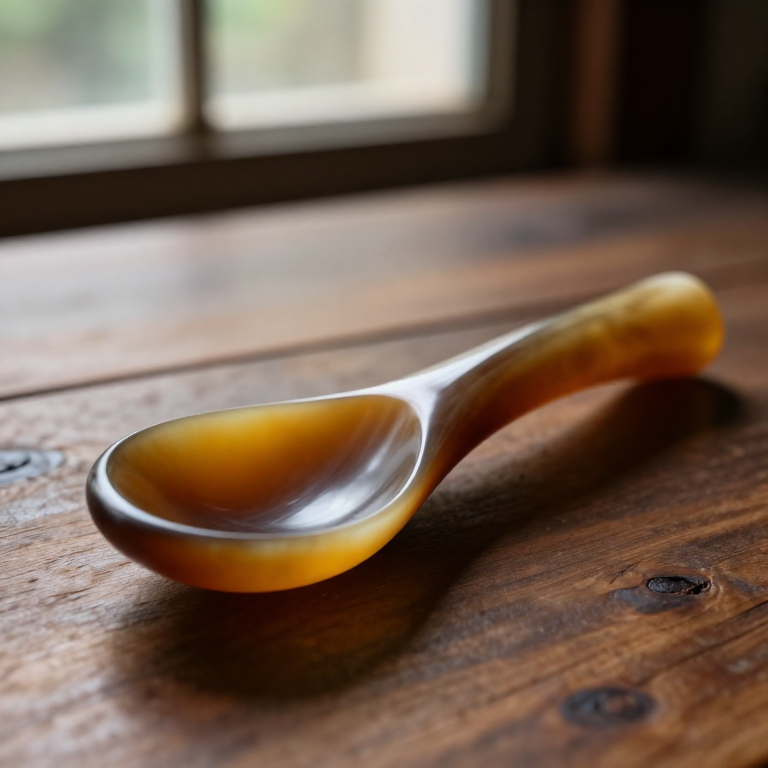
Making a Horn Spoon — Shaping Cattle Horn with Heat and Pressure
Woody

Створено

Woody

2. липень 2026NO
5
0
0
0
0

Making a Horn Spoon — Shaping Cattle Horn with Heat and Pressure

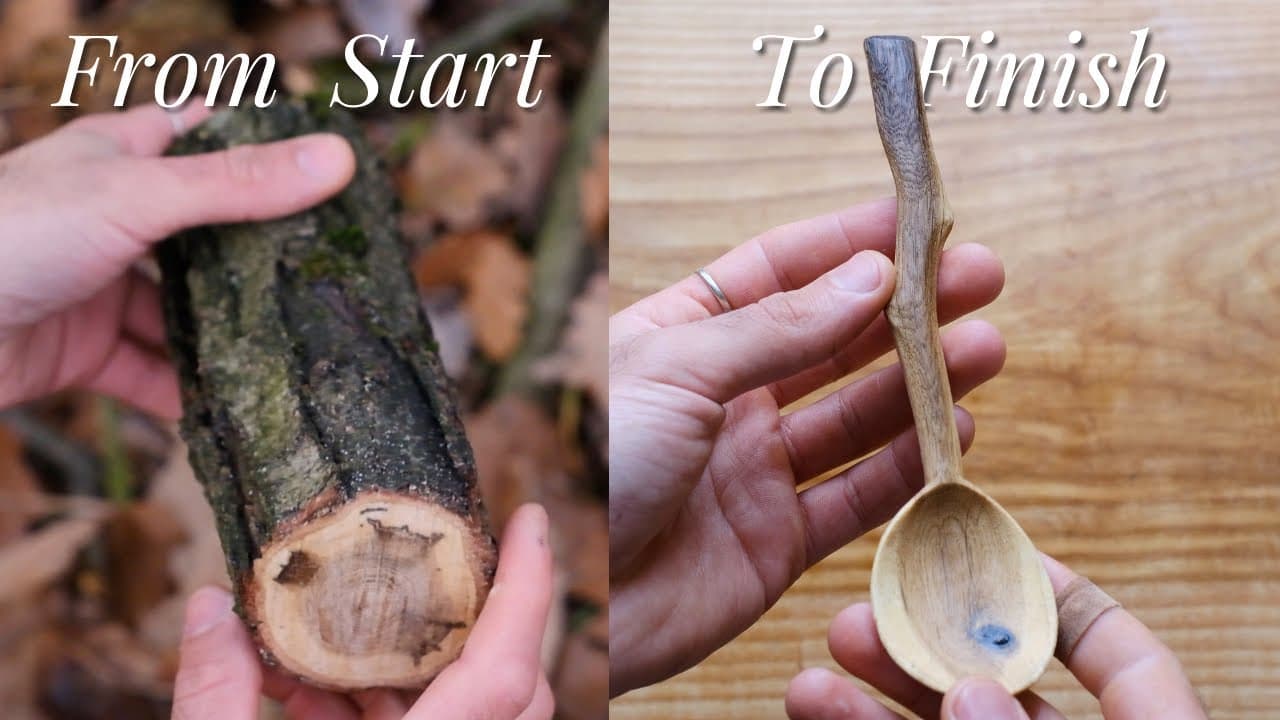
Cattle horn is a natural thermoplastic: heated in boiling water it turns soft and pliable, and when it cools it locks into whatever shape it was pressed into. For centuries this made horn the ideal material for spoons, cups and combs — cheaper than metal, tougher than wood, and safe against food. This blueprint makes a traditional horn spoon by hand: saw a section from a cow or ox horn, boil it soft, open it flat, cut the spoon blank, press the bowl over a wooden former, and finish it food-safe with a beeswax polish.
Середній
5

Інструкції

1

Choose and saw a horn section

Pick a clean cow or ox horn. Saw off the solid, curved tip (it has no cavity and is discarded or kept for handles) and saw a length of the wide, hollow part of the horn to become the spoon.

Матеріали для цього кроку:

Cattle HornCattle Horn1 штука

Необхідні інструменти ({count})

Hand SawHand Saw
2

Scrape and clean the horn

Scrape away the rough outer skin and any membrane inside the cavity with the knife, so the horn is clean and its natural translucency shows. This is the working stock.

Матеріали для цього кроку:

Cattle HornCattle Horn1 штука

Необхідні інструменти ({count})

KnifeKnife
3

Boil the horn until soft

Simmer the horn section in a pot of water for 20 to 30 minutes. As it heats, the keratin softens and becomes pliable and slightly translucent — like thick leather. Keep it fully submerged and hot.

Матеріали для цього кроку:

WaterWater4 літрів
Cattle HornCattle Horn1 штука

Необхідні інструменти ({count})

Metal CauldronMetal Cauldron
4

Slit and open the horn flat

Lift the hot, soft horn out and quickly slit the tube lengthwise with the knife. Unroll it and press it open into a flat sheet while it is still pliable — work fast, it stiffens as it cools.

Необхідні інструменти ({count})

KnifeKnife
5

Press the sheet flat and let it set

Clamp the opened horn flat between two boards in the bench vise and leave it until fully cool. Horn keeps whatever shape it holds while cooling, so it sets as a flat plate.

Необхідні інструменти ({count})

Bench ViseBench Vise
6

Mark out the spoon blank

Draw the spoon outline on the flat plate — a rounded bowl at one end flowing into a straight handle. Choose the thickest part of the plate for the bowl so it can be dished without going too thin.

Необхідні інструменти ({count})

KnifeKnife
7

Cut out the blank

Saw and cut around the marked outline to free the flat spoon blank from the plate. Leave a little extra material outside the line for final shaping.

Необхідні інструменти ({count})

Hand SawHand Saw
KnifeKnife
8

Reheat the bowl end

Dip just the bowl end of the blank back into the boiling water for a few minutes until that section goes soft again. The handle can stay stiff.

Матеріали для цього кроку:

WaterWater4 літрів

Необхідні інструменти ({count})

Metal CauldronMetal Cauldron
9

Press the bowl over the former

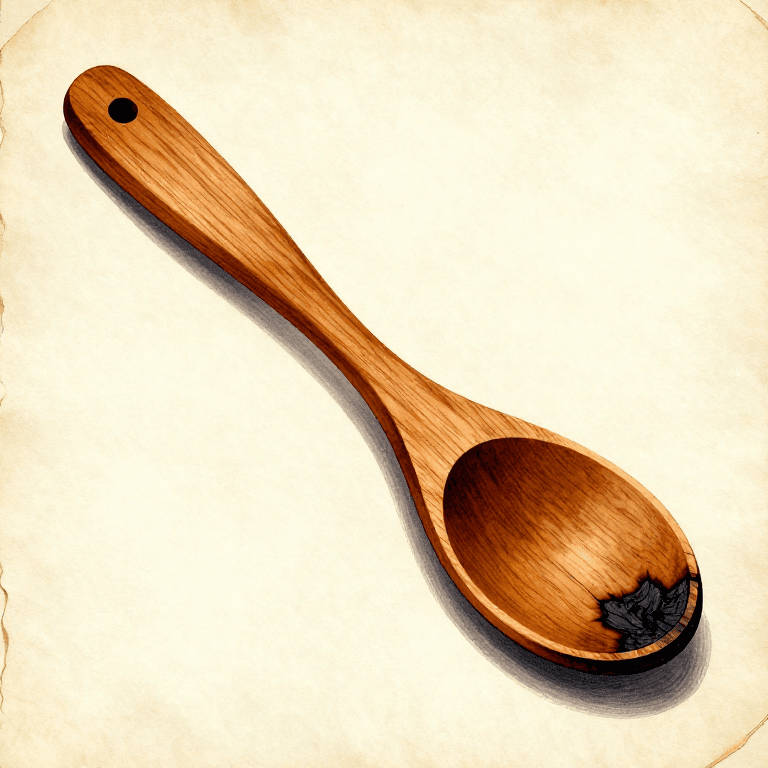
Press the softened bowl end firmly down over the rounded wooden former (a spoon-bowl-shaped block of hardwood). The horn takes up the concave shape of a spoon bowl.

Необхідні інструменти ({count})

Horn Spoon FormerHorn Spoon Former
10

Hold on the former until cool

Keep the bowl pressed against the former — by hand or clamped — until the horn is completely cold. When it releases it holds the dished bowl shape permanently.

Необхідні інструменти ({count})

Horn Spoon FormerHorn Spoon Former
Bench ViseBench Vise
11

Rasp the shape true

Rasp the edges of the bowl and handle down to the marked outline and thin the handle to a comfortable taper. Work evenly so the spoon is symmetrical.

Необхідні інструменти ({count})

RaspRasp
12

Scrape smooth

Drag the edge of the knife across the horn as a scraper to remove the rasp marks and bring up a smooth, even surface on both the bowl and handle.

Необхідні інструменти ({count})

KnifeKnife
13

Polish food-safe with beeswax

Rub beeswax into the finished horn and buff hard with a cloth. This brings up a soft shine and seals the surface with a food-safe finish — the spoon is ready to use.

Матеріали для цього кроку:

BeeswaxBeeswax1 штука

Необхідні інструменти ({count})

Clean Cotton ClothClean Cotton Cloth

Матеріали

3

Необхідні інструменти

7

Матеріали з пов'язаних креслень

CC0 Суспільне надбання

Це креслення випущено під ліцензією CC0. Ви можете вільно копіювати, змінювати, поширювати та використовувати цю роботу для будь-яких цілей без запиту дозволу.

Підтримайте мейкера, купуючи продукти через його креслення, де він отримує Комісію мейкера встановлену вендорами, або створіть нову ітерацію цього креслення та включіть його як зв'язок у власне креслення для розподілу доходу.

Обговорення

(0)

Увійти щоб приєднатися до обговорення

Завантаження коментарів...