МИСТЕЦТВО
КРАСА ТА ЗДОРОВ'Я
РЕМЕСЛО
КУЛЬТУРА ТА ІСТОРІЯ
РОЗВАГИ
СЕРЕДОВИЩЕ
ЇЖА ТА НАПІЇ
ЗБОРНА ІНЖЕНЕРІЯ
НАУК
СПОРТ
ТЕХНОЛОГІЯ
НОСИМО
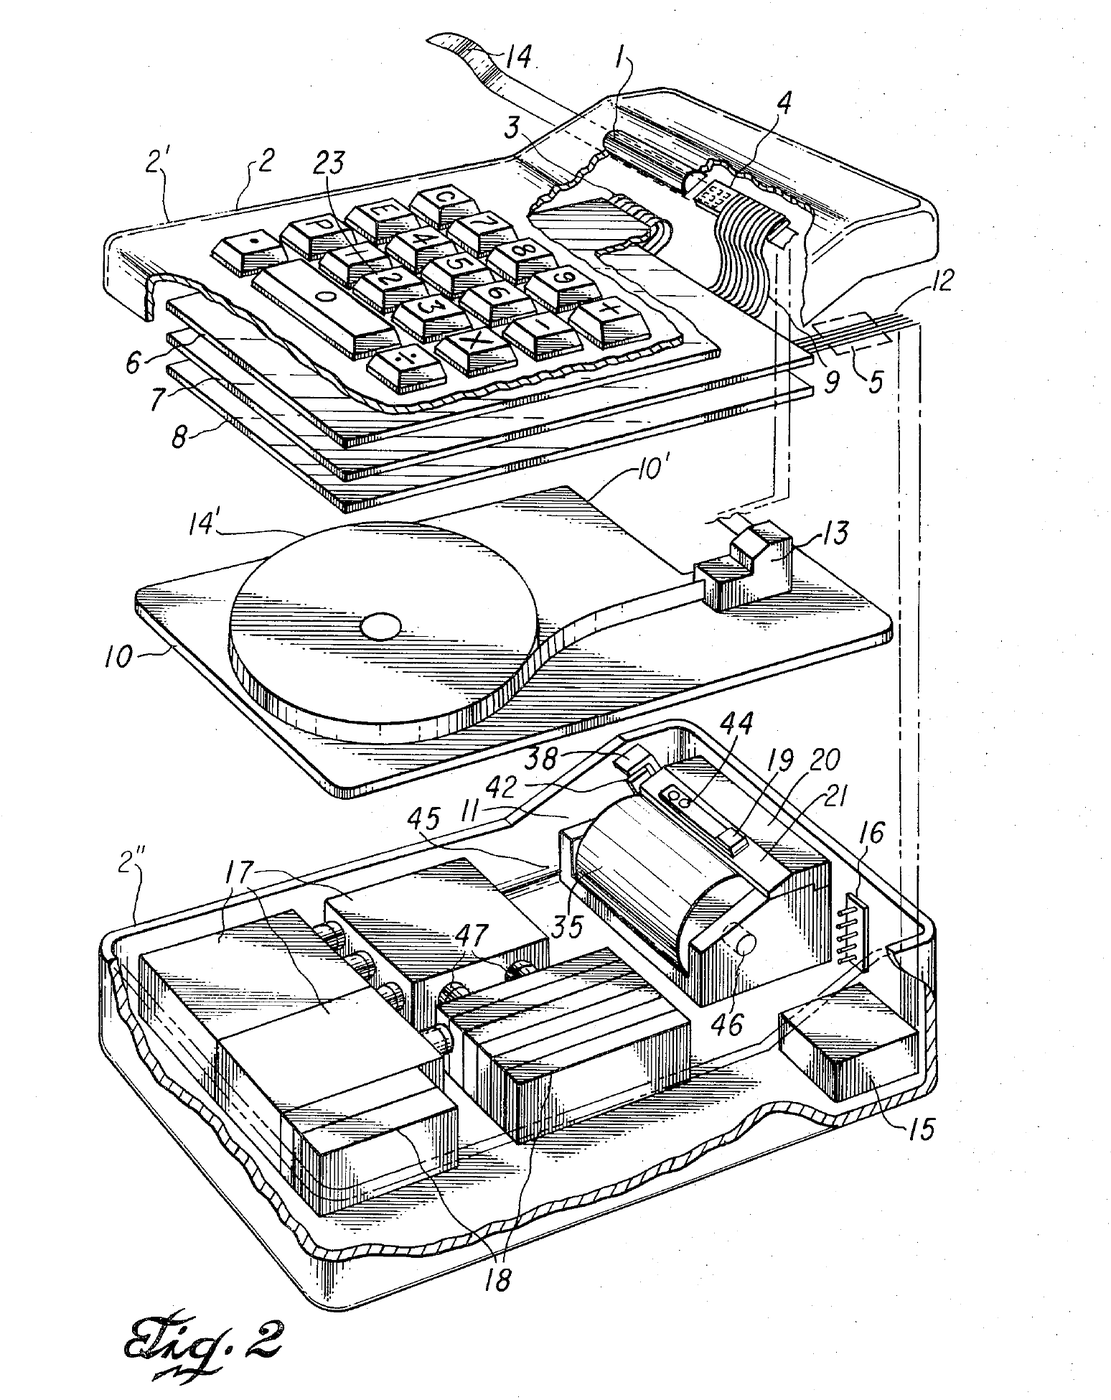


Miniature Printing Electronic Calculator: Kilby, Merryman & Van Tassel, 1974
Jack S. Kilby, Jerry D. Merryman and James H. Van Tassel of Texas Instruments first filed for this portable calculator in 1967; the patent, US 3,819,921, was granted in 1974. It adds, subtracts, multiplies and divides. All the arithmetic and control is done by one integrated semiconductor circuit array lying flat under the keyboard encoder. Answers are printed by a thermal print head, a 3 × 5 array of heater elements on a semiconductor wafer, on heat-sensitive paper tape read through a magnifying window. The case measured 4¼ × 6⅛ × 1¾ inches and the calculator weighed 45 ounces, running on batteries.
Просунутий
Factory process
Інструкції
1
1
Keys and encoder
Keys and encoder
Mount the 18 keys (0–9, +, −, ×, ÷, the decimal point, C for clear, E for error and P for print) in stepped holes in the upper case. Each key shaft slides in a bearing; a helix spring under the shaft head returns it, guide pins stop it turning, and a resilient pad at its base carries a thin gold-plated copper strip. Below lies the encoder: conductive strips on an insulating board, grouped so each key shorts its own set of output terminals and encodes its digit in excess-3 binary code.
Матеріали для цього кроку:
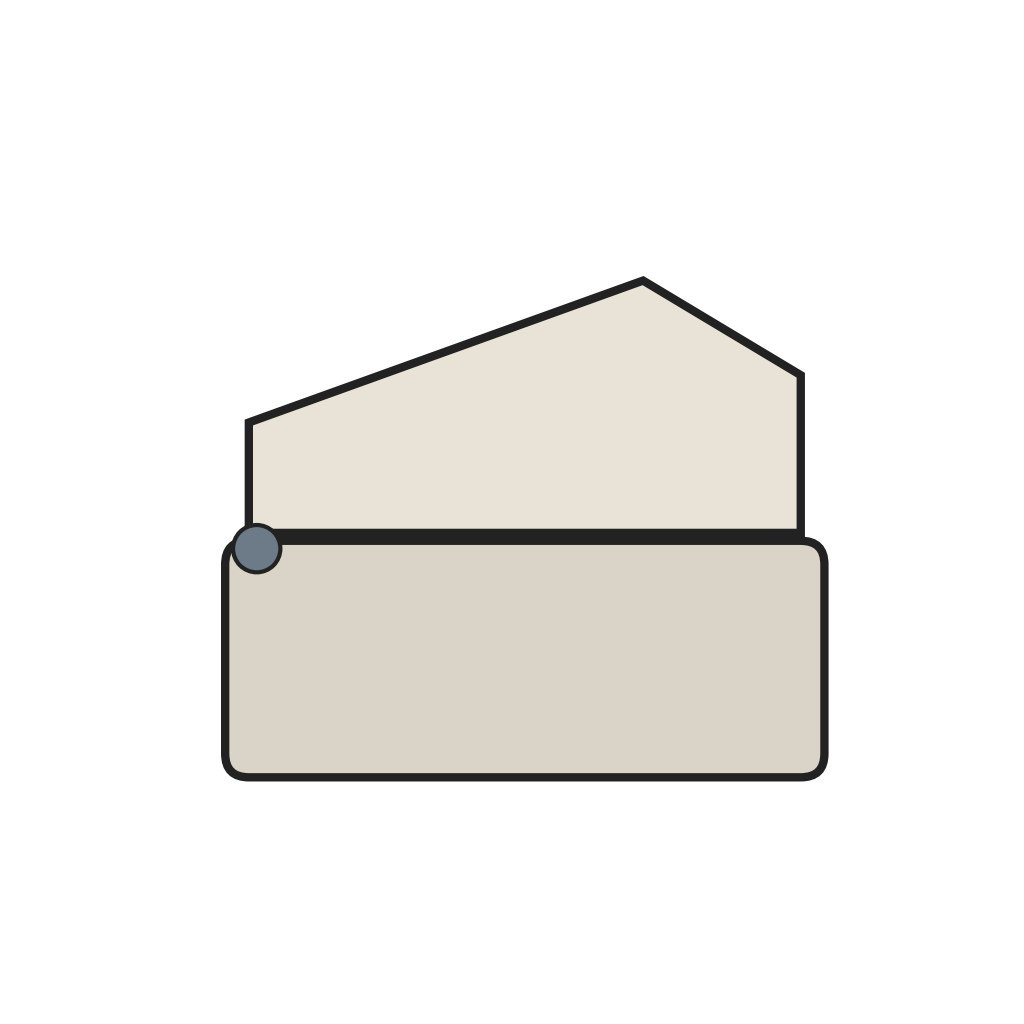 Двосекційний корпус калькулятора на шарнірі1 штука
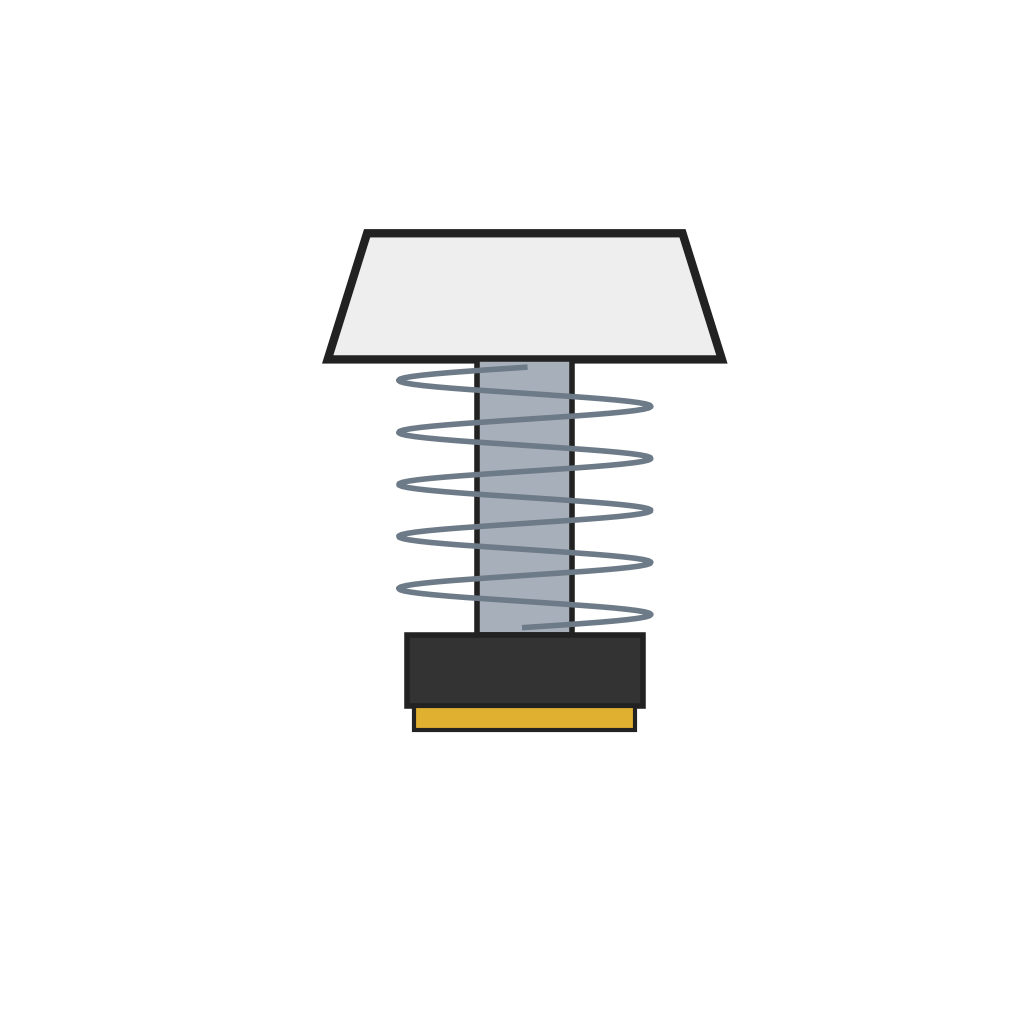 Клавіша з пружинним поверненням і контактною площадкою18 штук
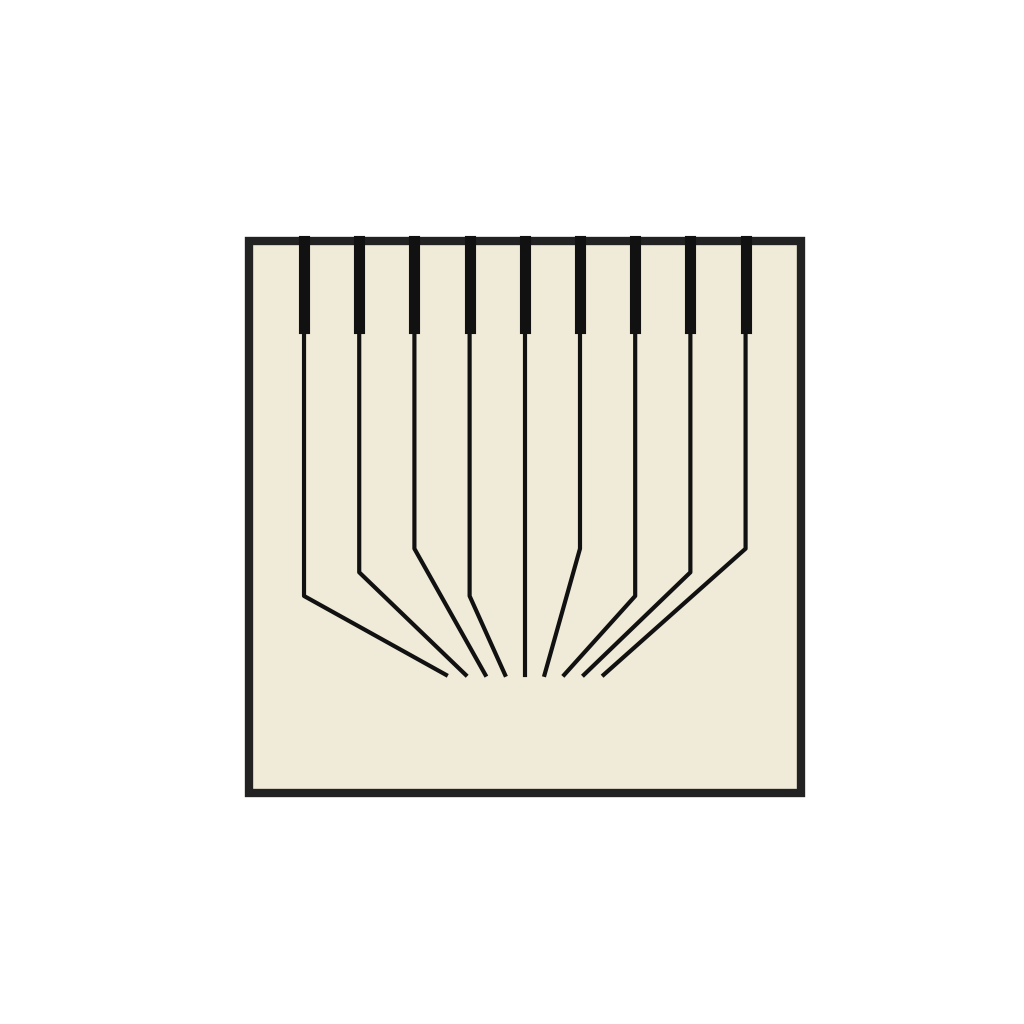 Плата шифратора клавіатури1 штука
Необхідні інструменти ({count})
 Набір прецизійних пінцетів
 Набір викруток
2
2
Primary electronics
Primary electronics
Mount the integrated circuit array below the encoder, in a plane parallel to it, and connect the encoder's terminals to it. The array holds the arithmetic and control sections, generating the timing signals for calculating, printing and advancing the tape.
Матеріали для цього кроку:
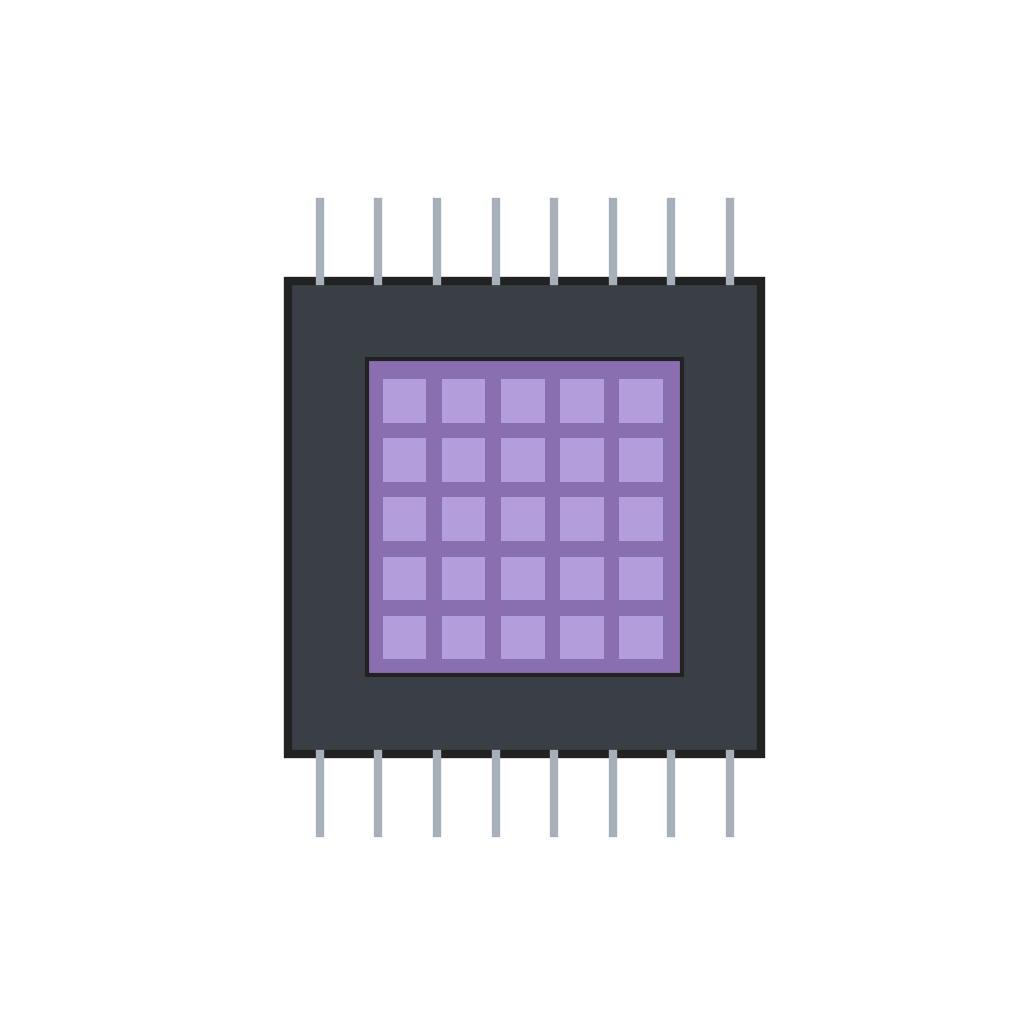 Інтегральна мікросхема калькулятора1 штука
Необхідні інструменти ({count})
Набір прецизійних пінцетів3
3
Printer and tape
Printer and tape
Place the thermal print head above a resilient pressure pad, its wafer surface against the tape. Rest the tape reel on a shelf; the tape runs up through a guide block, over the pad under the print head, past the magnifying lens window and out through the side of the case. A solenoid tape-advance mechanism steps the tape on after each line: its coil pulls a pivoted clapper, a spring-biased clutch grips the tape against a clutch plate, and a drive spring pushes it forward when the coil releases. An insulating acrylic cover plate separates the shelf from the primary electronics.
Матеріали для цього кроку:
 Інтегральна напівпровідникова термодрукувальна головка1 штука
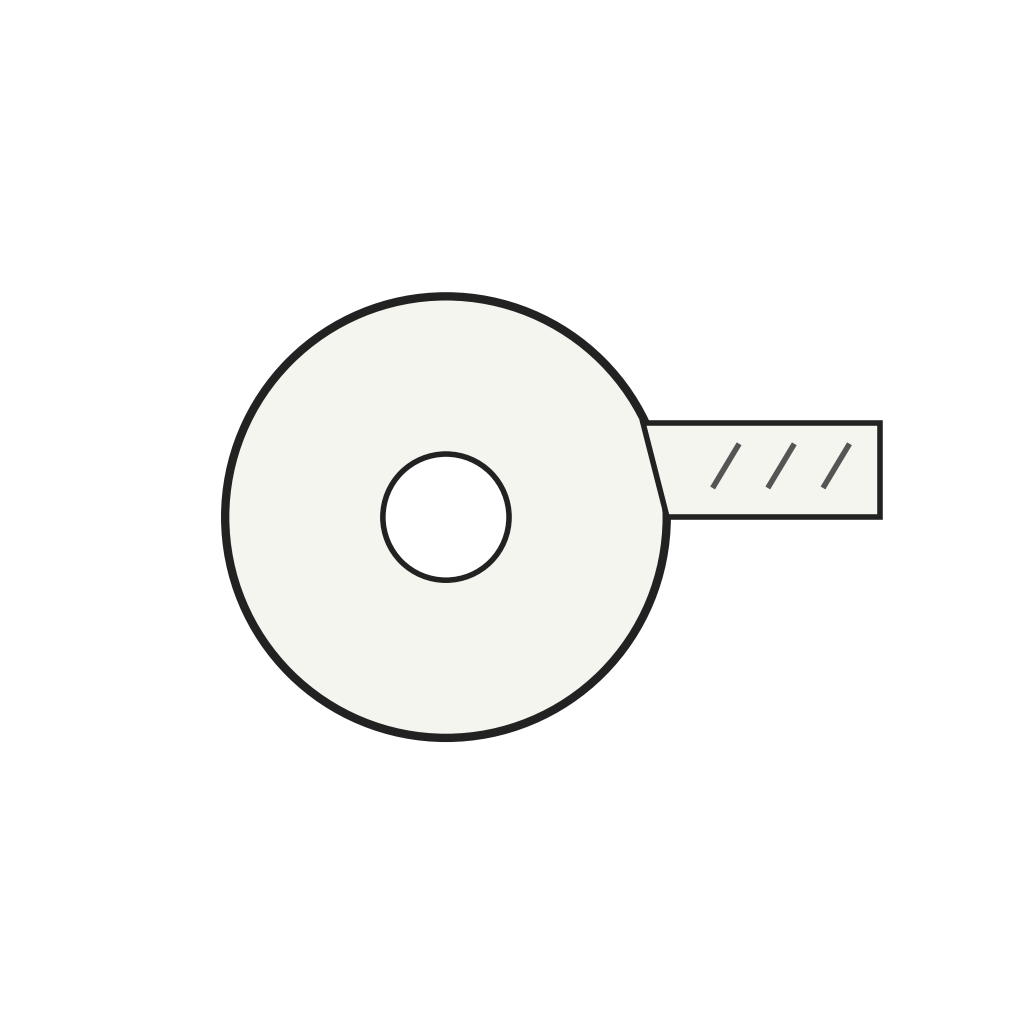 Термочутлива паперова стрічка1 штука
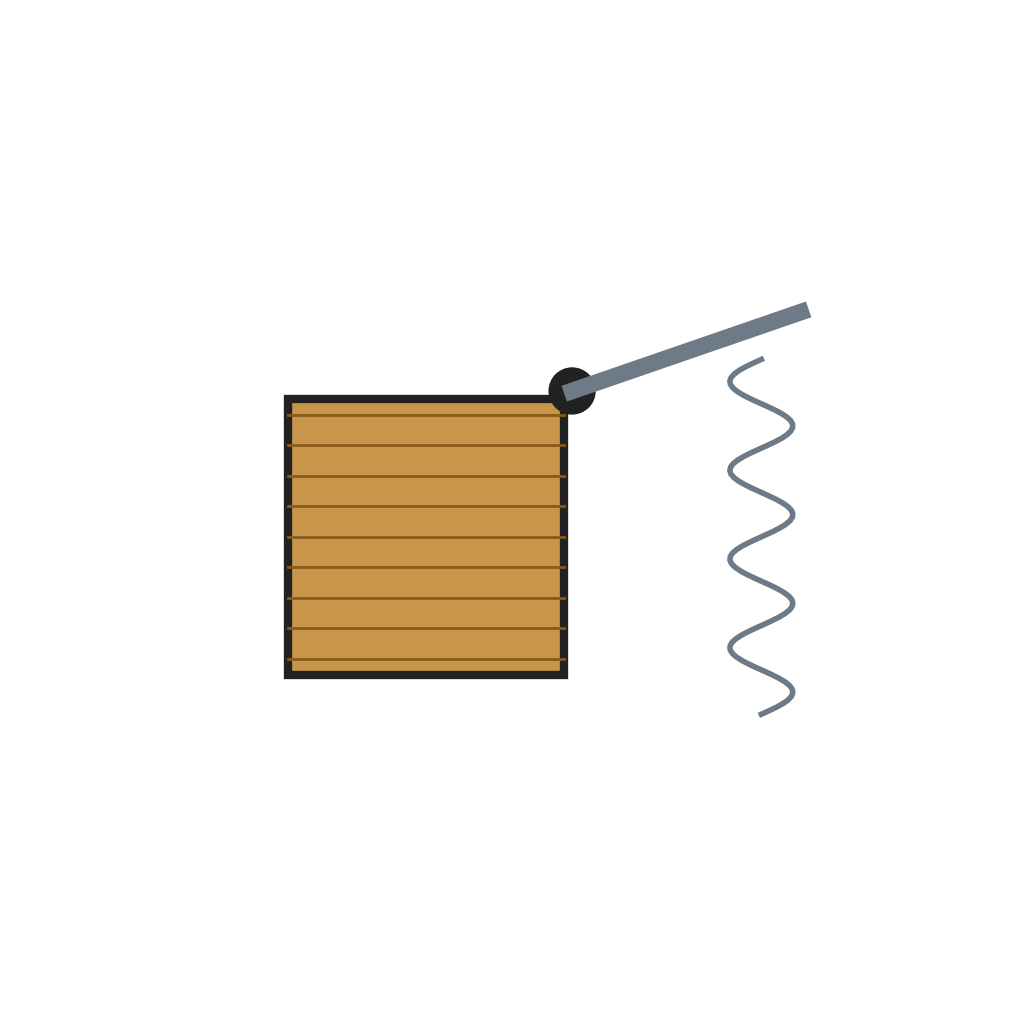 Соленоїдний механізм протягування стрічки1 штука
 Вікно зі збільшувальною лінзою1 штука
 Акриловий лист1 штука
Необхідні інструменти ({count})
Набір прецизійних пінцетівНабір викруток4
4
Power
Power
Fix the batteries, the auxiliary electronics module and the tape advance on the floor of the lower case. Three 1½ volt cells in series give 4½ volts and eight in series give 12 volts; the auxiliary module drives the tape-advance coil and the print timing. Wire the supply through the on/off switch to the primary electronics, and fit a battery charger plug in the wall of the lower case. Hinge and latch the two case halves so the top lifts for access.
Матеріали для цього кроку:
 Сухий гальванічний елемент11 штук
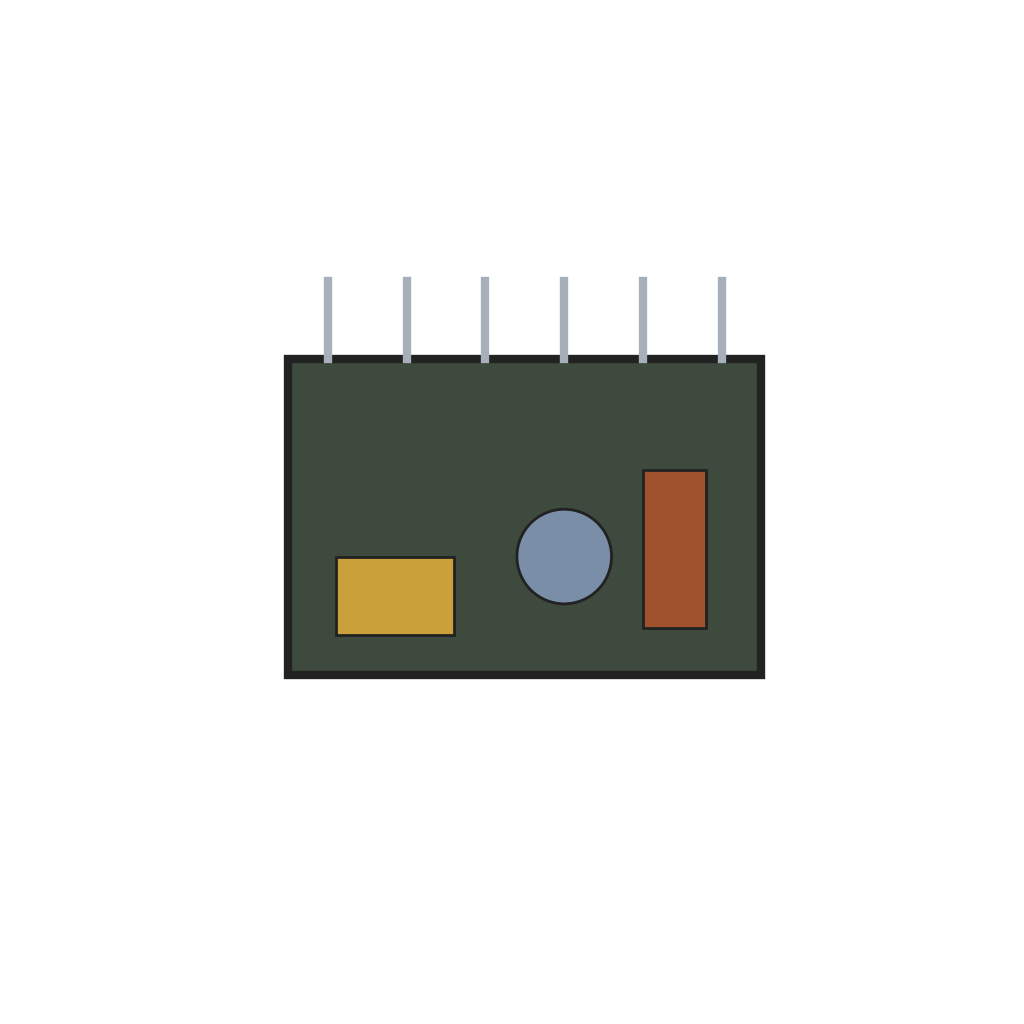 Допоміжний електронний модуль1 штука
 Вимикач живлення1 штука
Необхідні інструменти ({count})
 Інструмент для знімання ізоляції
 ПасатижіНабір викруток
Матеріали
12- Заповнювач
- Заповнювач
- 1 штукаЗаповнювач
- Заповнювач
- Заповнювач
- Заповнювач
- Заповнювач
- Заповнювач
- 1 штукаЗаповнювач
- 11 штукЗаповнювач
- Заповнювач
- 1 штукаЗаповнювач
За цим кресленням виготовляють

Пов'язані креслення
Ці креслення діляться знаннями — техніки, матеріали або принципи

CC0 Суспільне надбання
Це креслення випущено під ліцензією CC0. Ви можете вільно копіювати, змінювати, поширювати та використовувати цю роботу для будь-яких цілей без запиту дозволу.
Підтримайте мейкера, купуючи продукти через його креслення, де він отримує Комісію мейкера встановлену вендорами, або створіть нову ітерацію цього креслення та включіть його як зв'язок у власне креслення для розподілу доходу.