МИСТЕЦТВО
КРАСА ТА ЗДОРОВ'Я
РЕМЕСЛО
КУЛЬТУРА ТА ІСТОРІЯ
РОЗВАГИ
СЕРЕДОВИЩЕ
ЇЖА ТА НАПІЇ
ЗБОРНА ІНЖЕНЕРІЯ
НАУК
СПОРТ
ТЕХНОЛОГІЯ
НОСИМО
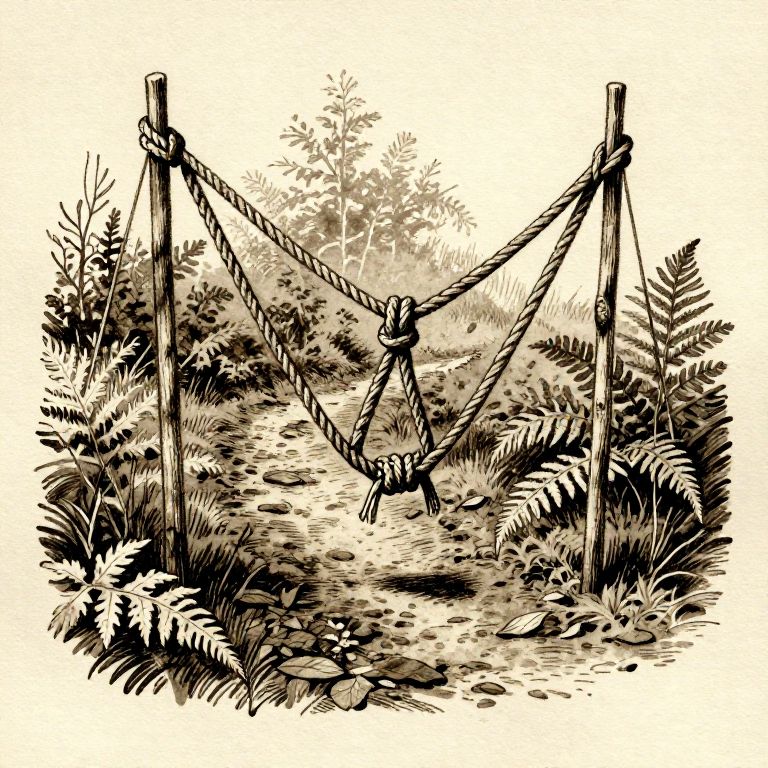
Setting a Simple Snare Trap on a Game Trail — Cordage Loop Hunting
The snare is one of humanity's oldest hunting technologies, dating back at least 30,000 years. Unlike active hunting with spears or bows that demands hours of stalking, a snare works while you sleep — a self-tightening loop of cordage placed across an animal trail catches small game passively. Archaeological evidence from Upper Palaeolithic sites across Europe shows that snaring rabbits, hares, and ground birds provided a reliable protein source that required far less energy than pursuit hunting. The mechanics are simple: an animal walks into a loop, the loop tightens around its neck or body as it moves forward, and the tension holds it in place. This blueprint teaches the basic fixed snare — a cordage noose anchored to a stake or heavy object beside a well-used game trail. Every material is available in a prehistoric context: plant fiber cordage, a wooden peg, and knowledge of animal behaviour.
Початківець
45 minutes
Інструкції
1
1
Identify an Active Game Trail
Identify an Active Game Trail
Look for narrow paths through vegetation worn smooth by repeated animal traffic. Signs include flattened grass, small footprints in mud, droppings, and fur caught on thorns or branches. Focus on trails between water sources and feeding areas.
2
2
Determine the Target Animal Size
Determine the Target Animal Size
Estimate the animal using the trail from track width and height of disturbance in vegetation. Rabbit trails are 8 to 12 cm wide at ground level. Hare trails are wider, 15 to 20 cm. The snare loop diameter must match the target animal's head size.
3
3
Select Strong, Flexible Cordage
Select Strong, Flexible Cordage
Use the strongest available plant fiber cordage — reverse-wrapped from nettle, dogbane, milkweed, or lime bast. The cord must hold an animal struggling to escape. Test by pulling hard with both hands — if it snaps, it is too weak. Double-ply twisted cord works best.
Матеріали для цього кроку:
 Cordage2 метрів
4
4
Tie a Self-Tightening Slip Knot
Tie a Self-Tightening Slip Knot
Form a small fixed loop at one end of the cord by tying an overhand knot around the standing line. Thread the free end of the cord through this small loop to create a running noose. When pulled, the noose tightens but does not release — this is the snare mechanism.
5
5
Size the Snare Loop
Size the Snare Loop
Open the noose to form a circle approximately the width of your fist for rabbits (10 to 12 cm diameter) or the width of two fists for hares (18 to 20 cm). A loop that is too large lets the animal push through; too small and the animal's head will not enter it.
6
6
Cut an Anchor Stake
Cut an Anchor Stake
Cut a sturdy wooden stake approximately 30 cm long and 3 cm thick from a hardwood branch. Sharpen one end to a point using a flint knife so it can be driven firmly into the ground.
Матеріали для цього кроку:
 Hardwood Sapling1 штука
Необхідні інструменти ({count})
 Flint Knife
7
7
Drive the Stake Beside the Trail
Drive the Stake Beside the Trail
Push or hammer the sharpened stake into the ground 10 to 15 cm to the side of the trail. Drive it deep enough that a struggling animal cannot pull it free — at least 15 to 20 cm below the surface. Use a stone as a mallet if the ground is hard.
Необхідні інструменти ({count})
 Smooth Stone
8
8
Tie the Snare Line to the Stake
Tie the Snare Line to the Stake
Secure the free end of the snare cord to the anchor stake with a tight knot. Use two half hitches or a bowline — any knot that will not slip under load. The connection between the snare and the anchor must be the strongest point in the system.
9
9
Position the Loop Across the Trail
Position the Loop Across the Trail
Suspend the open noose directly across the centre of the game trail. For rabbits, the bottom of the loop should hang approximately 8 cm above the ground — level with a rabbit's head as it hops along. The loop should hang vertically, not tilted.
10
10
Support the Loop with Guide Sticks
Support the Loop with Guide Sticks
Push two thin twigs into the ground on either side of the trail to hold the snare loop open and in position. Rest the cord lightly on top of the twigs. The twigs must be thin enough to fall away when an animal contacts the loop — they are guides, not structure.
Матеріали для цього кроку:
Hardwood Sapling2 штук11
11
Create Lateral Funnels with Brush
Create Lateral Funnels with Brush
Place small branches, sticks, and leaf litter on both sides of the trail near the snare to narrow the path. This funnelling forces the animal through the centre of the loop rather than around it. Make the barriers look natural — neat piles alert wary animals.
12
12
Remove Human Scent from the Area
Remove Human Scent from the Area
Handle the snare and surrounding materials as little as possible with bare hands. Rub the cord and stake with soil, crushed leaves, or the animal's own droppings if available. Avoid stepping directly on the trail — approach from the side.
13
13
Set Multiple Snares Along the Trail
Set Multiple Snares Along the Trail
Place 3 to 5 snares along the same trail network, spaced at least 20 metres apart. A single snare catches one animal at best. Multiple snares increase the probability of a catch and make the time investment worthwhile.
Матеріали для цього кроку:
Cordage6 метрів14
14
Check Snares at Dawn and Dusk
Check Snares at Dawn and Dusk
Inspect every snare at least twice daily — once at dawn, once at dusk. Most small game is crepuscular (active at twilight). Leaving a caught animal too long attracts scavengers and wastes the catch. Reset any sprung but empty snares.
15
15
Retrieve and Process the Catch
Retrieve and Process the Catch
When a snare holds an animal, approach carefully. Dispatch the animal quickly and humanely. Remove the snare, reset it with fresh cordage if the old cord is frayed or weakened, and process the catch immediately — skin, gut, and prepare the meat before it spoils.
Необхідні інструменти ({count})
Flint KnifeМатеріали
2- 8 метрівЗаповнювач
- 3 штукЗаповнювач
Необхідні інструменти
2- Заповнювач
- Заповнювач
Матеріали з пов'язаних креслень

Пов'язані креслення
Ці креслення діляться знаннями — техніки, матеріали або принципи


CC0 Суспільне надбання
Це креслення випущено під ліцензією CC0. Ви можете вільно копіювати, змінювати, поширювати та використовувати цю роботу для будь-яких цілей без запиту дозволу.
Підтримайте мейкера, купуючи продукти через його креслення, де він отримує Комісію мейкера встановлену вендорами, або створіть нову ітерацію цього креслення та включіть його як зв'язок у власне креслення для розподілу доходу.