
Співпраця
МИСТЕЦТВО
КРАСА ТА ЗДОРОВ'Я
РЕМЕСЛО
КУЛЬТУРА ТА ІСТОРІЯ
РОЗВАГИ
СЕРЕДОВИЩЕ
ЇЖА ТА НАПІЇ
ЗБОРНА ІНЖЕНЕРІЯ
НАУК
СПОРТ
ТЕХНОЛОГІЯ
НОСИМО
Safety Goggles: Soft Plastic Frame with Turnable Splash-Proof Vent Caps (Hirschmann, US 3,141,172, 1964)
Emma

Створено

Emma

3. листопад 2026SE
9
0
0
0
0

Safety Goggles: Soft Plastic Frame with Turnable Splash-Proof Vent Caps (Hirschmann, US 3,141,172, 1964)

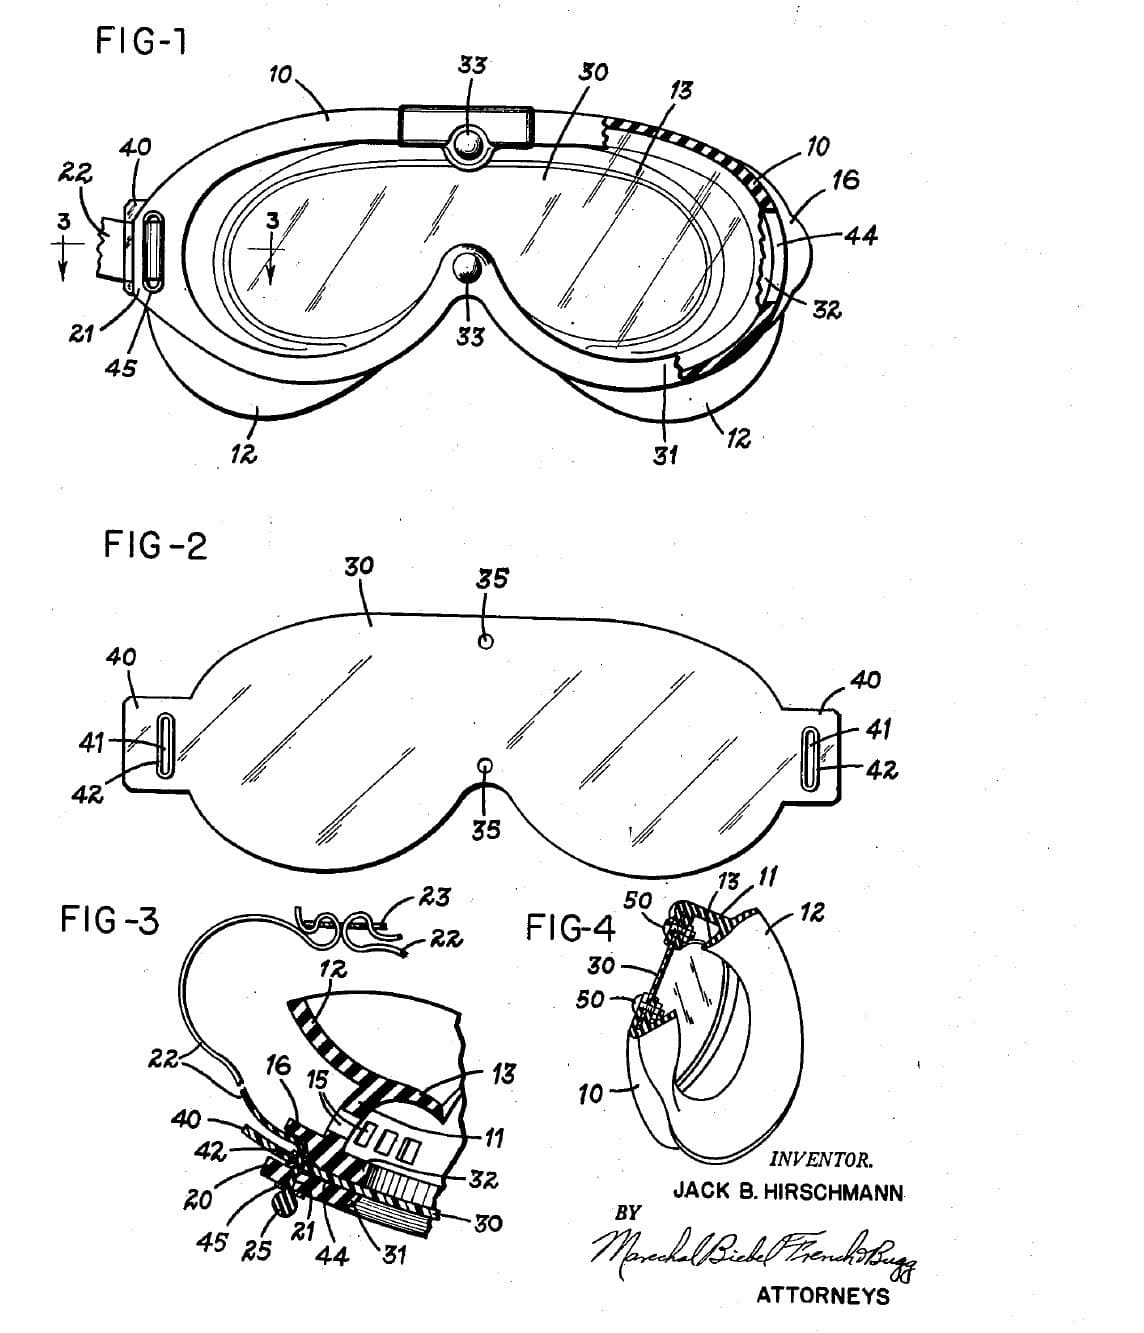
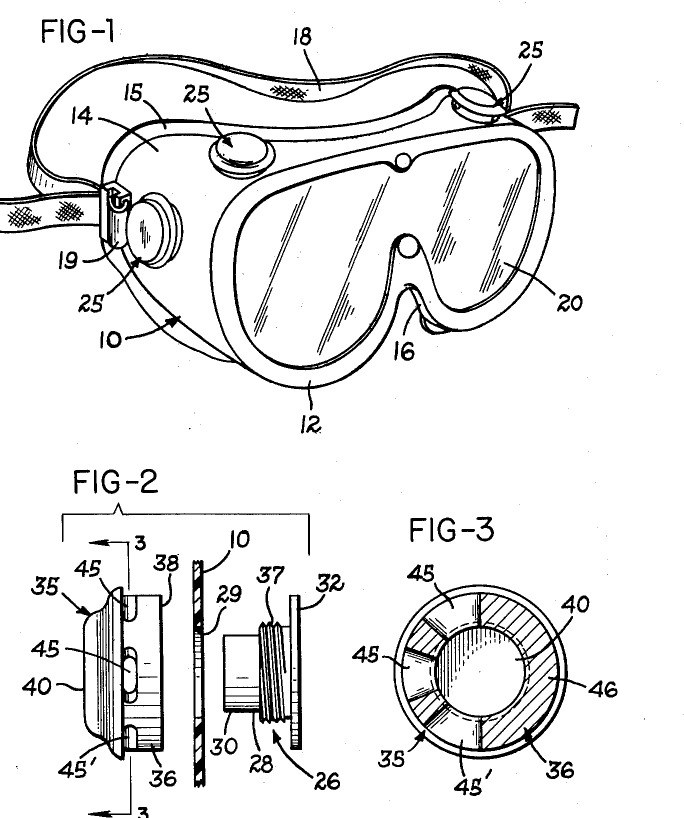
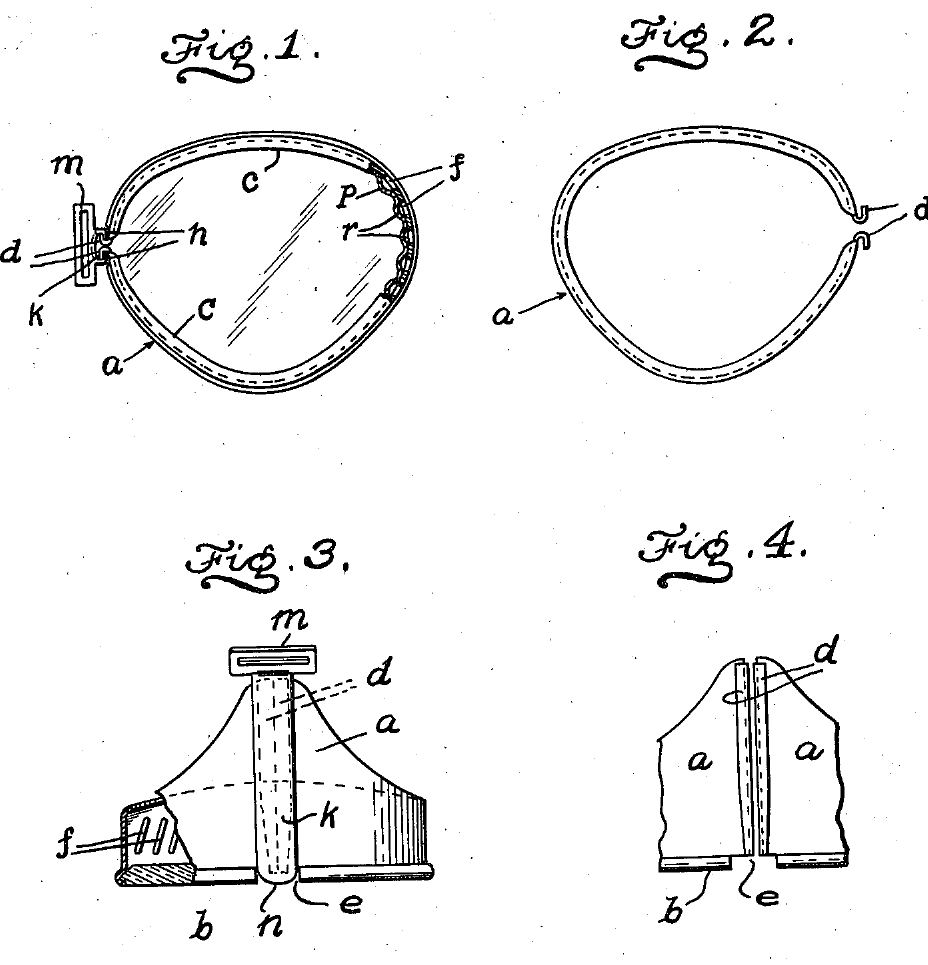
Goggles that let air in but keep splashes out. A soft polyethylene frame seals on the face and holds one clear lens for both eyes. Four vents sit in the frame, each a short tube under a cup-shaped cap with holes on one side only. You turn each cap so its solid side faces the splash; air takes a winding path in, and any liquid that gets into a cap drains out of a hole at the bottom. Result: ventilated safety goggles against liquids, chips and particles, with a lens you can replace. Source: J. B. Hirschmann, US 3,141,172 (1964), with the frame and lens of his US 2,773,260 (1956). Unknown: sizes, the moulding, the strap. Picture: the patent drawing.
Середній
Unknown

Інструкції

1

Mould the frame

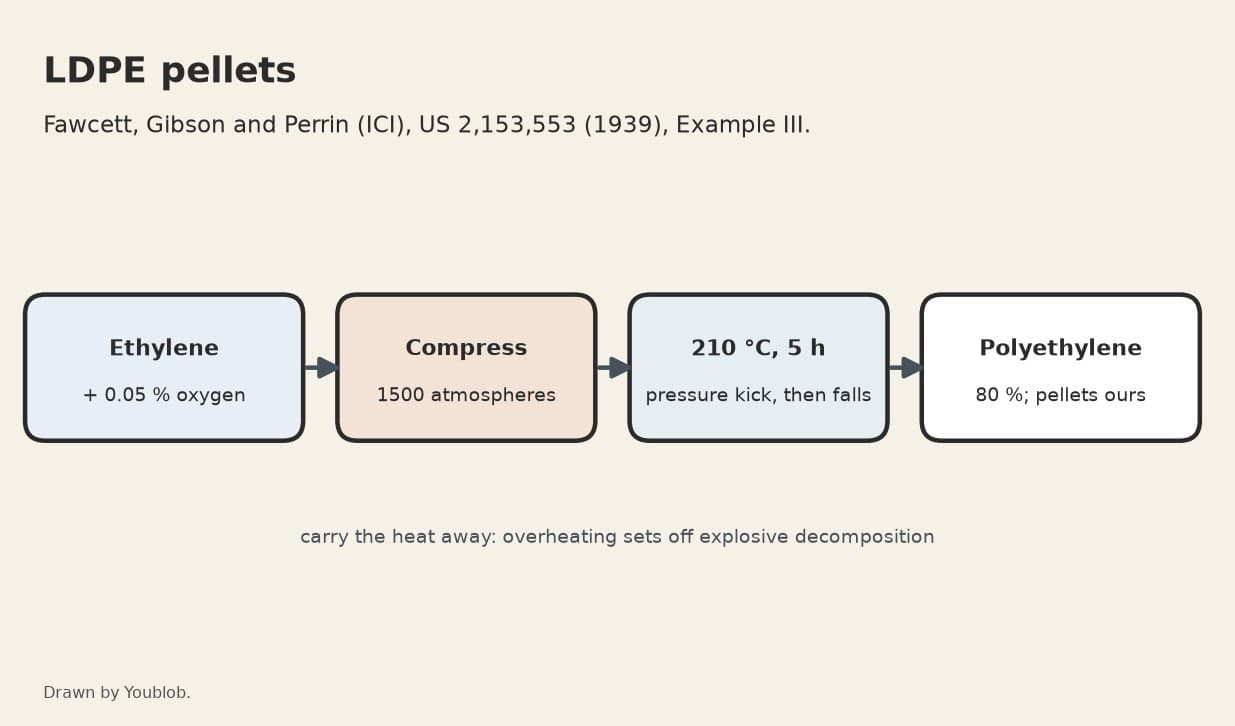
Mould a one-piece goggle frame of a soft, light-transmitting plastic such as polyethylene. Give it a front rim with one opening for both eyes, narrower above the nose, and a nose pad moulded with the rim. Behind the rim, a wall runs back and ends in a flange that fits the face. Form a flange on the front of the rim to seat the lens, and short shoulders with sloping backs round the inside of the rim. Put a strap loop near the back edge on each side: a soft frame strapped at the front would be squeezed out of shape. Ours: LDPE. Not given: sizes, how it is moulded.

Матеріали для цього кроку:

Гранули LDPEГранули LDPE1 frame

Необхідні інструменти ({count})

Невідомі розміриНевідомі розміри
2

Make the lens

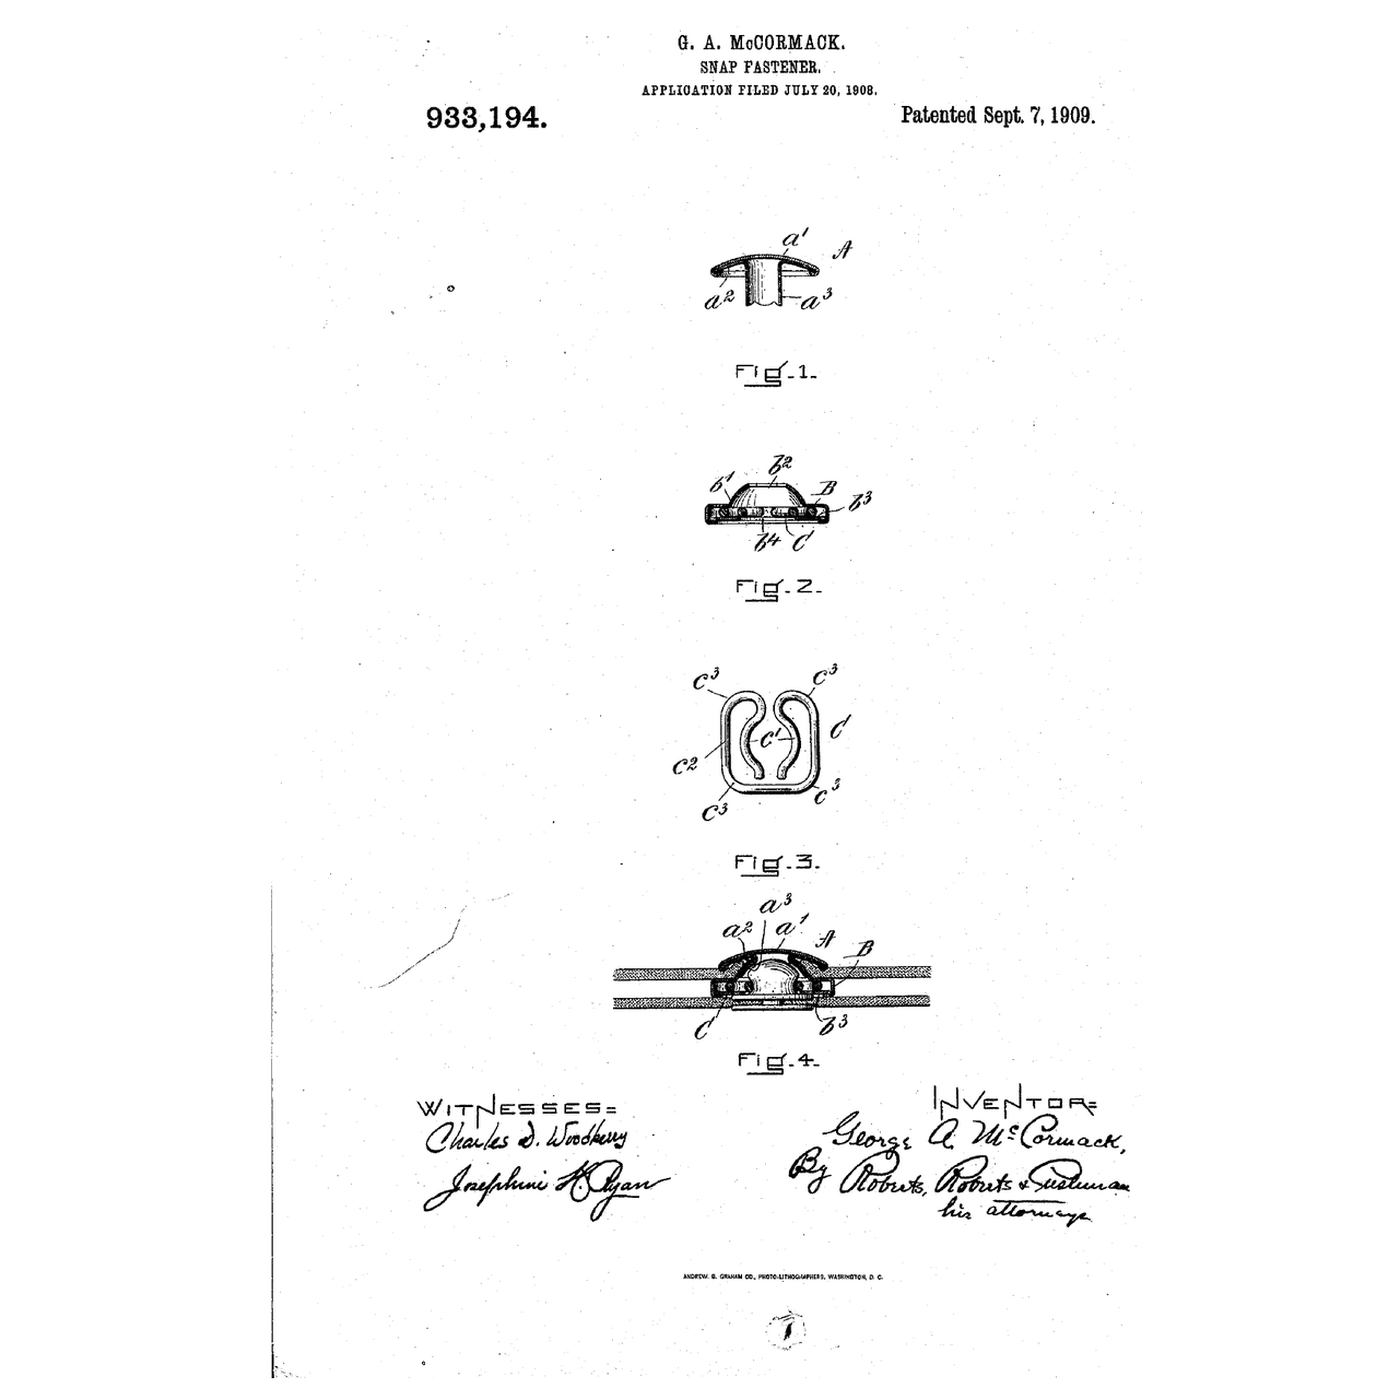
Cut one lens from clear, flexible plastic such as cellulose acetate, shaped to match the rim, and pre-curve it to the shape it takes in the frame. Fit male snap fasteners (the 'Dot' type) to its edge strip above and below the nose part, and matching female ones in the rim flange. Not given: the thickness.

Матеріали для цього кроку:

Прозорий лист пластикуПрозорий лист пластику1 lens
Набір кнопок (посилених)Набір кнопок (посилених)1 2 pairs

Необхідні інструменти ({count})

НожиціНожиці
Невідомі розміриНевідомі розміри
3

Make the four vents

Mould each vent in two parts, of plastic or metal. The base is a short tube with a flange round its inner end; the cap is a cup that screws onto the tube (a press fit or solvent seal also serves), with a closed end and an outer flange. Through the cap's side, between the tube's end and the frame, make about three holes covering half the way round, and leave the other half solid. Not given: sizes.

Матеріали для цього кроку:

Невідомий матеріалНевідомий матеріал4 vent bases and caps

Необхідні інструменти ({count})

Невідомі розміриНевідомі розміри
4

Assemble and set the caps

Make four holes in the frame wall: two at the top, two at the sides. Push each vent tube through from inside so its flange seals on the inside of the wall, and screw the cap on so its flange seals on the outside. Seat the lens against the rim flange, guided by the shoulders, and press the snaps home. Thread a head strap through the two loops. Before work, turn each cap so its solid side faces the expected splash, with one hole pointing down. Air then winds in under the cap and back down the tube; particles strike the walls and drop, and any liquid drains out of the lower hole. Not given: the strap material.

Матеріали для цього кроку:

Невідомий матеріалНевідомий матеріал1 head strap

Необхідні інструменти ({count})

ДіркопробивачДіркопробивач

Матеріали

4

Необхідні інструменти

3

За цим кресленням виготовляють

Пов'язані креслення

Ці креслення діляться знаннями — техніки, матеріали або принципи
CC0 Суспільне надбання

Це креслення випущено під ліцензією CC0. Ви можете вільно копіювати, змінювати, поширювати та використовувати цю роботу для будь-яких цілей без запиту дозволу.

Підтримайте мейкера, купуючи продукти через його креслення, де він отримує Комісію мейкера встановлену вендорами, або створіть нову ітерацію цього креслення та включіть його як зв'язок у власне креслення для розподілу доходу.

Обговорення

(0)

Увійти щоб приєднатися до обговорення

Завантаження коментарів...