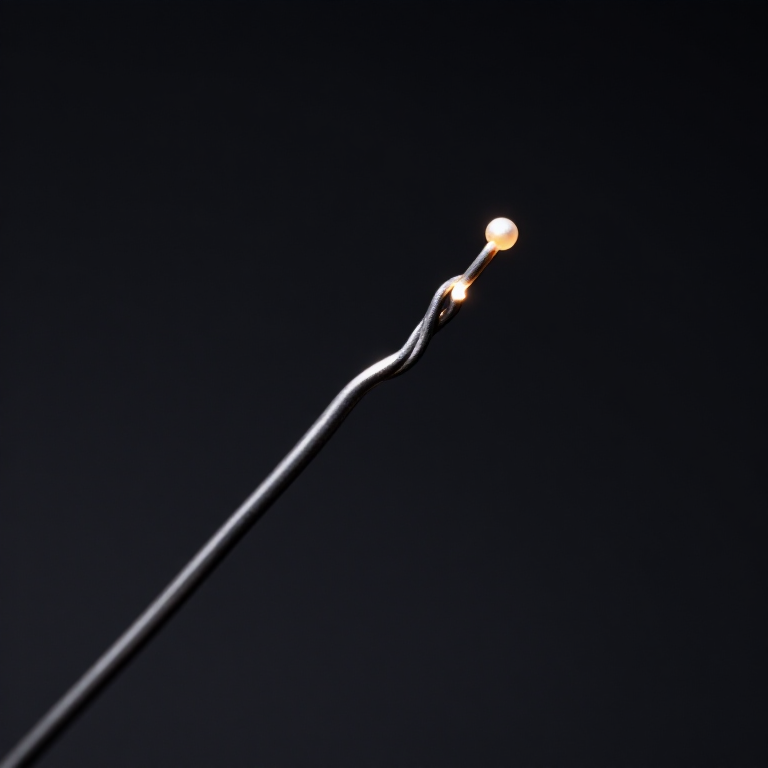


Seebeck Thermocouple
Інструкції
Make a junction from two dissimilar metals
Make a junction from two dissimilar metals
Any two different metals will work; some work much better than others.
- Take a length of copper wire and a length of a different metal — iron, constantan or nichrome.
- Twist their ends together tightly, then solder or braze the twist into a solid bead.
- Make a second identical junction at the other ends.
- Connect a sensitive multimeter across the loop, set to millivolts.
- With both junctions at room temperature, confirm the reading is essentially zero.
Zero at equal temperatures is the whole point. The instrument responds to the DIFFERENCE between its two junctions, not to temperature in any absolute sense. Two junctions at the same temperature, whatever that temperature is, produce no net voltage — a fact that becomes the central problem in step 3.
Make the hot junction bead small. A large blob has more thermal mass, responds slowly, and averages the temperature over whatever it touches — the opposite of the point-measurement ability that makes thermocouples useful.Матеріали для цього кроку:
 Мідний дріт1 рулон
 Мідний дріт в емалевій ізоляції1 рулон
Необхідні інструменти ({count})
 Цифровий мультиметр лабораторного класу
 Набір напилків
 Слюсарні лещата
 Цифровий штангенциркуль 6 дюймів
Heat one junction and watch a voltage appear
Heat one junction and watch a voltage appear
No battery anywhere in the circuit, and yet current flows.
- Hold one junction in a flame or in boiling water while the other stays at room temperature.
- Watch the millivolt reading rise.
- Record the voltage at several known temperatures — ice water, room air, boiling water.
- Plot voltage against the temperature difference.
- Now swap which junction is heated and note the sign reverses.
Матеріали для цього кроку:
 Міліметровий папір1 pad
Необхідні інструменти ({count})
Цифровий мультиметр лабораторного класу Кулінарний термометр
 Секундомір
Confront the cold junction problem
Confront the cold junction problem
The instrument gives you a difference. Turning that into a temperature needs one more piece of information.
- With the hot junction in boiling water, record the voltage while the cold junction sits at room temperature.
- Now put the cold junction in melting ice and record again with the hot junction unchanged.
- The readings differ, though nothing happened to the hot junction.
- Note that only the ice-bath reading corresponds to a known reference.
This is why laboratory thermocouples used an ice bath for a century. Melting ice is a fixed point at 0 °C, reproducible anywhere, so holding the cold junction there makes the measured voltage correspond to the hot junction's absolute temperature. Every modern instrument does the same job electronically — a separate sensor measures the terminal block's temperature and the reading is corrected. It is called cold junction compensation and it is the single commonest source of thermocouple error.
If your readings drift when the room warms up, the cold junction is what is moving, not the process. That diagnosis saves a great deal of confusion.Необхідні інструменти ({count})
Цифровий мультиметр лабораторного класуКулінарний термометрСекундомірCompare metal pairs and response speed
Compare metal pairs and response speed
The choice of metals is the specification, and speed is where thermocouples beat everything.
- Make junctions from three different metal pairs and measure each at the same temperature difference.
- Tabulate millivolts per degree for each pair.
- Now plunge a fine thermocouple junction into hot water and time how long the reading takes to stabilise.
- Do the same with a glass thermometer and compare.
Матеріали для цього кроку:
Мідний дріт1 рулонНеобхідні інструменти ({count})
Цифровий мультиметр лабораторного класуСекундомірКулінарний термометрA sensor that generates its own signal, and history
A sensor that generates its own signal, and history
Thomas Johann Seebeck reported the effect in 1821, observing that a compass needle deflected near a circuit of two joined metals with one junction heated. He interpreted it as thermomagnetism and resisted the electrical explanation; Hans Christian Ørsted and others established that the deflection was caused by a current, driven by a voltage the junction was generating.
What separates it from everything before it in this batch. The Wedgwood pyrometer records an effect to be read later; the Watt indicator draws a graph mechanically. The thermocouple produces an ELECTRICAL signal, instantly, that can be carried down a wire to somewhere else entirely. That is the beginning of remote measurement — the instrument at the process, the reading in the control room — and it is the foundation of industrial process control.
Its complementary effect is worth knowing. Drive current through the same junction and it heats or cools depending on direction — the Peltier effect, discovered thirteen years later. Same physics, run backwards: Seebeck turns a temperature difference into electricity, Peltier turns electricity into a temperature difference. Peltier modules cool electronics today, and thermoelectric generators on spacecraft use the Seebeck direction to make power from radioisotope heat.
Its honest limits: a tiny output that needs careful amplification and clean connections; the cold junction problem; accuracy of a degree or two rather than a fraction; and drift as the junction metals age or contaminate at high temperature. For precision at moderate temperatures the resistance thermometer — next in this chain — is better, and knowing which to choose is a real engineering decision.
Матеріали
4- 1 рулонЗаповнювач
- Заповнювач
- 1 padЗаповнювач
- 1 рулонЗаповнювач
За цим кресленням виготовляють

Пов'язані креслення
Ці креслення діляться знаннями — техніки, матеріали або принципи

CC0 Суспільне надбання
Це креслення випущено під ліцензією CC0. Ви можете вільно копіювати, змінювати, поширювати та використовувати цю роботу для будь-яких цілей без запиту дозволу.
Підтримайте мейкера, купуючи продукти через його креслення, де він отримує Комісію мейкера встановлену вендорами, або створіть нову ітерацію цього креслення та включіть його як зв'язок у власне креслення для розподілу доходу.