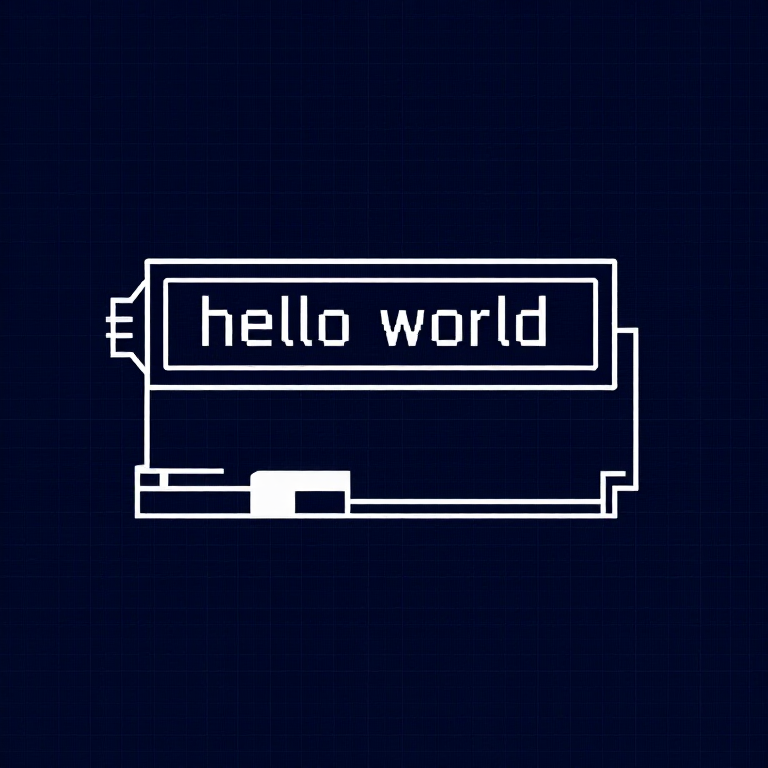
Using an LCD — SIK Circuit 15
Інструкції
Parts & Introduction
Parts & Introduction
A 16x2 character LCD can display 2 rows of 16 characters each. Using Arduino's LiquidCrystal library, you can display text, numbers, and custom characters. This is the HD44780 standard used by most character LCDs.
Parts Needed
- 1x Arduino Uno + USB cable
- 1x Breadboard
- 1x 16x2 Character LCD
- 1x Potentiometer (for contrast adjustment)
- 16x Jumper Wires
Матеріали для цього кроку:
 SparkFun Inventors Kit - V3.21 набір
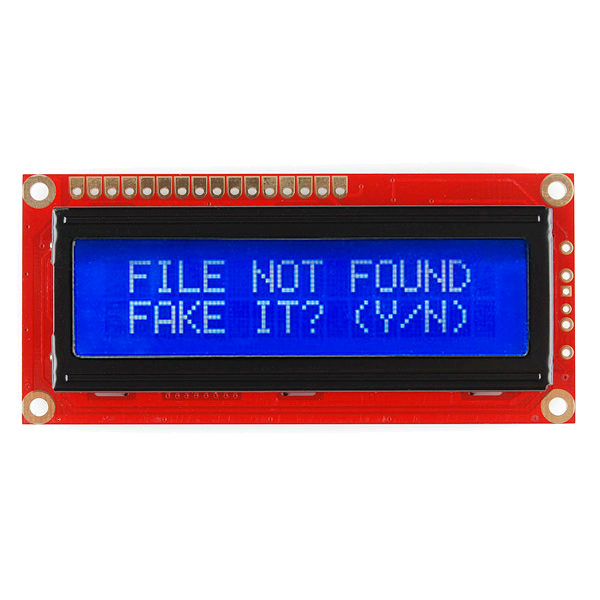 16x2 Character LCD1 штука
 Jumper Wires16 штук
Необхідні інструменти ({count})
Hardware Hookup
Hardware Hookup
Wiring Instructions
The LCD has 16 pins. Pin 1 is closest to the corner of the board.
| LCD Pin | Connection |
|---|---|
| 1 | GND |
| 2 | 5V |
| 3 | Potentiometer wiper (contrast) |
| 4 | Arduino Pin 12 (RS) |
| 5 | GND (R/W) |
| 6 | Arduino Pin 11 (Enable) |
| 7-10 | Not connected |
| 11 | Arduino Pin 5 (D4) |
| 12 | Arduino Pin 4 (D5) |
| 13 | Arduino Pin 3 (D6) |
| 14 | Arduino Pin 2 (D7) |
| 15 | 5V (backlight +) |
| 16 | GND (backlight -) |
Connect the potentiometer: one side to 5V, other to GND, center pin to LCD pin 3 for contrast adjustment.
Матеріали для цього кроку:
16x2 Character LCD1 штукаJumper Wires16 штукArduino Code
Arduino Code
Open the Arduino IDE and upload the following sketch to your Arduino board.
Матеріали для цього кроку:
Необхідні інструменти ({count})
Test & Experiment
Test & Experiment
What You Should See
"hello, world!" appears on the first line of the LCD. The second line shows a running counter of seconds since power-on. You may need to twist the potentiometer to adjust contrast until text is visible.
Troubleshooting
- Screen blank or solid blocks: Adjust the potentiometer until you see text. The contrast range is narrow.
- Nothing at all: Verify the LiquidCrystal library is included and all 16 wires are connected correctly.
- Flickering: Check breadboard connections — loose wires cause display glitches.
Experiments to Try
- Display the temperature sensor reading (from Circuit 7) on the LCD instead of the Serial Monitor.
- Use
lcd.setCursor(col, row)to place text at specific positions. - Create custom characters with
lcd.createChar()for icons and symbols. - Display messages from serial input — type on your computer, see it on the LCD.
Матеріали
6- $105.00
- $14.00
CC0 Суспільне надбання
Це креслення випущено під ліцензією CC0. Ви можете вільно копіювати, змінювати, поширювати та використовувати цю роботу для будь-яких цілей без запиту дозволу.
Підтримайте мейкера, купуючи продукти через його креслення, де він отримує Комісію мейкера встановлену вендорами, або створіть нову ітерацію цього креслення та включіть його як зв'язок у власне креслення для розподілу доходу.