Співпраця
МИСТЕЦТВО
КРАСА ТА ЗДОРОВ'Я
РЕМЕСЛО
КУЛЬТУРА ТА ІСТОРІЯ
РОЗВАГИ
СЕРЕДОВИЩЕ
ЇЖА ТА НАПІЇ
ЗБОРНА ІНЖЕНЕРІЯ
НАУК
СПОРТ
ТЕХНОЛОГІЯ
НОСИМО
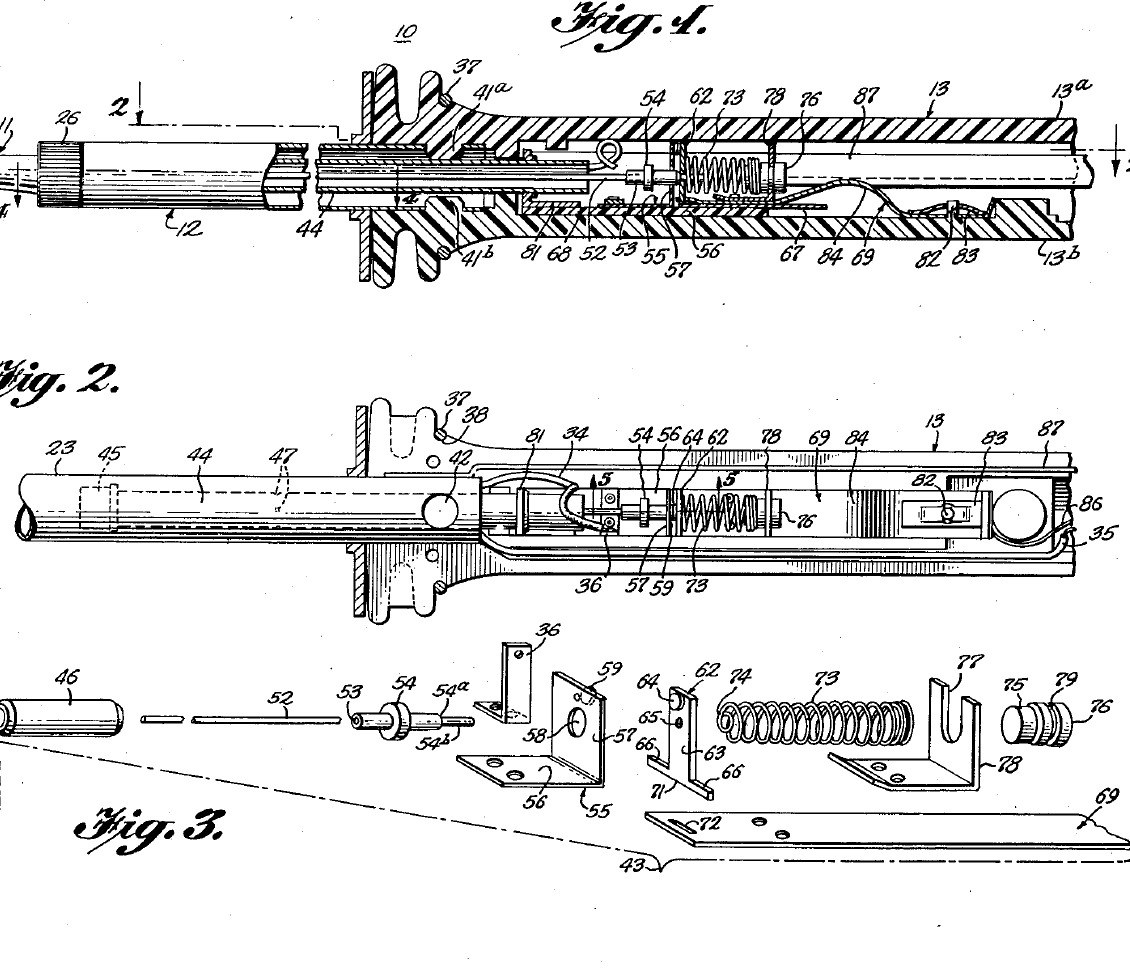


Soldering Iron: Temperature Controlled by a Curie-Point Tip and a Magnet Switch (Weller, US 3,188,448, 1965)
A soldering iron that holds its own tip temperature. At the back of the copper tip sits a slug of nickel-iron alloy that stops being magnetic above a set temperature (its Curie point). A small Alnico magnet behind it is pulled forward while the slug is cool, closing a switch that feeds the heater; once the tip is hot the slug lets go, a steel bushing pulls the magnet back and the switch opens. Swap tips to choose 600, 700 or 800 °F.
Result: a 55-watt temperature-controlled iron idling near 700 °F instead of running ever hotter.
Source: C. E. Weller, US 3,188,448 (1965). Unknown: the plating baths, the heater wire and insulation, most sizes. Picture: the patent drawing.
Просунутий
Unknown
Інструкції
1
1
Make the tip and control slug
Make the tip and control slug
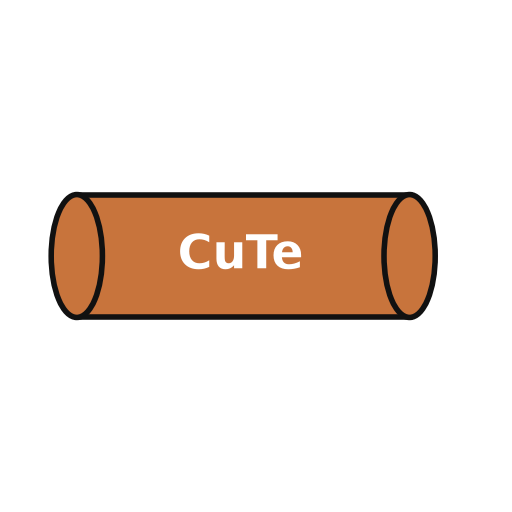
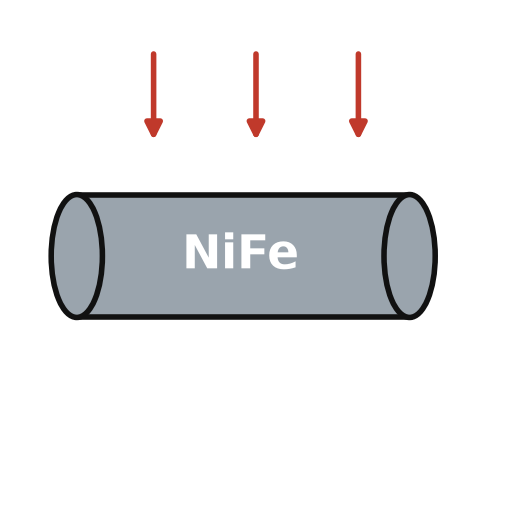
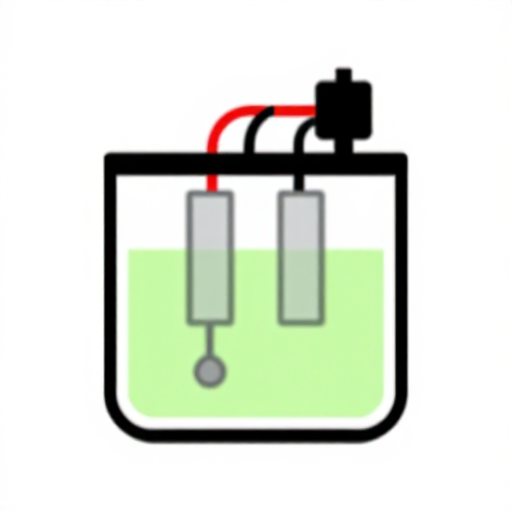
Turn the tip from tellurium copper: a cylindrical body, a taper and a chisel end (any shape suits the work). Plate it first with iron, which keeps the copper out of the molten solder, then with nickel, which shuts out the air. Bore its rear end and fit tightly into it the shank of a slug of thermomagnetic nickel-iron alloy, such as 48 % nickel, 3 % molybdenum and the rest iron, or about 43 % nickel and the rest iron. The alloy sets the control point: make tips for 600, 700 and 800 °F. Not given: the plating baths, sizes.
Матеріали для цього кроку:
 Пруток телуристої міді1 tip
 Термомагнітний залізонікелевий сплав1 control slug
Необхідні інструменти ({count})
 Токарний верстат по металу
 Набір для гальваніки
 Невідомі розміри
2
2
Wind the heater barrel
Wind the heater barrel
Make the barrel of two stainless steel tubes: an inner spool the tip slides into snugly, and an outer cover tube joined to it at the front, with a thread and screw cap to hold the tip. In the space between them wind the heater from one length of resistance wire: an inner layer, then an outer layer wound the opposite way so their fields cancel, with insulating sheet inside, between and outside the layers. Silver-solder heat-resistant leads to its ends. Ours: nichrome wire. Not given: the insulating sheet, the turns.
Матеріали для цього кроку:
 Труба з нержавкої сталі2 spool and cover tube
 Ніхромовий дріт1 heater
 Невідомий ізоляційний матеріал1 three sheet layers
 Невідомий метал1 leads
 Срібний припій1 as needed
Необхідні інструменти ({count})
 Пропановий пальникТокарний верстат по металу
3
3
Build the magnet switch
Build the magnet switch
In a stainless steel sleeve about 2.4 in long, close the front with a non-magnetic thermal bushing. Behind it slides a cylindrical Alnico V magnet, then a non-magnetic spacer about 0.032 in thick, then a cold-drawn steel bushing about 0.50 in long held by dents in the sleeve; the magnet's stroke is about 0.015 in. A push rod runs from the magnet through the bushing to an insulator. On a melamine plate, hinge a moving contact between a thin conducting strip and a holding strip, facing a flexible contact; a spring of fourteen coils of 0.010 in music wire, 0.210 in across, presses the moving contact toward the flexible one. Rivet the spring bracket to the holding strip. Not given: the contact metals.
Матеріали для цього кроку:
Труба з нержавкої сталі1 sleeve Магніт альніко1 штука
 Круглий пруток із маловуглецевої сталі1 magnetic bushing, push rodНевідомий метал1 thermal bushing, spacer, contacts, strips, brackets
 Невідомий матеріал1 insulator
 Меламінова пластина1 base plate
 Пружинний сталевий дріт1 0.010 in music wire spring
Необхідні інструменти ({count})
Токарний верстат по металу Клепальний набір
 Круглогубці
4
4
Assemble the handle and use
Assemble the handle and use
Mould the handle in two plastic halves with a socket at the front whose bosses lock the cover tube. Lay in the switch unit, held only by the bowed tail of its holding strip on an anchor pin with a speed nut, so it floats and its thermal bushing presses on the tip's slug. Wire the heater, the switch and a ground lead from the cover tube to the cord. Rivet the halves near the butt and fit a split ring near the front. In use, below the control point the slug pulls the magnet forward and the spring closes the contacts; above it the steel bushing pulls the magnet back and the push rod opens them. At idle the heater runs only about 30 to 40 % of the time. Not given: the plastic.
Матеріали для цього кроку:
Невідомий матеріал1 handle halvesНевідомий метал1 rivet, split ring, speed nut Гнучкий шнур із вилкою1 штука
Необхідні інструменти ({count})
 Ливарна машинаКлепальний набір
Матеріали
13- Заповнювач
- 1 control slugЗаповнювач
- 1 sleeveЗаповнювач
- 1 heaterЗаповнювач
- 1 three sheet layersЗаповнювач
- 1 rivet, split ring, speed nutЗаповнювач
- 1 as neededЗаповнювач
- 1 штукаЗаповнювач
- 1 magnetic bushing, push rodЗаповнювач
- 1 handle halvesЗаповнювач
- 1 base plateЗаповнювач
- 1 0.010 in music wire springЗаповнювач
- 1 штукаЗаповнювач
Необхідні інструменти
7- Заповнювач
- Заповнювач
- Заповнювач
- Заповнювач
- Заповнювач
- Заповнювач
- Заповнювач
Матеріали з пов'язаних креслень

За цим кресленням виготовляють

CC0 Суспільне надбання
Це креслення випущено під ліцензією CC0. Ви можете вільно копіювати, змінювати, поширювати та використовувати цю роботу для будь-яких цілей без запиту дозволу.
Підтримайте мейкера, купуючи продукти через його креслення, де він отримує Комісію мейкера встановлену вендорами, або створіть нову ітерацію цього креслення та включіть його як зв'язок у власне креслення для розподілу доходу.