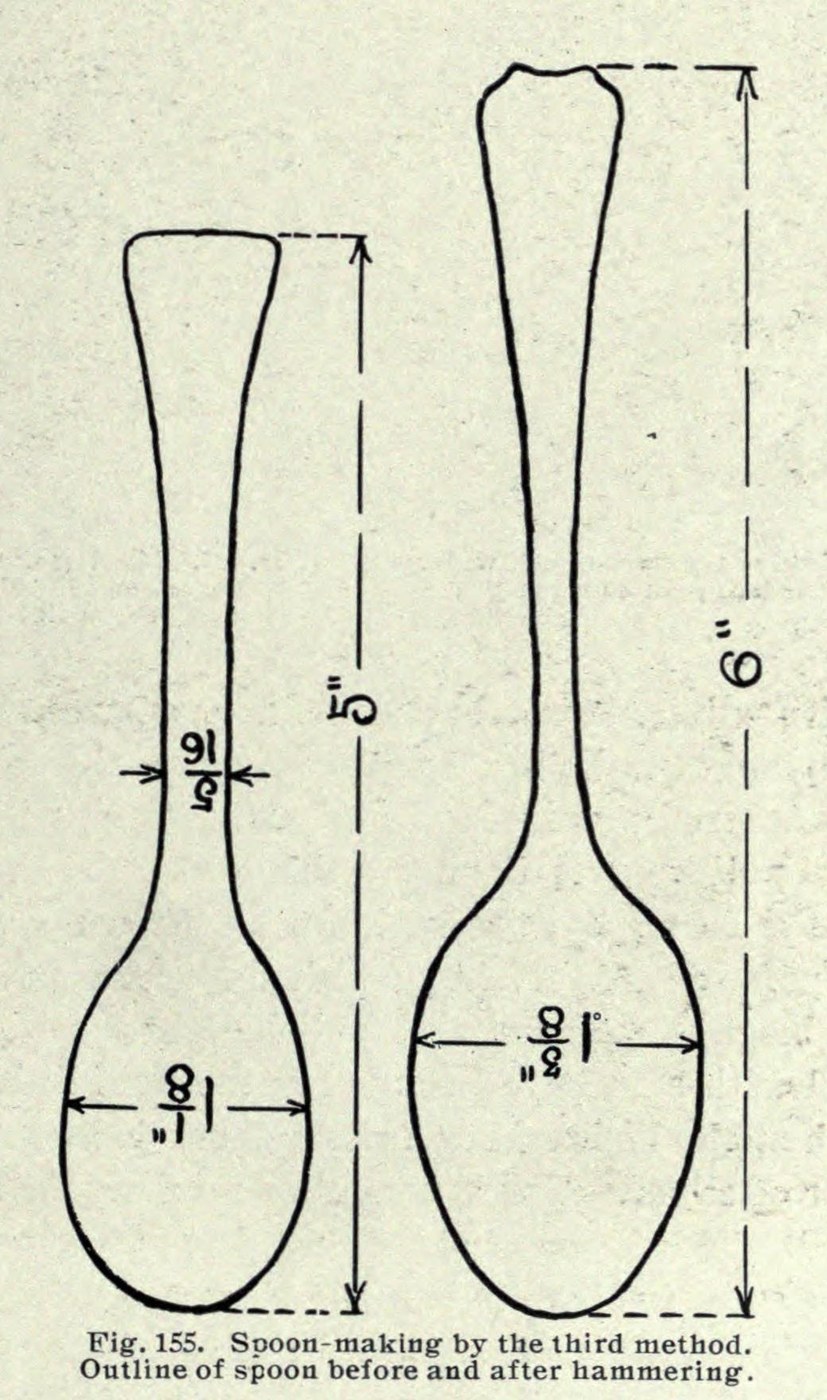


Teaspoon Sawn Short from Silver Sheet, Then Hammered Out (Payne 1914)
Інструкції
Saw out the short blank
Saw out the short blank
Матеріали для цього кроку:
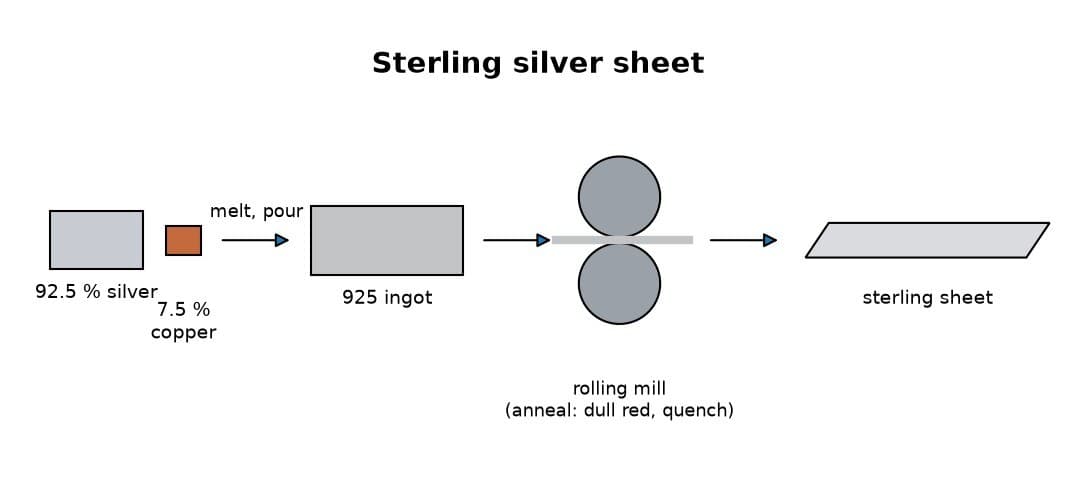
 Лист зі стерлінгового срібла1 piece 15 gauge, enough for the 5 in blank
Необхідні інструменти ({count})
 Рисувалка
 Ювелірний лобзик
Stretch the bowl wider
Stretch the bowl wider
Необхідні інструменти ({count})
 Ковадло
 Слюсарний молоток із кульковим бойком
Narrow the shank with the neck hammer
Narrow the shank with the neck hammer
Необхідні інструменти ({count})
 Кілок
 Шийковий молотокСлюсарний молоток із кульковим бойком
Anneal and repeat
Anneal and repeat
Матеріали для цього кроку:
 Вода1 as required
Необхідні інструменти ({count})
 Пальник Бунзена
 Щипці
 Скляна посудина
File and planish
File and planish
Необхідні інструменти ({count})
 Напилки (ручний напилок)
 Рихтувальний молотокКілок
Polish out the file marks
Polish out the file marks
Необхідні інструменти ({count})
 Шкурка на тканинній основі (шмергельне полотно)
Anneal to even the fire scale
Anneal to even the fire scale
Матеріали для цього кроку:
Вода1 as requiredНеобхідні інструменти ({count})
Пальник БунзенаЩипціСкляна посудинаPlanish with smooth hammers
Planish with smooth hammers
Необхідні інструменти ({count})
Рихтувальний молотокКовадлоКілокFinal polish with rouge
Final polish with rouge
Необхідні інструменти ({count})
 Серветка для полірування прикрас
 Крокус ювелірний
Матеріали
2- 1 piece 15 gauge, enough for the 5 in blankЗаповнювач
- 2 as requiredЗаповнювач
Необхідні інструменти
14- Заповнювач
- Заповнювач
- Заповнювач
- Заповнювач
- Заповнювач
- Заповнювач
- Заповнювач
- Заповнювач
- Заповнювач
- Заповнювач
- Заповнювач
- Заповнювач
- Заповнювач
За цим кресленням виготовляють

Пов'язані креслення
Ці креслення діляться знаннями — техніки, матеріали або принципи
CC0 Суспільне надбання
Це креслення випущено під ліцензією CC0. Ви можете вільно копіювати, змінювати, поширювати та використовувати цю роботу для будь-яких цілей без запиту дозволу.
Підтримайте мейкера, купуючи продукти через його креслення, де він отримує Комісію мейкера встановлену вендорами, або створіть нову ітерацію цього креслення та включіть його як зв'язок у власне креслення для розподілу доходу.