

The Capped Fountain Horse Brush: Water Out Only Through the Bristles
Інструкції
Water per grooming
Water per grooming
A horse brush before it
A horse brush before it
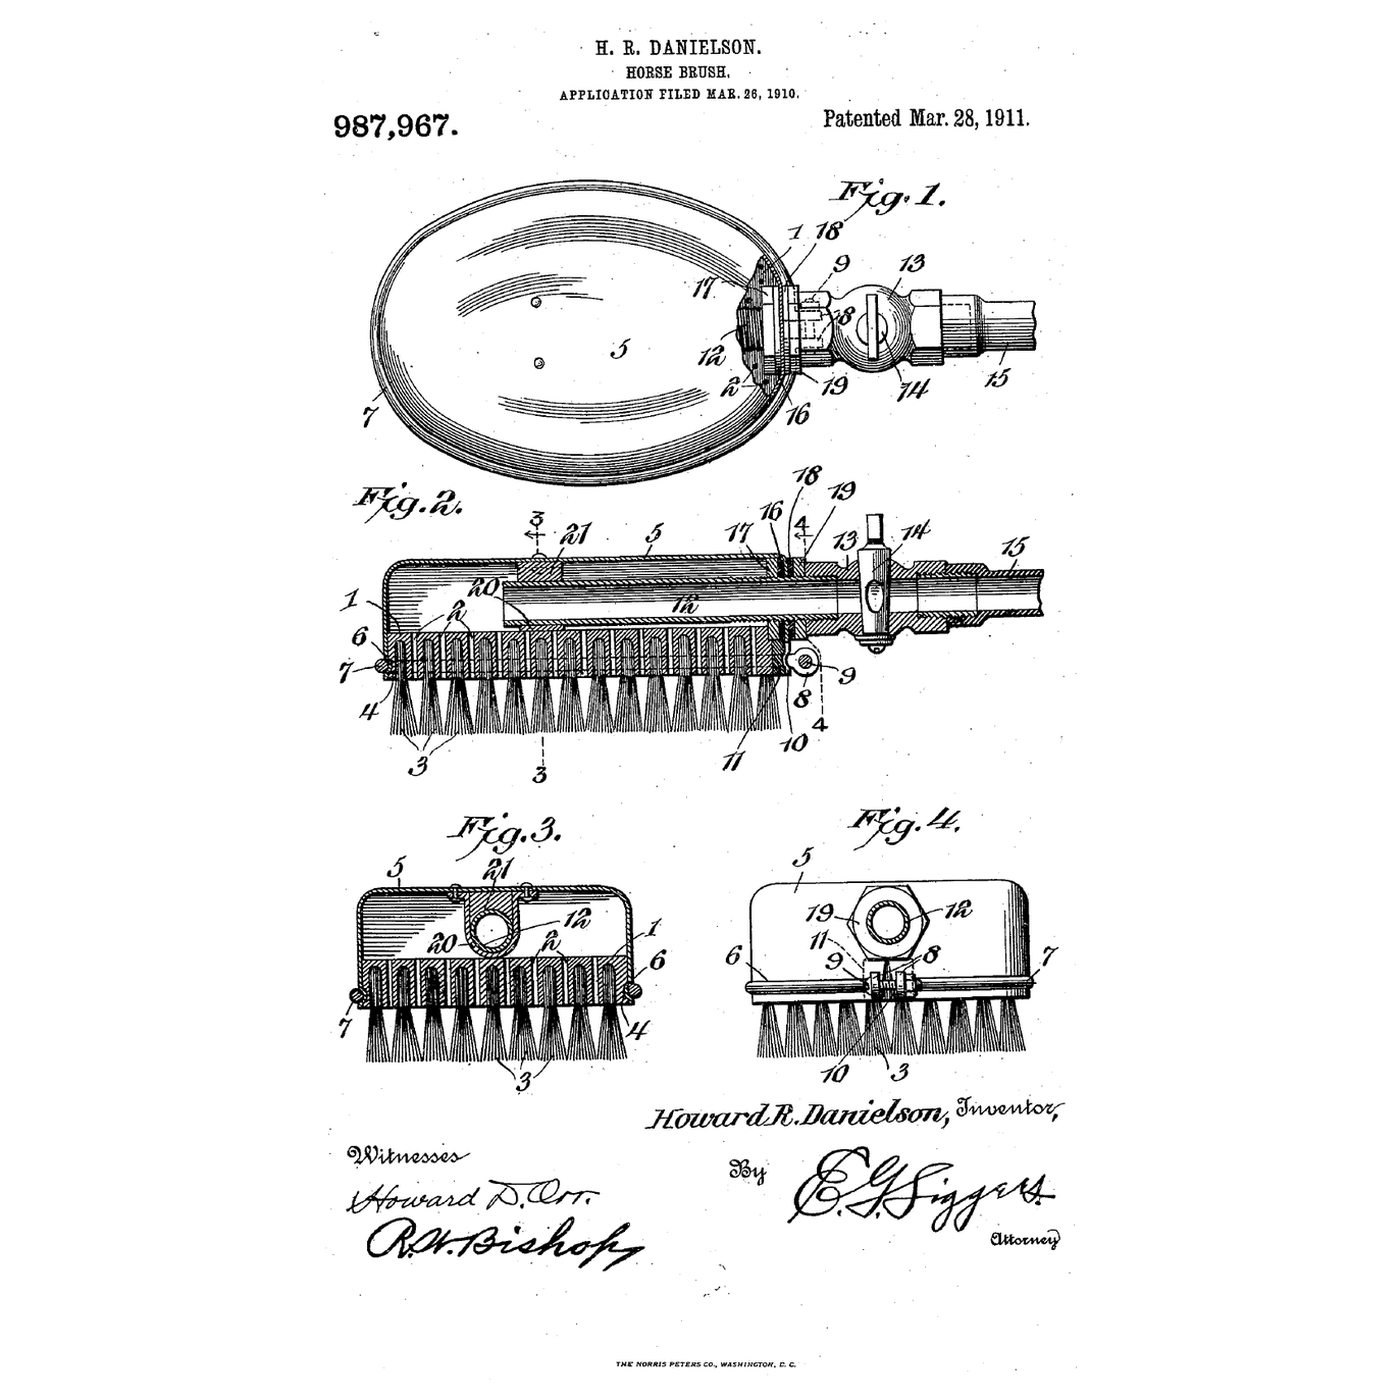
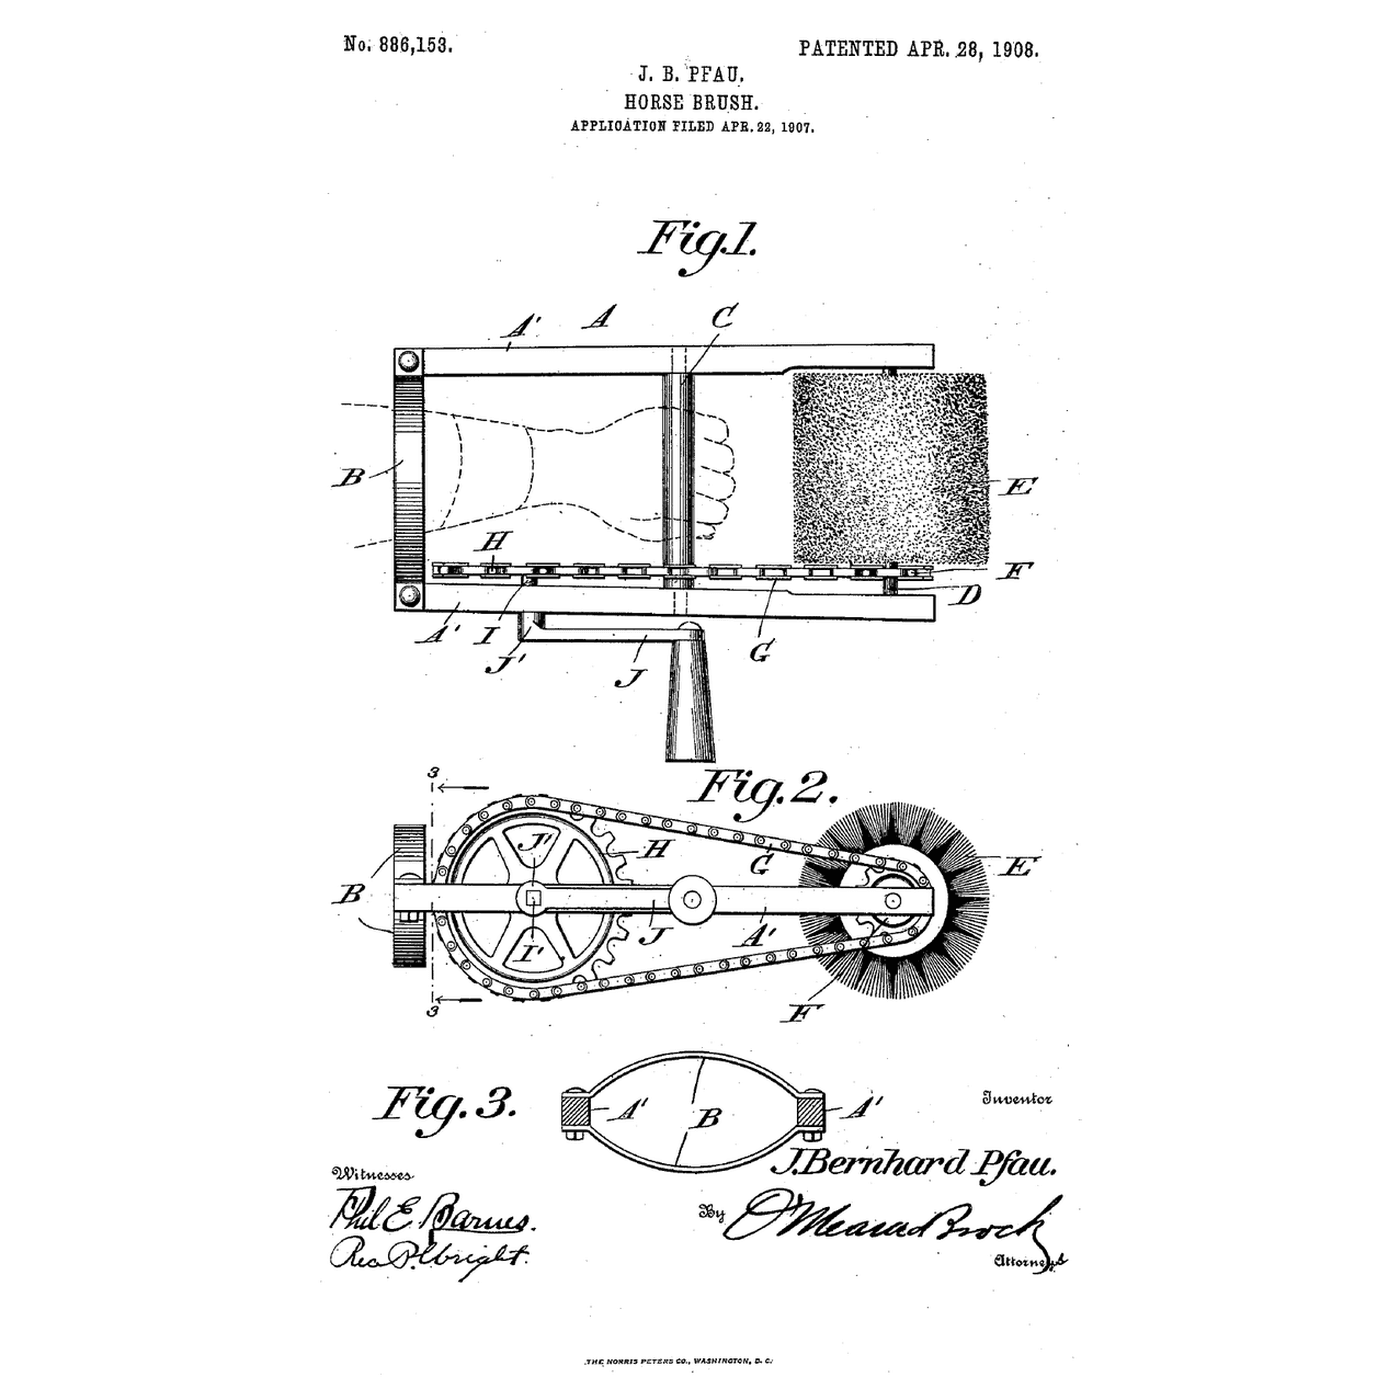
Read US 987,967
Read US 987,967
Perforate the back
Perforate the back
Матеріали для цього кроку:
 Жорстка щітка1 штука
Необхідні інструменти ({count})
 Слюсарні лещата
 Акумуляторний дриль
 Набір свердел
 Перманентний маркер
 Прозорі захисні окуляри
Groove the edge
Groove the edge
Необхідні інструменти ({count})
 Ручний фрезер
 Набір фрезПрозорі захисні окуляри
Shape the cap
Shape the cap
Матеріали для цього кроку:
 Алюмінієвий лист1 штука
 Силіконовий герметик1 штука
Необхідні інструменти ({count})
 Ножиці по металу
 Плоскогубці
 Молоток
 Шкіряні робочі рукавиці
Wire it on
Wire it on
Матеріали для цього кроку:
 Гумовий лист1 штука
 Оцинкований сталевий дріт1 штука
 Машинні гвинти1 штука
 Шестигранна гайка1 штука
Необхідні інструменти ({count})
Плоскогубці Набір викруток
 Розвідний ключ
Plumb the cap
Plumb the cap
Матеріали для цього кроку:
 Латунні фітинги1 штука
 Плоска шайба1 штукаГумовий лист1 штука
 Кульовий кран1 штука
 Ущільнювальна стрічка ПТФЕ для різьби1 штука
Необхідні інструменти ({count})
Акумуляторний дрильНабір сверделРозвідний ключThe build in 3D
The build in 3D
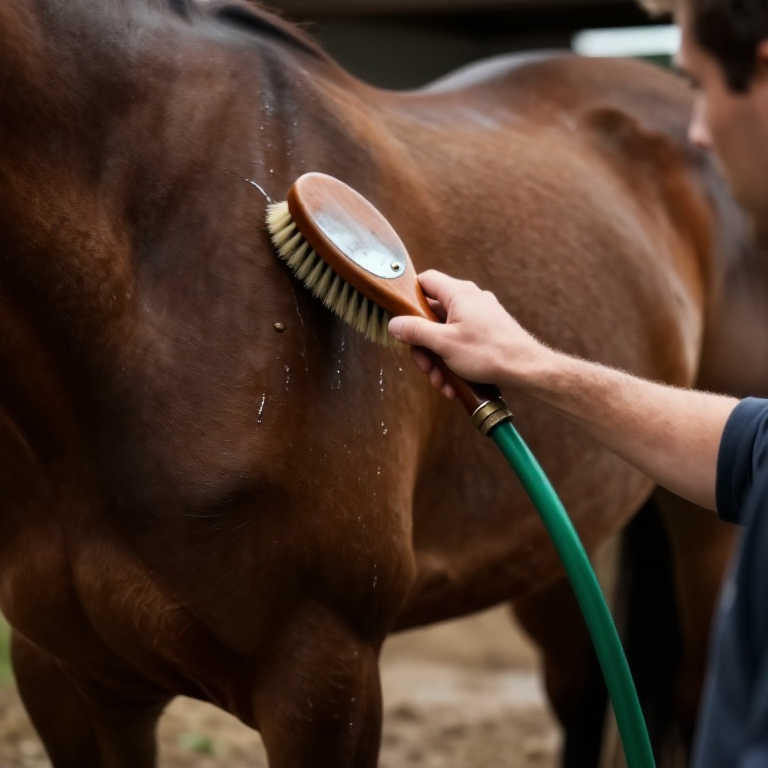
Test it
Test it
Матеріали для цього кроку:
 Садовий шланг1 штука
 Вода1 штука
Необхідні інструменти ({count})
 Мірний глечик
 Секундомір
A brush that leaks, floods or will not come apart
A brush that leaks, floods or will not come apart
Flow
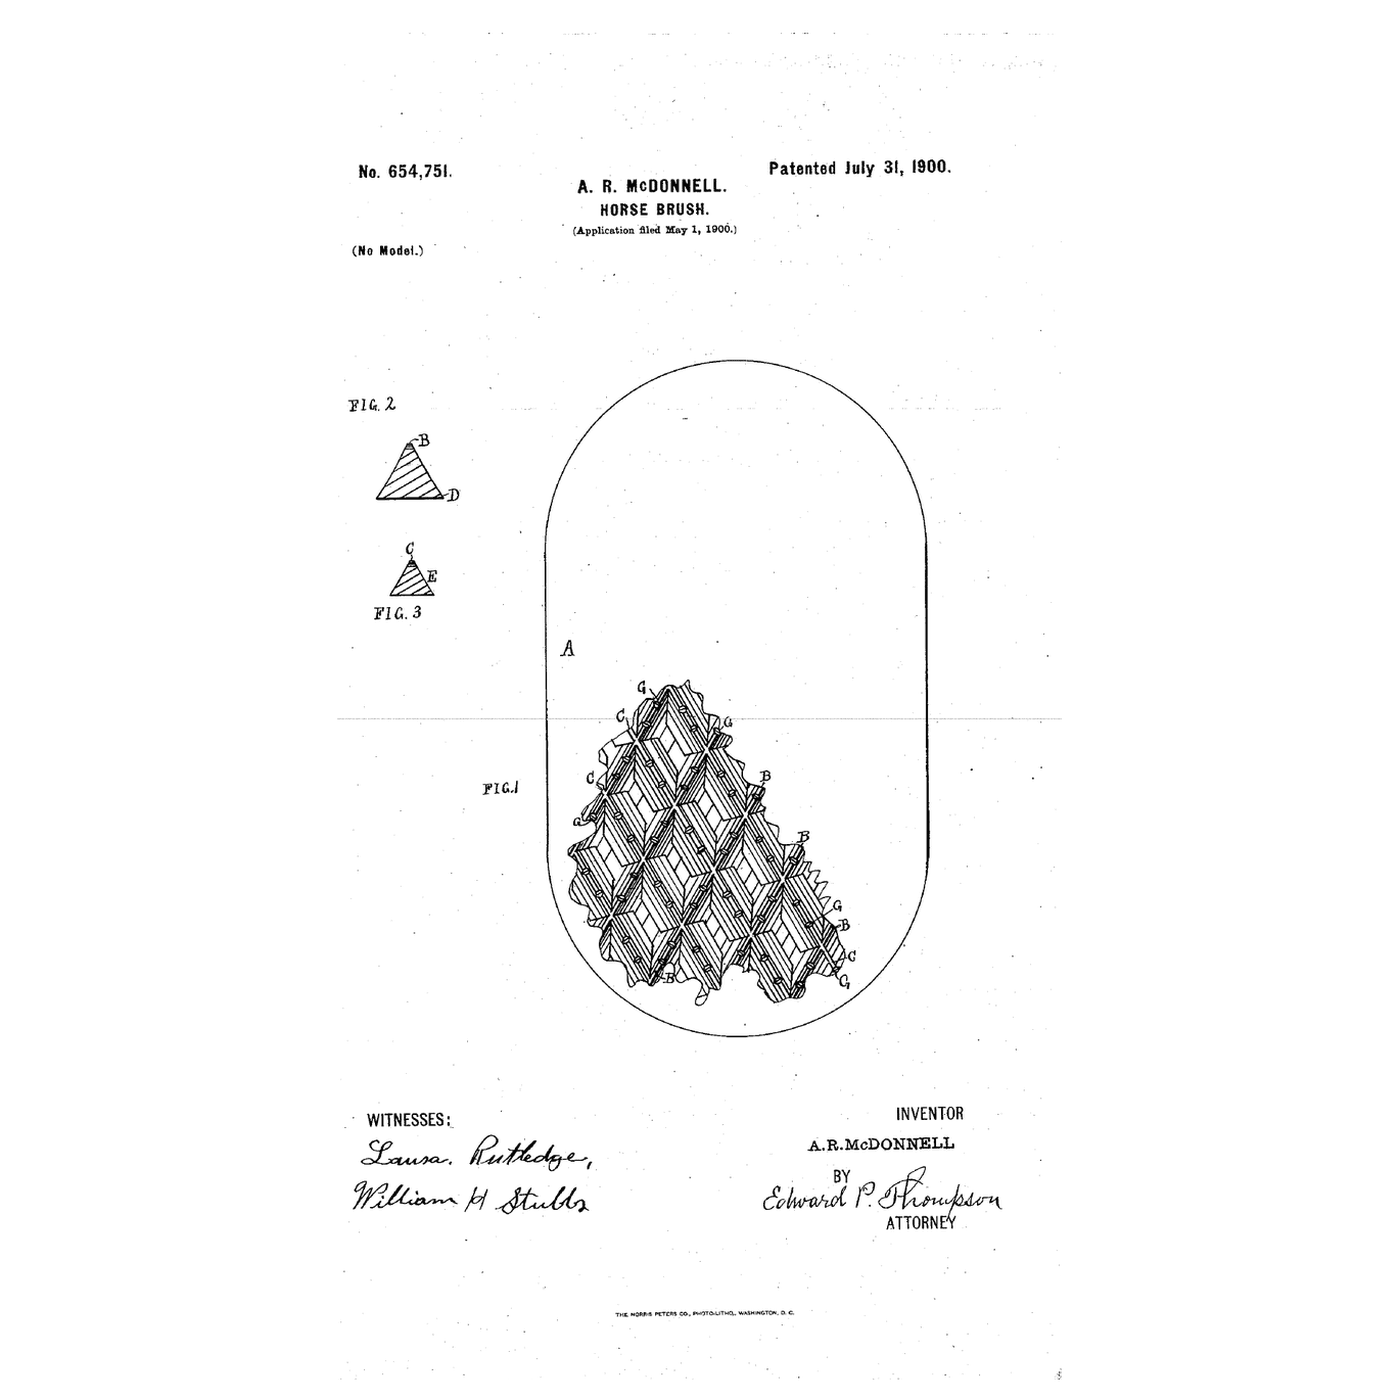
History and honest limits
History and honest limits
Матеріали
13- 1 штукаЗаповнювач
- 1 штукаЗаповнювач
- 1 штукаЗаповнювач
- 1 штукаЗаповнювач
- 1 штукаЗаповнювач
- 1 штукаЗаповнювач
- 1 штукаЗаповнювач
- 1 штукаЗаповнювач
- 1 штукаЗаповнювач
- 1 штукаЗаповнювач
- Заповнювач
- Садовий шланг10% комісія1 штукаЗаповнювач
- 1 штукаЗаповнювач
Необхідні інструменти
15- Заповнювач
- 1 vendor sell this, none ship to you yetЗаповнювач
- Заповнювач
- Заповнювач
- Заповнювач
- Заповнювач
- 1 vendor sell this, none ship to you yetЗаповнювач
- Заповнювач
- Заповнювач
- Заповнювач
- Заповнювач
- Заповнювач
- Заповнювач
- Заповнювач
- Заповнювач
Файли дизайну
1Пов'язані креслення
Ці креслення діляться знаннями — техніки, матеріали або принципи


CC0 Суспільне надбання
Це креслення випущено під ліцензією CC0. Ви можете вільно копіювати, змінювати, поширювати та використовувати цю роботу для будь-яких цілей без запиту дозволу.
Підтримайте мейкера, купуючи продукти через його креслення, де він отримує Комісію мейкера встановлену вендорами, або створіть нову ітерацію цього креслення та включіть його як зв'язок у власне креслення для розподілу доходу.