МИСТЕЦТВО
КРАСА ТА ЗДОРОВ'Я
РЕМЕСЛО
КУЛЬТУРА ТА ІСТОРІЯ
РОЗВАГИ
СЕРЕДОВИЩЕ
ЇЖА ТА НАПІЇ
ЗБОРНА ІНЖЕНЕРІЯ
НАУК
СПОРТ
ТЕХНОЛОГІЯ
НОСИМО
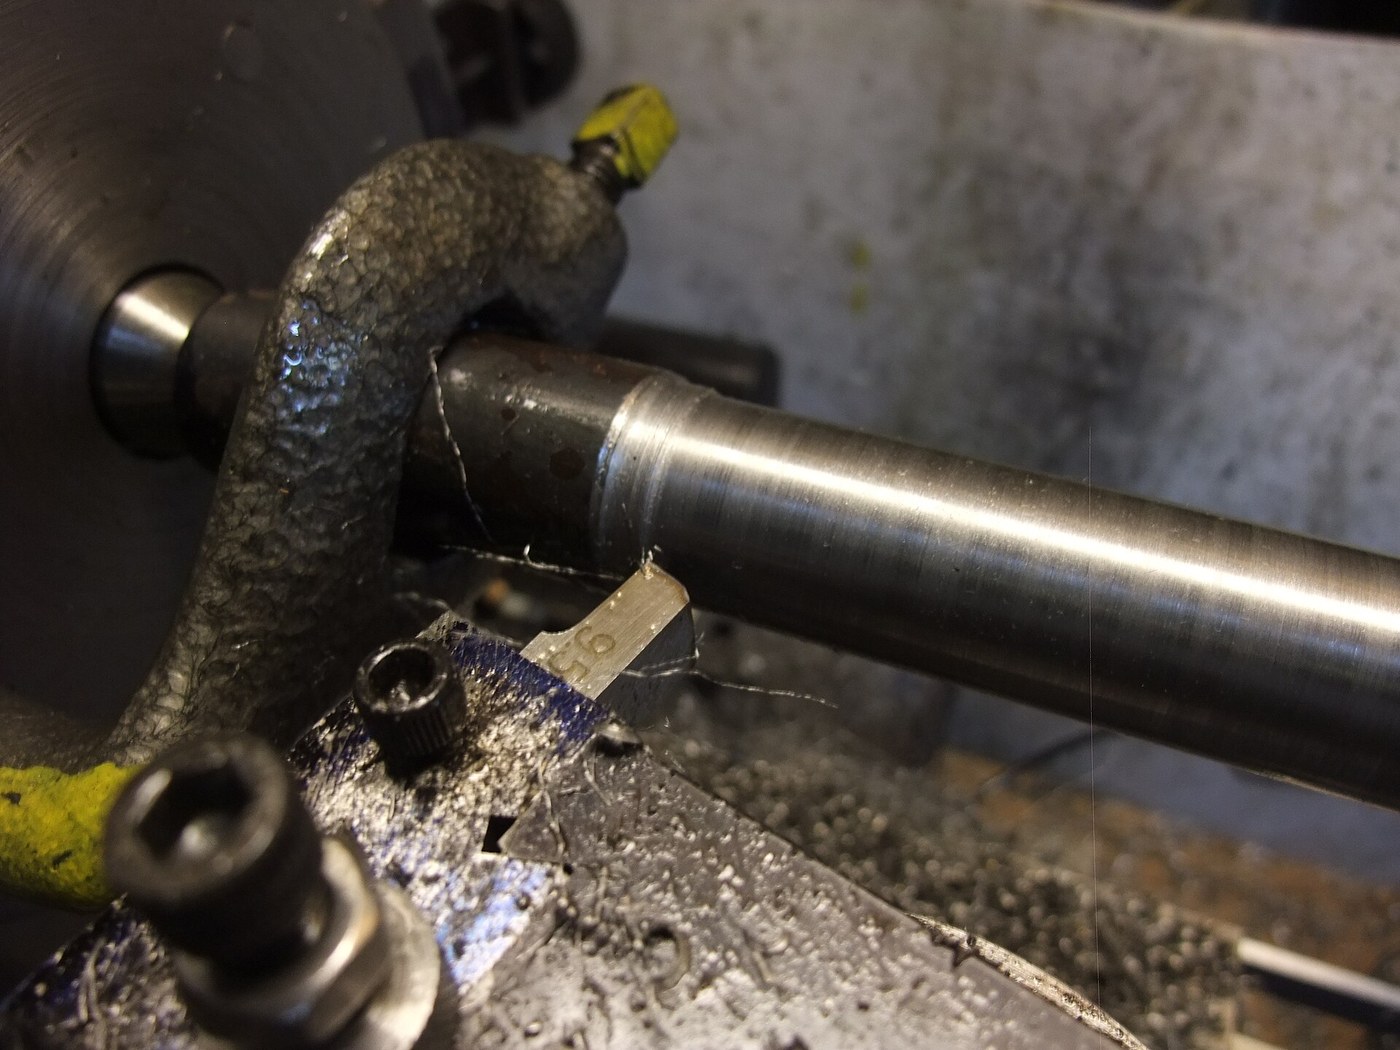


Turning Between Centres: The Setup You Can Take Out and Put Back
A chuck holds the work wherever the chuck happens to hold it. Two centre holes, drilled once into the ends of a shaft, hold it in the same place for ever — put it back next week, on a different lathe, and it runs on exactly the axis it did before.
That is the whole reason this setup survived the invention of better chucks. A long shaft with several diameters, a part that must be turned, heat treated and then finished, anything that has to come out and go back: all of it belongs between centres.
It is also the only sensible way to turn anything slender, because the tailstock supports the far end and removes the cantilever that makes a long bar taper under the tool.
Середній
4 hours
Інструкції
1
1
Face both ends and centre-drill them
Face both ends and centre-drill them
Face each end square, then drill a centre hole with a centre drill — the short stiff two-diameter drill that cuts a small pilot and a 60 degree countersink in one go.
The 60 degree cone is what the lathe centre sits in, and it must be cut, not punched. A centre-punched dimple is neither round nor at 60 degrees, and the work will run out and wear the mark oval as it turns.
Do not run the centre drill in too far. The small pilot tip is fragile, and if you bury it to the shoulder the countersink bottoms out and the centre bears on the wrong surface. Cut until the cone is a little larger than the centre's point and stop.
Матеріали для цього кроку:
 Круглий пруток з маловуглецевої сталі1 штука
Необхідні інструменти ({count})
 Токарний верстат по металу
 Набір центрувальних свердел
 Трикулачковий токарний патрон
 Мастильно-охолоджувальна олива
2
2
Live at the tailstock, and check the two centres agree
Live at the tailstock, and check the two centres agree
Put a live (rotating) centre in the tailstock where you can. A dead centre does not turn, so the work rubs on it and needs grease; a live centre carries bearings and turns with the work, which is why it tolerates speed and load without seizing or scoring.
Before trusting the setup, bring the tailstock centre up to the headstock centre and look at the two points end on. They should meet tip to tip. If the tailstock is offset, every shaft you turn will come out TAPERED — and it will be a beautiful, consistent, entirely wrong taper.
That offset is adjustable, and on many lathes it is deliberately offset at some point in the past to cut a taper and never put back.
Необхідні інструменти ({count})
Токарний верстат по металу Обертовий центр MT2
 Слюсарний кутник
3
3
Drive it with a lathe dog
Drive it with a lathe dog
The centres locate the work but cannot turn it — they are just cones in holes. A LATHE DOG clamps onto the work and its tail engages a slot in the faceplate, so the spindle drives the work while the centres decide where it sits.
Tighten the dog on a part of the shaft that will not be finished, or protect the surface with a shim, because the screw will mark it. Check the tail has clearance in its slot — if it binds against the end of the slot it pushes the work off its centres and you lose the very thing this setup is for.
Support the tailstock end with a little grease if the centre is dead, and re-check it after the work warms up: a shaft heated by cutting GROWS, tightens itself between the centres, and will squeal and score if nobody eases the tailstock.
Необхідні інструменти ({count})
 Токарний хомутик
 Планшайба токарного верстатаТокарний верстат по металу
4
4
What the support is actually worth
What the support is actually worth
Завантаження блокнота Jupyter…
Матеріали для цього кроку:
Круглий пруток з маловуглецевої сталі1 штукаНеобхідні інструменти ({count})
 Калькулятор
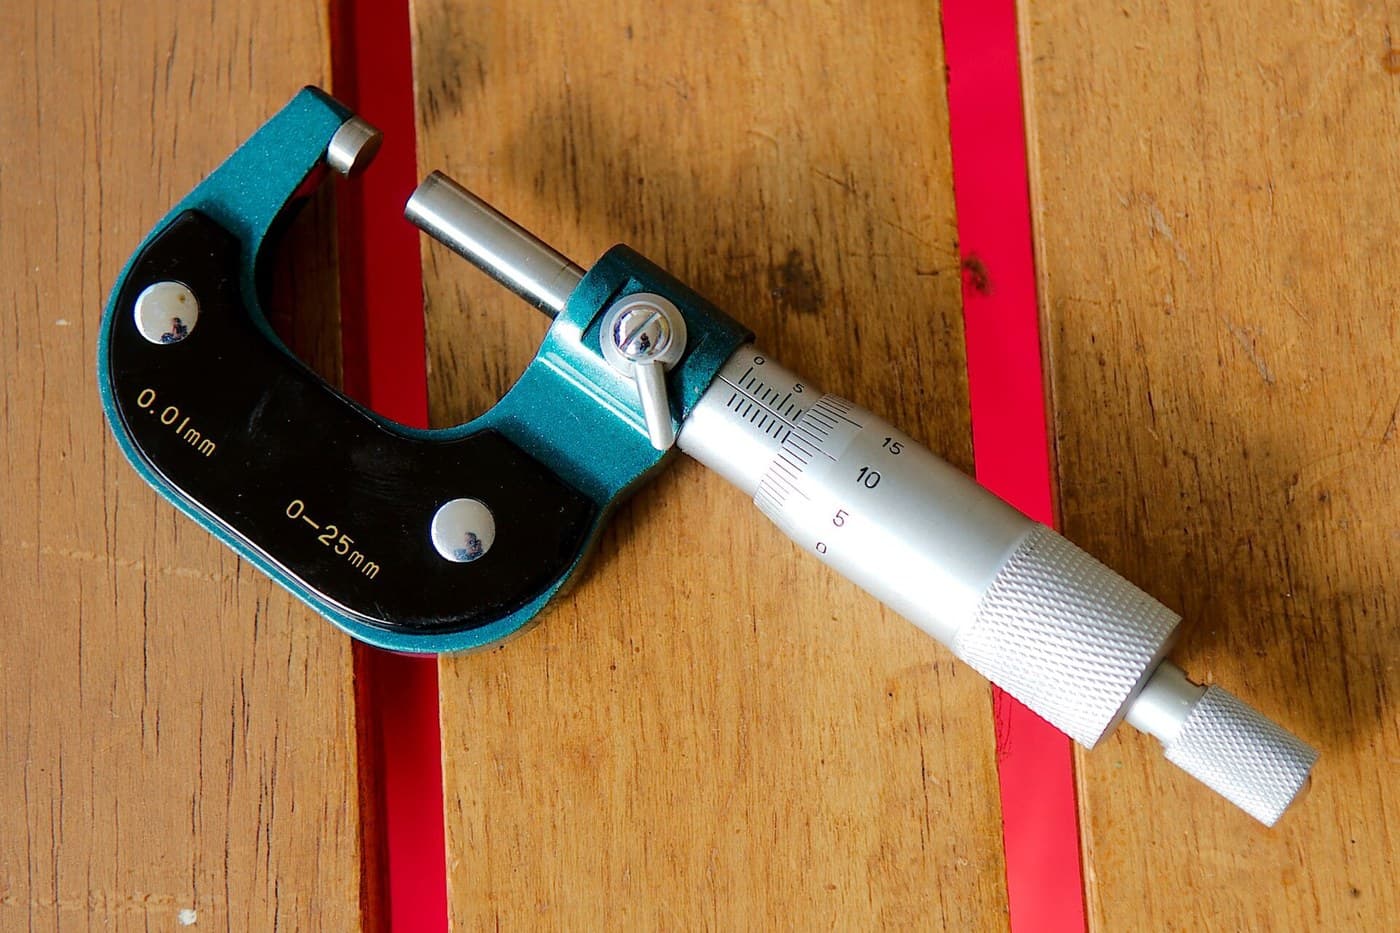
 Мікрометр
5
5
Prove the point: take it out and put it back
Prove the point: take it out and put it back
Turn a diameter, measure it, remove the work completely, then remount it between the same centres and put an indicator on the turned diameter.
It should run true to within a few micrometres — far better than any three-jaw will manage. Then turn a second diameter at the other end and check the two are concentric.
That is the whole argument for this setup in one experiment. It is why a shaft that has to be hardened between roughing and finishing is turned between centres: the centre holes survive the heat treatment, so the finished part is concentric with the roughed one even though the two operations were weeks apart.
Матеріали для цього кроку:
Круглий пруток з маловуглецевої сталі1 штукаНеобхідні інструменти ({count})
Токарний верстат по металуТокарний хомутикОбертовий центр MT2 Індикатор годинникового типуМікрометр
Необхідні інструменти
11- Заповнювач
- Заповнювач
- Заповнювач
- Заповнювач
- Заповнювач
- Заповнювач
- Заповнювач
- Заповнювач
- Заповнювач
- Заповнювач
- Заповнювач
Пов'язані креслення
Ці креслення діляться знаннями — техніки, матеріали або принципи


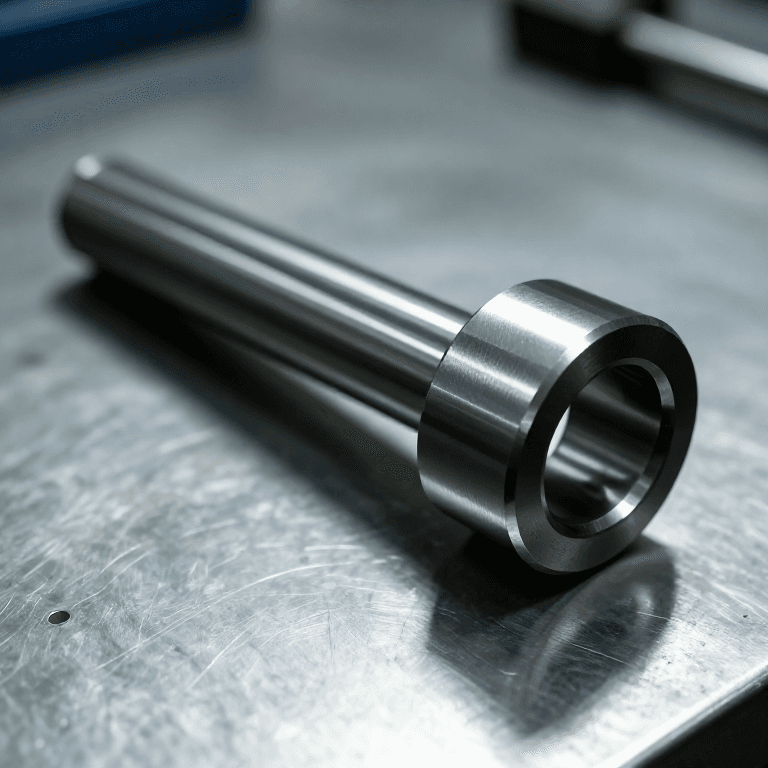


CC0 Суспільне надбання
Це креслення випущено під ліцензією CC0. Ви можете вільно копіювати, змінювати, поширювати та використовувати цю роботу для будь-яких цілей без запиту дозволу.
Підтримайте мейкера, купуючи продукти через його креслення, де він отримує Комісію мейкера встановлену вендорами, або створіть нову ітерацію цього креслення та включіть його як зв'язок у власне креслення для розподілу доходу.