
Співпраця
МИСТЕЦТВО
КРАСА ТА ЗДОРОВ'Я
РЕМЕСЛО
КУЛЬТУРА ТА ІСТОРІЯ
РОЗВАГИ
СЕРЕДОВИЩЕ
ЇЖА ТА НАПІЇ
ЗБОРНА ІНЖЕНЕРІЯ
НАУК
СПОРТ
ТЕХНОЛОГІЯ
НОСИМО
Easter Egg Dyeing Stand: a Crank-Turned Rubber Roller Spins the Egg Under the Brush (Young, 1943)
Woody

Створено

Woody

13. листопад 2026NO
7
0
0
0
0

Easter Egg Dyeing Stand: a Crank-Turned Rubber Roller Spins the Egg Under the Brush (Young, 1943)

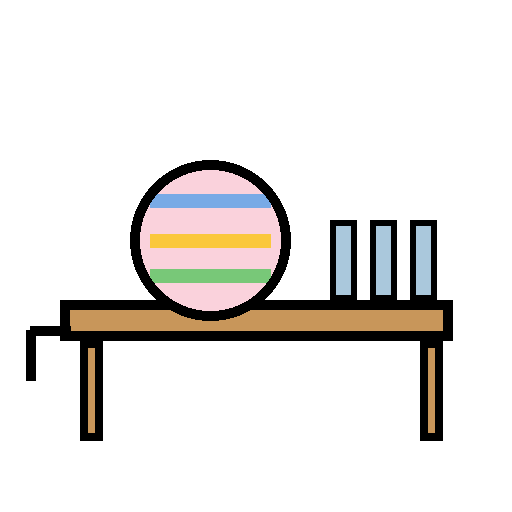
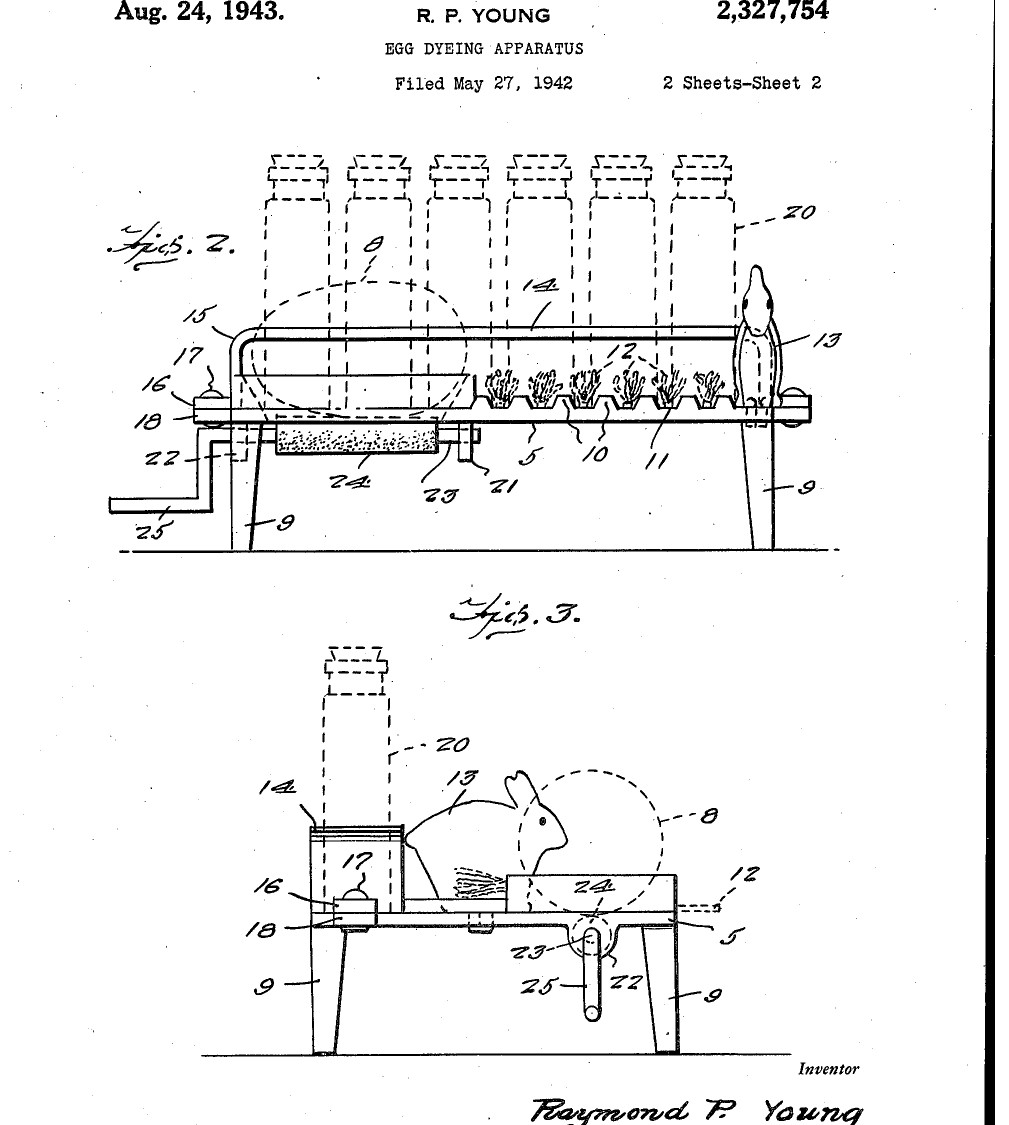
Raymond P. Young of Wrightsville, Pennsylvania, received US 2,327,754, dated 24 August 1943, for a little table for dyeing Easter eggs. The egg sits in an oval opening on a rubber roller turned by a crank; hold a dye brush against it and the colour goes on evenly all round. Grooves hold the brushes, a rack holds the dye bottles, and a rabbit stands at one end. We make it from plywood and dowel. All sizes are ours.
Початківець
About 4 hours

Інструкції

1

Opening and roll

Завантаження блокнота Jupyter…
2

Read US 2,327,754

"If a dye containing brush is held against the object 8, application of the dye to the object 8 will take place uniformly and in a convenient manner."
3

Cut the platform

Cut a platform of 12 mm plywood about 300 x 180 mm (ours). Near one corner cut an oval opening 70 x 40 mm with a coping saw, his opening 6. Glue a strip of thin plywood or a ring of dowel round it to make the rise 7, so the egg cannot roll off.

Матеріали для цього кроку:

Лист фанериЛист фанери1 штука
Столярний клейСтолярний клей1 штука

Необхідні інструменти ({count})

ОлівецьОлівець
Ручна пилкаРучна пилка
Ручний дрильРучний дриль
Лобзикова пилкаЛобзикова пилка
Наждачний папірНаждачний папір
4

Make the brush grooves

Glue short dowels across the top of the platform beside the opening, a little apart, so the gaps between them (his ribs 10 and grooves 11) hold the brushes.

Матеріали для цього кроку:

Шканти з твердої деревиниШканти з твердої деревини1 штука
Столярний клейСтолярний клей1 штука

Необхідні інструменти ({count})

Ручна пилкаРучна пилка
Наждачний папірНаждачний папір
5

Fit the legs

Drill the corners and glue in four dowel legs, his legs 9, long enough to clear the crank below (ours).

Матеріали для цього кроку:

Шканти з твердої деревиниШканти з твердої деревини1 штука
Столярний клейСтолярний клей1 штука

Необхідні інструменти ({count})

Ручний дрильРучний дриль
Ручна пилкаРучна пилка
6

Make the roller

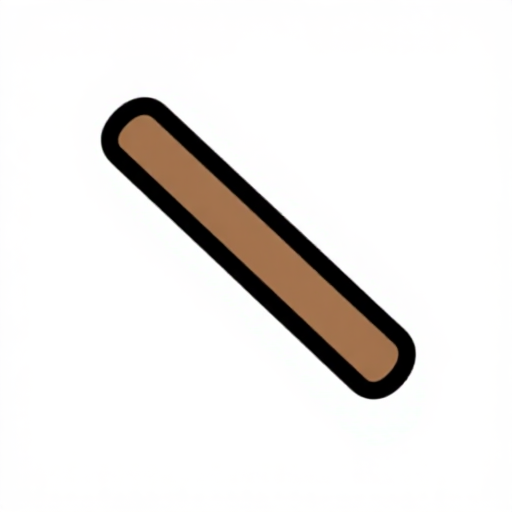
Slide rubber tubing over a steel rod for the roll 24 (his roll is rubber, "or any other suitable material"). Bend the rod's long end twice at right angles in the vice to make the crank handle 25.

Матеріали для цього кроку:

Гумова трубкаГумова трубка1 штука
Круглий пруток із маловуглецевої сталіКруглий пруток із маловуглецевої сталі1 штука

Необхідні інструменти ({count})

Слюсарні лещатаСлюсарні лещата
Ножівка по металуНожівка по металу
7

Hang the roller

Cut two bearing brackets from flat bar (ours, his bearings 21 and 22), drill each for the rod at the depth the notebook gives, bend them to hang below the platform and screw them on either side of the opening, so the roll sits under the opening as his Fig. 4. The egg should rest on the roll inside the rise and turn when the crank turns.

Матеріали для цього кроку:

Смуга з маловуглецевої сталіСмуга з маловуглецевої сталі1 штука
Шурупи по деревуШурупи по дереву1 штука

Необхідні інструменти ({count})

Ножівка по металуНожівка по металу

Свердлильний верстатСвердлильний верстат
Набір сверделНабір свердел
Слюсарні лещатаСлюсарні лещата
Набір викрутокНабір викруток
8

Make the bottle rack

Bend a strip of flat bar (his rack bar 14, "preferably strap iron") down and out at each end, drill a row of holes in it to hold the dye bottles, and screw its ends to the back edge of the platform.

Матеріали для цього кроку:

Смуга з маловуглецевої сталіСмуга з маловуглецевої сталі1 штука
Шурупи по деревуШурупи по дереву1 штука

Необхідні інструменти ({count})

Ножівка по металуНожівка по металу
Свердлильний верстатСвердлильний верстат
Набір сверделНабір свердел
Слюсарні лещатаСлюсарні лещата
Набір викрутокНабір викруток
9

Add the rabbit

Cut a rabbit from plywood with the coping saw, sand it and glue it upright at the far end, his figure 13.

Матеріали для цього кроку:

Лист фанериЛист фанери1 штука
Столярний клейСтолярний клей1 штука

Необхідні інструменти ({count})

Лобзикова пилкаЛобзикова пилка
Наждачний папірНаждачний папір
10

Dye an egg

Fill the bottles with food colouring (ours) and put them in the rack. Set a hard-boiled egg in the opening on the roll, turn the crank, and hold a dye-filled brush against the egg: the colour goes on in an even band. Move the brush across to stripe it.

Матеріали для цього кроку:

ЯйцеЯйце1 штука
Харчовий барвникХарчовий барвник1 штука
Скляні пляшки з коркамиСкляні пляшки з корками1 штука

Необхідні інструменти ({count})

Набір пензлівНабір пензлів
11

Troubleshooting

Egg dyeing stand troubleshooting.

Flow

Loading...
12

History and honest limits

**Raymond P. Young** of Wrightsville, Pennsylvania, US 2,327,754, dated 24 August 1943, filed 27 May 1942. He claimed "dyeing apparatus comprising a platform having an opening therein, a rotatable roller mounted at the underside of the platform and partly protruding into said opening, means for rotating the roller, and an upstanding article confining wall on the platform surrounding said opening". He gives no sizes or dye: the plywood, dowels, all sizes, the bracket bearings, the rubber tube on a rod, and food colouring are ours.

Матеріали

10

Необхідні інструменти

11

За цим кресленням виготовляють

Пов'язані креслення

Ці креслення діляться знаннями — техніки, матеріали або принципи
CC0 Суспільне надбання

Це креслення випущено під ліцензією CC0. Ви можете вільно копіювати, змінювати, поширювати та використовувати цю роботу для будь-яких цілей без запиту дозволу.

Підтримайте мейкера, купуючи продукти через його креслення, де він отримує Комісію мейкера встановлену вендорами, або створіть нову ітерацію цього креслення та включіть його як зв'язок у власне креслення для розподілу доходу.

Обговорення

(0)

Увійти щоб приєднатися до обговорення

Завантаження коментарів...