ART
BEAUTY & WELLNESS
CRAFT
CULTURE & HISTORY
ENTERTAINMENT
ENVIRONMENT
FOOD & DRINKS
REVERSE ENGINEERING
SCIENCES
SPORTS
TECHNOLOGY
WEARABLES
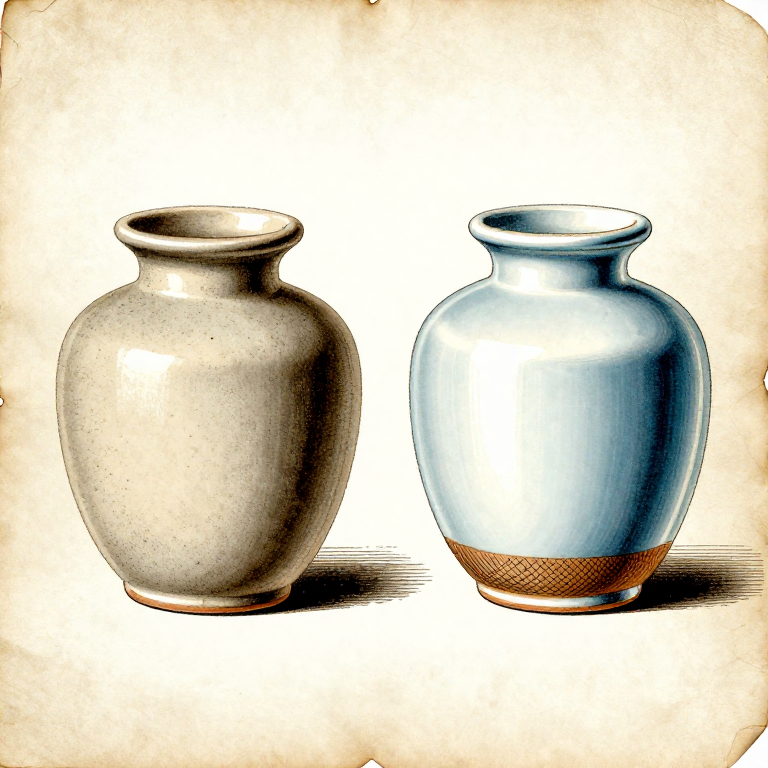
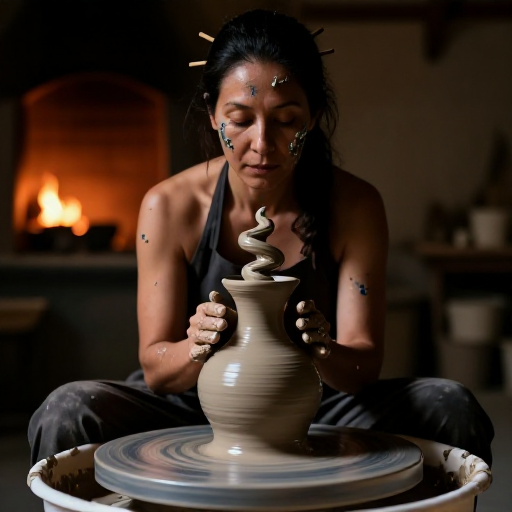

Two Firings: What Bisque Does That the Glaze Firing Cannot
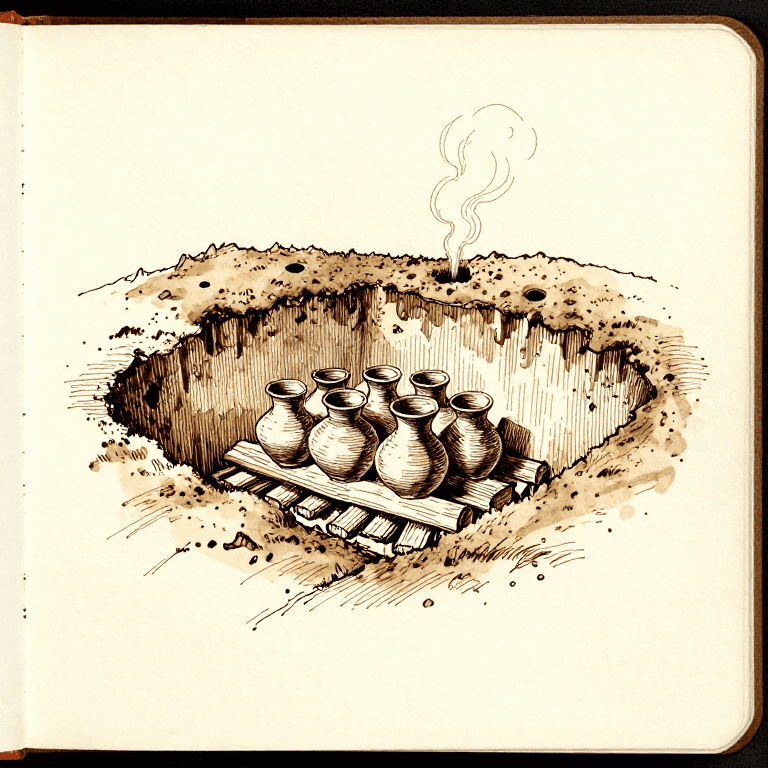
Most pottery is fired twice, and the two firings do genuinely different jobs. Firing once is possible and is how most of history did it, but the two-firing route is easier and it is worth understanding why.
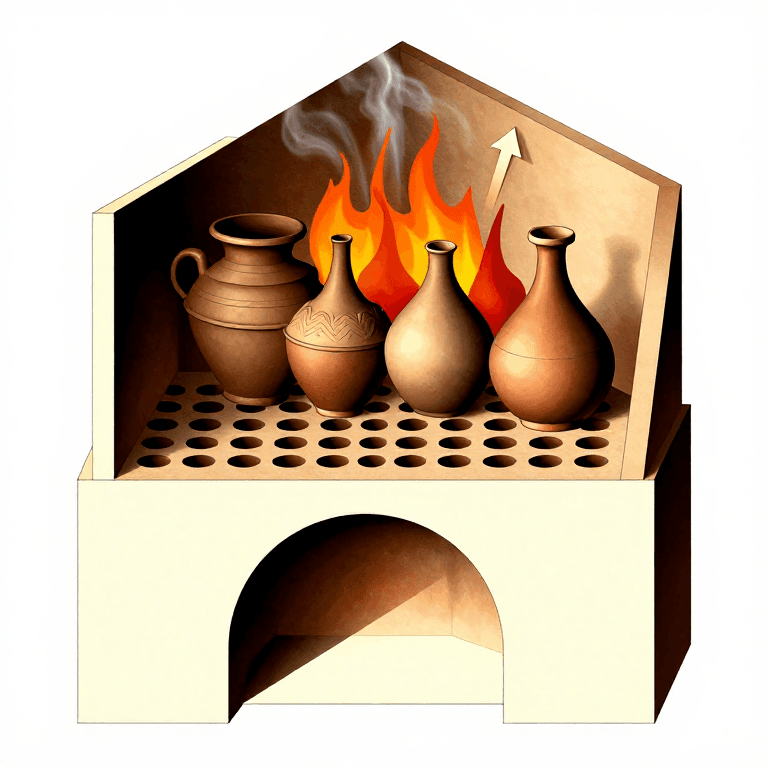
The BISQUE firing turns fragile dry clay into a hard porous solid. It drives off the chemically bound water permanently, so the piece can never be turned back into clay — and it leaves the piece POROUS, which is exactly what glazing needs.
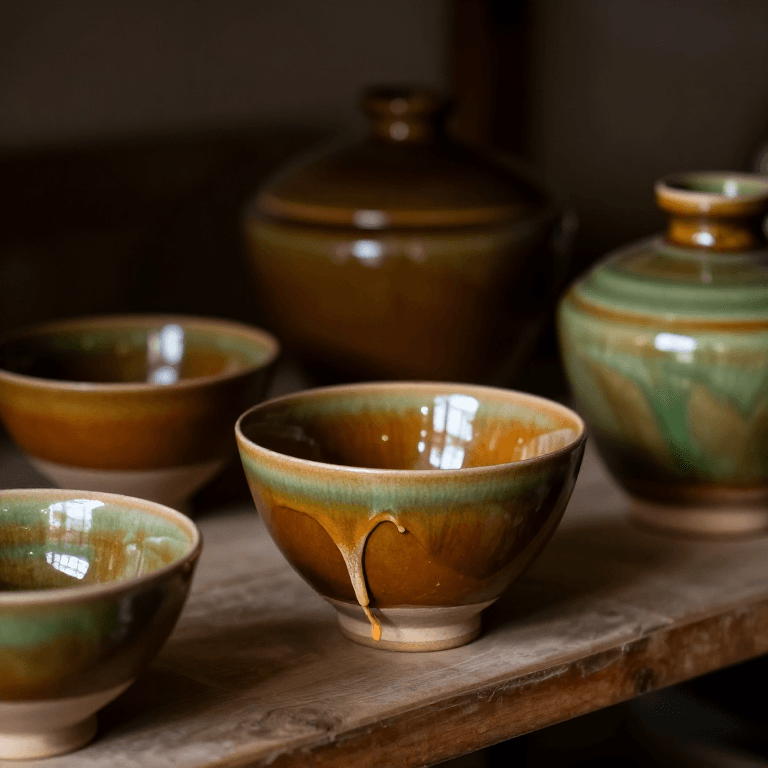
The GLAZE firing melts a layer of glass onto that porous surface. It goes hotter, it matures the clay body itself, and it is where the piece becomes waterproof and its final size.
Intermediate
4 hours
Instructions
1
1
Bone dry into the kiln, and go up slowly
Bone dry into the kiln, and go up slowly
Only bone-dry work goes into a bisque firing. Any remaining water becomes steam, and steam inside a sealed pot is the explosion that scatters shards across the shelf and into every other piece in the kiln.
Go up slowly to 200 degrees and hold there, or leave the vent open — this is the water-smoking stage, where the last physical water leaves. An hour of patience here saves a whole kiln load.
Between about 350 and 600 degrees the chemically bound water leaves the clay molecules themselves. That is the change that is irreversible, and it is why bisque ware cannot be slaked down and reclaimed.
Materials for this step:
 Bone-dry Clay Vessels1 piece
Tools needed:
 Kiln
Kiln Pyrometer
2
2
Bisque low, glaze high — and why that order
Bisque low, glaze high — and why that order
Bisque is fired LOWER than the glaze firing, typically around 950 to 1000 degrees. That is hot enough to harden the piece and burn out organic matter, and cool enough to leave it porous.
Porosity is the whole point. A porous bisque pot dipped in glaze sucks water out of the glaze instantly and leaves an even coat of glaze powder on the surface. Dip a fully vitrified pot and the glaze runs straight off.
So the low firing must come first. Reversing the order — a high firing then a low one — gives a piece that cannot be glazed and a glaze that never melts, which is why the sequence is not a matter of preference.
Materials for this step:
Bone-dry Clay Vessels1 piece Clear Glaze1 piece
Tools needed:
Kiln High-fire KilnPyrometer
3
3
Applying glaze: thickness is the variable that matters
Applying glaze: thickness is the variable that matters
Stir the glaze thoroughly — the heavy minerals settle to the bottom of the bucket within hours, so an unstirred bucket gives water at the top and sludge below, and neither is the glaze you tested.
Dip for a COUNT, not by eye. Two seconds in, out, and let it drain. The bisque's porosity does the work, and the count is what makes the result repeatable — the same reason a recipe in grams beats one in spoons.
Too thin and the colour is weak and patchy; too thick and it crawls, runs off the pot, or seals the surface so trapped gases blister through it. Test tiles at one, two and three dips, fired alongside the work, tell you what your glaze wants on your clay.
Materials for this step:
Clear Glaze1 piece Ceramic Glaze1 piece
 Water1 liter
Tools needed:
 Clay Tool Set
 Sponge
 Precision Scale
4
4
Wipe the foot, or the pot joins the shelf permanently
Wipe the foot, or the pot joins the shelf permanently
Glaze is glass. Anywhere it touches the kiln shelf it will weld the pot to the shelf, and separating them afterwards destroys the pot, the shelf, or both.
So wipe the foot and the bottom 3 to 5 mm of the wall completely clean with a damp sponge before firing. Check by feel as well as by eye — a thin film of glaze that is barely visible is quite enough to stick.
Leave space between pieces too. Glaze that runs, or two pots that touch as they expand, fuse into one object. That is the single most expensive mistake in loading a glaze kiln, and it is entirely preventable with a few centimetres.
Materials for this step:
Clear Glaze1 pieceTools needed:
SpongeKilnClay Tool SetMaterials
4- 2 piecesPlaceholder
- 3 piecesPlaceholder
- 1 piecePlaceholder
- 1 literPlaceholder
This blueprint makes
Related Blueprints
These blueprints share knowledge with this one — techniques, materials, or principles that connect them in the learning graph.
CC0 Public Domain
This blueprint is released under CC0. You are free to copy, modify, distribute, and use this work for any purpose, without asking permission.
Support the Maker by purchasing products through their Blueprint where they earn a Maker Commission set by Vendors, or create a new iteration of this Blueprint and include it as a connection in your own Blueprint to share revenue.