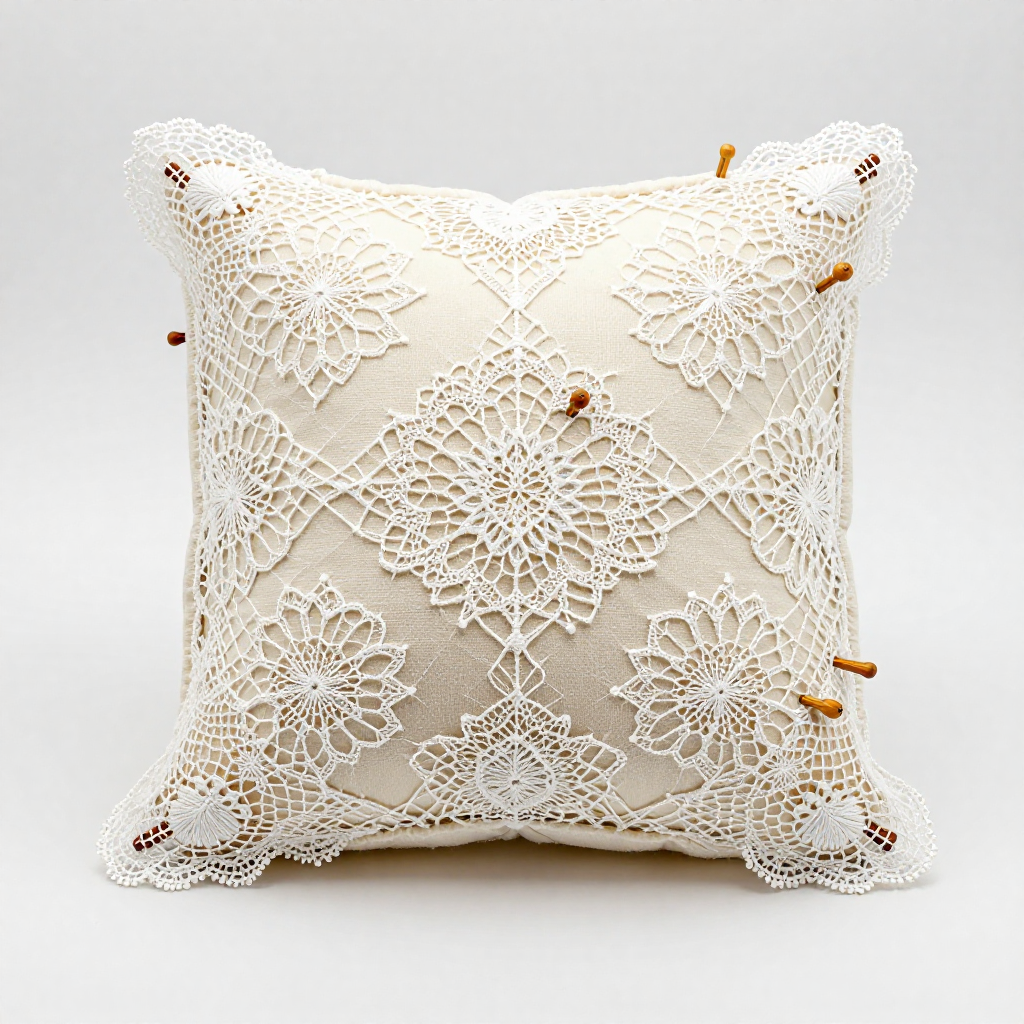
Bobbin Lace — Making Lace by Twisting and Crossing Threads on a Pillow
Bobbin lace is a technique for making lace by braiding, twisting, and crossing many threads simultaneously. Each thread is wound onto a small weighted bobbin — a turned wooden spindle about 10 cm long — and the bobbins hang from a pillow (a firm, stuffed cushion) where the lace is worked. Pins stuck into the pillow at precise intervals hold the threads in position as the lace-maker crosses and twists pairs of bobbins according to a pattern (called a pricking) pinned to the pillow surface. The result is an open, net-like fabric of extraordinary delicacy — the same kind of lace seen on Renaissance collars, Victorian wedding veils, and ecclesiastical vestments.
Bobbin lace originated in Italy and Flanders in the late 15th or early 16th century. The earliest documented lace patterns appear in Venetian pattern books from the 1550s. By the 17th century, lace-making was a major industry across Europe: Flemish lace from Bruges and Brussels, French lace from Alençon and Chantilly, English lace from Honiton and Buckinghamshire, each with distinct regional styles. Lace was enormously valuable — a single collar could cost more than a house — and lace-makers, almost exclusively women and girls, worked 12-16 hour days in lace schools and workshops.
The technique uses only two movements: cross (the right bobbin passes over the left) and twist (each bobbin rotates once). Every bobbin lace pattern is a sequence of crosses and twists applied to pairs of bobbins. A simple braid uses one pair (two bobbins); a lace edging might use 8-12 pairs; a wide flounce of Flemish lace might use 300 or more pairs simultaneously, each on its own bobbin, the lace-maker working systematically across hundreds of threads.
Instructions
Gather materials — bobbins, pillow, pins, and thread
Gather materials — bobbins, pillow, pins, and thread
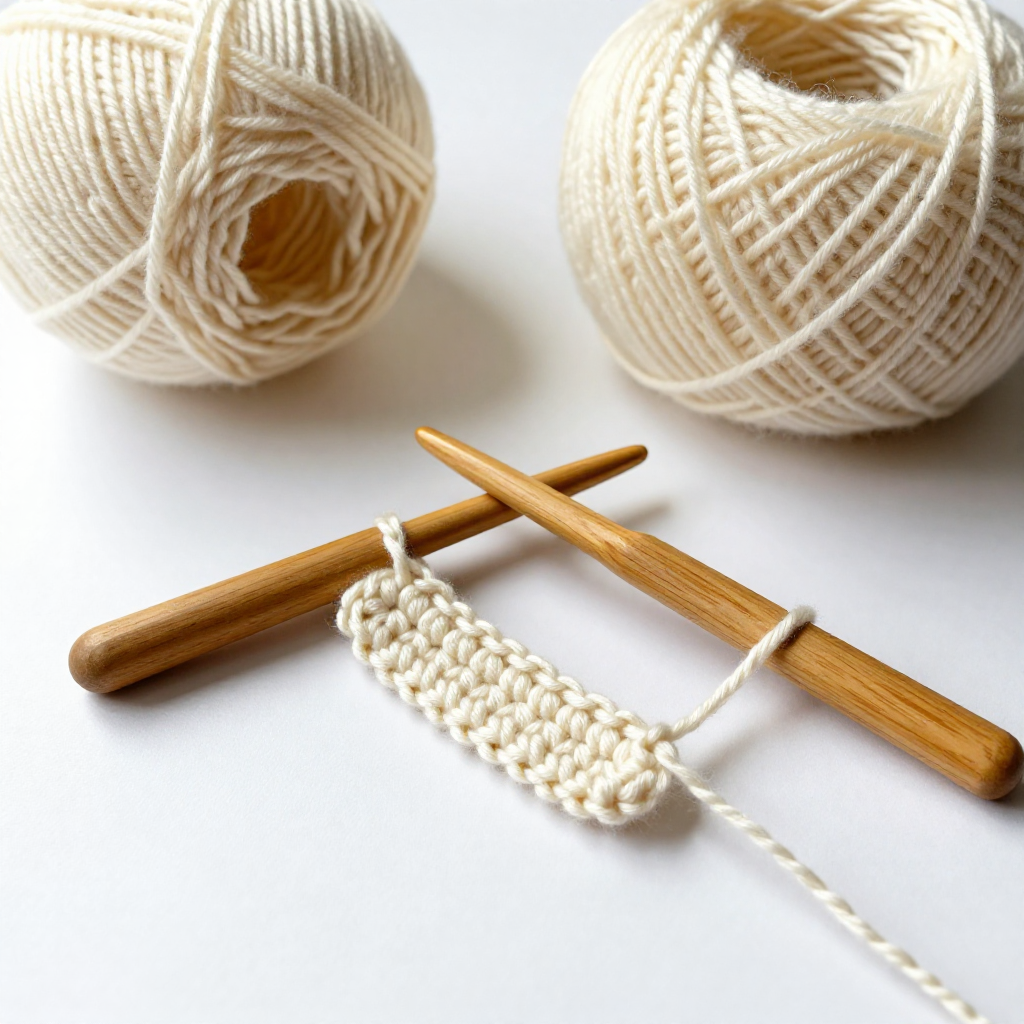
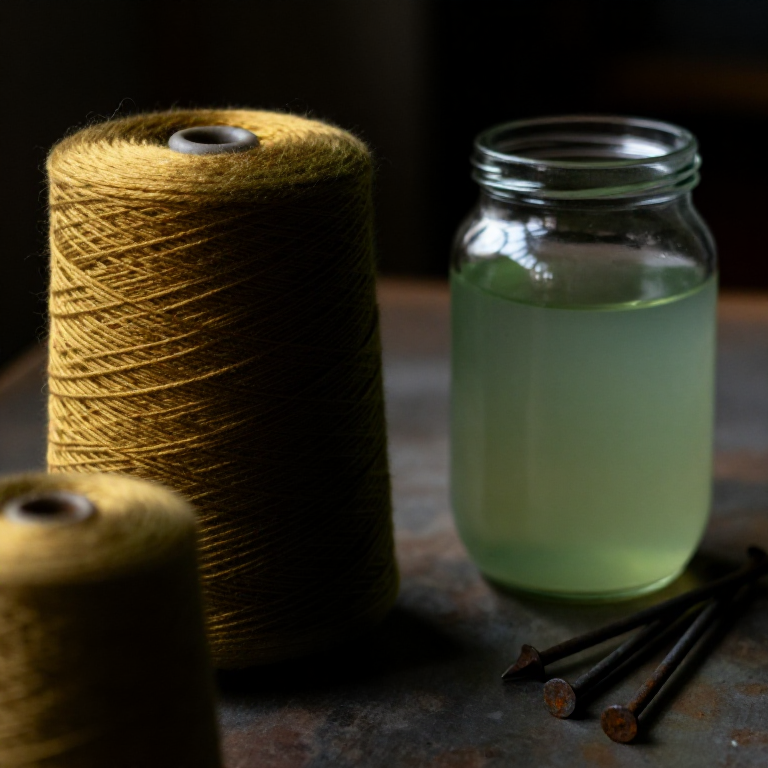
You need a lace pillow (a firm cylindrical or flat cushion filled with sawdust, straw, or dense foam — it must hold pins firmly), at least 8 pairs (16) of lace bobbins (turned wooden spindles with a bead or weight at the bottom), fine lace-making thread (linen or cotton, typically size 30-80 — finer numbers produce finer lace), and a box of fine dressmaker's pins or lace pins (brass pins with small heads that do not snag the thread). For a beginner, start with 4 pairs (8 bobbins) and medium thread (size 30 cotton) — this is enough for a simple braid or bookmark.
Materials for this step:
 Sewing Thread1 piece
Wind thread onto the bobbins
Wind thread onto the bobbins
Wind about 1-2 metres of thread onto each bobbin — wrap the thread around the neck of the bobbin (the narrow section below the head) in a figure-eight pattern, then secure it with a half-hitch loop that can be loosened to release more thread as needed. Each pair of bobbins shares a continuous length of thread: wind from the centre of a 3-4 metre length, putting half on each bobbin. The thread between the two bobbins of a pair is the working thread. Wind all 8 bobbins (4 pairs) before beginning.
Prepare the pricking — the lace pattern
Prepare the pricking — the lace pattern
A pricking is a card with pin holes pricked at precise positions — the pins hold the threads in place as you work. For a beginner braid: take a strip of card 3 cm wide and 20 cm long. Mark a straight line down the centre and prick pin holes at 1 cm intervals along both edges, offset so the left and right holes alternate (zigzag pattern). Pin the pricking to the top of the lace pillow. Each pin hole represents a turning point where the outer thread changes direction. Professional lace patterns are printed on card with dozens or hundreds of pin positions defining the lace design.
Set up the bobbins on the pillow
Set up the bobbins on the pillow
Place a pin at the top of the pricking. Loop the thread of each pair over the pin — the two bobbins of each pair hang down on either side. Arrange all 4 pairs side by side on the pin, with 8 bobbins hanging down. Spread them evenly across the width of the pricking. The bobbins hang by gravity, keeping the threads taut. This tension is important — the weight of the bobbins provides consistent, even tension without the lace-maker needing to pull the threads. Heavier bobbins create more tension for thicker threads; lighter bobbins for fine thread.
Learn the two fundamental movements — cross and twist
Learn the two fundamental movements — cross and twist
All bobbin lace is built from two movements. Cross (C): take the right bobbin of the left pair and pass it over the left bobbin of the right pair — the two middle bobbins swap positions. Twist (T): take the right bobbin of each pair and pass it over the left bobbin of the same pair — each pair twists once. These two movements are combined in sequences. The most common is Cross-Twist-Cross-Twist (CTCT), called a whole stitch. A half stitch is just Cross-Twist (CT). Practice: pick up the two middle bobbins (one from each pair) and cross them. Then twist each pair. Repeat until the motion becomes automatic.
Work a whole stitch braid
Work a whole stitch braid
Using 2 pairs (4 bobbins), work a whole stitch: cross the middle two bobbins (C), twist both pairs (T), cross the middle two (C), twist both pairs (T). Place a pin in the next hole on the right edge of the pricking, between the two right-hand bobbins. Work another whole stitch: CTCT. Place a pin in the next hole on the left edge. Continue: whole stitch, pin right, whole stitch, pin left. The threads braid around the pins, creating a flat, woven tape. After 10-15 pin positions, the braid is clearly visible — a dense, flat band with a woven texture and scalloped edges where the threads turn around the pins.
Add a third pair — the worker and passives
Add a third pair — the worker and passives
In bobbin lace, threads have roles. The worker (or weaver) pair travels back and forth across the width of the lace, working a stitch with each passive pair it encounters. The passive pairs hang vertically and only move when the worker passes through them. Set up 3 pairs on a pin. The left pair is the worker — it will cross through the other pairs from left to right, pin, then cross back from right to left. Work: CTCT with pair 1 and pair 2, CTCT with pair 2 and pair 3, pin on the right edge, then work back: CTCT with pair 3 and pair 2, CTCT with pair 2 and pair 1, pin on the left edge. This worker-passive system is the foundation of most bobbin lace patterns.
Work with 4 pairs — a torchon ground
Work with 4 pairs — a torchon ground
Torchon is the simplest and most common bobbin lace ground — a regular diamond mesh that forms the background net of many lace patterns. Set up 4 pairs. Work diagonally: each pair works a half stitch (CT) with its neighbour, pin, half stitch. The pairs move diagonally across the pillow, creating a diamond grid of crossings with a pin at each intersection. The mesh is open and regular — every hole is the same size, every crossing at the same angle. Torchon ground is the first pattern most lace students learn because it teaches how threads travel diagonally and how multiple pairs interact simultaneously.
Remove pins from completed lace
Remove pins from completed lace
As the lace grows down the pillow, remove pins from the top — the completed lace no longer needs them because the threads are locked in place by the crossings and twists. Pull each pin straight up (not at an angle, which distorts the lace). The freed lace rolls over the top of the pillow as you continue working downward. On a cylindrical (roller) pillow, the lace wraps around the pillow continuously. On a flat pillow, you periodically unpin the finished lace, roll it up, and repin the working edge to continue. Pins are working tools, not structural — the lace holds together by the interlocking of threads, not by the pins.
Understand what makes lace different from other textiles
Understand what makes lace different from other textiles
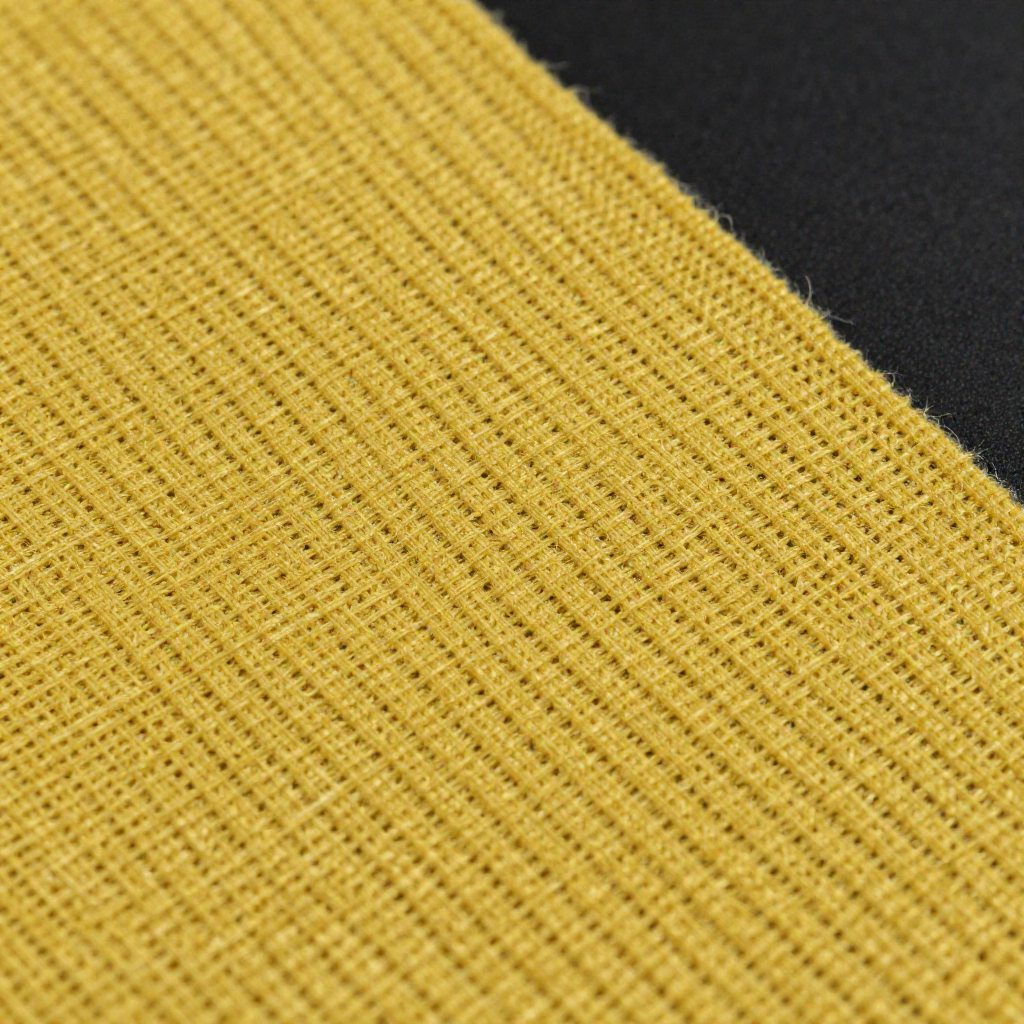
Bobbin lace is neither woven nor knitted nor crocheted — it is braided. Woven fabric has a warp and weft crossing at right angles. Knitting and crochet use loops pulled through loops. Bobbin lace uses straight threads that cross and twist around each other diagonally, held in position by the pins. The threads do not interloop — they simply cross over and under, like a complex braid. This makes bobbin lace structurally unique: it is open (mostly air), extremely light, yet strong because every thread is held by multiple crossings. The technique can produce fabric of extraordinary fineness — Brussels lace of the 18th century used threads finer than a human hair, and a single handkerchief border could take a year to complete.
Materials
1- 1 piecePlaceholder
Connected Blueprint Materials
Required Equipment
Equipment this kind of build typically needs — buy from any maker below.
- RecommendedDust Mask / Respirator·
 Full-Face Gas Mask (ABEK multi-gas cartridge)
 Dust Mask
 Venetian Mask Blank (Papier-Mache)
 Full-Face Respirator
 Respirator Fit Test Kit
 Respirator with Acid Gas Cartridge
 - RecommendedSafety Glasses·
 Safety Sign (Caution/Warning)
 Splash-Proof Safety Goggles
 Reflective Safety Vest Kit (DIY)
 Chemical Splash Goggles
 Safety Netting for Rockfall
 Steel-Toed Safety Boots
 - RecommendedWork Gloves·
 Boxing Gloves (Training)
 Leather Gauntlet Gloves
 Cotton Gloves
 Welding Gloves
 Heavy-Duty Gloves
 Leather Work Gloves
 - OptionalFire Extinguisher·
 ABC Fire Extinguisher
 Fire Extinguisher
 - OptionalFirst Aid Kit·
 First Aid Kit
 Mountain First Aid Kit (Altitude)
 Workshop First Aid Kit
 Bow Release Aid
You can swap these in
Can't get one of the materials? Swap it for an equivalent — these work just as well.
- Instead of Sewing Thread, try:
 Rod Wrapping Thread
 Sinew Thread
 Friendship Bracelet Thread Set (100 Skeins)
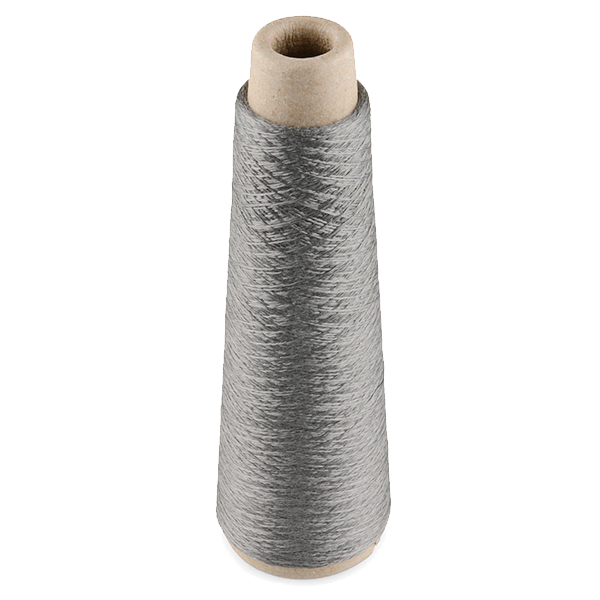 Conductive Thread - 60g (Stainless Steel)
 Waxed Linen Thread
 Invisible Thread Reel (ITR)
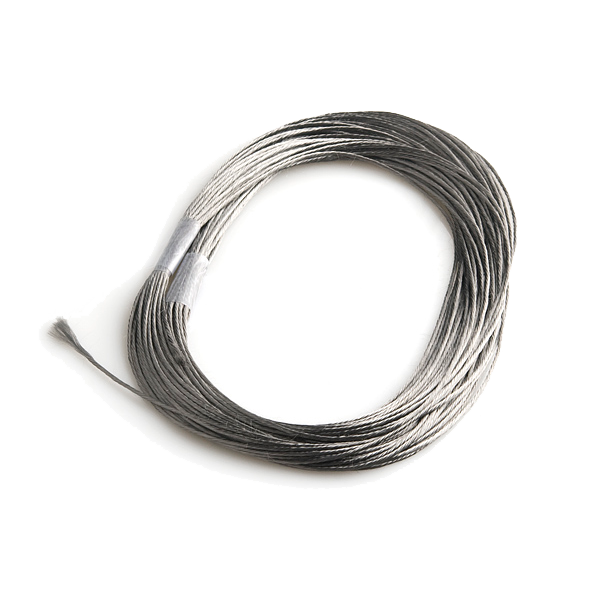 Conductive Thread (Extra Thick) - 15m
 Quilting Thread Set (12 Spools)
 Polyester Thread
 Nylon Thread
 Millinery Needle & Thread Set
 Cotton Thread
Related Blueprints
These blueprints share knowledge with this one — techniques, materials, or principles that connect them in the learning graph.
Related blueprints
Other builds that share materials, tools, or techniques with this one.
CC0 Public Domain
This blueprint is released under CC0. You are free to copy, modify, distribute, and use this work for any purpose, without asking permission.
Support the Maker by purchasing products through their Blueprint where they earn a Maker Commission set by Vendors, or create a new iteration of this Blueprint and include it as a connection in your own Blueprint to share revenue.