Collaboration
ART
BEAUTY & WELLNESS
CRAFT
CULTURE & HISTORY
ENTERTAINMENT
ENVIRONMENT
FOOD & DRINKS
REVERSE ENGINEERING
SCIENCES
SPORTS
TECHNOLOGY
WEARABLES
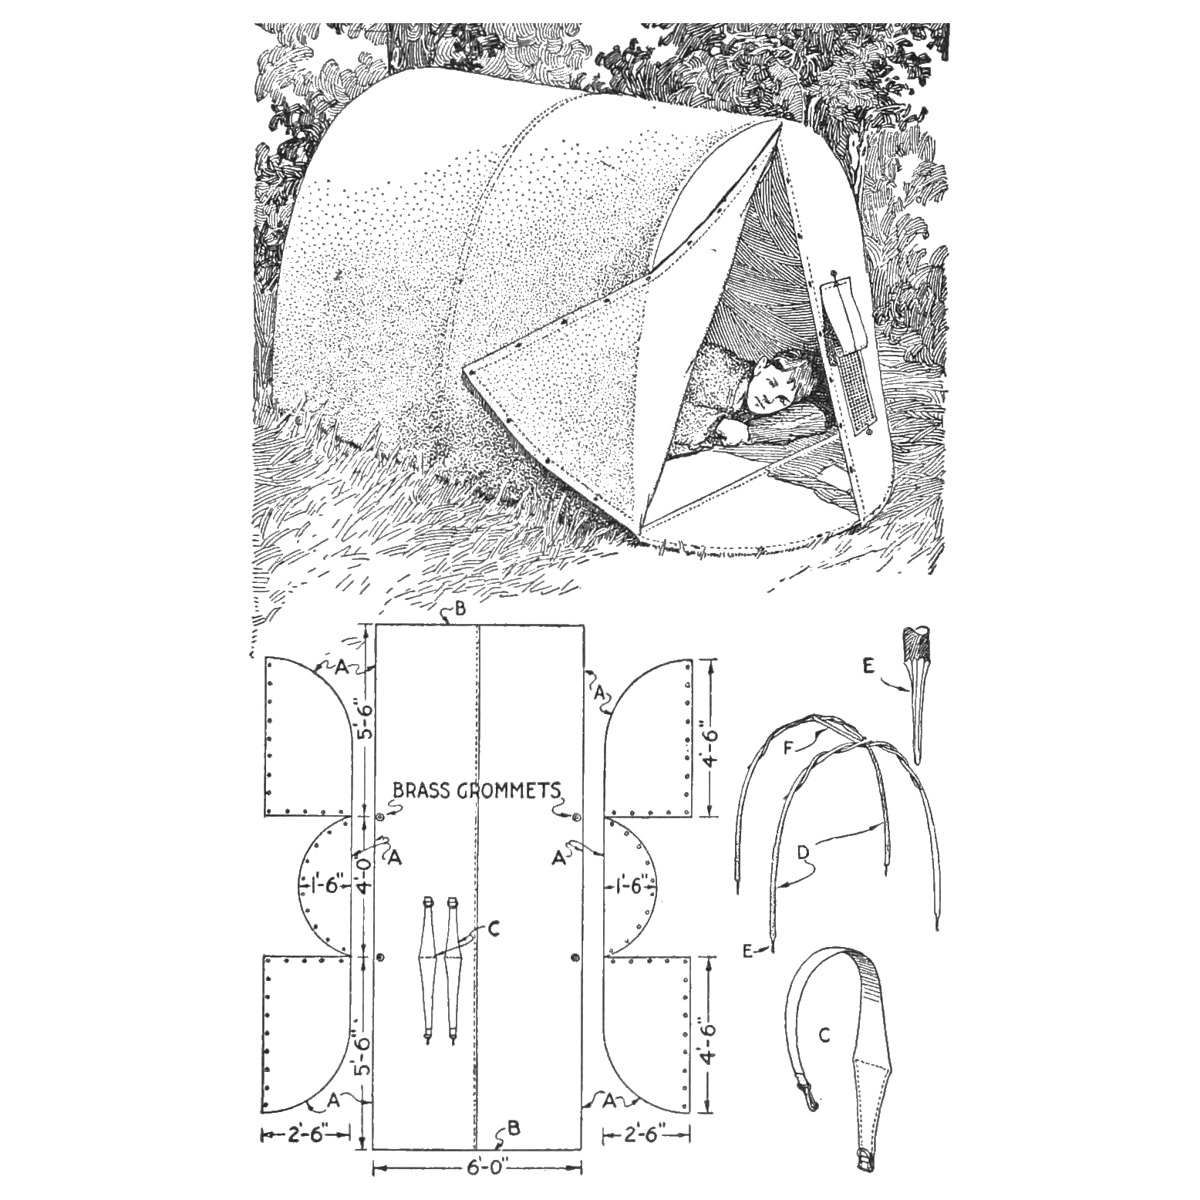


Shoulder-Pack Tent: One-Piece 8-oz Duck Body, Buttoned Ends and Bent-Sapling Frames (Boy Mechanic, 1919)
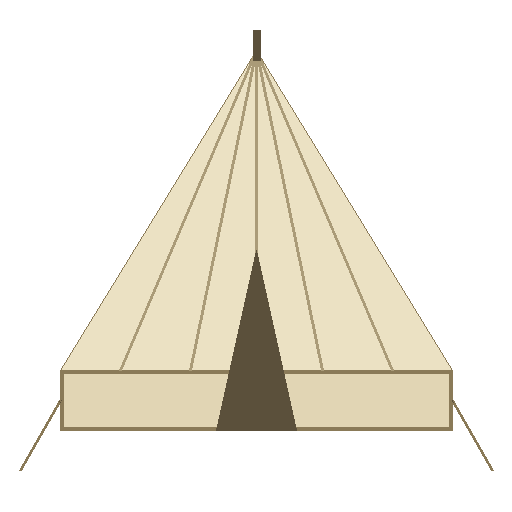
J. D. Boylan's shoulder-pack tent from The Boy Mechanic, Book 3 (1919): ground and roof of 8-oz duck in one piece 6 ft wide, buttoned end pieces, and a frame of pliable branches cut at camp, their pointed ends pushed through grommets into the ground. Rolled up, it is a pack with its own shoulder straps.
Intermediate
About 2 days
Instructions
1
1
His layout in centimetres
His layout in centimetres
Loading Jupyter Notebook...
2
2
Read The Boy Mechanic, Book 3
Read The Boy Mechanic, Book 3
"It is of light weight, easily set up or taken down, and when buttoned closely is practically rain, wind, and bug-proof." Stakes, rope braces and poles are not needed: the supports are cut at camp.
3
3
Cut and sew the main piece
Cut and sew the main piece
Cut the ground section and covering of 8-oz duck in one piece 6 ft wide, joined at the middle as drawn (5 ft 6 in, 4 ft 0 in and 5 ft 6 in along its length). Sew the edges A together, and the edges B, which form the ridge, after the other pieces are joined.
Materials for this step:
 Canvas Fabric1 piece
 Sewing Thread1 piece
Tools needed:
 Scissors
 Sewing Machine
 Sewing Needle
 Tape Measure
 Pencil
4
4
Make the ends
Make the ends
Make each end of three pieces: one for the ground (rounded, 1 ft 6 in) and two, divided vertically, for the end covering (2 ft 6 in by 4 ft 6 in on the drawing). Sew them in and fit snap buttons down the divided end (buttonholes, buckles or harness snaps also do).
Materials for this step:
Canvas Fabric1 pieceSewing Thread1 piece Snap Fastener12 pieces
Tools needed:
ScissorsSewing MachineSewing Needle5
5
Grommets and straps
Grommets and straps
Fit brass grommets where drawn, for the points of the supports. Sew on the shoulder straps C so they are in place when the tent is folded and rolled into a pack.
Materials for this step:
 Eyelet8 pieces
 Cotton Webbing1 pieceSewing Thread1 piece
Tools needed:
 HammerSewing Needle
6
6
Cut the frames and pitch
Cut the frames and pitch
At camp cut pliable branches for the supports D, point their ends E and twist them together at the top; cut a ridge pole F. Lay the canvas flat, put the twisted supports through the grommets, spring them into the ends of the canvas, and spring the ridge pole between the supports.
Materials for this step:
 Wooden Pole3 pieces
Tools needed:
 Hand Axe
 Leather Knife
7
7
Troubleshooting
Troubleshooting
Pack tent troubleshooting.
Flow
Loading...
8
8
History and honest limits
History and honest limits
From "Homemade Shoulder-Pack Tent" by J. D. Boylan, in **The Boy Mechanic, Book 3**, Popular Mechanics, 1919 (Project Gutenberg 71856; checked on the archive.org scan boymechanic0003unse, p. 131). Panel sizes are read from his drawing; the number of grommets and snaps is ours. The tools and metric figures are ours.
Materials
6- 2 piecesPlaceholder
- 3 piecesPlaceholder
- 12 piecesPlaceholder
- 8 piecesPlaceholder
- 1 piecePlaceholder
- 3 piecesPlaceholder
This blueprint makes
Related Blueprints
These blueprints share knowledge with this one — techniques, materials, or principles that connect them in the learning graph.

CC0 Public Domain
This blueprint is released under CC0. You are free to copy, modify, distribute, and use this work for any purpose, without asking permission.
Support the Maker by purchasing products through their Blueprint where they earn a Maker Commission set by Vendors, or create a new iteration of this Blueprint and include it as a connection in your own Blueprint to share revenue.