
Collaboration
ART
BEAUTY & WELLNESS
CRAFT
CULTURE & HISTORY
ENTERTAINMENT
ENVIRONMENT
FOOD & DRINKS
REVERSE ENGINEERING
SCIENCES
SPORTS
TECHNOLOGY
WEARABLES
Straight-Sided Guitar: Maple Box, Pine Top, Hatpin Frets and a 24-Inch Scale (Boy Mechanic, 1913)
Woody

Created by

Woody

13. November 2026NO
2
0
0
0
0

Straight-Sided Guitar: Maple Box, Pine Top, Hatpin Frets and a 24-Inch Scale (Boy Mechanic, 1913)

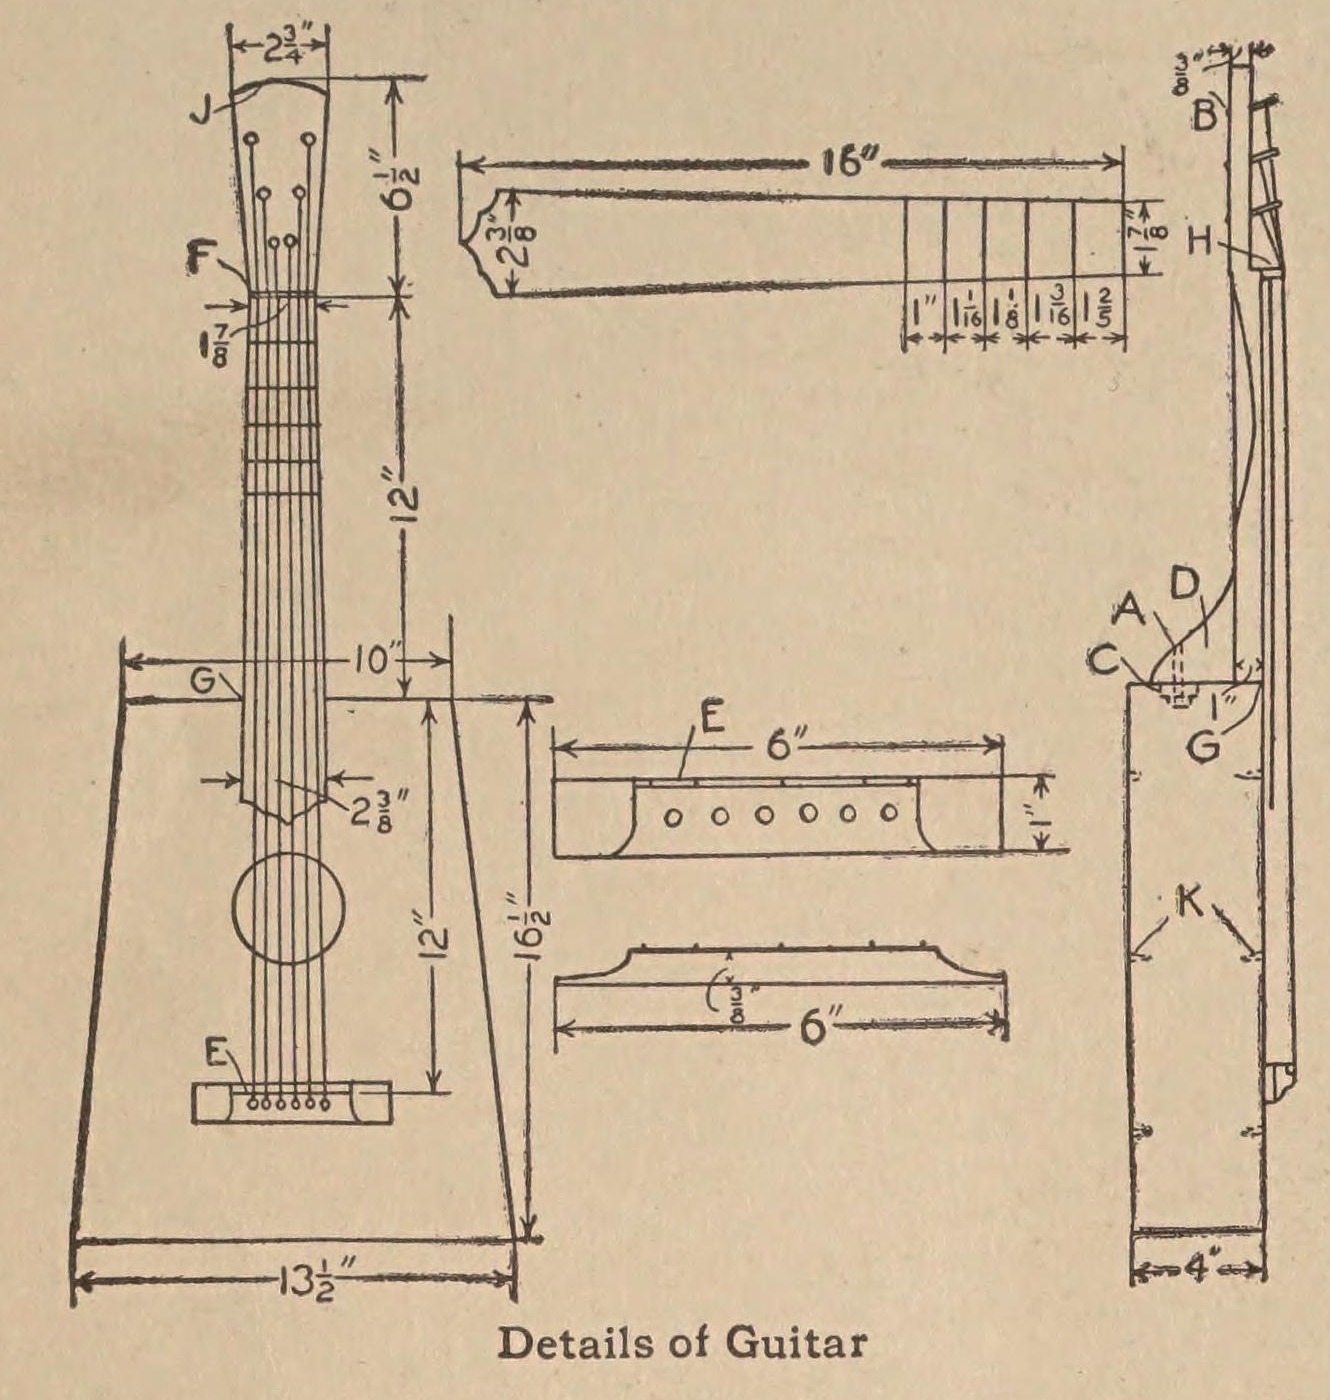
A six-string guitar "having straight lines, giving it an old-fashioned appearance", from The Boy Mechanic (1913): a tapered box of hard maple with a seasoned soft-pine top, a drawknifed neck, frets cut from hatpins and a 24 in scale. Sizes are read on the 1913 scan. "If care is taken in selecting the material, and having it thoroughly seasoned, the finished instrument will have a fine tone."
Advanced
About 1 week, with glue drying

Instructions

1

Cutting list and frets

Loading Jupyter Notebook...
2

Read The Boy Mechanic

"The sides, ends and bottom are made of hard wood, preferably hard maple, and the top should be made of a thoroughly seasoned piece of soft pine." (J. H. Stoddard, Carbondale, Pa.)
3

Cut the pieces

Cut from thoroughly seasoned wood: top 3/16 by 14 by 17 in (soft pine); bottom 3/16 by 14 by 17 in, two sides 3/16 by 3-5/8 by 16-3/4 in, and ends 3/16 by 3-5/8 by 13-1/8 in and 9-5/8 in (hard maple); neck 1 by 2-5/16 by 18-1/2 in; fingerboard 3/16 by 2-5/8 by 16 in.

Materials for this step:

Hardwood BoardHardwood Board1 piece
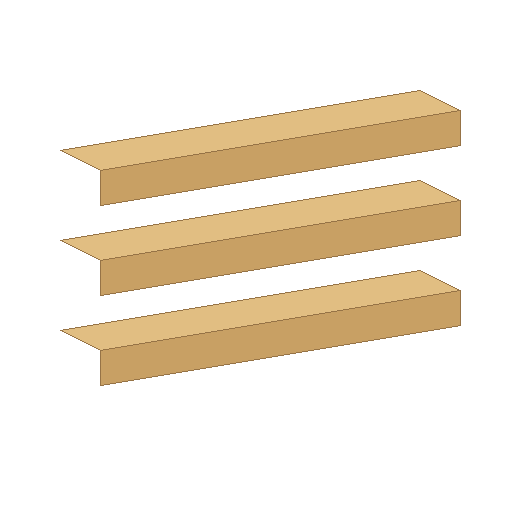
Pine BoardPine Board1 piece

Tools needed:

Hand SawHand Saw
Tape MeasureTape Measure
Try SquareTry Square
4

Shape the neck and fingerboard

Taper the neck from G to F and from J to F, with the back rounded, using a drawknife: 2-3/8 in at the heel, 1-7/8 in at the nut F, and a head 2-3/4 in wide and 6-1/2 in long. Taper the fingerboard to match. Glue a piece of hard wood 1/4 in square and 1-7/8 in long across the neck at F as the nut. Glue the fingerboard to the neck and clamp it until the glue sets.

Materials for this step:

Hardwood StripHardwood Strip1 piece
Wood GlueWood Glue1 piece

Tools needed:

DrawknifeDrawknife
Hand SawHand Saw
Bar ClampBar Clamp
5

Fret the fingerboard

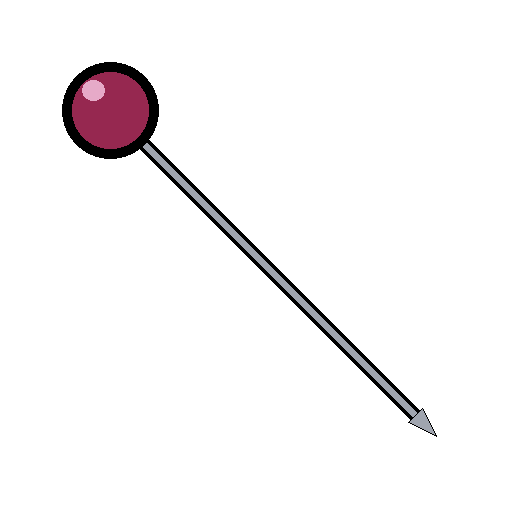
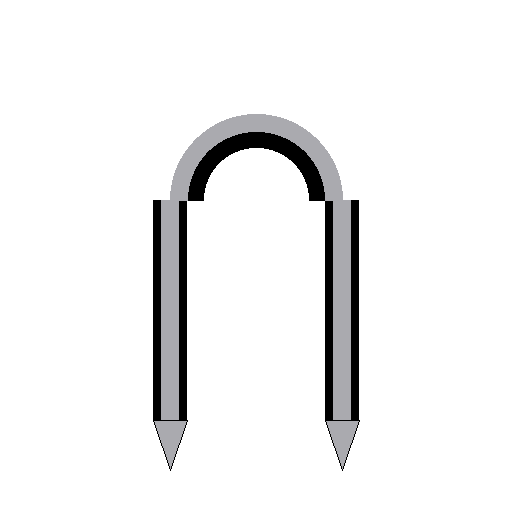
Mark the frets from the nut using the computed positions in step 1 (fret 1 at 1.347 in, fret 12 at 12 in). His drawing gives only five spaces, 1-2/5, 1-3/16, 1-1/8, 1-1/16 and 1 in; added up they put the 5th fret about 0.3 in short of the true place, so they are shown for history only. Cut pieces from hatpins and fasten them across the fingerboard with small wire staples. Mark accurately: the frets decide the pitch.

Materials for this step:

HatpinHatpin1 piece
Wire StapleWire Staple1 piece

Tools needed:

Flat-Nose PliersFlat-Nose Pliers
HammerHammer
Tape MeasureTape Measure
Try SquareTry Square
6

Build the box

Glue the sides and ends together, so the body is 10 in wide at the neck end, 13-1/2 in at the tail and 16-1/2 in long. Glue the front on, put heavy weights on top and give the glue time to dry. Fasten pieces of soft wood in the corners as braces, glue a small block C inside the neck end to take the bolt, and glue strips of soft wood K across the front and back to strengthen them. Cut the sound hole in the top as drawn.

Materials for this step:

Softwood BattenSoftwood Batten1 piece
Wood GlueWood Glue1 piece

Tools needed:

Hand SawHand Saw
Bar ClampBar Clamp
Brace and BitBrace and Bit
7

Fit the neck

Make the brace D 1 in thick, to any shape you like. Glue the neck to the box and secure it with a carriage bolt at A through the end and block C. Glue the back on and smooth the outside with sandpaper.

Materials for this step:

Hardwood StripHardwood Strip1 piece
Carriage BoltCarriage Bolt1 piece
Hardwood BoardHardwood Board1 piece
Wood GlueWood Glue1 piece
SandpaperSandpaper1 piece

Tools needed:

Brace and BitBrace and Bit
Bar ClampBar Clamp
8

Make and place the bridge

Make the bridge 6 in long, 1 in wide and 3/8 in high, with an old hatpin or wire of the same size secured on top with pin staples as the saddle E. Drill six 3/16 in holes in it for the pins. Glue it on the top so the distance from the nut F to the saddle E is just 24 in.

Materials for this step:

Hardwood StripHardwood Strip1 piece
HatpinHatpin1 piece
Wire StapleWire Staple1 piece
Wood GlueWood Glue1 piece

Tools needed:

Brace and BitBrace and Bit
Hand SawHand Saw
Tape MeasureTape Measure
9

String it

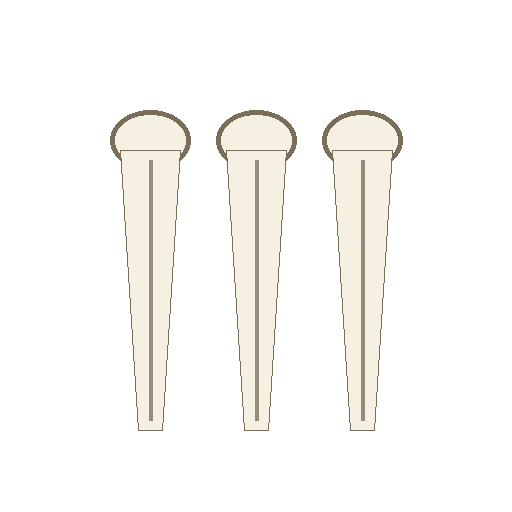
Fit the turning pegs B in the head and string the guitar, holding the strings in the bridge with the pins. He bought the pegs and strings from a music store.

Materials for this step:

Tuning PegsTuning Pegs1 piece
Guitar StringsGuitar Strings1 piece
Bridge PinsBridge Pins1 piece

Tools needed:

Brace and BitBrace and Bit
10

Troubleshooting

Guitar troubleshooting.

Flow

Loading...
11

History and honest limits

From **The Boy Mechanic**, edited by H. H. Windsor, Popular Mechanics, Chicago, 1913, p. 320, "A Guitar That Is Easy to Make", sent in by J. H. Stoddard of Carbondale, Pa.; sizes read on the 1913 scan (archive.org boymechanicthing01unse). He dimensions only the first five fret spaces, and they disagree with equal temperament; the fret positions used are computed by us. The sound hole, saddle and string tensions are not dimensioned. The tools and metric figures are ours.

Materials

12

Tools Required

8

This blueprint makes

Related Blueprints

These blueprints share knowledge with this one — techniques, materials, or principles that connect them in the learning graph.

CC0 Public Domain

This blueprint is released under CC0. You are free to copy, modify, distribute, and use this work for any purpose, without asking permission.

Support the Maker by purchasing products through their Blueprint where they earn a Maker Commission set by Vendors, or create a new iteration of this Blueprint and include it as a connection in your own Blueprint to share revenue.

Discussion

(0)

Log in to join the discussion

Loading comments...