ART
BEAUTY & WELLNESS
CRAFT
CULTURE & HISTORY
ENTERTAINMENT
ENVIRONMENT
FOOD & DRINKS
REVERSE ENGINEERING
SCIENCES
SPORTS
TECHNOLOGY
WEARABLES

Bromide Paper: Gelatino-Bromide Emulsion Coated on Paper
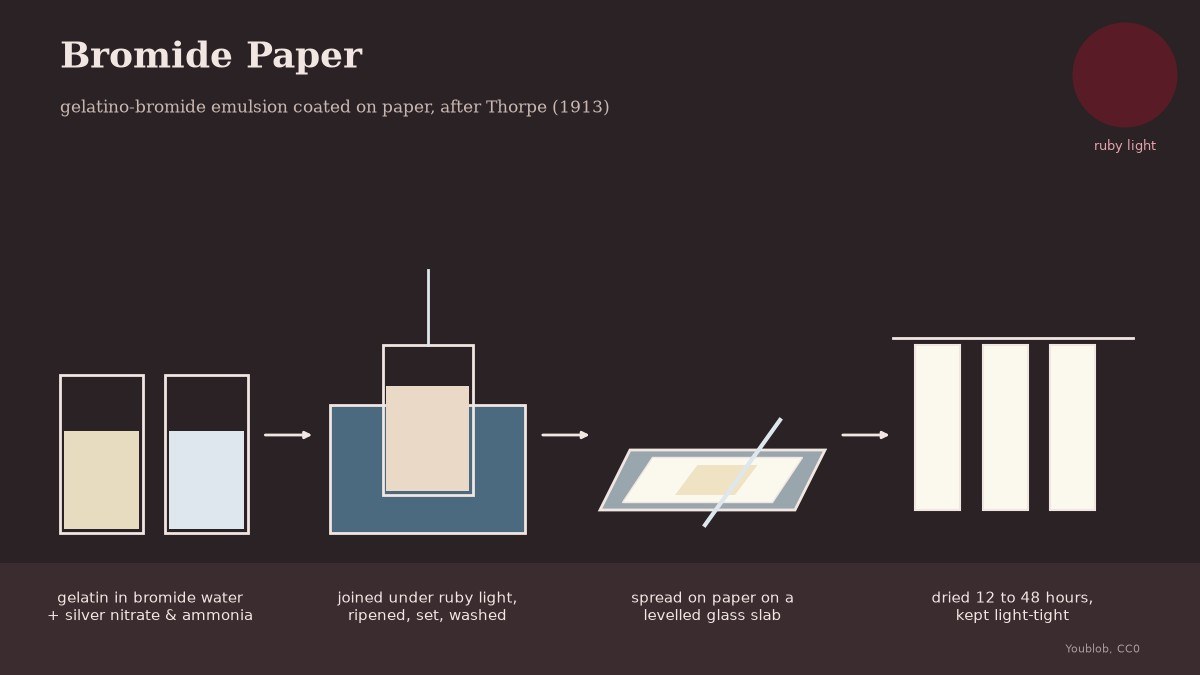
Bromide paper is paper coated with silver bromide in gelatin, the printing and enlarging paper of the darkroom. Thorpe (1913) gives a beginner's emulsion: gelatin swelled in potassium bromide solution, silver nitrate made clear with strong ammonia, the two joined under ruby light, ripened, set, washed, and spread on paper as on a glass plate. From the moment the silver goes in, work only by ruby light. Grain and ounce figures are Thorpe's; the gram conversions and the 10-sheet batch are ours.
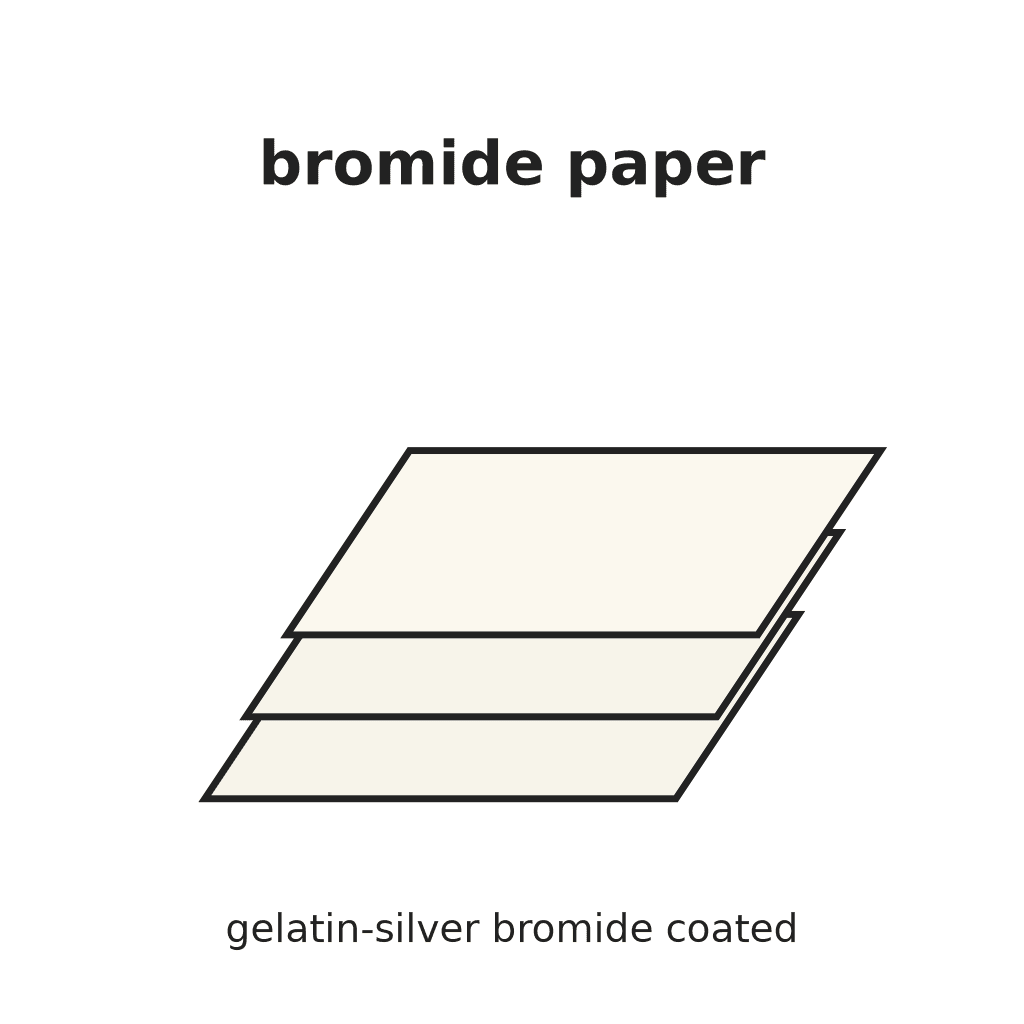
The picture: our own drawing.
Advanced
4 days
Instructions
1
1
Swell the gelatin
Swell the gelatin
Dissolve 185 grains (12.0 g) of potassium bromide in 5 oz (142 ml) of water. Cover 300 grains (19.4 g) of hard gelatin with it and stir until it softens and swells.
Materials for this step:
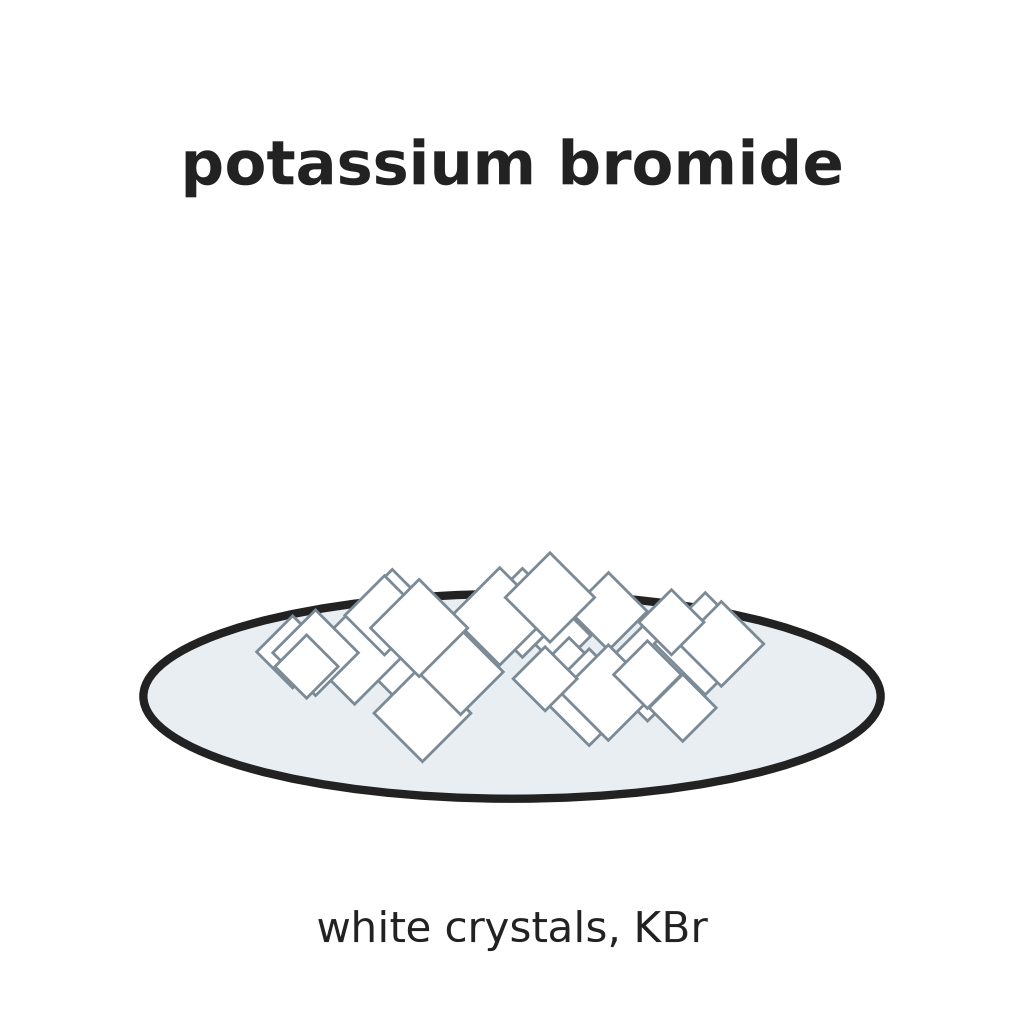 Potassium Bromide12 g
 Gelatin Powder19.4 g
Tools needed:
 Water
 Glass Beaker
 Glass Stirring Rod
 Balance Scale
2
2
Dissolve the silver
Dissolve the silver
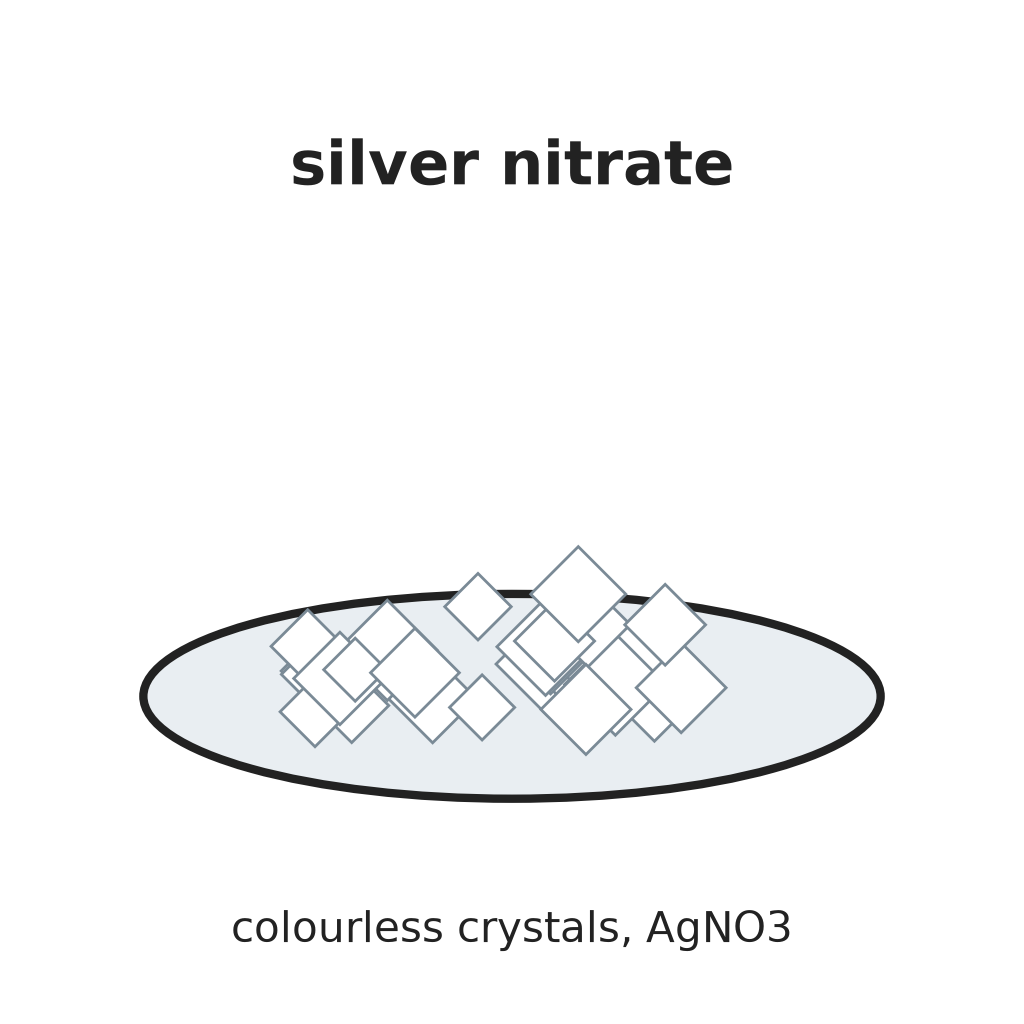
Dissolve 231 grains (15.0 g) of silver nitrate in 5 oz (142 ml) of water with gentle heat in the water bath. Add strong ammonia (0.880) a little at a time, stirring, until the precipitate that first forms dissolves again.
Materials for this step:
 Silver Nitrate15 g
Tools needed:
Water Strong Ammonia Solution (0.880)Glass BeakerGlass Stirring Rod
 Large Pot (lower, for water bath)
3
3
Melt the gelatin, never above 35 °C
Melt the gelatin, never above 35 °C
Stand both vessels in the pan of water, never above 35 °C, stirring, until the gelatin is perfectly liquid. Up to here ordinary light is fine.
Tools needed:
Large Pot (lower, for water bath) ThermometerGlass Stirring Rod
4
4
Add the silver under ruby light
Add the silver under ruby light
From now on, ruby light only. Pour the silver solution into the gelatin in a thin stream, stirring all the time. Rinse the silver beaker with about 1 oz (28 ml) of warm water into the emulsion.
Tools needed:
 Ruby SafelightGlass BeakerGlass Stirring RodWater
5
5
Ripen
Ripen
Leave the emulsion in the hot water for half to three-quarters of an hour.
Tools needed:
Large Pot (lower, for water bath)Ruby Safelight6
6
Set in the dark
Set in the dark
Pour it into a flat dish, put it in a light-tight box and let it set for at least 24 hours; two or three days is better.
Tools needed:
 Shallow Ceramic Trays
 Light-Tight Box
7
7
Wash through canvas
Wash through canvas
Scrape the set jelly onto wet coarse canvas and tie it into a bag. Knead it under water so it squeezes through in threads. Pour off the water, cover with fresh, wait 5 minutes and pour off: six to eight times.
Tools needed:
 Spatula
 Canvas Fabric
 StringWaterRuby Safelight
8
8
Drain and store
Drain and store
Turn the threads onto a strainer covered with a cloth and let the water drain. Rinse with methylated spirit and keep in a lidded jar until coating.
Tools needed:
 Strainer
 Muslin Cloth
 Denatured Alcohol
 Glass Jars with LidsRuby Safelight
9
9
Coat the paper
Coat the paper
Melt the emulsion in the warm water bath. Lay a sheet of paper flat on a levelled glass slab. Pour emulsion on the middle to cover nearly half the sheet, and spread it to each end with a glass rod 2 inches wider than the sheet, held just off the surface.
Materials for this step:
 Paper10 sheets
Tools needed:
Large Pot (lower, for water bath) Glass Sheet
 Spirit LevelGlass Stirring RodRuby Safelight
10
10
Dry
Dry
When the coat has set, move the sheets to a rack in a drying box with a current of air. They dry in 12 to 48 hours. Keep them in the light-tight box.
Tools needed:
 Drying RackLight-Tight Box
Materials
4- Placeholder
- 19.4 gPlaceholder
- 15 gPlaceholder
- 10 sheetsPlaceholder
Tools Required
20- Placeholder
- Placeholder
- Placeholder
- Placeholder
- Placeholder
- Placeholder
- Placeholder
- Placeholder
- Placeholder
- Placeholder
- Placeholder
- Placeholder
- Placeholder
- Placeholder
- Placeholder
- Placeholder
- Placeholder
- Placeholder
- Placeholder
- Placeholder
This blueprint makes
Related Blueprints
These blueprints share knowledge with this one — techniques, materials, or principles that connect them in the learning graph.


CC0 Public Domain
This blueprint is released under CC0. You are free to copy, modify, distribute, and use this work for any purpose, without asking permission.
Support the Maker by purchasing products through their Blueprint where they earn a Maker Commission set by Vendors, or create a new iteration of this Blueprint and include it as a connection in your own Blueprint to share revenue.