Cable Knitting — Crossing Stitches to Create Twisted Rope Patterns
Cable knitting creates three-dimensional rope-like patterns by physically crossing groups of stitches over one another. A cable is made by taking a set of stitches off the needle, holding them in front or behind the work on a short auxiliary needle (a cable needle), knitting the next set of stitches, then knitting the held stitches. The crossed stitches twist around each other like the strands of a rope — hence the name cable. The technique produces a raised, sculptural texture that stands out from the flat stockinette background.
Cable knitting is most strongly associated with the Aran Islands off the west coast of Ireland, where Aran sweaters (also called fisherman's sweaters or ganseys) feature elaborate panels of interlocking cables, diamonds, honeycombs, and moss stitch borders. The popular mythology claims that each island family had its own unique pattern and that drowned fishermen could be identified by their sweater cables — this is romantic but unsupported by historical evidence. What is documented is that Aran knitting as a cottage industry dates from the early 20th century, promoted by the Congested Districts Board to provide income for island families.
Cables pull the fabric inward because the crossed stitches compress the fabric width. A cabled swatch is significantly narrower than a stockinette swatch with the same number of stitches. This is why cable patterns always list a separate gauge measurement and why cable garments require more stitches than their stockinette equivalents. The fabric is also thicker and less stretchy than plain knitting — cables create a dense, wind-resistant textile, which is why they appear on outerwear and heavy winter garments.
Instructions
Gather materials — yarn, needles, and a cable needle
Gather materials — yarn, needles, and a cable needle
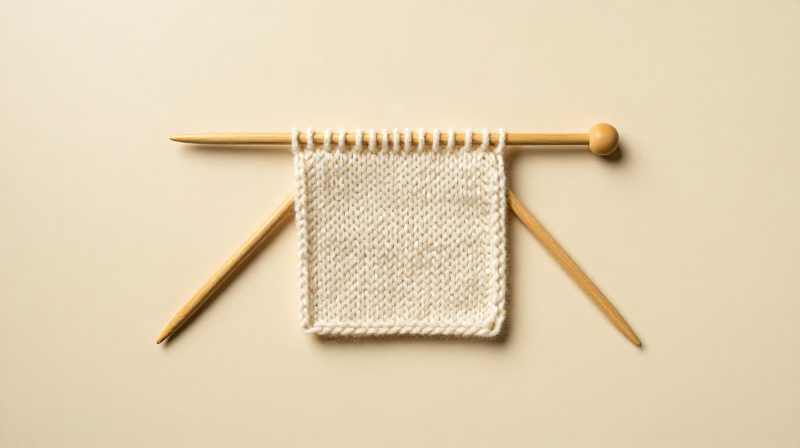
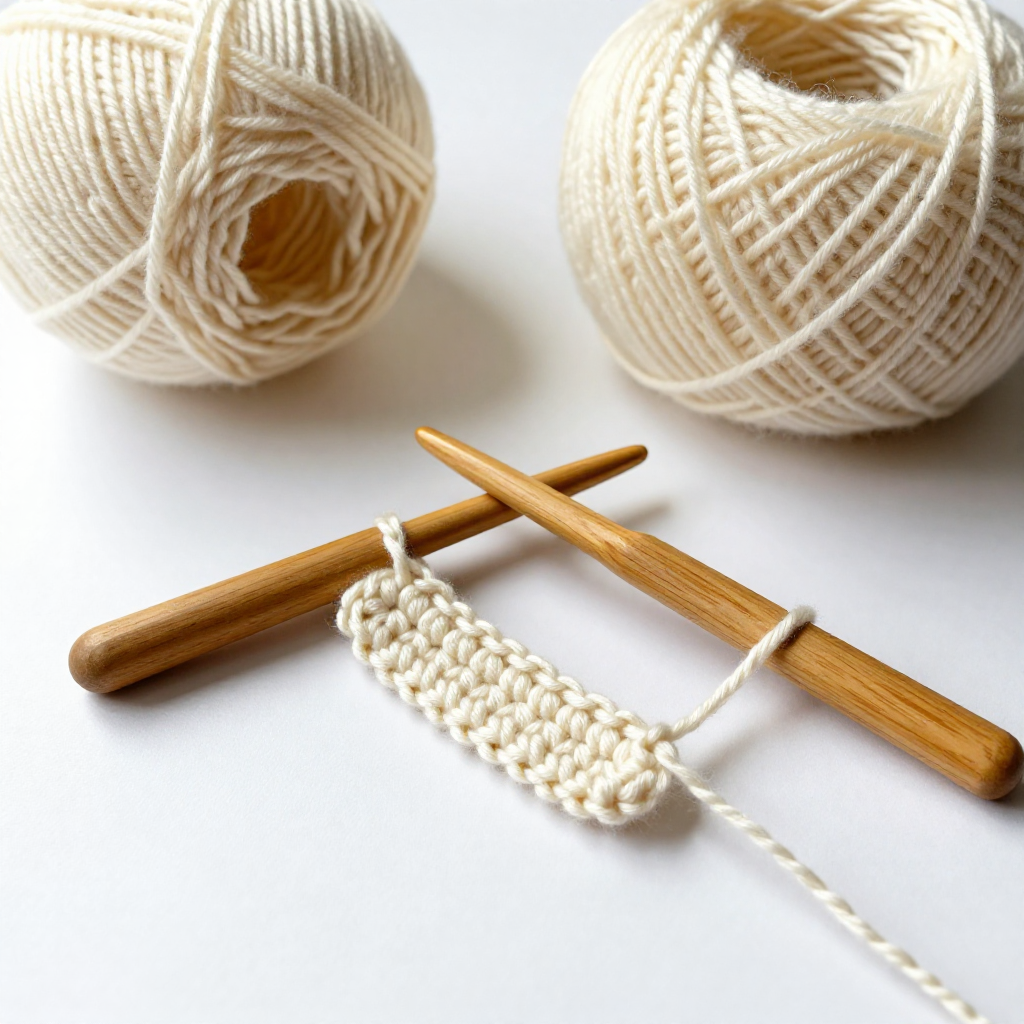
Use medium-weight wool yarn (worsted or aran weight) in a light colour — cables are three-dimensional and show best in light, solid colours where shadows define the pattern. Dark or variegated yarn hides the cable texture. You need straight knitting needles (4.5-5 mm) and a cable needle — a short, double-pointed needle with a bend or hook in the middle that prevents stitches from sliding off while held. If you do not have a cable needle, a short DPN of the same size works, but the stitches tend to slide unless you are careful.
Materials for this step:
 Wool Yarn Skein (Undyed)1 piece
 Knitting Needles1 pair
Cast on for a cable swatch
Cast on for a cable swatch
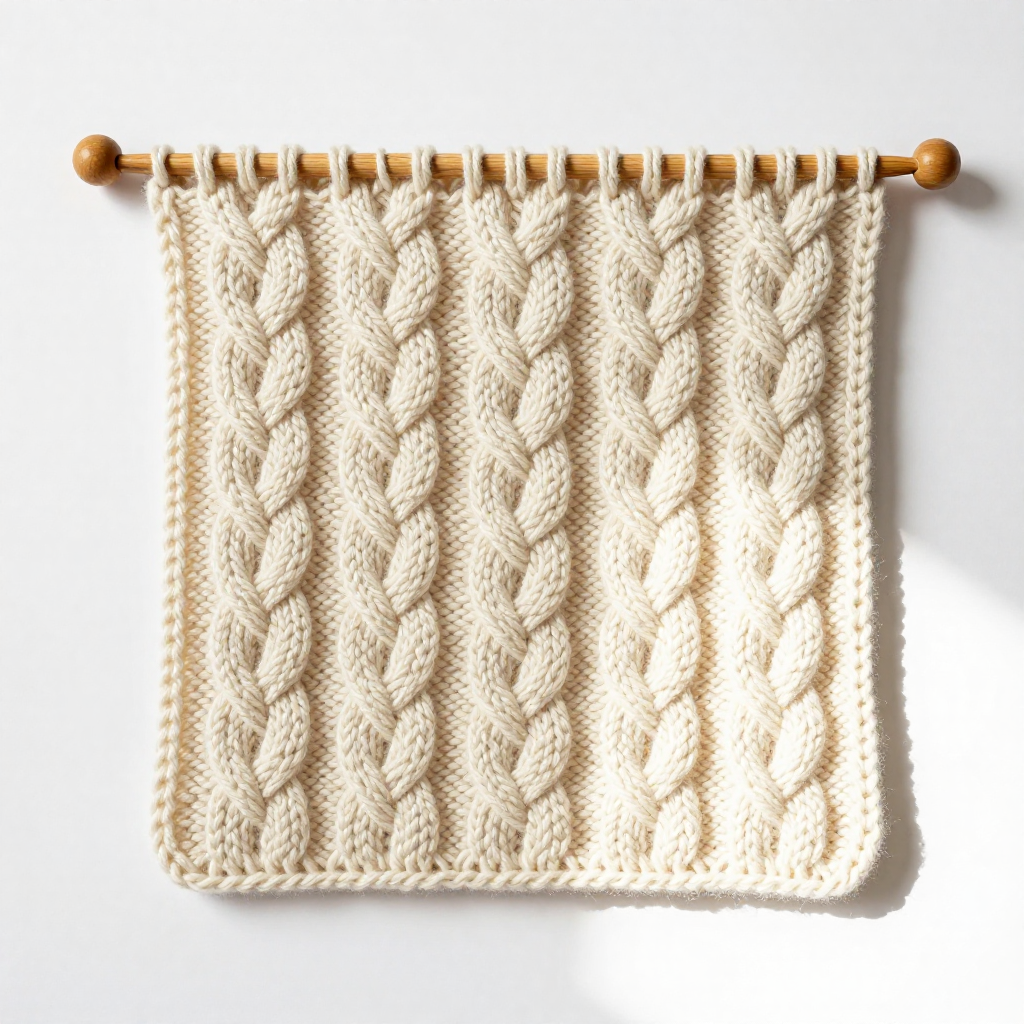
Cast on 24 stitches. The cable panel will occupy the centre 8 stitches, flanked by 8 stitches of reverse stockinette (purl on right side) on each side. The purl background makes the cable stand out in high relief — this is standard practice in cable patterns. A cable on a stockinette background is less visible because both the cable and the background have the same smooth texture. Row 1 (right side): purl 8, knit 8, purl 8. Row 2 (wrong side): knit 8, purl 8, knit 8. Repeat these two rows for 4 rows to establish the base before your first cable crossing.
Set up the first cable crossing
Set up the first cable crossing
A basic rope cable uses a C4F or C4B crossing on 8 stitches. C4F means 'cable 4 front': slip 4 stitches onto the cable needle and hold them in front of the work. C4B means 'cable 4 back': hold them behind the work. Front cables twist to the left; back cables twist to the right. For a left-twisting rope: on row 5 (right side), purl 8, then slip the next 4 stitches onto the cable needle and hold in front.
Cross the stitches — the cable move
Cross the stitches — the cable move
With 4 stitches held on the cable needle in front of the work, knit the next 4 stitches from the left needle as normal. The cable needle dangles in front while you do this — it feels awkward the first time. Once those 4 stitches are knitted, knit the 4 stitches from the cable needle. Then purl the remaining 8 stitches. You have crossed the centre 8 stitches: the right group now sits on the left, and the left group sits on the right. This crossing is what creates the twist. The yarn travels further at the crossing point, which is why cables use more yarn and pull the fabric narrower.
Work the plain rows between crossings
Work the plain rows between crossings
After the crossing row, work 5 rows of plain knitting (right side: purl 8, knit 8, purl 8; wrong side: knit 8, purl 8, knit 8). Cables are not crossed on every row — the rows between crossings allow the twist to develop and the fabric to maintain its structure. The number of plain rows between crossings determines the cable's appearance: fewer rows (every 4th row) creates a tightly wound rope; more rows (every 8th or 10th row) creates a loose, elongated twist. A standard rope cable crosses every 6th row. On row 11, make the next cable crossing, identical to the first.
Continue the cable pattern
Continue the cable pattern
Repeat the pattern: cross on the cable row, work 5 plain rows, cross again. After 4-5 crossings (about 25-30 rows), the cable becomes clearly visible — a rope twisting up the centre of the swatch, raised above the reverse stockinette background. Feel the cable with your fingers: it is thick and firm, almost rigid compared to the soft purl background. This structural difference is why cables are used on the front panels and sleeves of Aran sweaters — the cables provide wind resistance and insulation while the fabric between them remains flexible.
Try the opposite direction — C4B
Try the opposite direction — C4B
Knit a second swatch using C4B instead of C4F: slip 4 stitches onto the cable needle and hold behind the work (instead of in front), knit 4 from the left needle, then knit 4 from the cable needle. The cable now twists to the right instead of the left. Place both swatches side by side — the twist directions are mirror images. Many cable patterns use both left and right twists together: a pair of ropes, one twisting left and one twisting right, creates a symmetrical V-shaped chevron called a horseshoe cable. The direction of the cable needle (front vs back) is the only difference between left and right twists.
Understand cable width and gauge
Understand cable width and gauge
Measure the width of your cable swatch and compare it to a stockinette swatch with the same number of stitches and same yarn. The cable swatch is narrower — typically 10-15% narrower for a single cable panel, and up to 30% narrower for heavily cabled fabric like a full Aran panel. This is because the crossing physically pulls stitches from side to side, compressing the fabric horizontally. When designing a cable garment, you must swatch in the cable pattern and measure gauge from the cable swatch, not from stockinette. Using stockinette gauge for a cable pattern results in a garment that is too small.
Learn cable notation
Learn cable notation
Cable patterns use standardised notation. C4F: cross 4 front (slip 4 to cable needle front, knit 4, knit 4 from cable needle). C4B: cross 4 back. C6F: cross 6 front (3 stitches cross over 3). T3F: twist 3 front (1 or 2 stitches cross over 1, creating a diagonal travelling stitch). The number tells you how many stitches are involved in total — C4 means 4 stitches (2 cross over 2), C6 means 6 stitches (3 cross over 3). Larger cables (C8, C10) create wide, dramatic ropes but require more rows between crossings to avoid bunching. On a cable chart, the crossing is shown with a diagonal line symbol indicating direction.
Combine cables with other textures
Combine cables with other textures
Traditional Aran sweaters combine cables with other textured stitch patterns: moss stitch (alternating knit and purl) fills the panels between cables, seed stitch borders frame each cable panel, and honeycomb patterns (alternating C4F and C4B in a checkerboard) fill wide panels. The combination of raised cables, textured moss stitch, and flat reverse stockinette creates a fabric with extraordinary depth and visual complexity — all from the same two stitches (knit and purl) plus the cable crossing. The entire vocabulary of Aran knitting is just these elements arranged in different combinations.
Practice cable knitting without a cable needle
Practice cable knitting without a cable needle
Experienced cable knitters often work cables without a cable needle — it is faster and eliminates fumbling with the extra needle. For a C4F without a cable needle: insert the right needle into the 5th and 6th stitches on the left needle (skipping the first 4), slide all 6 stitches off the left needle (the first 4 are now free-hanging), quickly slip the 4 free stitches back onto the left needle, then slip the 2 held stitches back onto the left needle in front of them. Knit all 8 stitches in the new order. This sounds terrifying — free-hanging stitches — but wool yarn grips itself and the stitches rarely drop if you work quickly and confidently. Practice on a swatch first, not on a finished garment.
Materials
2- 1 piecePlaceholder
- 1 pairPlaceholder
Connected Blueprint Materials
Related Blueprints
These blueprints share knowledge with this one — techniques, materials, or principles that connect them in the learning graph.
Related blueprints
Other builds that share materials, tools, or techniques with this one.


CC0 Public Domain
This blueprint is released under CC0. You are free to copy, modify, distribute, and use this work for any purpose, without asking permission.
Support the Maker by purchasing products through their Blueprint where they earn a Maker Commission set by Vendors, or create a new iteration of this Blueprint and include it as a connection in your own Blueprint to share revenue.