ART
BEAUTY & WELLNESS
CRAFT
CULTURE & HISTORY
ENTERTAINMENT
ENVIRONMENT
FOOD & DRINKS
REVERSE ENGINEERING
SCIENCES
SPORTS
TECHNOLOGY
WEARABLES
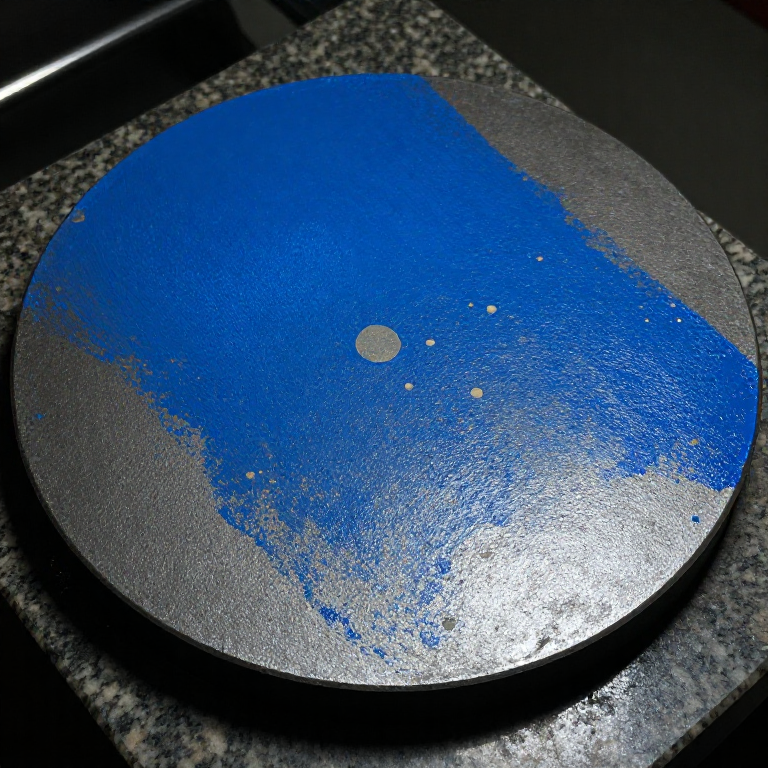


Checking Flatness with a Surface Plate and Marking Blue
Every measurement so far has produced a number. Flatness is different: there is no sensible way to measure it with a scale, because the question is not how big the surface is but whether all of it lies in one plane — and that is a question about thousands of points at once.
So you do not measure it. You compare it against a surface already known to be flat, and let a film of coloured grease report where the two touch. What comes back is not a figure but a PICTURE: a map of the high spots, drawn directly onto the work at the exact places that need attention.
It is the oldest precision technique still in daily use, it needs no power and almost no money, and it is how the first flat surfaces in history were made — before any flat reference existed to copy.
Intermediate
4 hours
Instructions
1
1
Understand what the plate is, and treat it accordingly
Understand what the plate is, and treat it accordingly
A surface plate — granite or cast iron — is the reference plane your workshop is built on. Everything else in this batch ultimately gets checked against it.
Clean it before and after every use, never set a tool down on it, and never slide anything sharp across it. Granite does not rust and does not raise a burr when struck, which is why it displaced cast iron for this job; but it does chip, and a chip at the edge is a permanent error in the reference.
Keep it covered when it is not in use. Dust between the plate and the work is a false high spot, and you will spend an hour scraping metal off a place that was already flat.
Tools needed:
 Surface Plate
 Cotton Cloth
 Isopropyl Alcohol 99%
2
2
Spread the blue thin enough that it is barely blue
Spread the blue thin enough that it is barely blue
Put a trace of engineer's blue on the plate and spread it out with a clean pad or the heel of your hand until it is an even, almost translucent haze. You should be able to see the plate through it.
The usual beginner's error is far too much. A thick film bridges the low places and marks them as well, so the whole surface comes back blue and tells you nothing. The film has to be thinner than the errors you are hunting, or it cannot distinguish them.
Engineer's blue is a pigment in a non-drying oil for exactly this reason: it stays mobile, transfers on contact, and wipes off. It is a marking medium, not a paint, and it is not a lubricant — do not let it live on the plate between jobs.
Materials for this step:
 Engineer's Blue1 piece
Tools needed:
Surface PlateCotton Cloth3
3
Rub the work and read the map
Rub the work and read the map
Lay the work face-down on the blued plate and move it in a short figure-of-eight for a few strokes with no downward pressure beyond the work's own weight. Lift it straight off and look at the face.
Blue has transferred where the work TOUCHED, and touching means high. Bare metal is low and has not reached the plate at all. That is the whole convention, and it is worth saying out loud because the reverse convention exists too: blue put on the WORK and rubbed on a mating part marks the high spots of the part. Whichever surface carries the blue, the colour transfers to the high places on the other one.
Do not press. Pressure flexes the work and prints spots that are not there, and a thin part will happily report itself flat while it is being held flat.
Materials for this step:
Engineer's Blue1 pieceTools needed:
Surface Plate Steel Bar Stock
4
4
Count the points and know what the count is worth
Count the points and know what the count is worth
Loading Jupyter Notebook...
Materials for this step:
Engineer's Blue1 pieceTools needed:
Surface Plate Magnifying Glass
 Calculator
5
5
Put a number on it with a feeler gauge and a straightedge
Put a number on it with a feeler gauge and a straightedge
When you do need a figure rather than a picture, lay a straightedge across the surface and try feeler gauges under it at the worst place. The thinnest leaf that will not go under and the thickest that will bracket the gap.
Do this along both diagonals and both edges. A surface can be perfectly straight in every direction you tried and still be twisted, and the diagonals are what catch that.
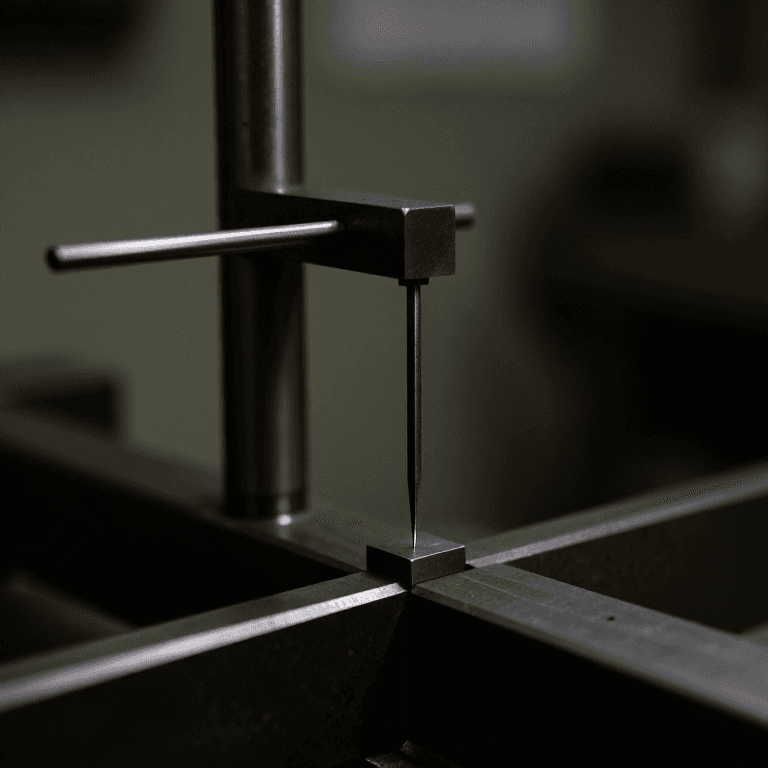
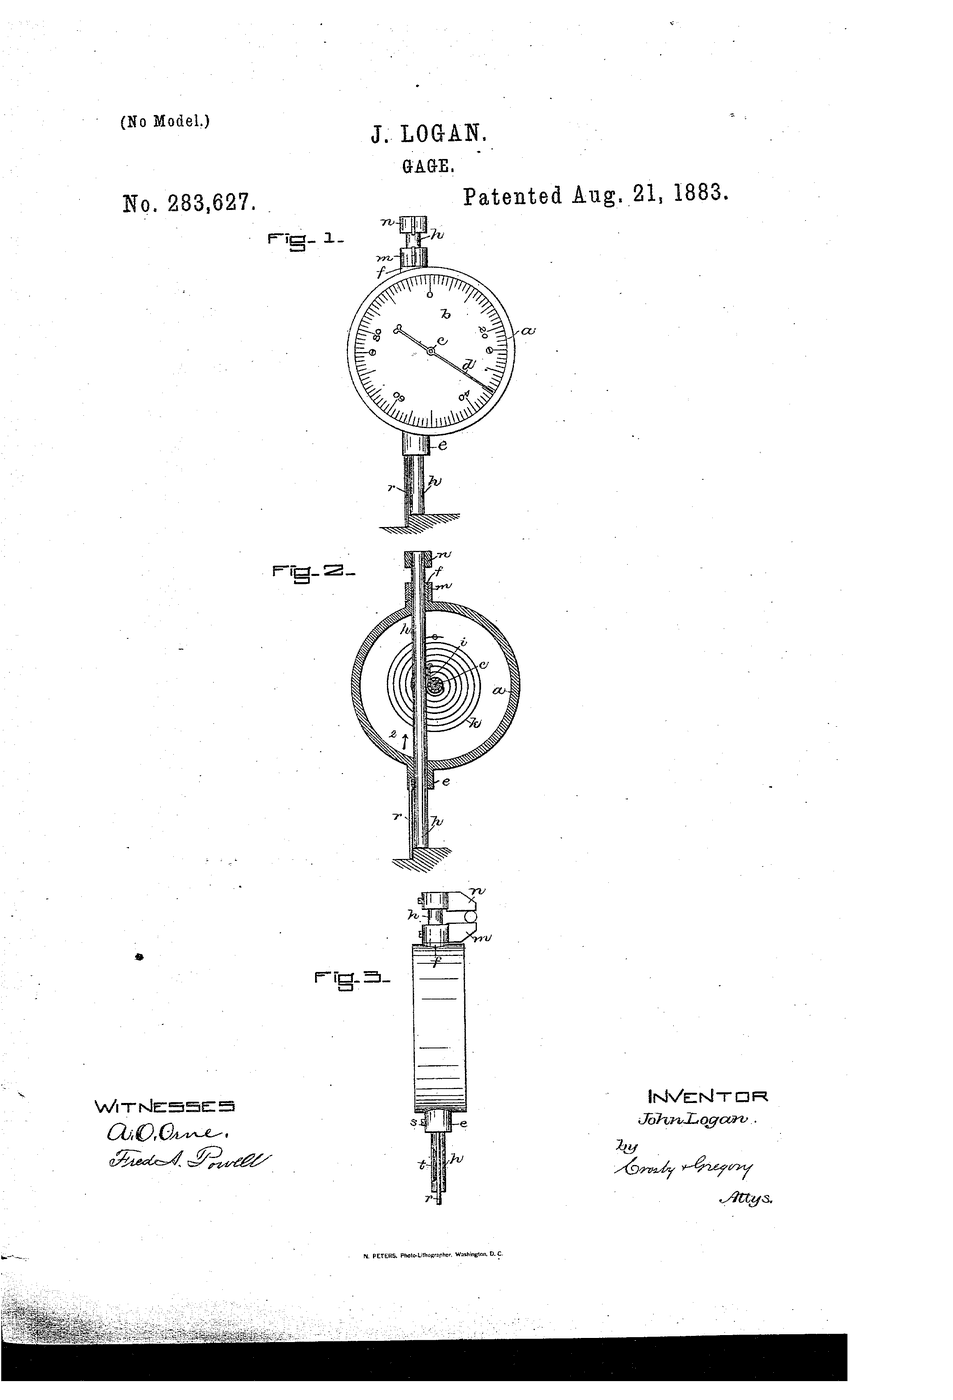
For real numbers across a whole plane, a dial indicator on a surface gauge swept across the work on the plate gives a height map directly, and that is what the surface gauge blueprint here was built for. The blue tells you WHERE; the indicator tells you HOW MUCH; you generally want both.
Tools needed:
 Straight Edge
 Feeler Gauge Set
 Dial Indicator
6
6
Three plates, and flatness from nothing
Three plates, and flatness from nothing
If you rub two plates together and scrape off what marks, they converge — but onto a matched pair of curves, one hollow and one domed, not onto a plane. Two surfaces can fit each other perfectly and both be wrong.
Three defeats it. Rub A against B and correct, then B against C, then C against A, and go round again. Each surface must now fit two others that also fit each other, and the only shape that satisfies all three pairings is a plane. Nothing flat had to exist before you started.
This is how the first reference planes were made, and it is still how masters are generated today. It is also the clearest example in all of metrology of the difference between AGREEMENT and TRUTH: two instruments that agree may simply be wrong together, and it takes a third to find out.
Materials for this step:
Engineer's Blue1 pieceTools needed:
Surface PlateCotton ClothTools Required
9- Placeholder
- Placeholder
- Placeholder
- Placeholder
- Placeholder
- Placeholder
- Placeholder
- Placeholder
- Placeholder
Related Blueprints
These blueprints share knowledge with this one — techniques, materials, or principles that connect them in the learning graph.


CC0 Public Domain
This blueprint is released under CC0. You are free to copy, modify, distribute, and use this work for any purpose, without asking permission.
Support the Maker by purchasing products through their Blueprint where they earn a Maker Commission set by Vendors, or create a new iteration of this Blueprint and include it as a connection in your own Blueprint to share revenue.