Celadon Clay Collection — Gangjin Iron-Rich Clay Harvesting and Aging
Instructions
Understanding the Characteristics of Celadon Clay
Understanding the Characteristics of Celadon Clay
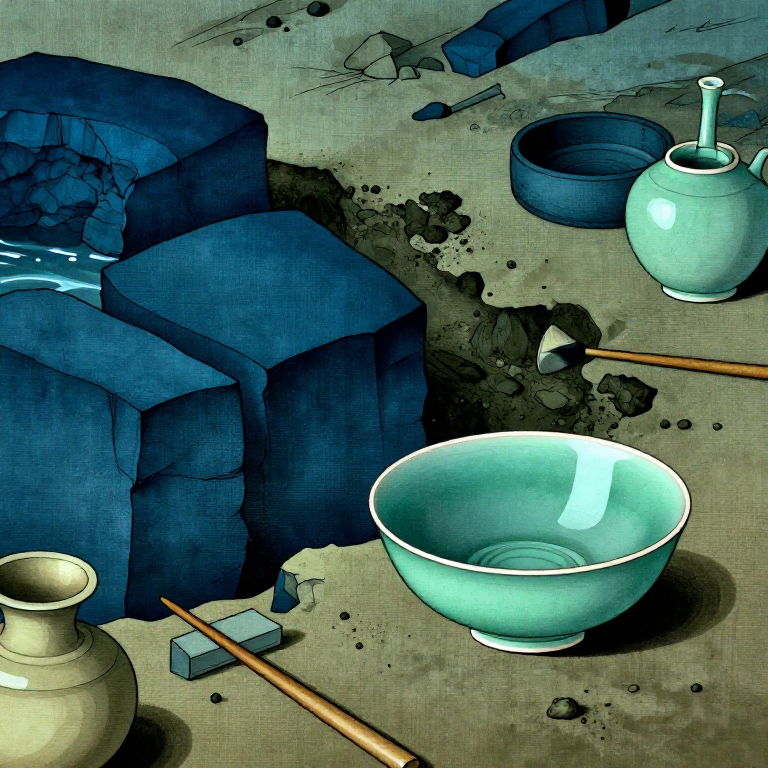
The jade-green color (翡色) of Goryeo celadon originates from the iron oxide content in the clay body. Celadon clay is iron-bearing clay containing 1~3% iron oxide (Fe2O3). During reduction firing, iron oxide transforms into ferrous oxide (FeO) and creates a distinctive jade-green color. If there is too much iron, it becomes brown; if too little, it becomes white.
Clay Source Identification
Clay Source Identification
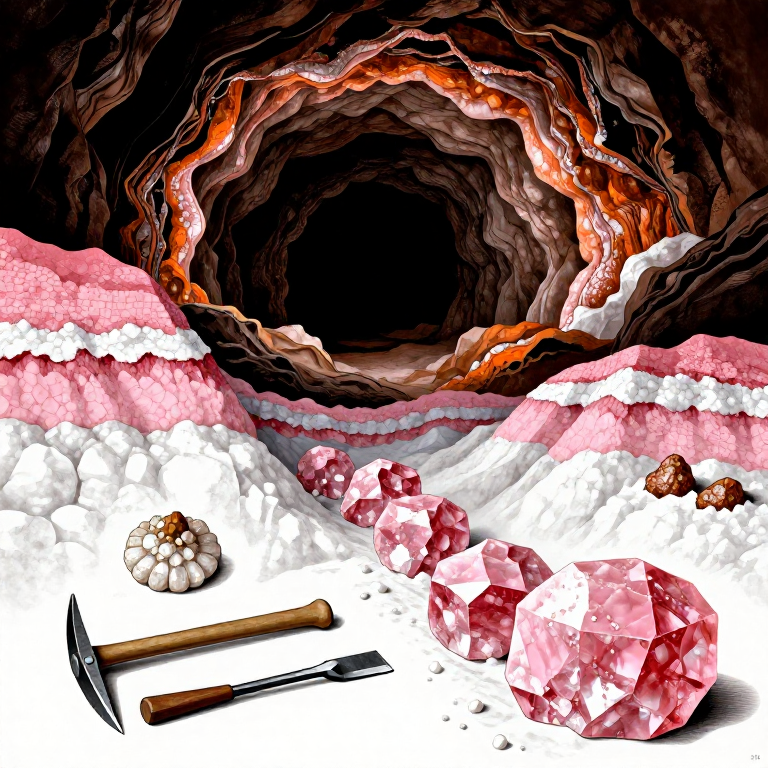
Gangjin-gun, Jeollanam-do and Buan-gun, Jeollabuk-do are representative clay sources for Goryeo celadon. In the Daegu-myeon area of Gangjin, clay layers formed by the weathering of granite are widely distributed. Grayish-blue clay layers are found on hillsides or valley slopes. The clay layers are usually located 50cm to 2m below the ground surface.
Mining Tool Preparation
Mining Tool Preparation
Prepare the tools necessary for clay mining. Use a shovel and a pickaxe to remove the topsoil and access the clay layer. A bucket and a tarpaulin are used to transport the excavated clay. A magnifying glass and a magnet help roughly confirm the iron content of the clay at the site.
Materials for this step:
 Waterproof Tarpaulin1 piece
 Plastic Bucket 20L3 pieces
Tools needed:
 Spade Shovel
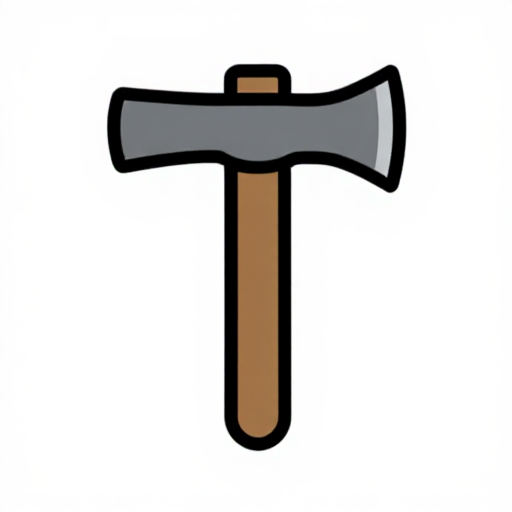 Pickaxe
 Magnifying Glass
 Small Magnet
Removal of topsoil and exposure of clay layer
Removal of topsoil and exposure of clay layer
At the selected mining point, remove the topsoil (organic layer) with a shovel to a depth of 30~50cm. Soil mixed with leaves, humus, and sand is unsuitable for celadon. Begin mining when a uniform clay layer of gray-blue or gray-brown color appears. The more uniform the color of the clay layer, the better the quality.
Tools needed:
Spade ShovelPickaxeClay Mining
Clay Mining
Remove the clay layer with a pickaxe and place it in a bucket with a shovel. Be careful not to mix in stones, tree roots, and sand. Mine approximately 20~30kg from one location. If the clay is too dry, it breaks easily, so it is best to mine the day after it rains.
Materials for this step:
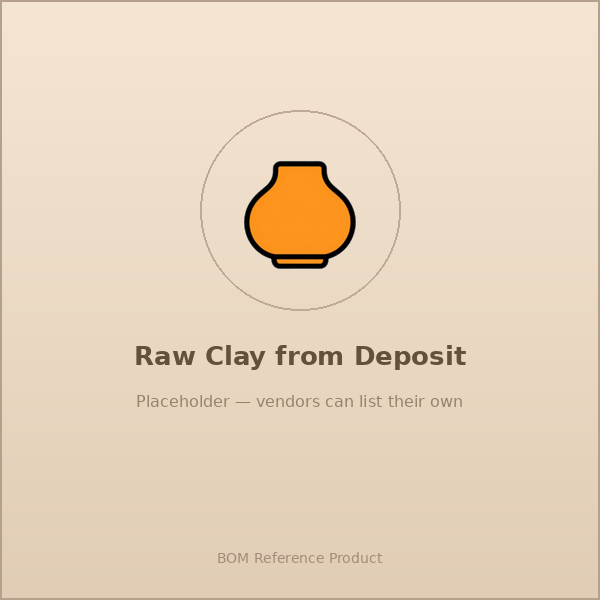 Raw Clay25 kg
Tools needed:
Spade ShovelPickaxeNatural weathering (air drying)
Natural weathering (air drying)
Mined clay is spread on a waterproof sheet and naturally weathered outdoors for 2-4 weeks. Exposure to rain, wind, and sunlight loosens the bonds between clay particles and decomposes impurities. This process is called air drying (風乾), which increases the plasticity of the clay. The clay is occasionally turned over to ensure even weathering.
Tools needed:
 Garden Rake
Sobi (Soaking and dispersing in water)
Sobi (Soaking and dispersing in water)
Place weathered clay lumps in a large container and pour water about 3 times the weight of the clay. After completely soaking for 24~48 hours, stir with a wooden rod to create a suspension. This process is called sobi (水飛) and evenly disperses clay particles in water. Large particles and sand settle to the bottom.
Materials for this step:
 Water75 liters
Tools needed:
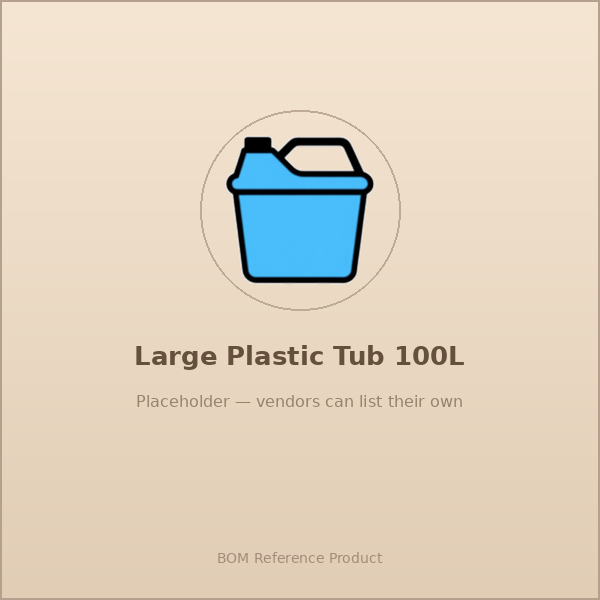 Large Plastic Tub 100L
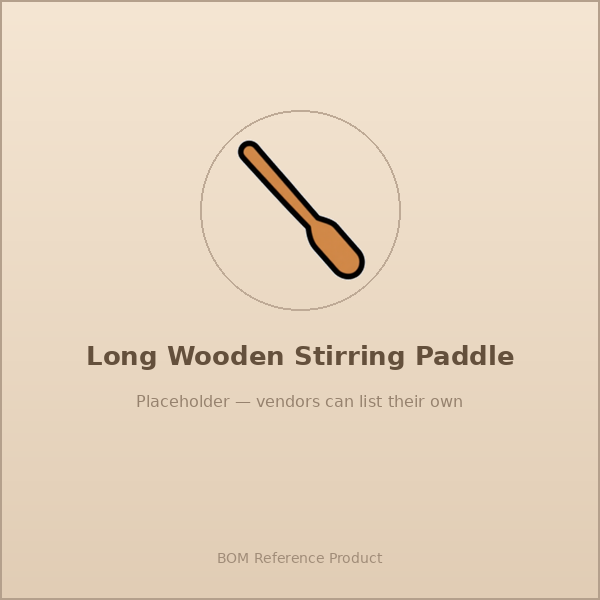 Wooden Stirring Paddle
Sieving
Sieving
Pour the clay suspension into a 60~80 mesh sieve and filter. Coarse particles such as stones, sand, and organic matter are filtered out. The filtered suspension is then passed through a 120 mesh fine sieve for secondary filtration. After this double filtration process, a fine clay suspension with uniform particle size is obtained.
Tools needed:
 60-Mesh Sieve
 120-Mesh Sieve
 Collection Basin
Precipitation and Dehydration
Precipitation and Dehydration
Place the filtered clay liquid in a wide container and let it sit undisturbed for 3-5 days. Once the clay particles settle to the bottom and the water above becomes clear, carefully pour off the water. Place the remaining clay slurry on a plaster board or cloth bag to remove additional moisture. Dehydrate until it reaches a dough-like consistency.
Materials for this step:
 Plaster Bat2 pieces
 Cotton Muslin Cloth1 piece
Tools needed:
Large Plastic Tub 100L Ladle
LadleAging (Maturing)
Aging (Maturing)
Wrap dehydrated clay with vinyl and mature it in a cool place for a minimum of 3-6 months. Traditionally, it was aged for more than 1 year. During aging, microorganisms decompose organic matter and the charge on the clay particle surface changes, greatly improving plasticity. The longer it ages, the easier it becomes to shape.
Materials for this step:
 Plastic Wrap5 meters
Clay Kneading (Wedging)
Clay Kneading (Wedging)
Remove the matured clay and repeatedly knead it on the work table. This process is called wedging (練土) or rope-making. Repeat pushing, folding, and pushing the clay 100-200 times. The purpose is to completely remove air bubbles and make the moisture and particles uniform.
Tools needed:
 Wedging Table
 Wire Clay Cutter
Quality Inspection and Storage
Quality Inspection and Storage
Cut the finished clay thinly and check the cross-section. It passes if there are no air bubbles and the color is uniform. Take a small amount to make a test piece and perform reduction firing at 1250~1300 degrees to check if the color develops. Store the qualified clay sealed in vinyl in a cool place.
Materials for this step:
Plastic Wrap2 meters Airtight Storage Container1 piece
Tools needed:
Wire Clay CutterMaterials
8- 1 piecePlaceholder
- 3 piecesPlaceholder
- Placeholder
- 2 piecesPlaceholder
- 1 piecePlaceholder
- 7 metersPlaceholder
- 1 piecePlaceholder
Tools Required
13- Placeholder
- Placeholder
- Placeholder
- Placeholder
- Placeholder
- Placeholder
- Placeholder
- Placeholder
- Placeholder
- Placeholder
- Placeholder
Recommended for this build
Products makers often use with builds like this one.
 Cloth (Straining)Frequently used with this build's materials
 CharcoalFrequently used with this build's materials
 Distilled WaterFrequently used with this build's materials
 Leather Gauntlet GlovesFrequently used with this build's materials
 Charcoal Furnace (small)Frequently used with this build's materials
 Glass Storage Jar with LidFrequently used with this build's materials
 Large Cooking PotFrequently used with this build's materials
 Distilled Water (1 Liter)Frequently used with this build's materials
Related blueprints
Other builds that share materials, tools, or techniques with this one.
CC0 Public Domain
This blueprint is released under CC0. You are free to copy, modify, distribute, and use this work for any purpose, without asking permission.
Support the Maker by purchasing products through their Blueprint where they earn a Maker Commission set by Vendors, or create a new iteration of this Blueprint and include it as a connection in your own Blueprint to share revenue.