Collecting Clay from Riverbanks — From Soil to Ceramic Paste
Guide for identifying, collecting, and preparing natural clay found in riverbanks, road cuts, and slopes in Brazil. From field testing to cleaning, sieving, and kneading for use in ceramics. Clay is the fundamental raw material for pottery, bricks, tiles, and sculptures.
Instructions
Understand what clay is
Understand what clay is
Clay is a hydrated aluminum silicate (Al2Si2O5(OH)4 for kaolinite) formed by the decomposition of feldspar and other minerals through weathering. Clay particles are smaller than 0.002 mm in diameter. When moist, clay is plastic and moldable. When fired above 600 degrees Celsius, it becomes permanently hard.
Identify collection sites
Identify collection sites
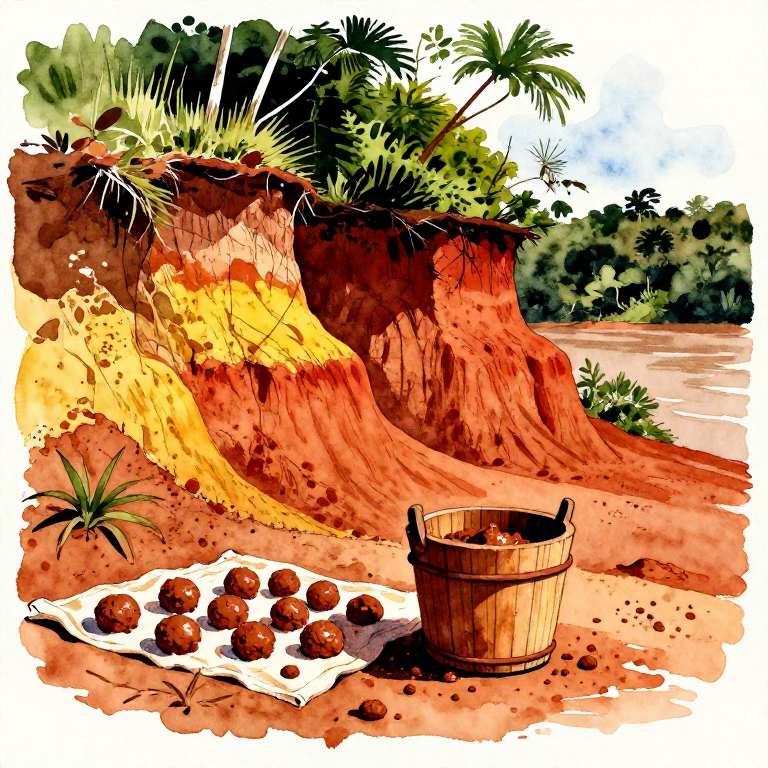
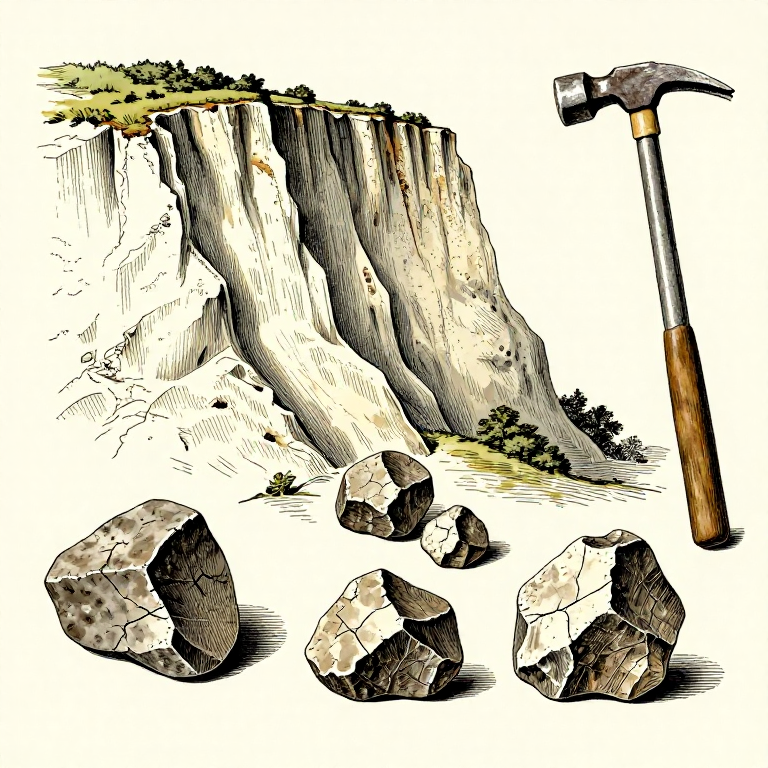
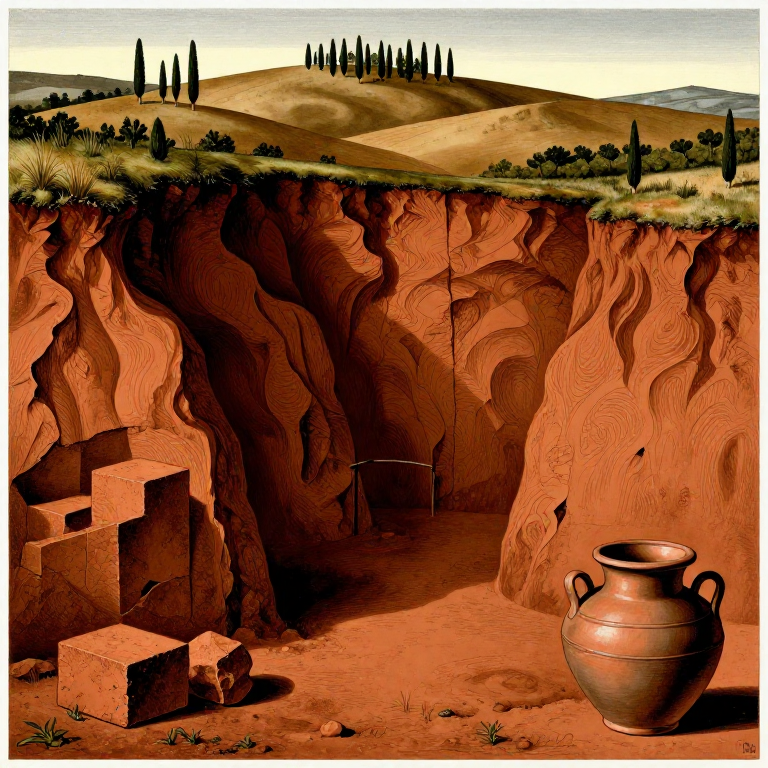
Look for clay in riverbanks, road cuts, construction excavations, and eroded slopes. Clay typically appears as a compact, smooth layer of uniform color (red, yellow, gray, or white) beneath the organic topsoil. In Brazil, red clays rich in iron oxide are the most common.
Perform the field test — ball
Perform the field test — ball
Take a handful of the material, moisten it slightly, and try to form a ball the size of an orange. If the material holds its shape without cracking and you can smooth the surface with your thumb, it is clay with good plasticity. If it crumbles, it is too sandy for ceramics.
Perform the roll test
Perform the roll test
Roll the moist clay into a cylinder (snake) 1 cm in diameter and 15 cm in length. Lift by one end: if it holds at least 5 cm without breaking, it has sufficient plasticity for pottery. If it breaks immediately, it needs more fine clay or bentonite as an additive.
Collect the clay
Collect the clay
With a shovel or hoe, remove the top layer of organic soil (10-20 cm). The clean clay is below. Dig clay blocks and place them in buckets. Collect at least 10-15 kg to have enough material after cleaning. Avoid mixing layers of different colors.
Materials for this step:
 Raw Clay from Riverbank15 kilogram
Tools needed:
 Digging Shovel
 20-Liter Bucket
Dry the clay blocks
Dry the clay blocks
Tools needed:
 Tarp or Plastic Sheet
Dissolve in water (slip)
Dissolve in water (slip)
Place the dry fragments in a large bucket and cover with water. Ratio: 1 part dry clay to 2 parts water. Let soak for 24-48 hours. The clay dissolves slowly, forming a liquid paste called slip. Stir well with a stick.
Materials for this step:
 Clean Water30 liters
Tools needed:
 Large Mixing Bucket
 Mixing Stick
Sieve the slip
Sieve the slip
Pass the liquid slip through a 60 mesh (0.25 mm) sieve to remove stones, roots, coarse sand and organic debris. The fine clay passes through the sieve with the water. The material retained in the sieve is discarded. Repeat if necessary with a finer sieve (80 mesh).
Tools needed:
 Fine Mesh Sieve (60-80 mesh)
Decanting the clay
Decanting the clay
Let the sieved slip rest in a bucket for 24 hours. The clay settles to the bottom. The clean water stays on top. Siphon or tilt the bucket to remove the clear water without disturbing the clay sediment. Repeat until the water comes out relatively clean.
Dry the dough to working consistency
Dry the dough to working consistency
Pour the settled clay onto a plaster bat or absorbent cloth. The plaster absorbs excess water quickly. If you don't have plaster, spread it on a cotton cloth in the sun. Turn the clay every few hours. The clay is ready when it has the consistency of modeling clay.
Tools needed:
 Plaster Bat or Absorbent Cloth
Knead the clay (wedging)
Knead the clay (wedging)
Tools needed:
 Wedging Table or Flat Board
Test the final plasticity
Test the final plasticity
Packing and storing
Packing and storing
Form the ready clay into 2-3 kg blocks. Wrap each block tightly in plastic film, eliminating all air. Store in a cool, shaded place. Well-wrapped clay maintains moisture for months. Before using, knead for 2-3 minutes to rehomogenize.
Materials for this step:
 Plastic Wrap1 roll
Document the source
Document the source
Tools needed:
 Field Notebook
Materials
3- 15 kilogramPlaceholder
- 30 litersPlaceholder
- 1 rollPlaceholder
Tools Required
9- Placeholder
- Placeholder
- Placeholder
- Placeholder
- Placeholder
- Placeholder
- Placeholder
- Placeholder
You can swap these in
Can't get one of the materials? Swap it for an equivalent — these work just as well.
- Instead of Distilled Water, try:
 Distilled Water (1 Liter)
 Water
Water - Instead of Field Notebook (Waterproof, Grid), try:
 Record Notebook
 - Instead of 20-Liter Bucket, try:
 Bucket (5-gallon)
 Metal Bucket
 - Instead of Fine Mesh Sieve (60-80 mesh), try:
 Coarse Sieve (5-10mm mesh)
 Classifier Sieve
 Vibrating Sieve (2mm mesh)
 Bamboo Sieve (3mm)
 Vibrating Sieve (1mm mesh)
 - Instead of Plastic Wrap, try:
 Plastic Sheet
 - Instead of Wedging Table, try:
 Packing Table
Recommended for this build
Products makers often use with builds like this one.
 Geological HammerUsed together and in similar builds
 Copper CoinUsed together and in similar builds
 Dilute Hydrochloric Acid (10% HCl)Used together and in similar builds
 Digital Kitchen ScaleUsed together and in similar builds
 Glass Dropper Bottle (Amber)Used together and in similar builds
 Dust MaskUsed together and in similar builds
 Wooden Mixing StickFrequently used with this build's materials
 Leather Work GlovesUsed together and in similar builds
Related blueprints
Other builds that share materials, tools, or techniques with this one.

CC0 Public Domain
This blueprint is released under CC0. You are free to copy, modify, distribute, and use this work for any purpose, without asking permission.
Support the Maker by purchasing products through their Blueprint where they earn a Maker Commission set by Vendors, or create a new iteration of this Blueprint and include it as a connection in your own Blueprint to share revenue.