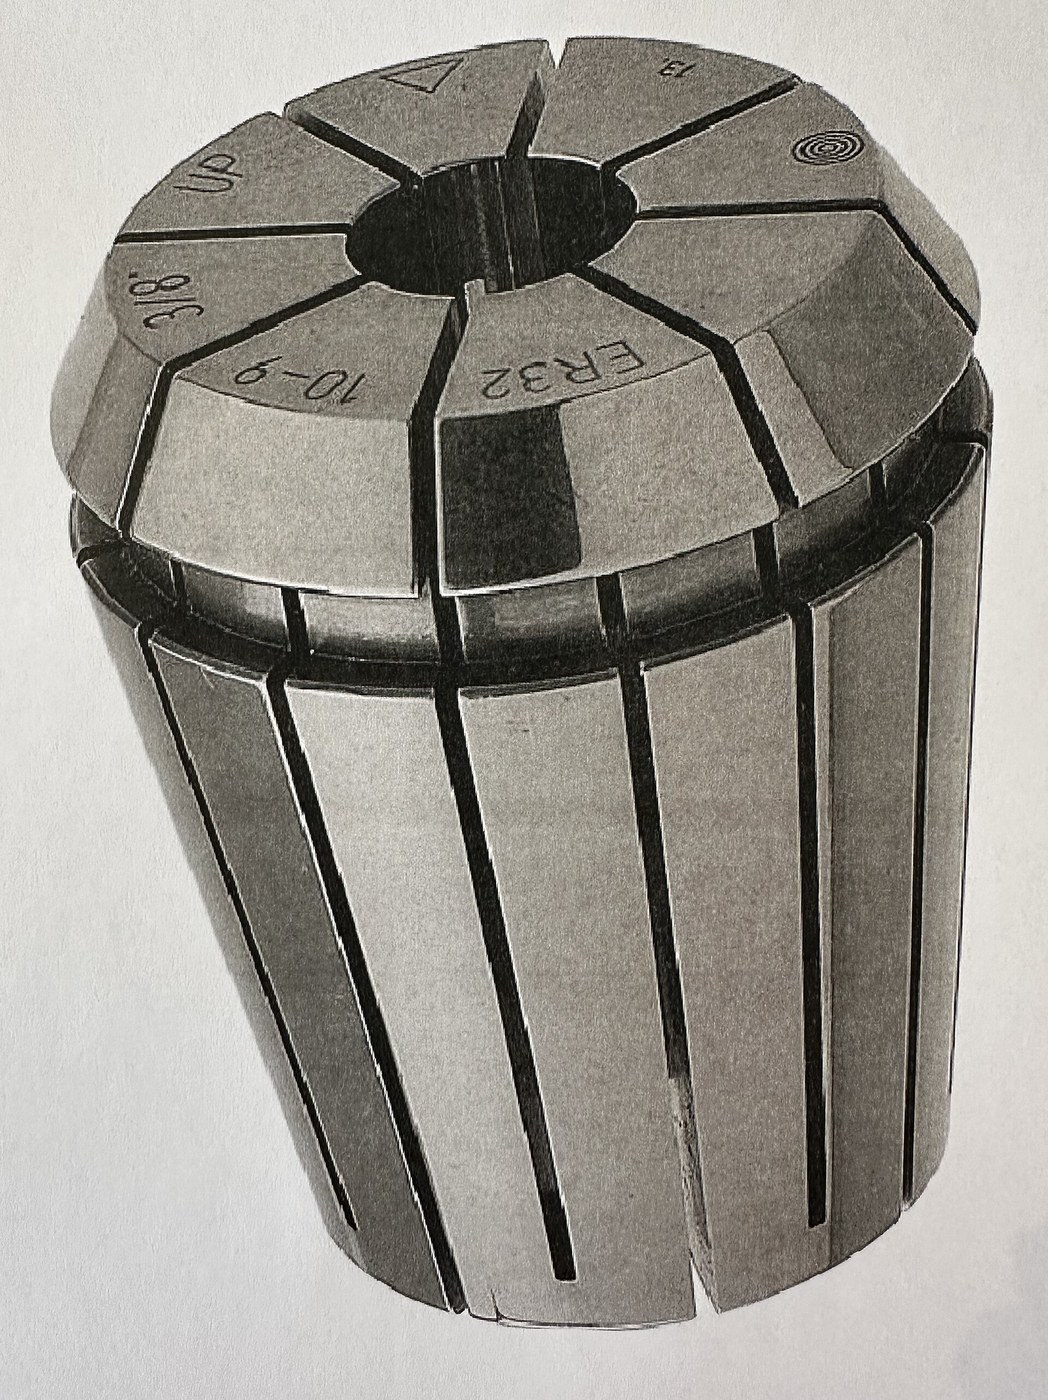


Collet Chuck
Instructions
Turn the tapered socket
Turn the tapered socket
The socket's taper angle and the collet's must match exactly, so cut both at one setting if you can.
- From 25 mm aluminium round bar, cut a body 70 mm long.
- Bore the mouth to an included taper of about 16 degrees, roughly 30 mm deep.
- Drill the rear right through at 12.5 mm for the drawbar.
- Record the exact taper you achieved.
Modern build spec (derived). Sixteen degrees included is in the same family as an ER collet's 16 degree half-angle geometry, which is shallow enough to grip firmly without wedging so hard the collet will not release. Real ER collets are hardened and ground steel; aluminium here demonstrates the principle and will wear.
Whatever taper you cut, cut the collet to match it. A mismatch of even a degree means the collet contacts at one end of the taper only, and it then closes unevenly — which is exactly the fault the design exists to avoid.Materials for this step:
 Aluminum Round Bar1 piece
Tools needed:
 Hacksaw Frame with Blades (10-Pack)
 Bench Vise
 Cordless Drill/Driver (20V)
 Drill Bit Set
 File Set
 Digital Caliper 6-Inch
Make the collet and cut the slits
Make the collet and cut the slits
The slits are what let a rigid ring behave like a spring.
- Turn or file a 40 mm length of round bar to match your socket taper.
- Drill it through at your chosen work diameter, say 8.0 mm.
- Tap the small end M12 for the drawbar, or fit a captured M12 nut.
- Saw three slits from the mouth, spaced 120 degrees apart, running about three quarters of the collet's length.
- Saw three more from the OPPOSITE end, offset 60 degrees from the first three.
Why alternating slits from both ends. Slits from one end only leave the collet stiff at the closed end and floppy at the open one, so it grips as a cone rather than a cylinder. Alternating them lets the whole length close in parallel. Commercial ER collets use the same trick with more, finer slits.
Cut the slits with a fine blade and deburr thoroughly — a burr inside the bore transfers straight into a scratch on every workpiece.Materials for this step:
Aluminum Round Bar1 pieceTools needed:
Hacksaw Frame with Blades (10-Pack) Coping SawBench ViseFile Set
 Combination SquareDigital Caliper 6-Inch
Fit the drawbar and close the collet
Fit the drawbar and close the collet
The drawbar converts a turning force into an axial pull, and the taper converts that into radial grip.
- Pass an M12 × 100 hex bolt through the body from the rear as the drawbar.
- Thread it into the collet's tapped end.
- Fit an M12 flat washer under the bolt head against the body's rear face.
- Insert an 8 mm test bar and tighten the drawbar by hand.
- Note the amount of turn between first contact and firm grip.
Materials for this step:
 M5 Flat Washer2 piecesAluminum Round Bar1 piece
Tools needed:
 Allen/Hex Key SetBench ViseDigital Caliper 6-Inch
Measure runout against a three-jaw chuck
Measure runout against a three-jaw chuck
The direct comparison, and the reason collets exist.
- Mount your collet body so it can rotate — a 608 bearing in a plywood block works.
- Grip a ground test bar and set a dial indicator against it 50 mm from the collet mouth.
- Rotate a full turn and record the total indicator reading.
- Now grip the SAME bar in a three-jaw drill chuck and repeat.
- Tabulate both.
Materials for this step:
 Ball Bearing2 pieces
 Plywood Sheet (3/4 inch, 24x30)1 sheet
Tools needed:
Digital Caliper 6-InchCordless Drill/Driver (20V)Drill Bit SetThe range problem, and history
The range problem, and history
Work out what a full set costs you. To cover 1-13 mm in 1 mm steps you need thirteen collets; commercial ER collets are specified to close about 1 mm each, and a full ER32 set is over a dozen pieces. A single drill chuck covers the same range for a fraction of the money and takes any size in between.
That is the entire trade. Concentricity and repeatability against range and cost. It is why a drill press has a scroll chuck and a milling spindle has collets: a drill's hole position is set by where you put the workpiece, while a milling cutter's runout goes straight into the finished surface and into uneven tooth wear.
History. Collets developed with the watch and instrument trades, where small work demanded concentricity that scroll chucks could not reach — the Swiss watchmaking industry's lathes used them from the nineteenth century. The ER system, now the workshop standard, dates from the mid twentieth century and its innovation was the double-angle taper letting one collet close over a useful range while still gripping on a full circle.
Its siblings: the three-jaw scroll chuck takes any size fast and centres approximately. The four-jaw independent chuck centres perfectly but must be dialled in by hand, taking minutes per part. The collet centres perfectly and instantly but only at one size. Fast, accurate, versatile — pick two, and the choice depends entirely on batch size.
Materials
4- 1 piecePlaceholder
- 2 piecesPlaceholder
- Placeholder
- 1 sheetPlaceholder
Tools Required
9- Placeholder
- Placeholder
- 1 vendor sell this, none ship to you yetPlaceholder
- Placeholder
- Placeholder
- Placeholder
- Placeholder
- Placeholder
- Placeholder
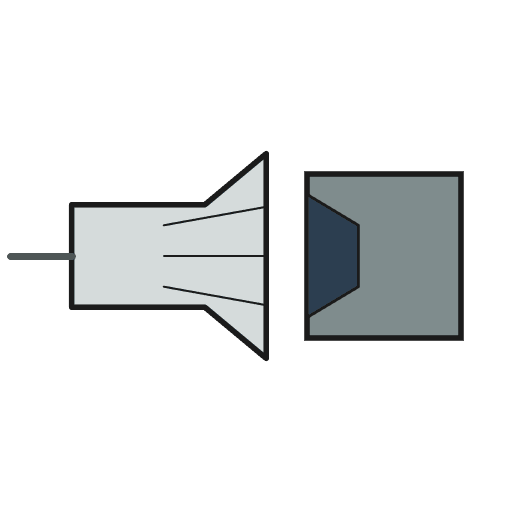
This blueprint makes
Related Blueprints
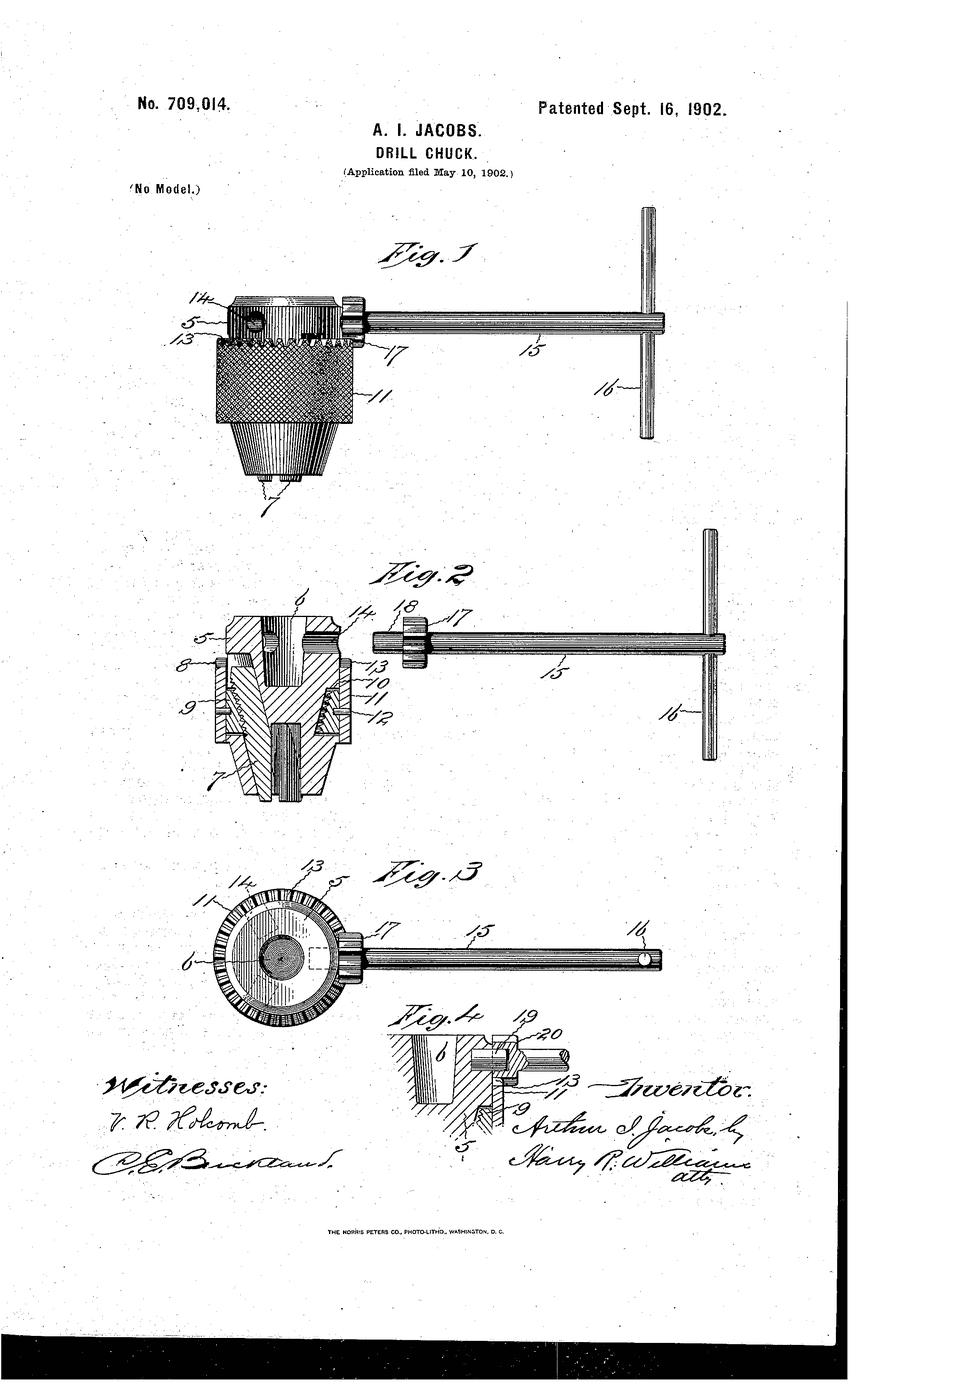
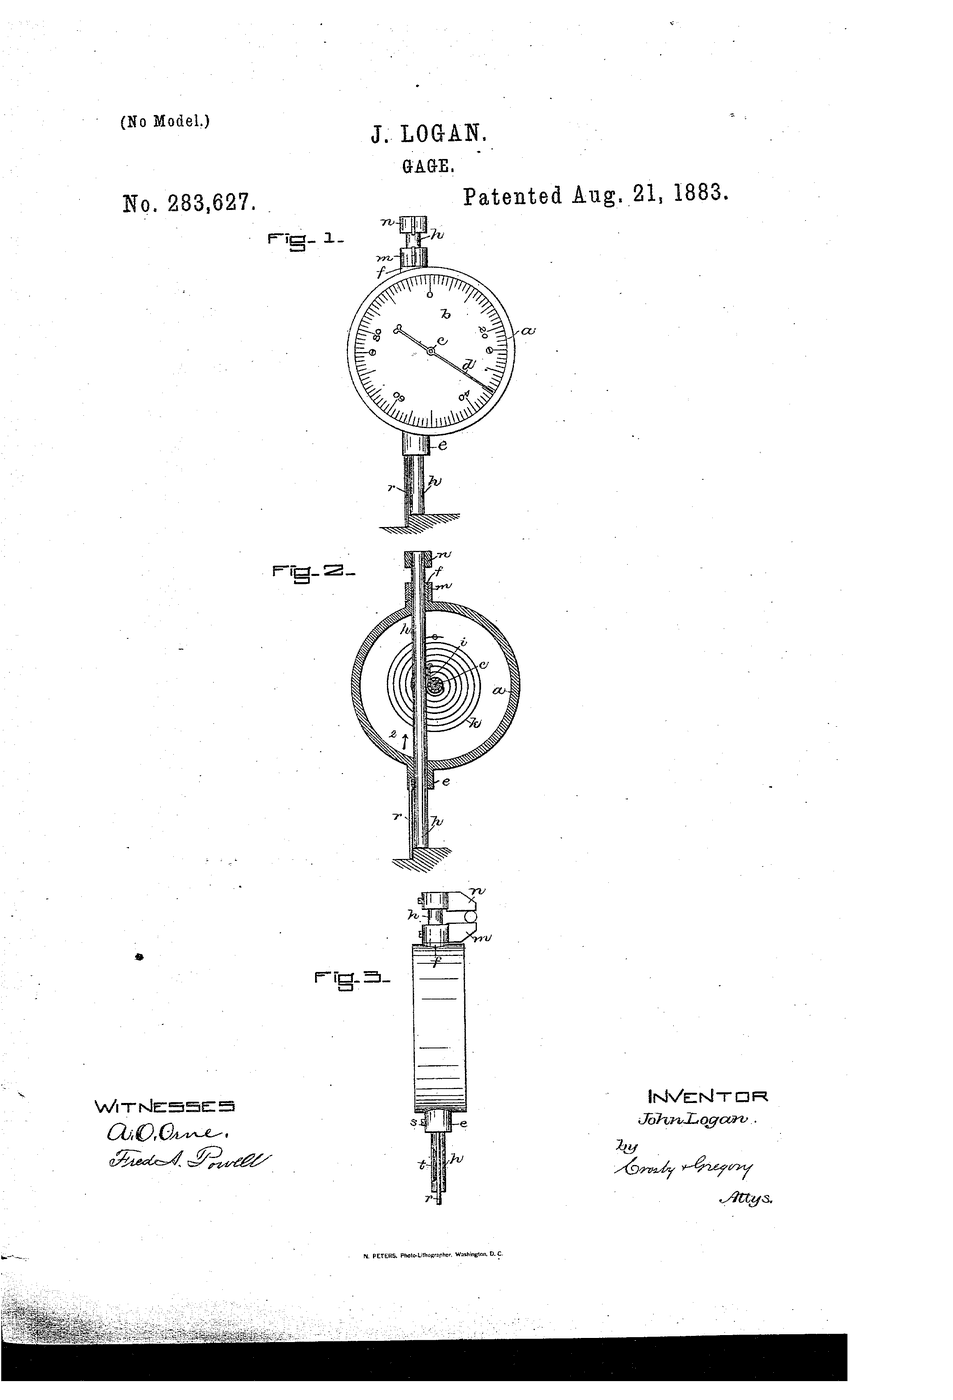
These blueprints share knowledge with this one — techniques, materials, or principles that connect them in the learning graph.

CC0 Public Domain
This blueprint is released under CC0. You are free to copy, modify, distribute, and use this work for any purpose, without asking permission.
Support the Maker by purchasing products through their Blueprint where they earn a Maker Commission set by Vendors, or create a new iteration of this Blueprint and include it as a connection in your own Blueprint to share revenue.