ART
BEAUTY & WELLNESS
CRAFT
CULTURE & HISTORY
ENTERTAINMENT
ENVIRONMENT
FOOD & DRINKS
REVERSE ENGINEERING
SCIENCES
SPORTS
TECHNOLOGY
WEARABLES
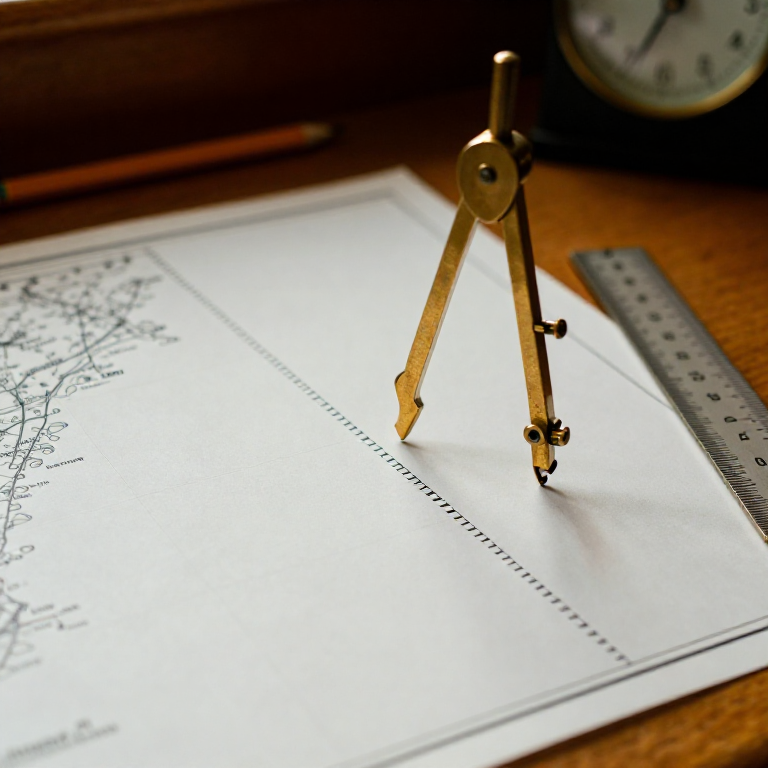


Dead Reckoning: Position from Course, Speed and Time
Every navigation instrument already published here answers the question 'which way' or 'how high is that star'. None of them answers 'where am I', and for most of the history of seafaring nothing did — so navigators reasoned it out instead.
Dead reckoning is that reasoning. From a known starting position, a steered course, a speed and an elapsed time, you compute where you must have got to. It needs no sight of land, no sun, no stars, and it works in fog at three in the morning, which is exactly when the alternatives do not.
Its weakness is that errors ACCUMULATE: every hour's small mistake is carried forward into the next, and a position twelve hours old may be many miles out with no warning at all. Understanding how the error grows, and therefore how often you must fix it against something real, is the whole skill.
Intermediate
1 day
Instructions
1
1
Start from a position you are certain of
Start from a position you are certain of
Note the time and the position of a departure point you can actually identify — a harbour entrance, a buoy abeam, two landmarks in transit.
Everything that follows is measured from this, so an error here is inherited by every subsequent position and never goes away. Write it in the log with the time to the minute. 'Left about ten' is not a departure; 'Departure 0952, south cardinal buoy abeam to starboard at 0.2 miles' is.
Tools needed:
 Stopwatch
2
2
Record course and speed as you steer them, not as you planned them
Record course and speed as you steer them, not as you planned them
Log the course actually steered and the speed actually made, and log a new entry every time either changes.
A plan is a list of intentions; dead reckoning needs a history of events. The commonest failure is plotting the intended course after a watch spent ten degrees off it in a cross sea. If the helm could not hold the course, the log records what the helm did — the plot can only be as honest as the entries.
Tools needed:
 Compass
3
3
Plot each leg as a vector, and label it
Plot each leg as a vector, and label it
Draw each leg from the end of the last: direction by protractor from the chart's north, length by the distance scale. Mark the course above the line and the speed and time below it.
The labelling convention is not decoration — it is what lets someone else, or you at four in the morning, reconstruct the reasoning. Mark the DR position at each change with a half-circle and the time, so the plot carries its own history rather than just its conclusion.
Materials for this step:
 Graph Paper10 pieces
Tools needed:
 Protractor
 Metal Ruler
4
4
Apply the current and leeway separately
Apply the current and leeway separately
Your DR position is where you would be in still water. Add the tidal stream as its own vector — direction and drift for the hours elapsed — and allow for leeway, the sideways slip caused by wind.
Keep them separate on the plot. A combined fudge factor works while conditions hold and fails silently when the tide turns, and you will not know which component was wrong. The result after applying stream is the ESTIMATED POSITION, conventionally marked with a triangle, and it is the one you navigate on.
Tools needed:
ProtractorMetal Ruler5
5
How the error grows, and how often to fix
How the error grows, and how often to fix
Loading Jupyter Notebook...
Tools needed:
Protractor6
6
Practise it on land before you need it at sea
Practise it on land before you need it at sea
Walk a measured route across a field or a park on compass courses, timing each leg at a known pace, and plot it without looking where you are going.
Then compare the plot with where you actually ended up. The gap is your personal error rate, measured rather than assumed, and it transfers directly. Doing this once on dry land in daylight teaches more than reading about it, and the consequences of being wrong are a short walk rather than a rock.
Tools needed:
CompassStopwatch Field Notebook
Materials
1- 10 piecesPlaceholder
Related Blueprints
These blueprints share knowledge with this one — techniques, materials, or principles that connect them in the learning graph.
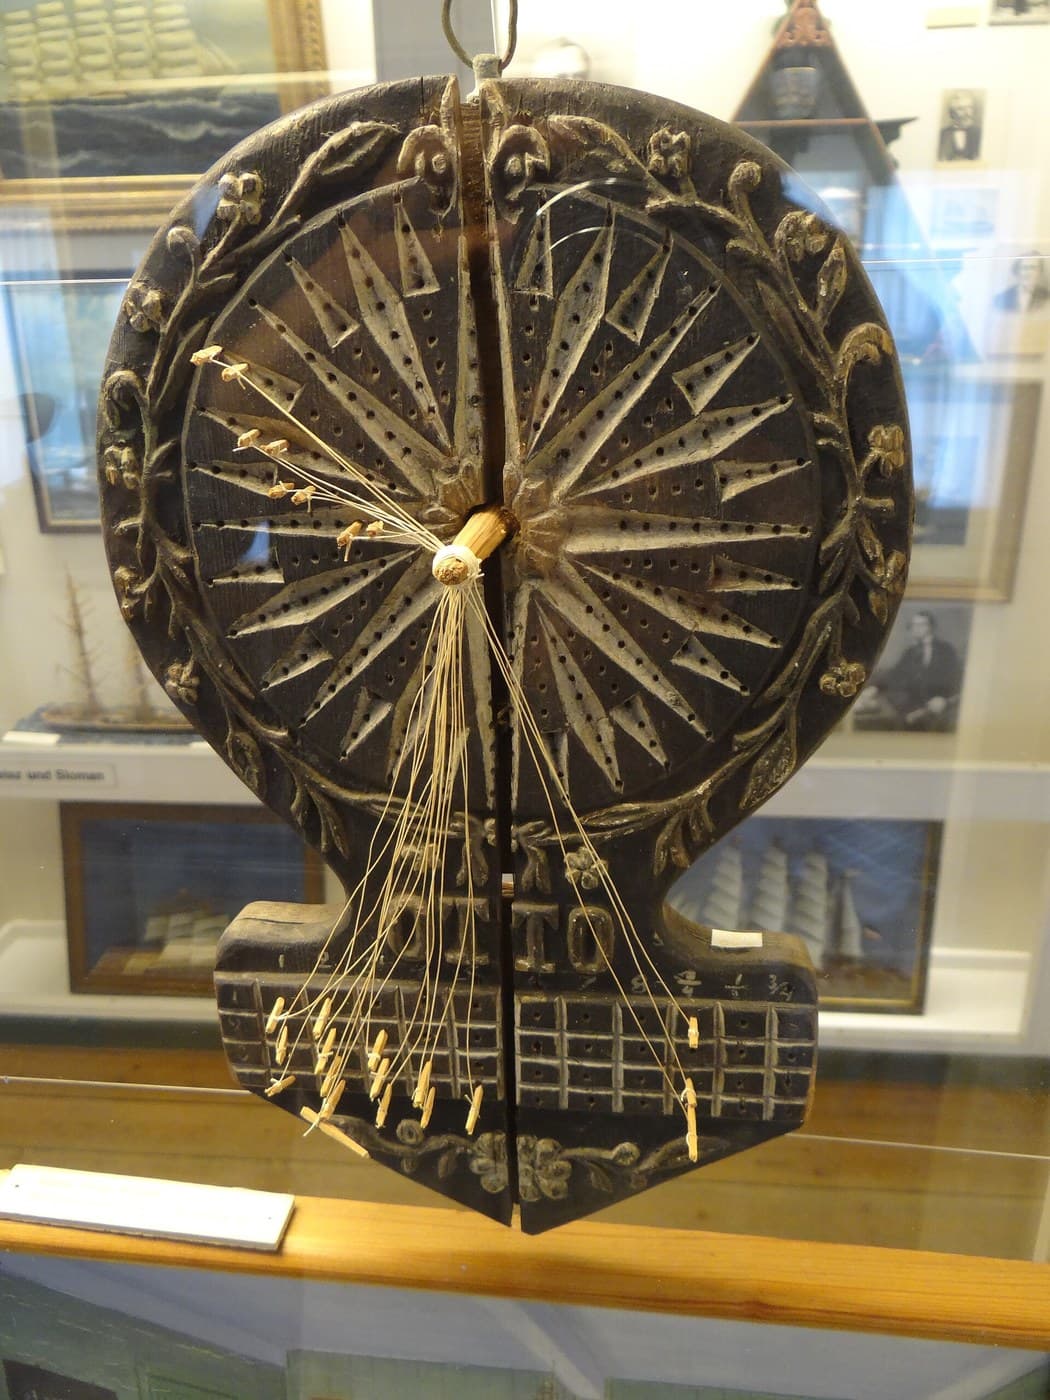


CC0 Public Domain
This blueprint is released under CC0. You are free to copy, modify, distribute, and use this work for any purpose, without asking permission.
Support the Maker by purchasing products through their Blueprint where they earn a Maker Commission set by Vendors, or create a new iteration of this Blueprint and include it as a connection in your own Blueprint to share revenue.