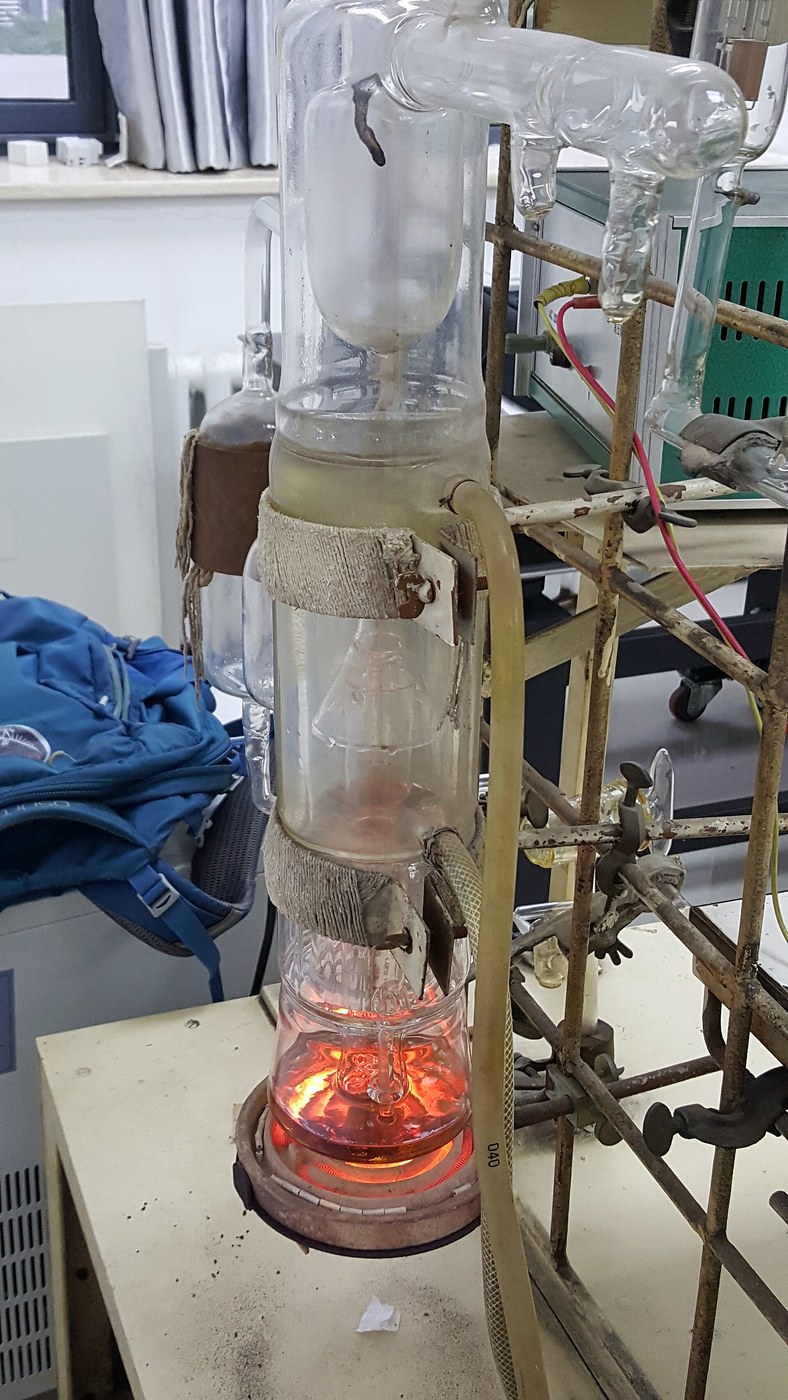


Diffusion Pump
Instructions
Understand why it cannot work alone
Understand why it cannot work alone
A diffusion pump discharges into a pressure, not into the atmosphere. Get this wrong and nothing works.
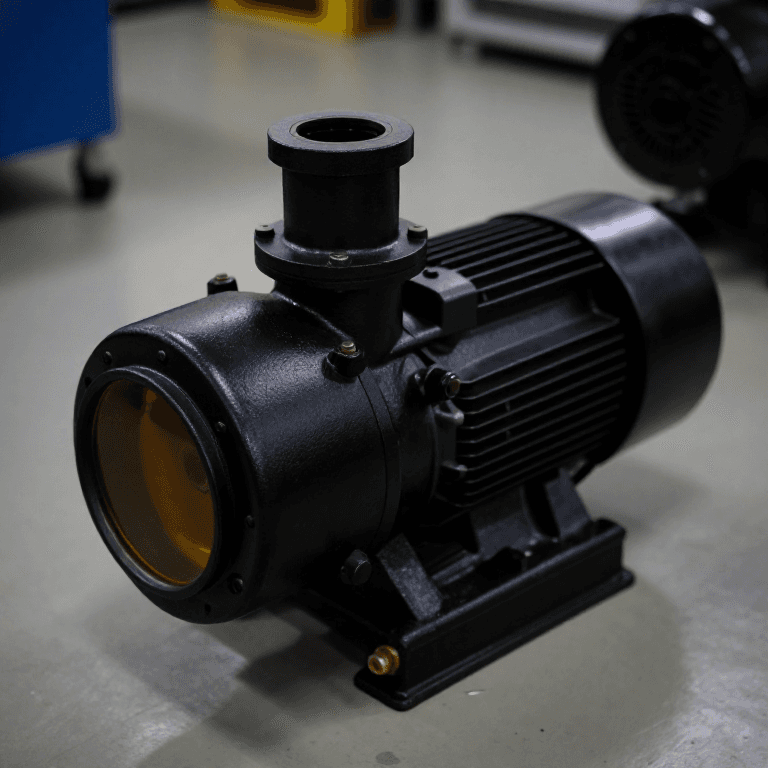
- Connect a rotary vane pump to the diffusion pump's outlet — this is the backing pump.
- Note that the diffusion pump must never be started until the backing pump has pulled the system down.
- Establish the rough vacuum FIRST, then apply heat to the boiler.
- On shutdown, reverse: cool the boiler completely before stopping the backing pump.
The vapour jet has almost no compression ability. It can move molecules from a very low pressure to a moderately low one, but it cannot push against atmosphere — the jet simply collapses. So the two pumps are not alternatives, they are a series: the rough pump handles atmosphere down to a fraction of a millibar, and the diffusion pump takes it from there. Starting the boiler at atmospheric pressure oxidises the oil and ruins it.
This staged architecture is universal in vacuum work. Every high-vacuum system in this batch, including the turbomolecular pump, needs a backing pump beneath it for exactly this reason.Materials for this step:
 Boiled Linseed Oil1 bottle
 Glass Tubing Kit1 kit
Tools needed:
 Digital Caliper 6-Inch
 Stopwatch
Build the boiler, chimney and nozzle stack
Build the boiler, chimney and nozzle stack
Vapour must be forced out sideways and DOWNWARD, never upward toward the vessel.
- Make a body from a wide steel or glass tube, closed at the bottom as an oil boiler.
- Fit a central chimney rising from the boiler.
- Cap it with two or three umbrella-shaped nozzles at different heights, each directing vapour outward and DOWN at a steep angle.
- Leave an annular gap between each nozzle and the wall.
- Fit a heater under the boiler and a cooling jacket or fins around the outside.
The downward angle is the entire mechanism. A molecule entering the jet receives momentum in the jet's direction, so the jet must point toward the backing pump. Angle a nozzle upward and it drives gas back into the vessel, which is worse than no pump at all. Multiple stages exist because each one can only compress by a limited ratio.
The cooling jacket is not optional. Vapour must condense on the walls and drain back to the boiler; if the walls are warm the vapour escapes into the vessel instead, which is the backstreaming problem in step 4.Materials for this step:
 Aluminum Round Bar1 piece
 Aluminium Plate (10mm)1 piece
 Copper Round Bar1 piece
Tools needed:
 Cordless Drill/Driver (20V)
 Drill Bit Set
 File Set
 Hacksaw Frame with Blades (10-Pack)Digital Caliper 6-Inch
 Bench Vise
Start it in the right order and watch the pressure fall
Start it in the right order and watch the pressure fall
Sequence matters more than in any other pump in this batch.
- Run the backing pump until the Pirani gauge shows the rough vacuum is established.
- Only then switch on the boiler heater.
- Watch the Pirani reading and note when it goes off the bottom of its range.
- Record the time from heater-on to that point.
- Shut down in reverse order and note what happens if you stop the backing pump first.
Tools needed:
 Digital Multimeter (Lab Grade)StopwatchDigital Caliper 6-Inch
Find the backstreaming, and trap it
Find the backstreaming, and trap it
The pump's working fluid is also its main contaminant.
- Run the pump for an hour with a clean glass slide mounted above the inlet.
- Examine the slide for an oil film.
- Now fit a cold trap or a chevron baffle between the pump and the vessel.
- Repeat with a fresh slide and compare.
Materials for this step:
 Acrylic Sheet1 sheet
 Aluminum Flat Bar (1x1/4 inch, 36-inch)1 piece
Tools needed:
Digital Caliper 6-InchStopwatchFile SetPumping with vapour, and history
Pumping with vapour, and history
Wolfgang Gaede invented the diffusion pump in 1915, using mercury vapour; Irving Langmuir improved it at General Electric shortly after, and later designs replaced mercury with low-vapour-pressure oils, removing the toxicity while keeping the principle. Gaede is the central figure of this whole batch — he also produced the rotary and molecular pumps that bracket this one.
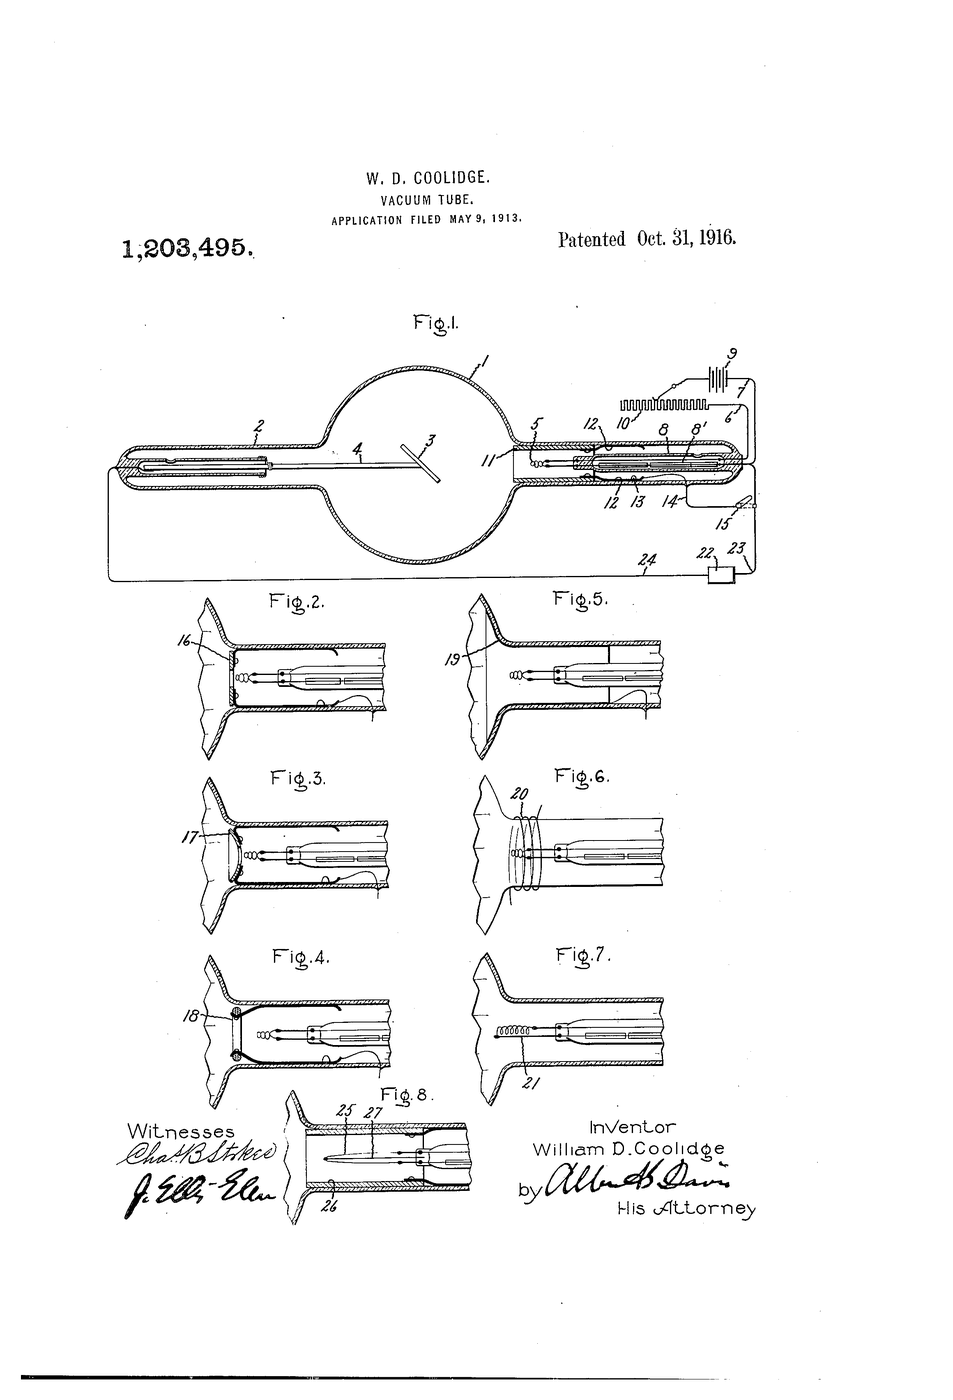
What it made possible. High vacuum on demand, cheaply and continuously, is the precondition for the vacuum tube industry, for X-ray tubes, for electron microscopy, for thin-film coating and eventually for semiconductor manufacture. The Coolidge X-ray tube and the Fleming valve in this catalogue both depend on vacuums this pump can reach and the Sprengel pump could only approach after hours of work.
The mechanism is worth stating plainly: at these pressures molecules rarely collide with each other, so you cannot push gas the way you push a fluid. Instead you hit individual molecules and give them momentum in the direction you want. Every high-vacuum pump does some version of this — the diffusion pump hits them with vapour, the turbomolecular pump at the end of this batch hits them with solid blades.
Its honest limits: backstreaming, the need for a backing pump, warm-up and cool-down times measured in tens of minutes, and a catastrophic failure mode — lose cooling water or admit air while hot and the oil oxidises and coats the entire system. Turbomolecular pumps displaced it in clean applications for exactly these reasons, while diffusion pumps remain common where robustness and low cost matter more than cleanliness.
Materials
7- 1 bottlePlaceholder
- 1 kitPlaceholder
- 1 piecePlaceholder
- 1 piecePlaceholder
- 1 piecePlaceholder
- 1 sheetPlaceholder
- Placeholder
Tools Required
8- Placeholder
- Placeholder
- 1 vendor sell this, none ship to you yetPlaceholder
- Placeholder
- Placeholder
- Placeholder
- Placeholder
- Placeholder
Related Blueprints
These blueprints share knowledge with this one — techniques, materials, or principles that connect them in the learning graph.
CC0 Public Domain
This blueprint is released under CC0. You are free to copy, modify, distribute, and use this work for any purpose, without asking permission.
Support the Maker by purchasing products through their Blueprint where they earn a Maker Commission set by Vendors, or create a new iteration of this Blueprint and include it as a connection in your own Blueprint to share revenue.