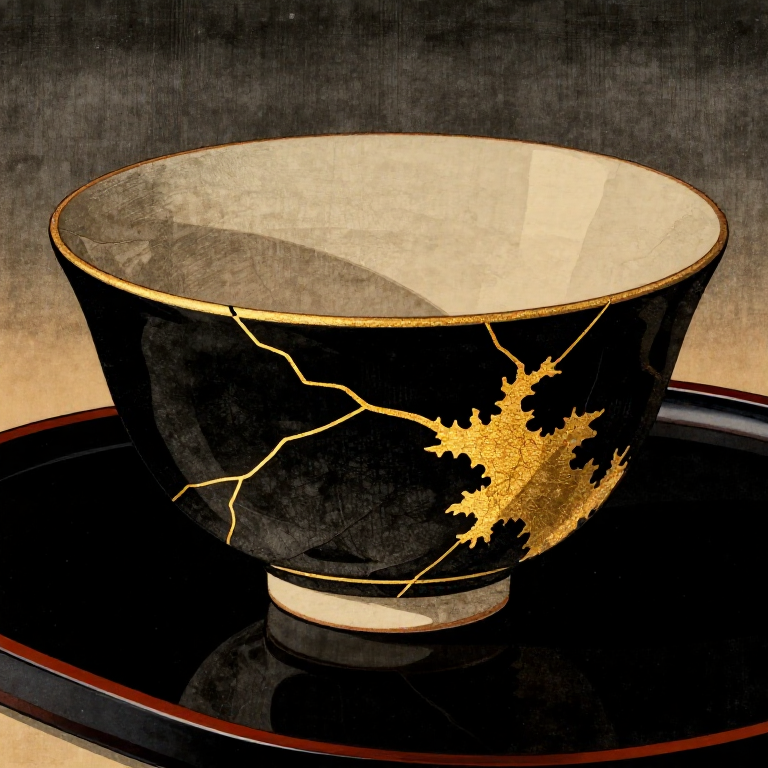
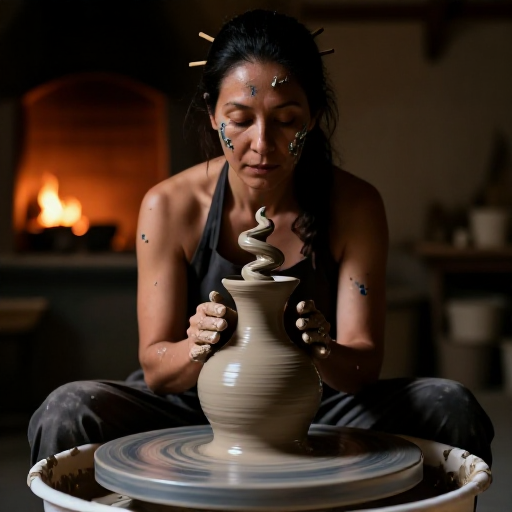

Repairing Broken Pottery with Gold Lacquer (Kintsugi) — Art of Golden Joinery
Instructions
Prepare the Broken Pieces
Prepare the Broken Pieces
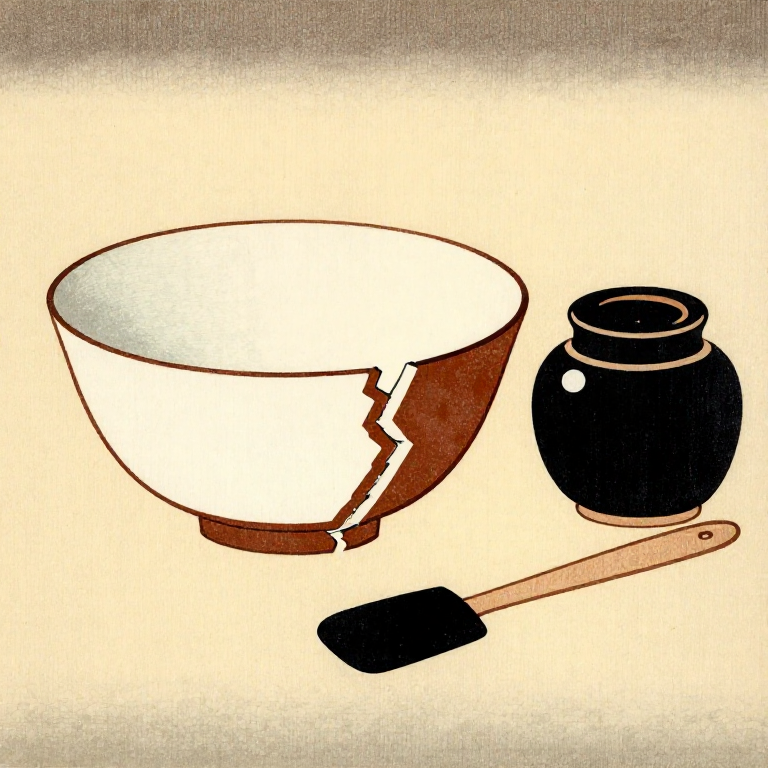
Clean all broken edges thoroughly with warm water and allow them to dry completely. Remove any old glue from previous repair attempts using camphor oil or acetone. Dry-fit the pieces together to understand how they reassemble — photograph the arrangement for reference. Kintsugi works best with clean breaks that fit together precisely. If small chips are missing, they will be filled with lacquer paste in a later step. Wear nitrile gloves throughout the entire process: raw urushi contains urushiol, the same compound found in poison ivy, and causes severe contact dermatitis in most people. Work in a well-ventilated space.
Materials for this step:
 Urushi lacquer (ki-urushi, raw natural lacquer)10-20ml ml
 Tonoko powder (ultrafine stone powder, for the sabi-urushi filler)20-30g g
 Gold powder (pure gold, or brass powder as substitute)1-2g g
 Camphor oil or turpentine (for cleaning)small amount piece
 Broken ceramic piece1 piece
Tools needed:
 Spatula
 Foam Brush
 Humidity box (airtight box with damp cloth)
 Sandpaper
 Nitrile Gloves
Mix and Apply the Lacquer Adhesive
Mix and Apply the Lacquer Adhesive
Make the traditional adhesive, mugi-urushi: knead plain wheat flour with a little water into a stiff dough, then work in raw urushi (ki-urushi) — roughly equal parts urushi and flour — until the paste holds its shape without slumping. Apply the paste to one side of each break using a small spatula, then press the pieces together firmly. Wipe away any excess that squeezes out, but do not worry about perfection — the final gold layer will cover the seam. Secure the joined pieces with masking tape or rubber bands. Place the assembled piece in a humidity box (a sealed container with a damp cloth inside, kept at high humidity; the traditional cupboard for this is called a furo) for 1-2 weeks. Urushi does not harden by drying out: it hardens by a slow reaction with oxygen that only runs in warm, humid air, so a dry room leaves it soft.
Materials for this step:
 Plain wheat flour (for mugi-urushi)10 g g
Fill Gaps and Build Up the Seam
Fill Gaps and Build Up the Seam
After the adhesive has cured (1-2 weeks), inspect the join. Fill any gaps, chips, or low spots with sabi-urushi — raw urushi mixed with tonoko (an ultrafine stone powder, traditionally ground from weathered shale and mudstone or collected when cutting whetstones) and a little water — building the surface flush with the surrounding ceramic. For larger missing areas, apply the paste in thin layers, curing each layer in the humidity box before adding the next. Thick applications cure only on the surface while remaining soft underneath, leading to eventual failure. Once all fills are cured and the surface is level, sand the seam area lightly with 800-grit wet sandpaper to create a smooth, even surface for the final gold layer.
Materials for this step:
Sandpaper — 800 Grit1 sheetApply the Gold Finishing Layer
Apply the Gold Finishing Layer
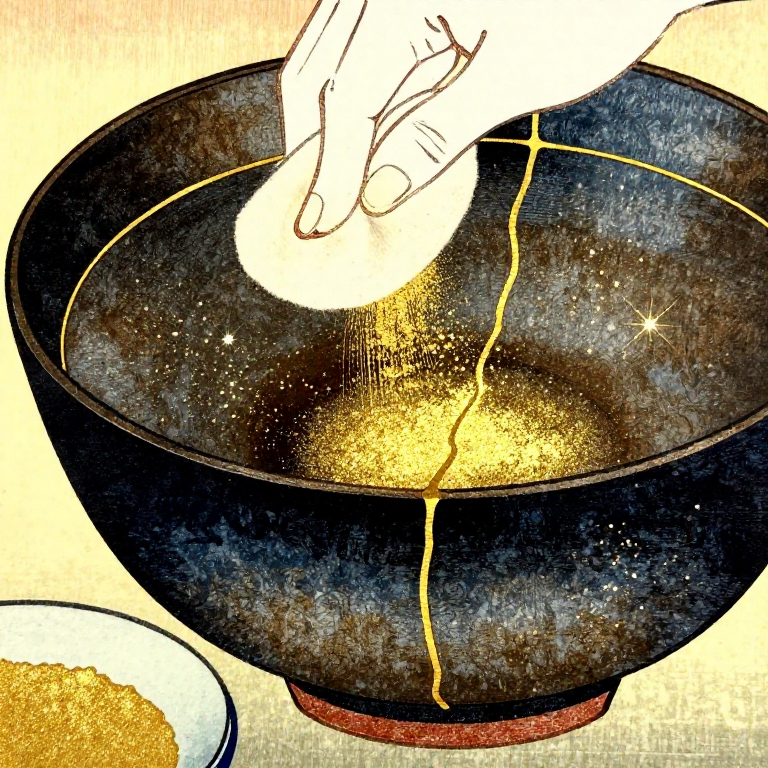
Apply a thin coat of urushi along the repaired seam lines using a fine brush — traditionally bengara-urushi, coloured with red iron oxide, which gives the gold a warm ground. Work carefully to keep the lacquer confined to the seam area — urushi is difficult to remove from glazed surfaces once it cures. When the lacquer has become slightly tacky (the wait depends on temperature and humidity, so test it at the edge of the line), dust gold powder over the lacquer using a soft brush or cotton pad. The gold adheres to the tacky lacquer and falls away from dry areas. Use pure gold powder for pieces that will touch food, or brass powder as a decorative substitute that is not food-safe. Return the piece to the humidity box for a final cure of 1-2 weeks.
Polish and Seal the Gold Lines
Polish and Seal the Gold Lines
After the final cure, gently burnish the gold lines with a soft cloth or agate burnisher to compress the gold powder and bring out its lustre. Excess gold powder on surrounding surfaces can be wiped away with a cloth dampened with camphor oil. For additional durability and shine, apply one more very thin coat of clear urushi over the gold and cure for another week. Once fully cured, a repair made with natural urushi and pure gold is waterproof and sound for normal use, and cured urushi is the same material as traditional lacquered food bowls. The gold seams are permanent and will not wash off. Kintsugi is tied to wabi-sabi, an embracing of the flawed and imperfect: breakage and repair are treated as part of an object's history, not something to disguise.
Materials
10- 20-30g gPlaceholder
- small amount piecePlaceholder
- 1 piecePlaceholder
- 10 g gPlaceholder
- 1 sheetPlaceholder
- 10-20ml piecePlaceholder
- 1-2g piecePlaceholder
- small amount piecePlaceholder
- 1 piecePlaceholder
- 1 sheetPlaceholder
Tools Required
5- Placeholder
- Placeholder
- Placeholder
- Placeholder
- Placeholder
CC0 Public Domain
This blueprint is released under CC0. You are free to copy, modify, distribute, and use this work for any purpose, without asking permission.
Support the Maker by purchasing products through their Blueprint where they earn a Maker Commission set by Vendors, or create a new iteration of this Blueprint and include it as a connection in your own Blueprint to share revenue.