Collaboration
ART
BEAUTY & WELLNESS
CRAFT
CULTURE & HISTORY
ENTERTAINMENT
ENVIRONMENT
FOOD & DRINKS
REVERSE ENGINEERING
SCIENCES
SPORTS
TECHNOLOGY
WEARABLES
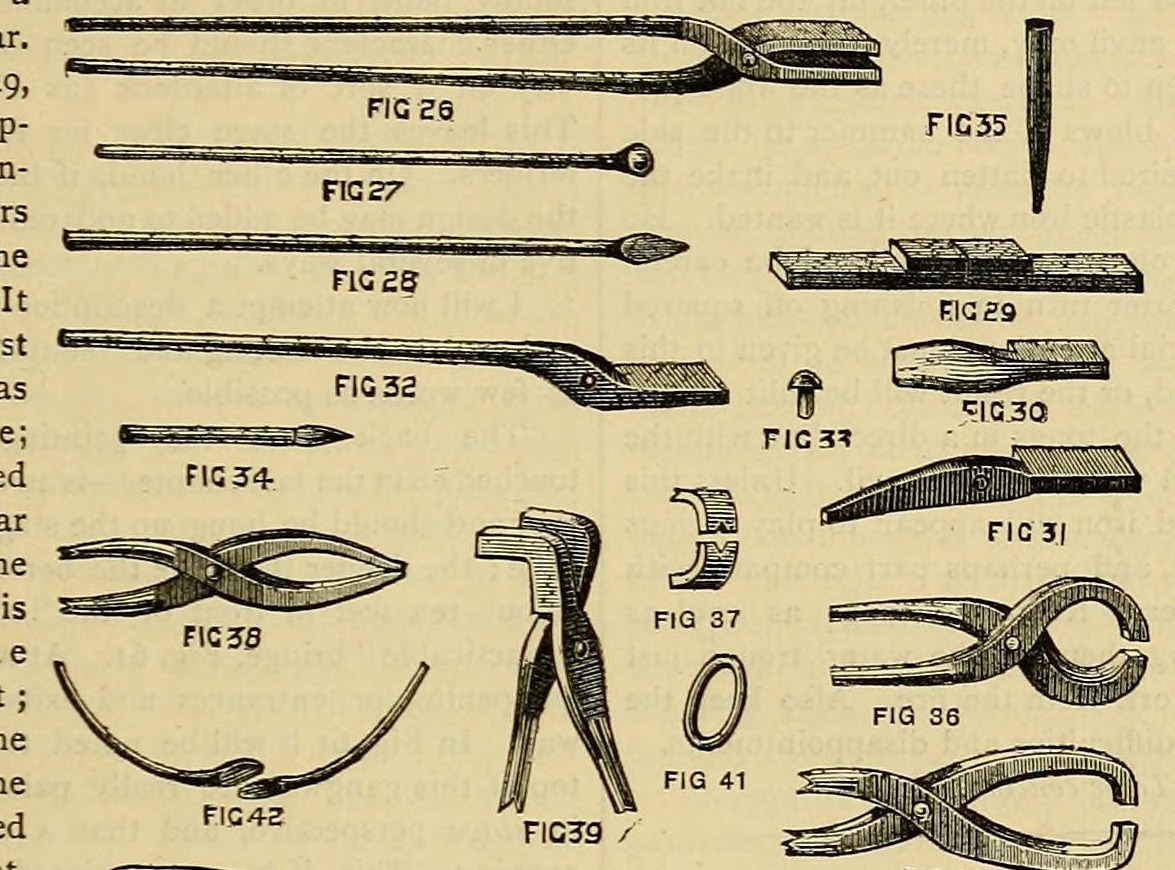


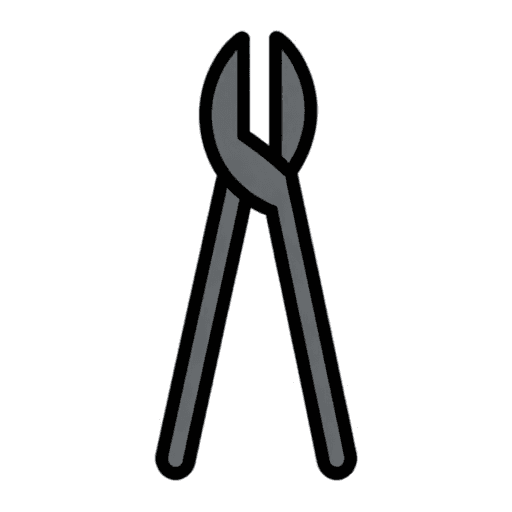
Flat-Bit Tongs and the Tongs Made from Them, down to Crucible Tongs: Welded Reins, Riveted Joint (Edwinson, 1886)
George Edwinson's tong-making lesson from Amateur Work (1886): jaws forged from inch-square iron, reins of 5/8 in. rod scarfed and welded on, the halves riveted with a hot iron pin. The same flat-bit tongs are then reshaped into pincer, hammer and crook-bit tongs, light smith's pliers, and thinned and curved into crucible tongs.
Advanced
A day at the forge
Instructions
1
1
His sizes
His sizes
Loading Jupyter Notebook...
2
2
Read Edwinson
Read Edwinson
"Indeed, the man who can turn out a good pair of tongs may be trusted with almost any job in the smithy."
3
3
Forge the reins
Forge the reins
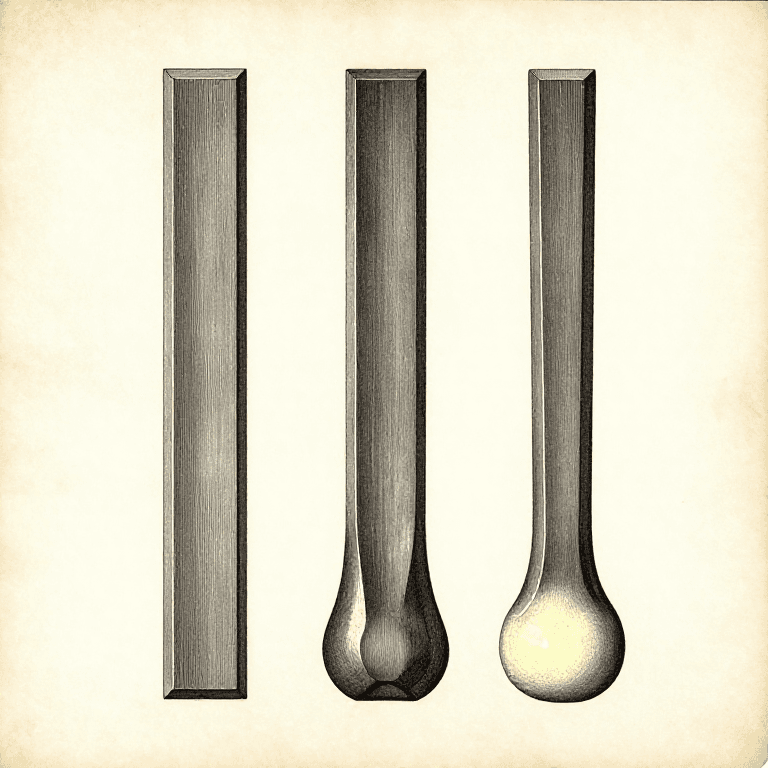
Cut two pieces of 5/8 in. (16 mm) iron rod, each 2 ft (0.6 m) long, with a cold chisel. Bring one end of each to a white welding heat and draw 3-4 in. down to a taper from 5/8 to 1/2 in., rounded for the hand. Upset the other ends at a white heat and scarf them (his figs. 27-28).
Materials for this step:
 Wrought Iron Bar1 piece
Tools needed:
 Cold Chisel
 Blacksmith Forge
 Anvil
 Hammer
 Blacksmith Tongs
4
4
Forge the jaws
Forge the jaws
Cut two 6 in. pieces of 1 in. square iron (or one 12 in. bar, worked from each end before cutting, fig. 29). Forge each jaw end 4 in. long, 1 1/4 in. wide and 3/8 in. thick. Flatten the other end to 1/4 in. thick, round it for the joint (fig. 30) and draw it to a slightly rounded taper (fig. 31).
Materials for this step:
 Mild Steel Square Bar1 piece
Tools needed:
Blacksmith ForgeAnvilHammerBlacksmith Tongs5
5
Punch the joint
Punch the joint
Mark the hole with a centre punch, heat, and punch a 3/8 in. hole over the anvil's heel hole with an iron punch tapering 1/4 to 1/2 in. (fig. 35), or a steel punch of 5/8 in. tool steel.
Materials for this step:
 Tool Steel Bar1 piece
Tools needed:
 Center PunchBlacksmith ForgeAnvilHammer
6
6
Weld jaw to rein
Weld jaw to rein
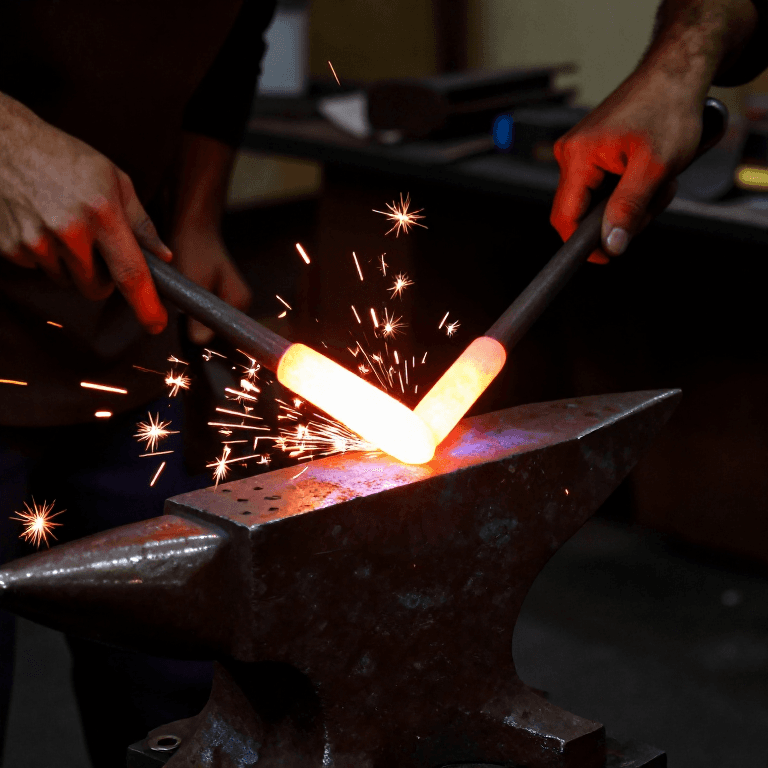
Scarf the taper end of each jaw to fit a rein. Heat both to a welding heat in a clear fire, throw on clean fine fresh-water sand and heat until pasty. Tap the scarfs together lightly, return to the fire a moment, and finish the weld. At a red heat forge the square part to blend into the round rein (fig. 32).
Materials for this step:
 Sand1 piece
Tools needed:
Blacksmith ForgeAnvilHammerBlacksmith Tongs7
7
Rivet the joint
Rivet the joint
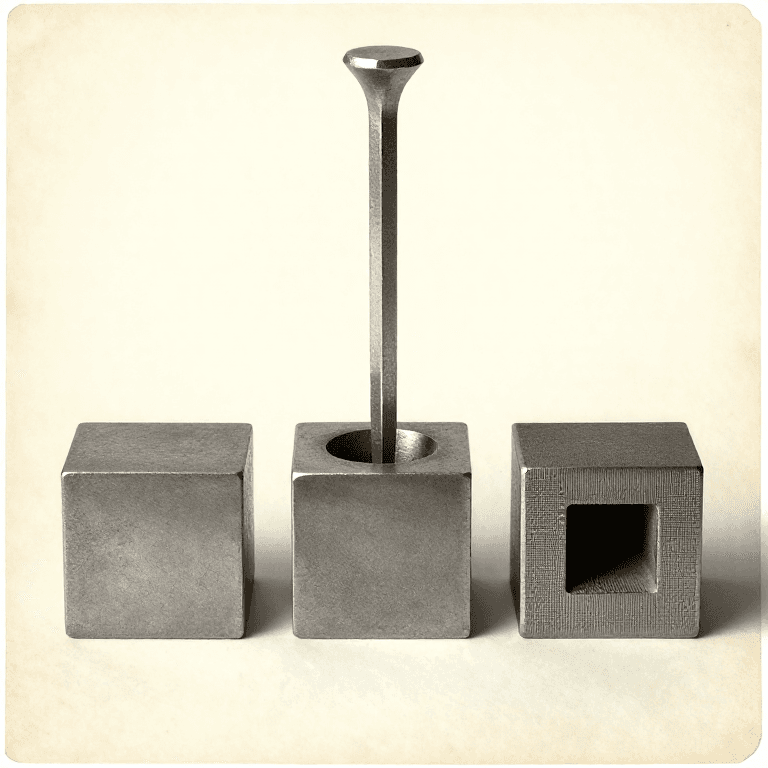
Smiths' way: nick a 3/8 in. round iron rod to rivet length, put the halves together, insert the hot end, twist it off, let 1/4 in. stand below, and rivet both sides. (Or make a 3/4 x 3/8 in. button-headed rivet in a 3/8 in. hole in a flat iron.) If the joint locks, reheat jaws and pin to bright red and work them free.
Materials for this step:
Wrought Iron Bar1 pieceTools needed:
Blacksmith ForgeAnvilHammer Nail Header
8
8
Set the jaws
Set the jaws
Heat the jaws and set them to the width of the stock to be held. Spring them wider with a piece of cold iron between and a few light blows.
Tools needed:
Blacksmith ForgeAnvilHammer9
9
Crucible tongs and other forms
Crucible tongs and other forms
From flat-bit tongs at the fig. 32 stage: lengthen and curve the bits for pincer tongs (angular notches hold round or square bars), more for hammer tongs, bend them sideways for crook-bit tongs. Small flat-bit tongs with lengthened, shaped bits are smith's pliers; thin those out further and curve them like pincers to make crucible tongs for hot crucibles and pots of molten metal. Heavy tongs 2-5 ft long need stouter iron.
Tools needed:
Blacksmith ForgeAnvilHammerBlacksmith Tongs10
10
Troubleshooting
Troubleshooting
Tongs troubleshooting.
Flow
Loading...
11
11
History and honest limits
History and honest limits
From George Edwinson, "Smithing and Forging" III, **Amateur Work, Illustrated**, vol. V (1886), pp. 266-269 (checked on the archive.org scan amateurworkillus05lond). He gives full sizes only for the flat-bit tongs; crucible tong sizes and curvature are left to the work. Metric figures and tools are ours.
Materials
4- 1 piecePlaceholder
- 1 piecePlaceholder
- 1 piecePlaceholder
- 1 piecePlaceholder
This blueprint makes

Related Blueprints
These blueprints share knowledge with this one — techniques, materials, or principles that connect them in the learning graph.
CC0 Public Domain
This blueprint is released under CC0. You are free to copy, modify, distribute, and use this work for any purpose, without asking permission.
Support the Maker by purchasing products through their Blueprint where they earn a Maker Commission set by Vendors, or create a new iteration of this Blueprint and include it as a connection in your own Blueprint to share revenue.