Collaboration
ART
BEAUTY & WELLNESS
CRAFT
CULTURE & HISTORY
ENTERTAINMENT
ENVIRONMENT
FOOD & DRINKS
REVERSE ENGINEERING
SCIENCES
SPORTS
TECHNOLOGY
WEARABLES
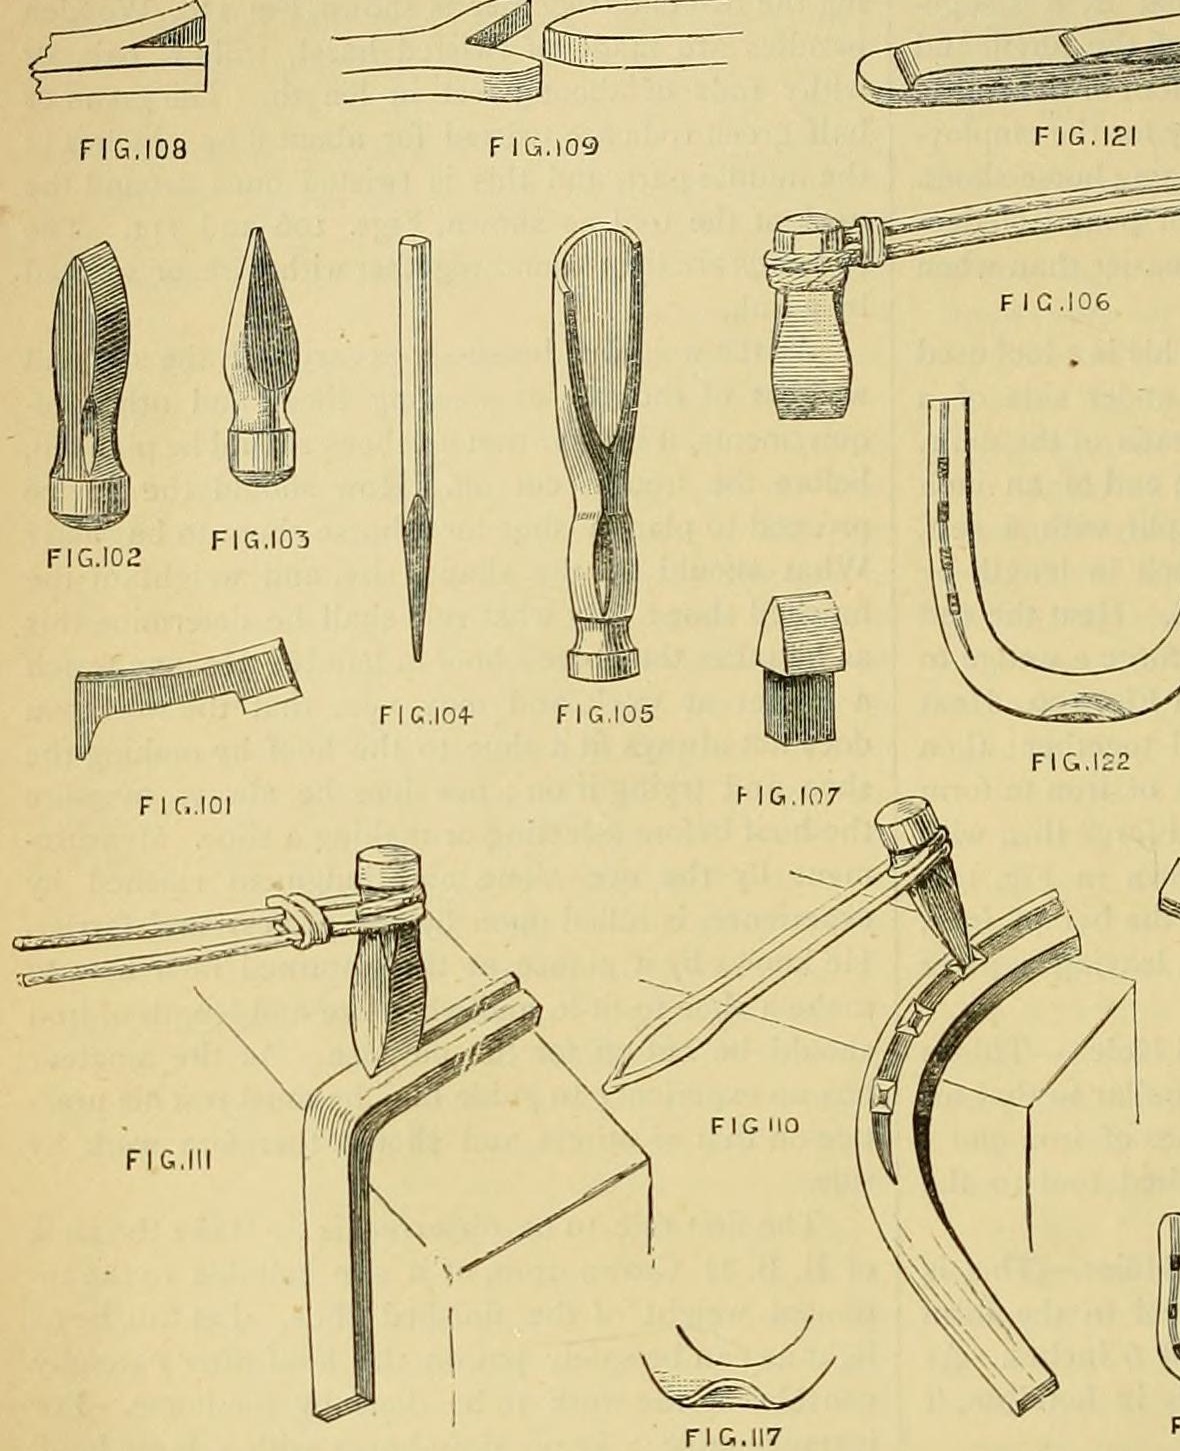


Fuller, Pritchel and Hot Setts: Steel Welded into a Split Iron Bar, with Twisted Rod or Withy Handles (Edwinson, 1886)
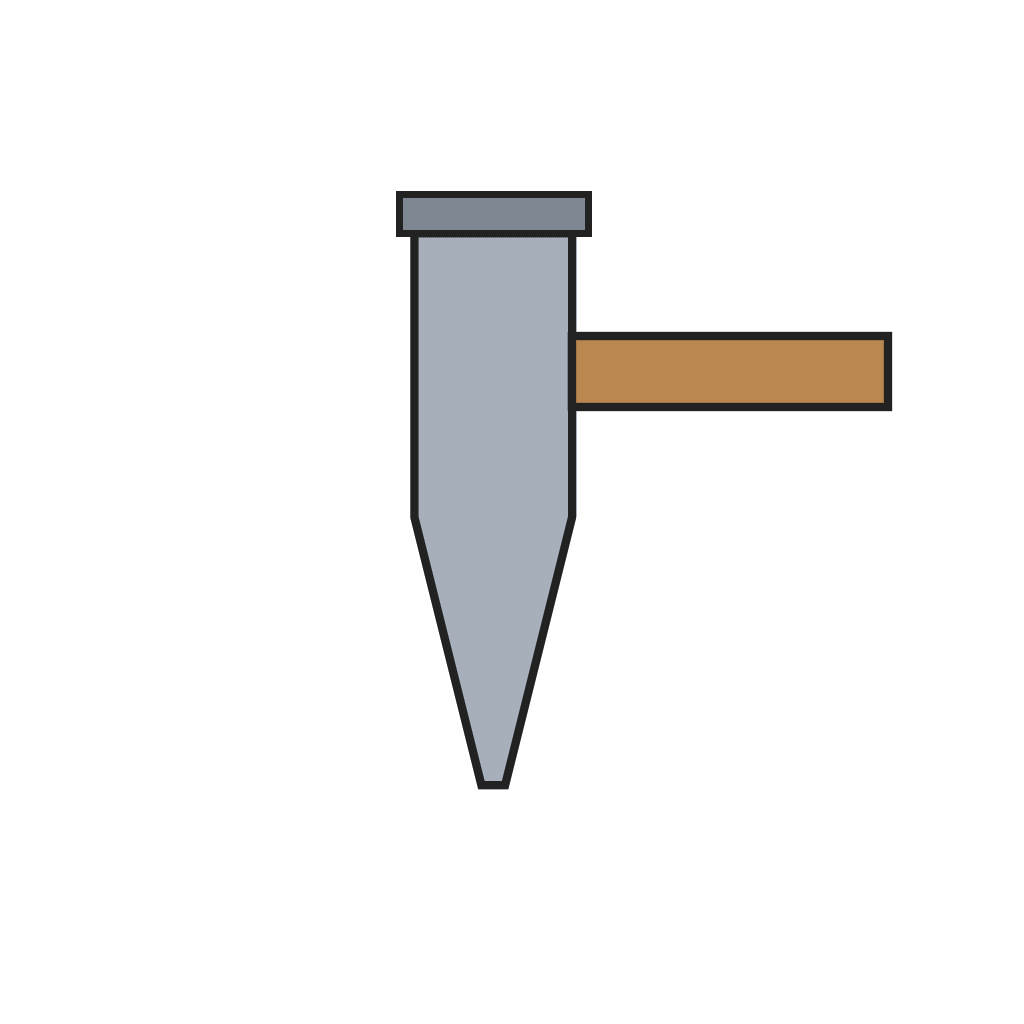
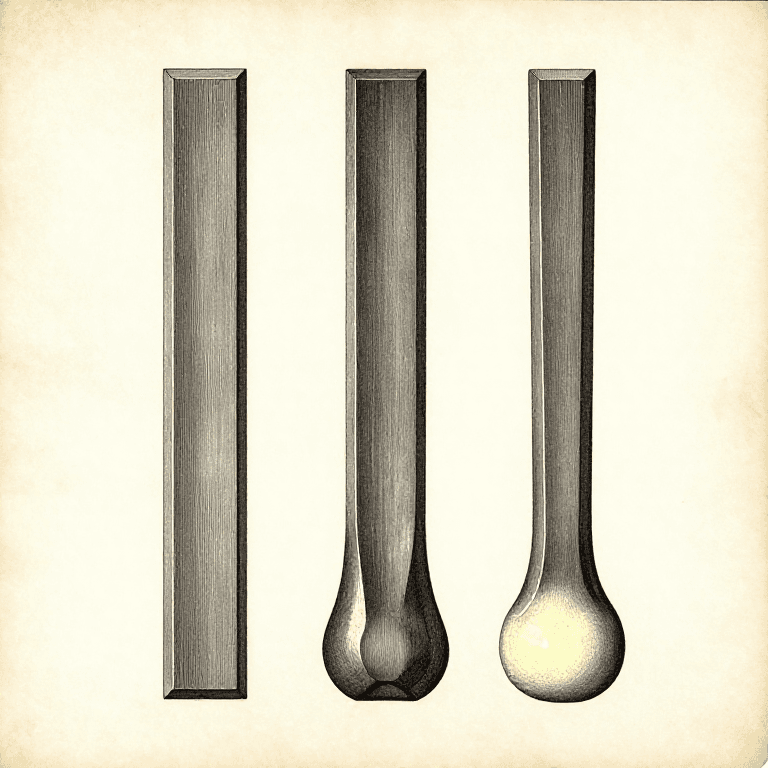
The smith's own top and bottom tools, from George Edwinson's farrier's chapter in Amateur Work (1886): an inch iron bar upset, split into a fork and a steel wedge welded in, then forged into a fuller, pritchel punch, curved or straight hot sett, or a square-tanged bottom sett; the pritchel itself from 1/2 in. square tool steel; handles of twisted iron rod or green withy.
Advanced
A day at the forge for the set
Instructions
1
1
His proportions
His proportions
Loading Jupyter Notebook...
2
2
Read Edwinson
Read Edwinson
"To make this tool, heat and upset the end of an inch bar of iron; then heat again and split with a sett."
3
3
Split the iron
Split the iron
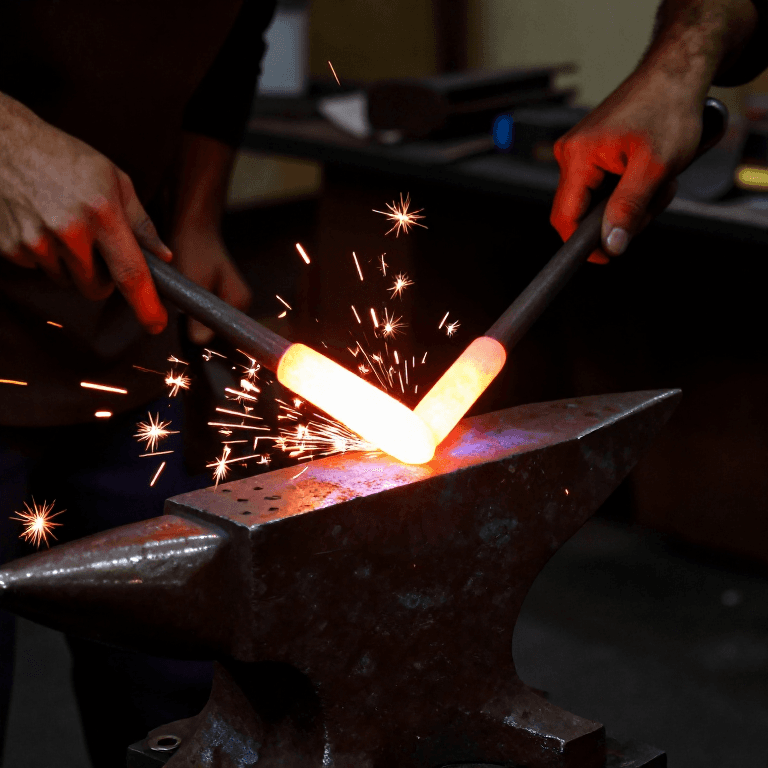
Heat and upset the end of a 1 in. (25 mm) iron bar. Heat again and split it with a hot set into a fork 1 to 1 1/4 in. long by 3/4 in. wide (his fig. 108).
Materials for this step:
 Wrought Iron Bar1 piece
Tools needed:
 Blacksmith Forge
 Anvil
 Sledgehammer
 Hot Chisel
 Blacksmith Tongs
4
4
Weld in the steel
Weld in the steel
Heat the end of a steel bar of similar size and forge a wedge to fit the fork (fig. 109). Bring both to a welding heat and weld them well together.
Materials for this step:
 Crucible Steel1 piece
 Borax Powder1 piece
Tools needed:
Blacksmith ForgeAnvilSledgehammerBlacksmith Tongs5
5
Forge the fuller
Forge the fuller
Cut off 2 in. of steel and 3 in. of iron for the tool. Forge the steel, with the iron behind it, into the fuller's rounded blade (fig. 102). Make the neck while it is still on the bar, then cut it off leaving a piece of iron for the head.
Tools needed:
Blacksmith ForgeAnvil HammerHot Chisel
6
6
Same blank, other tools
Same blank, other tools
Pritchel punch: about 2 in. of iron and 1 in. of steel, shaped as fig. 103. Curved set: as the fuller but with a gouge-shaped blade (fig. 105). Top hot set: the same, with a chisel or wedge blade (fig. 106). Bottom set: a wedge of steel and iron, edge up, on a square tang that fits the anvil's square hole (fig. 107).
Materials for this step:
Wrought Iron Bar1 pieceCrucible Steel1 pieceBorax Powder1 pieceTools needed:
Blacksmith ForgeAnvilHammerSledgehammerBlacksmith Tongs7
7
Forge the pritchel
Forge the pritchel
Forge 1/2 in. (13 mm) square tool steel into the tapered pritchel (fig. 104), 6 in. (150 mm) long. It punches nail holes in hot iron, so it need not be hardened.
Materials for this step:
 Tool Steel Bar1 piece
Tools needed:
Blacksmith ForgeAnvilHammerBlacksmith Tongs8
8
Fit the handles
Fit the handles
Rod handle: twist 3/8 in. iron rod once round the neck and weld the two ends together (fig. 110). Withy handle: take a green or half-green hazel, willow, oak or withy rod about 3 ft long, twist the middle 8-9 in., wrap it once round the neck and bind the two ends with wire or a link (figs. 106, 111).
Materials for this step:
 Mild Steel Round Bar1 piece
 Willow Withies1 piece
 Iron Wire1 piece
Tools needed:
Blacksmith ForgeAnvilHammerBlacksmith Tongs9
9
Harden the cutting tools (ours)
Harden the cutting tools (ours)
He gives no temper for these. Ours: harden and temper the set edges as for other hot-cutting tools, and cool them often in use.
Tools needed:
Blacksmith Forge Quench Bucket
10
10
Troubleshooting
Troubleshooting
Top-tool troubleshooting.
Flow
Loading...
11
11
History and honest limits
History and honest limits
From George Edwinson, "Smithing and Forging" VII, **Amateur Work, Illustrated**, vol. VI (1886-87), pp. 14-16 and figs. 101-111 (checked on the archive.org scan amateurworkillus06lond). He calls the top hot cutter a "sett"; we map it to the Hot Chisel head and the bottom sett to the Hot Cut Hardy head. Temper, metric figures and tools are ours.
Materials
7- 1 piecePlaceholder
- 1 piecePlaceholder
- 1 piecePlaceholder
- 1 piecePlaceholder
- 1 piecePlaceholder
- 1 piecePlaceholder
- 1 piecePlaceholder
This blueprint makes


Related Blueprints
These blueprints share knowledge with this one — techniques, materials, or principles that connect them in the learning graph.

CC0 Public Domain
This blueprint is released under CC0. You are free to copy, modify, distribute, and use this work for any purpose, without asking permission.
Support the Maker by purchasing products through their Blueprint where they earn a Maker Commission set by Vendors, or create a new iteration of this Blueprint and include it as a connection in your own Blueprint to share revenue.