Collaboration
ART
BEAUTY & WELLNESS
CRAFT
CULTURE & HISTORY
ENTERTAINMENT
ENVIRONMENT
FOOD & DRINKS
REVERSE ENGINEERING
SCIENCES
SPORTS
TECHNOLOGY
WEARABLES
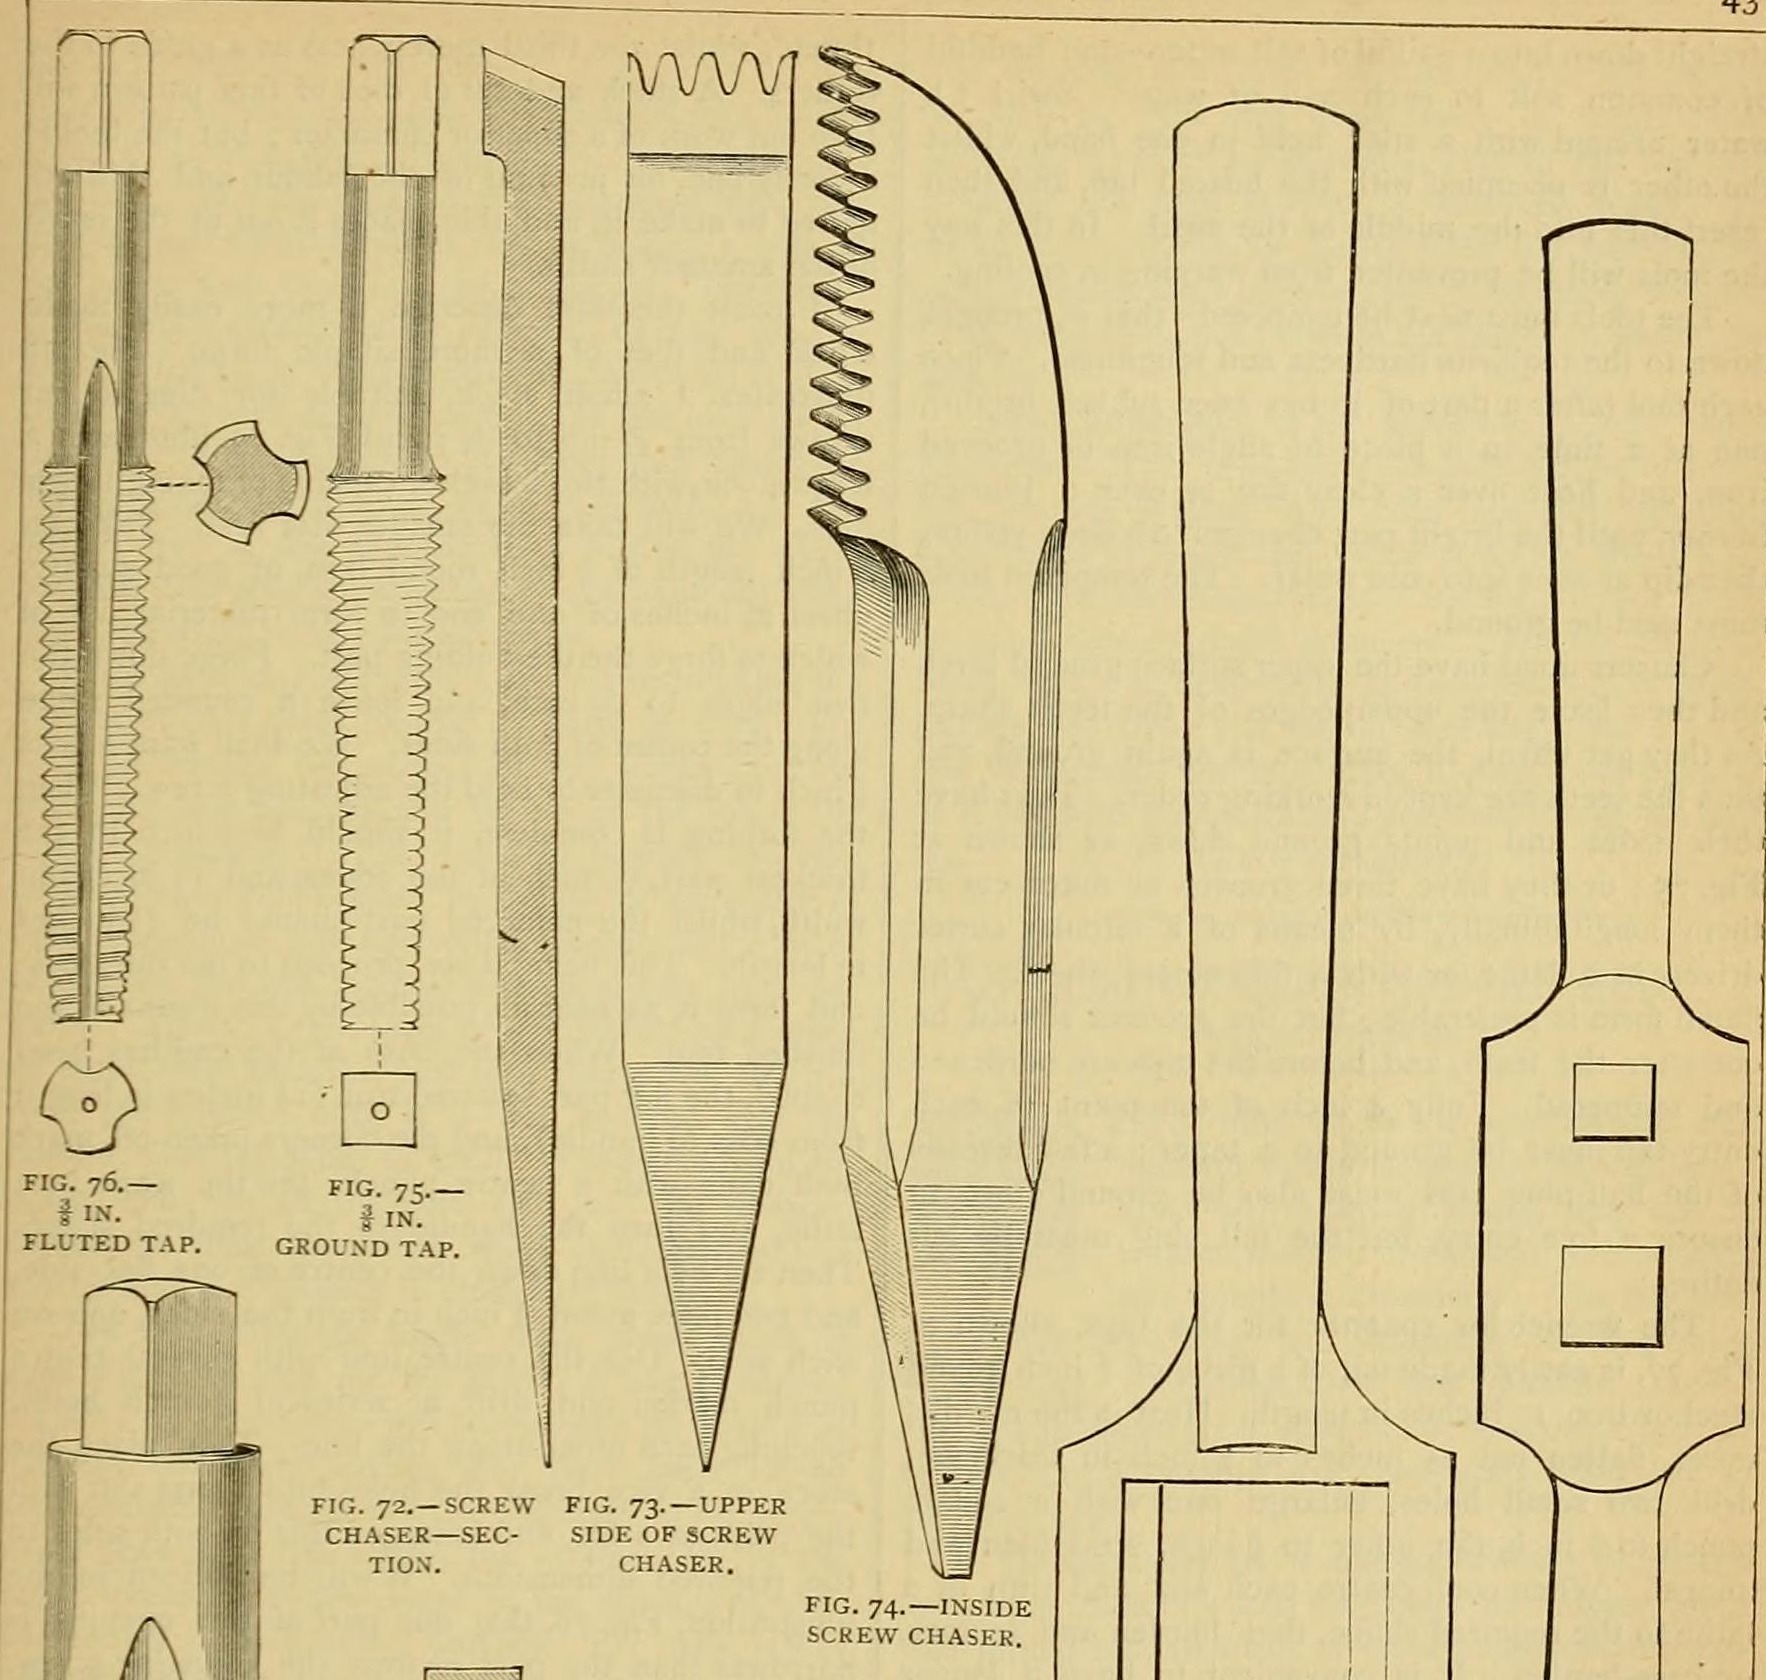


Whitworth Taps from Cast Tool Steel: Turned, Chased, Fluted and Hardened in Salt Water, with Their Wrench (Edwinson, 1886)
George Edwinson's instructions (Amateur Work, 1886) for a home-made set of Whitworth taps, 3/16 to 1 inch, in entry, half-plug and full-plug form: cast tool steel annealed, turned, roughed with a single-point tool and finished with home-made chasers in a screw-cutting lathe, fluted, hardened in swirled salt water and tempered deep yellow; plus the two-hole tap wrench. The dies and stock are in the companion blueprint.
Advanced
Several days for a set of thirty
Instructions
1
1
His tables
His tables
Loading Jupyter Notebook...
2
2
Read Edwinson
Read Edwinson
"There is only one perfect method of making a good tap, and that is by turning the metal ... and cutting the thread in a screw-cutting lathe."
3
3
Cut and anneal the blanks
Cut and anneal the blanks
Cut the best 1 in. square cast tool steel into 3 1/2 in. lengths for the large taps, and 1/2 in. steel into 3 in. lengths for the small ones (a full set takes 5 ft 6 in. of the first and 3 ft of the second). Anneal: blood red, cooled slowly in hot ashes. File the ends square, centre-punch, and drill the centres 1/16 in. (small) or 1/8 in. (large) deep.
Materials for this step:
 Tool Steel Bar1 piece
Tools needed:
 Hot Chisel
 Blacksmith Forge
 Files (Hand File)
 Center Punch
 Drill Press
4
4
Rough out the taps
Rough out the taps
Turn the corners off. Mark each tap: entry 1/2 in. head, 3/4 in. shank; half plug 1/2 in. head, 1 in. shank; full plug 1/2 in. head, 1 1/4 in. shank; the rest is thread (for the 1 in. set; 7/8 the same, smaller sets in proportion with shanks turned down for clearance). Below 1/2 in. make the square heads 3/8 or 3/16 in. to fit the wrench. Anneal again, turn true and smooth, and finish with a fine file.
Tools needed:
 Metal LatheFiles (Hand File)Blacksmith Forge
5
5
Make the chasers
Make the chasers
From flat tool steel forge one chaser per size, the largest 1 in. wide, 1/4 in. thick and 5 in. long, the rest a little smaller, with 3 1/2 or 4 1/2 teeth across the width and a tang for a wooden handle (fig. 72). Upset the point, grind, anneal, file the teeth, and finish them by running the chaser against a full plug tap or hub of that pitch in the lathe. Inside chasers: against a left-handed hub, or file off the lower leading edge of each tooth (fig. 74).
Materials for this step:
Tool Steel Bar1 pieceTools needed:
Blacksmith Forge Anvil
 HammerFiles (Hand File)Metal Lathe
6
6
Cut the threads
Cut the threads
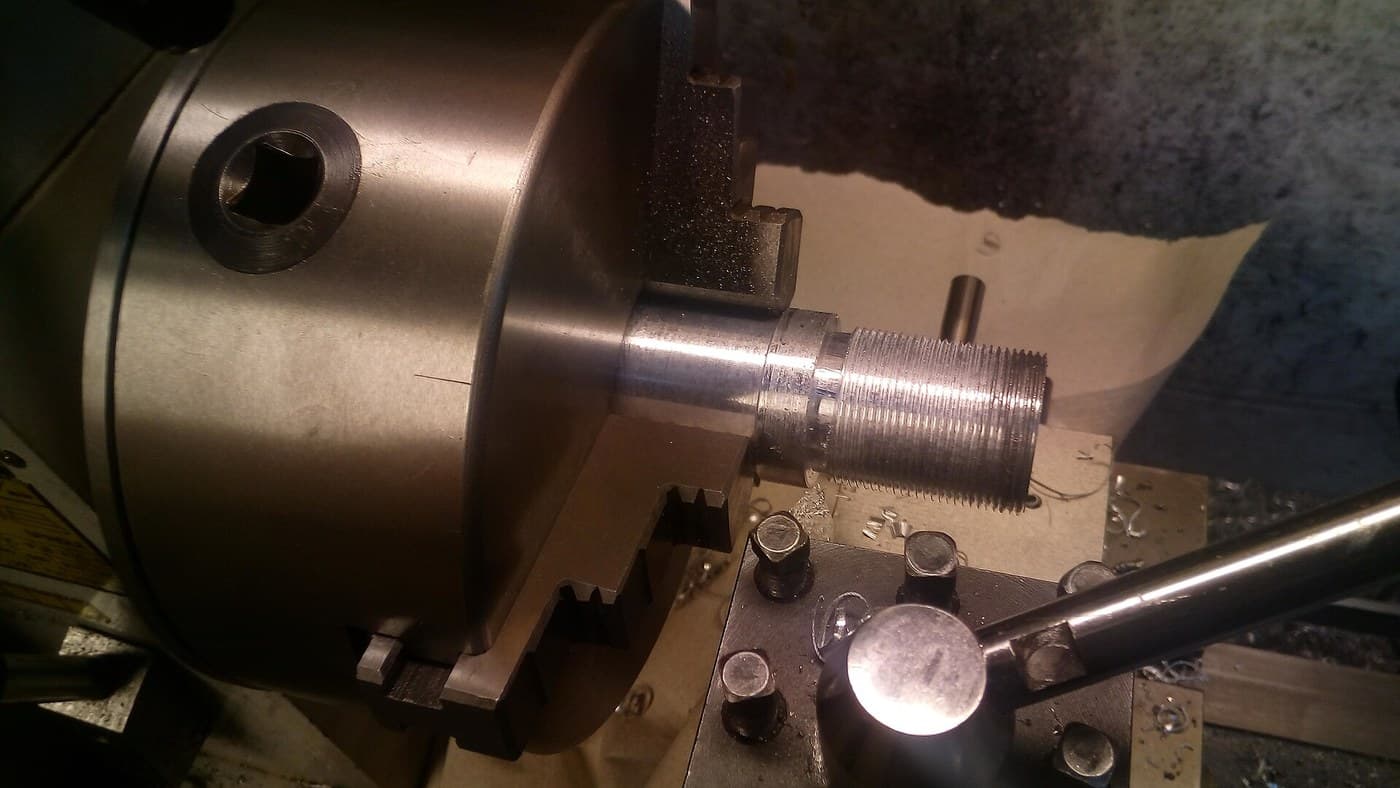
Rough each thread with a single fine-point tool in the slide rest of a screw-cutting lathe, set with the change wheels for its pitch (notebook), then finish with the chaser. Whitworth form: 55 degree angle, one-sixth rounded off top and bottom. Stamp each tap with its size and threads per inch.
Tools needed:
Metal LatheHammer7
7
Flute and point
Flute and point
Cut three flutes along each tap with a circular cutter in the lathe or a thin emery wheel (before hardening), or grind the sides flat (fig. 75). Grind fully 1/2 in. of each entry tap to a taper and the first few threads of the half plug; leave the full plug entire.
Tools needed:
Metal Lathe Bench Grinder
8
8
Harden and temper
Harden and temper
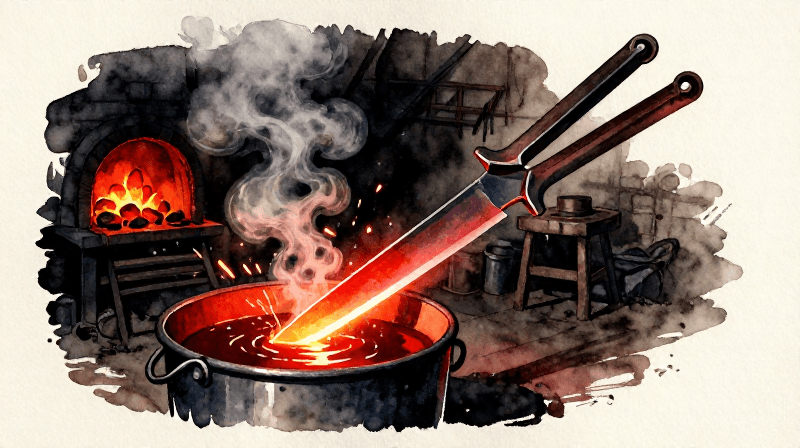
Heat each tap or chaser to blood red and plunge it straight down into a pail of water with a handful of common salt, swirled with a stick, into the middle of the swirl so it does not warp. Rub part bright, lay it in angle or grooved iron over a clear fire or a Bunsen burner until the bright part is deep yellow, then dip it in cold water. Grind the chaser tops level.
Materials for this step:
 Salt1 piece
 Water1 piece
Tools needed:
Blacksmith Forge Bucket
 Bunsen BurnerBench Grinder
9
9
Make the tap wrench
Make the tap wrench
Take 10 in. of 3/4 in. round steel or iron. Heat the middle, upset it and flatten 2 1/2 in. to 1/2 in. thick. Drill two small holes and open them with a square punch, one to 3/8 in. and one to 1/4 in. Straighten, anneal, centre the ends and turn them in the lathe, then harden and temper. A longer, heavier wrench with one 1/2 in. hole suits the big taps.
Materials for this step:
Tool Steel Bar1 pieceTools needed:
Blacksmith ForgeAnvil SledgehammerDrill PressMetal Lathe
10
10
Troubleshooting
Troubleshooting
Tap troubleshooting.
Flow
Loading...
11
11
History and honest limits
History and honest limits
From George Edwinson, "Smithing and Forging" V, **Amateur Work, Illustrated**, vol. V (1886), pp. 434-438 and figs. 71-77 (checked on the archive.org scan amateurworkillus05lond). He himself advised buying Whitworth gear rather than making it. Metric conversions and the tools listed are ours.
Tools Required
12- Placeholder
- Placeholder
- Placeholder
- Placeholder
- Placeholder
- Placeholder
- Placeholder
- Placeholder
- Placeholder
- Placeholder
- Placeholder
- Placeholder
This blueprint makes
Related Blueprints
These blueprints share knowledge with this one — techniques, materials, or principles that connect them in the learning graph.
CC0 Public Domain
This blueprint is released under CC0. You are free to copy, modify, distribute, and use this work for any purpose, without asking permission.
Support the Maker by purchasing products through their Blueprint where they earn a Maker Commission set by Vendors, or create a new iteration of this Blueprint and include it as a connection in your own Blueprint to share revenue.