ART
BEAUTY & WELLNESS
CRAFT
CULTURE & HISTORY
ENTERTAINMENT
ENVIRONMENT
FOOD & DRINKS
REVERSE ENGINEERING
SCIENCES
SPORTS
TECHNOLOGY
WEARABLES
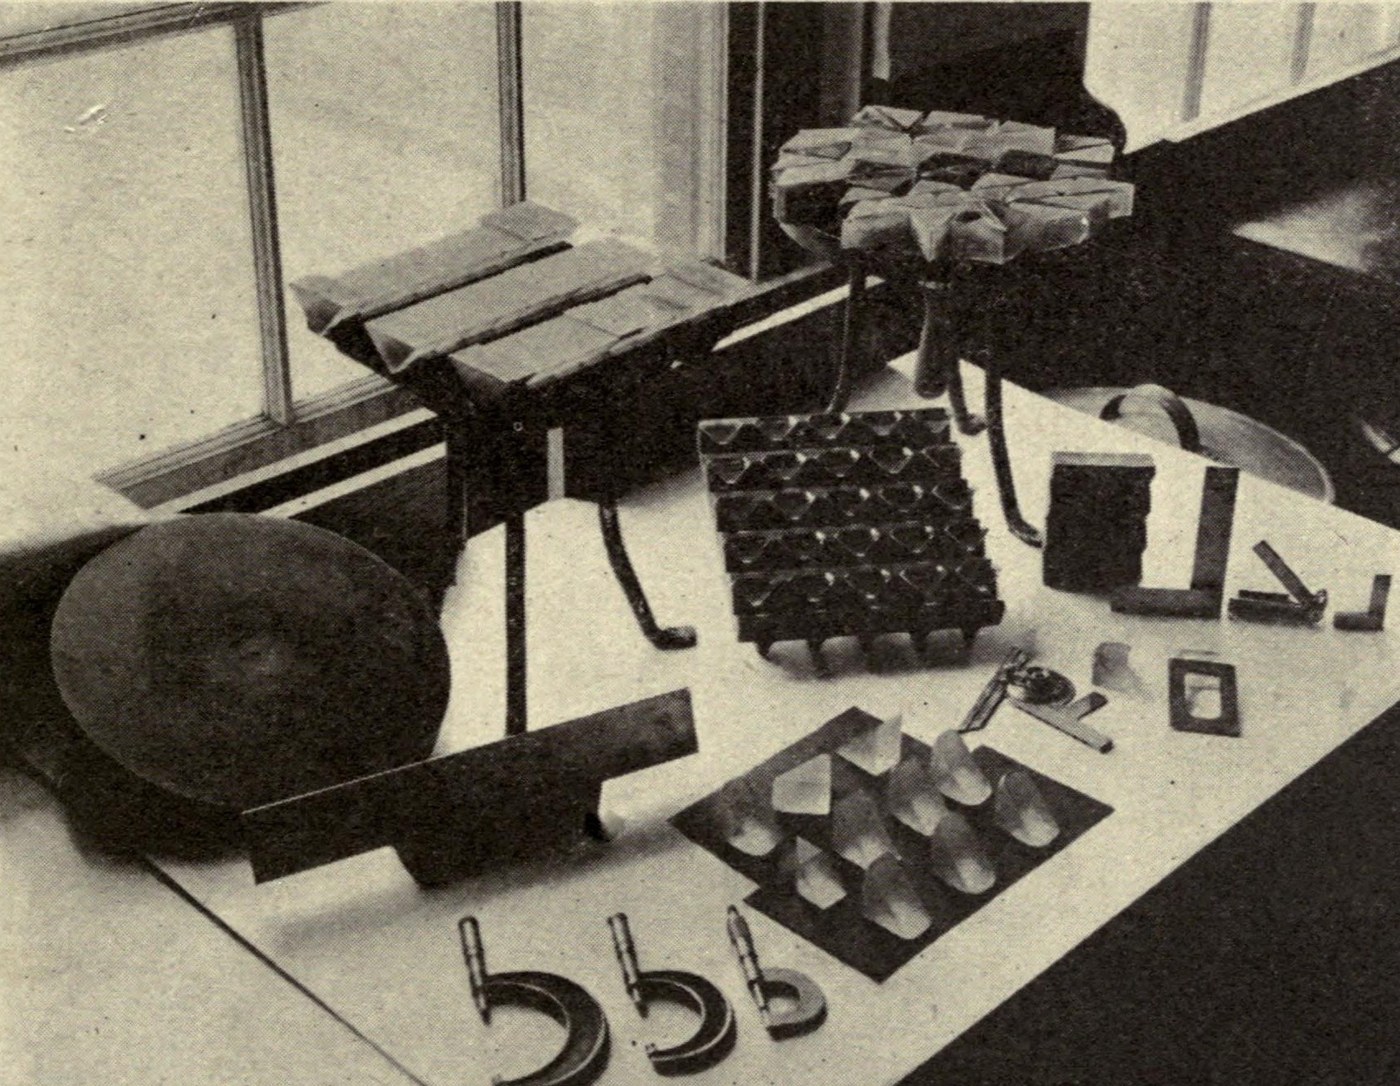


Equilateral Glass Prism: Sawn, Ground and Pitch-Polished
A prism splits white light into its colours, so its faces must be optically flat and its angles true. This is how the US arsenals ground prisms in 1918, as F. E. Wright recorded for the Ordnance Department in 1921: saw a blank from optical glass, rough-grind it on iron disks, set a batch of prisms in plaster, fine-grind, and polish on pitch with rouge. Wright's worked example is a right-angle prism; an equilateral prism has three 60° angles, made the same way.
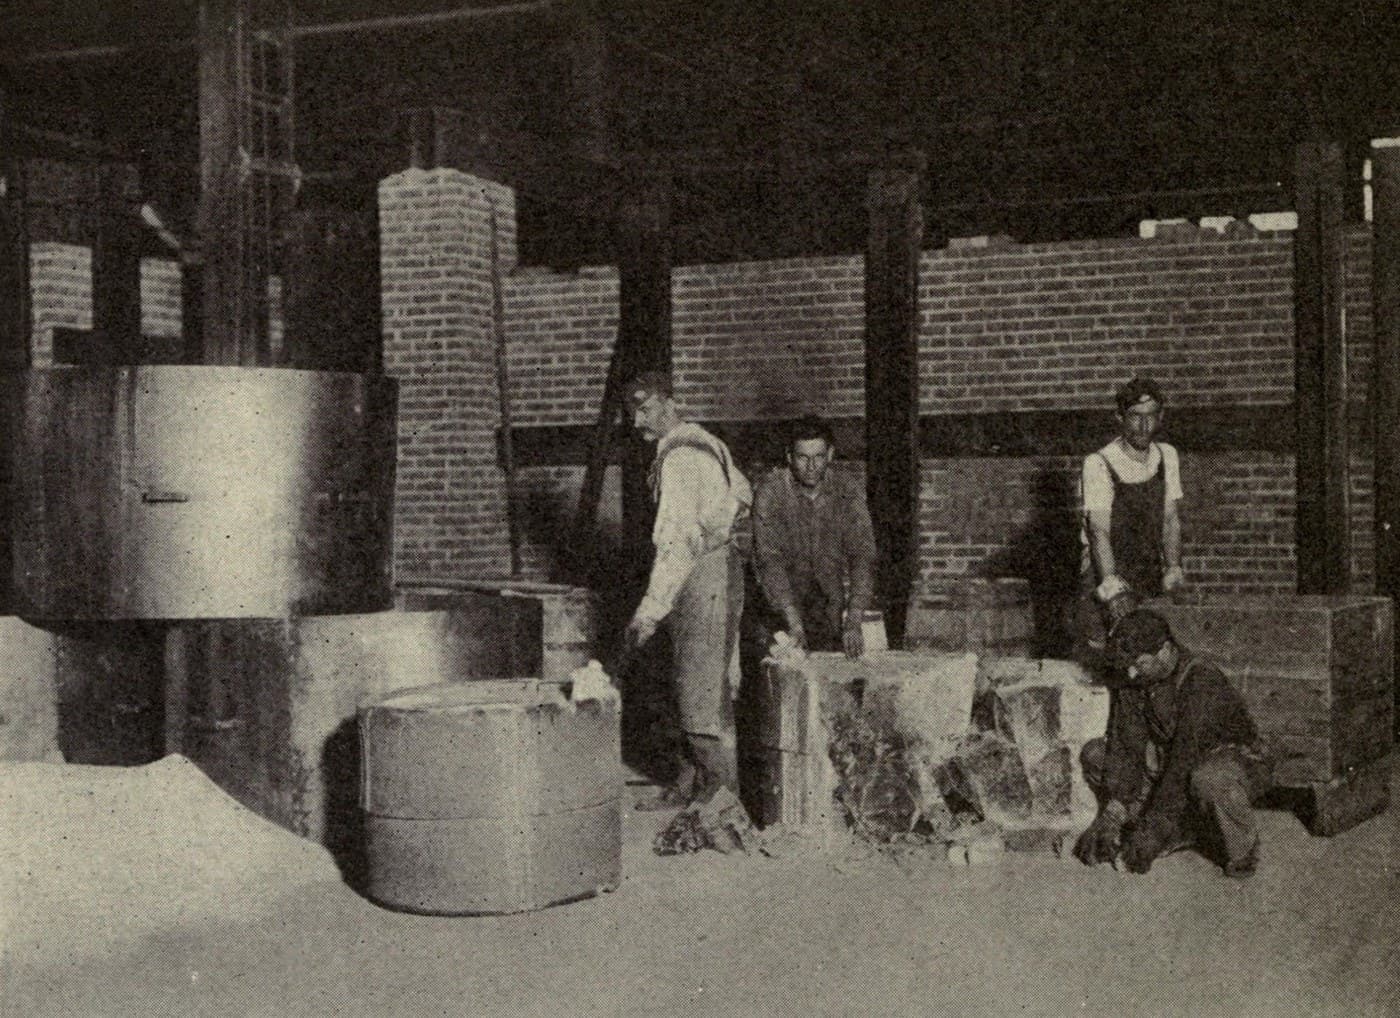
The picture: blocking prisms for rough grinding at Frankford Arsenal (Wright 1921, Fig. 77, public domain).
Advanced
2-3 days
Instructions
1
1
Saw out the blank
Saw out the blank
Saw a triangular blank from a block of optical glass with a diamond saw, using kerosene as lubricant. Leave several millimetres extra on each face for grinding.
Materials for this step:
 Optical Glass1 as required
Tools needed:
 Diamond Saw
 Kerosene
 Digital Caliper 6-Inch
 Safety Glasses
2
2
Rough-grind the faces
Rough-grind the faces
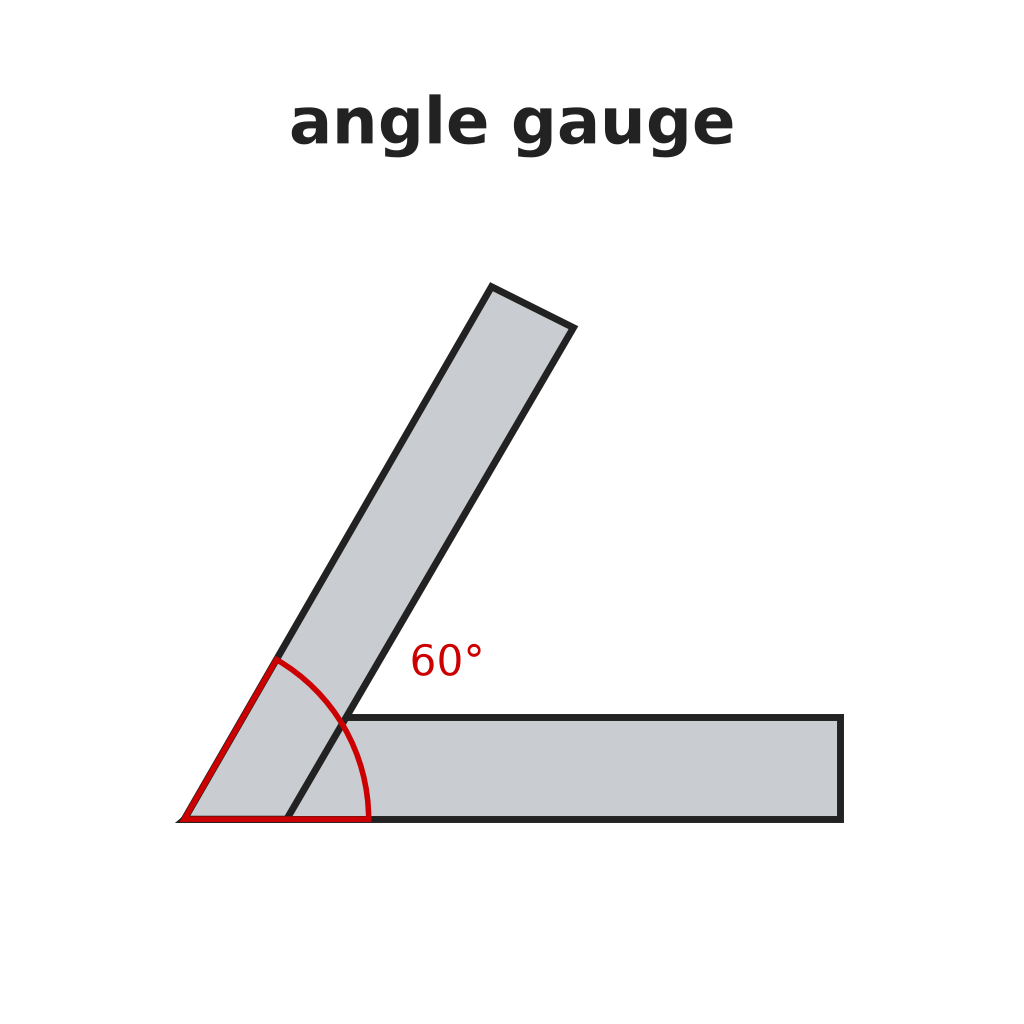
Grind one triangular end flat on a rotating iron disk with 90 or 150 mesh grit. Then rough out the three side faces at right angles to it, checking the 60° angles with an angle gauge.
Tools needed:
 Iron Grinding Disk
 Silicon Carbide Abrasive Grit Set
 Angle Gauge
3
3
Grind the ends in a batch
Grind the ends in a batch
Wax 20 or more prisms by their ground ends onto a heated iron disk and grind the other ends together: 90, 150, then 220 mesh, then smoothing grit. Change grit only when the surface is free of scratches. Regrind to the set thickness.
Tools needed:
Iron Grinding DiskSilicon Carbide Abrasive Grit Set Paraffin Wax
 Beeswax
 Hot PlateDigital Caliper 6-Inch
4
4
Block the prisms in plaster
Block the prisms in plaster
Set the prisms face down in melted paraffin on a flat iron disk and coat their backs with beeswax. Clamp a ring round them, fill with plaster of Paris and a little Portland cement (10 : 1), and let it harden about 16 hours. Cut the plaster back 1/8 in from the prisms and give it two coats of shellac.
Tools needed:
Hot PlateParaffin WaxBeeswax Plaster of Paris
 Portland Cement
 Shellac
5
5
Fine-grind
Fine-grind
Grind the block on a slightly convex plate with wet flour emery (the part that settles out of water between 10 and 60 minutes). After five minutes check with a magnifier: the faces should have an even velvet finish, slightly hollow by less than 0.001 in.
Tools needed:
Iron Grinding DiskSilicon Carbide Abrasive Grit Set Magnifying Loupe
6
6
Polish on pitch
Polish on pitch
Pour strained pitch with a little rosin 1/4 in deep on an iron tool and cut crossed grooves 1/8 in wide, 1 in apart. Press it true with a rouge-wetted flat. Polish the block with creamy rouge and water on the machine, usually 4–8 hours, running nearly dry at the end.
Tools needed:
 Wood-Tar Pitch
 Pine Rosin
 Jeweler's Rouge
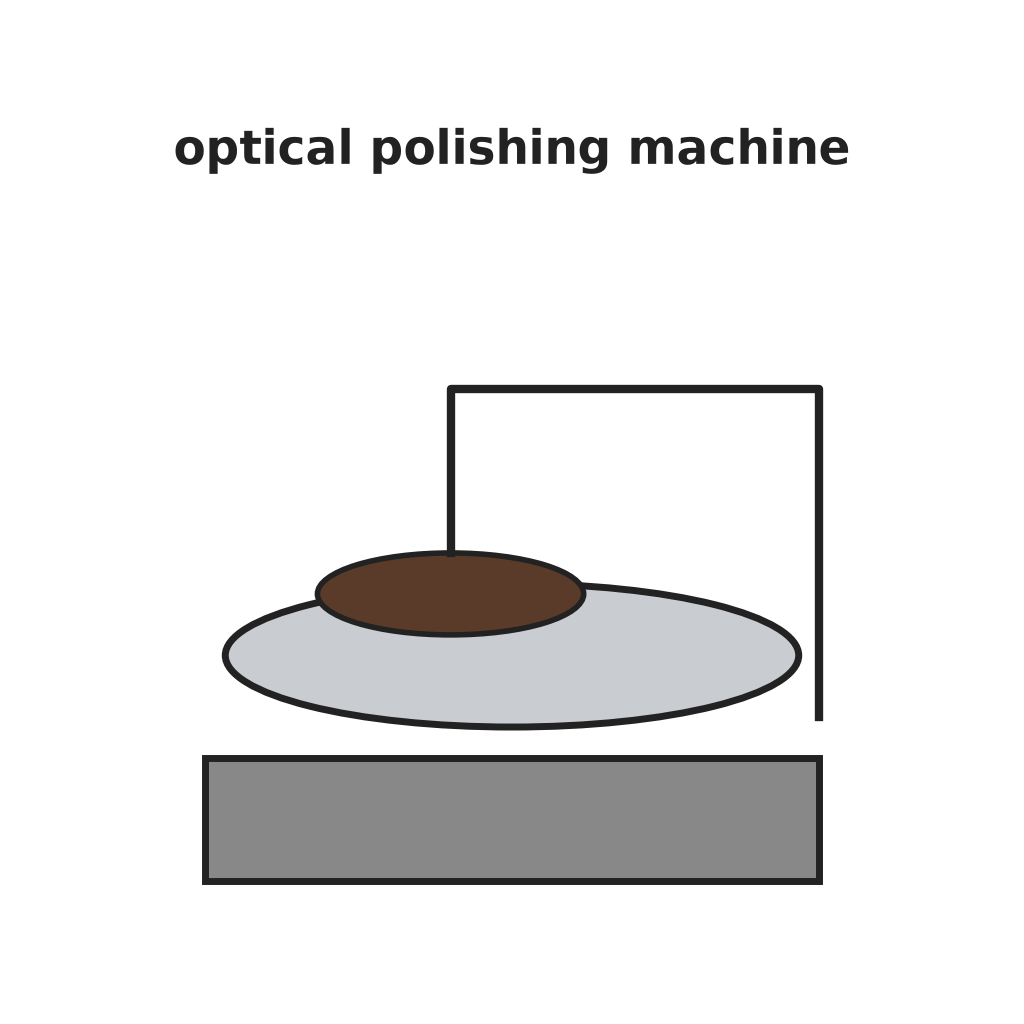 Optical Polishing Machine
7
7
Test for flatness
Test for flatness
Lay an optical flat on each face and look at the Newton colours in sodium light (salt in a Bunsen flame). Straight bands to the edge, or one colour over the whole face, mean it is flat.
Tools needed:
 Optical Flat (Reference)
 Bunsen Burner
 SaltMagnifying Loupe
8
8
Free, clean, check the angle, repeat
Free, clean, check the angle, repeat
Break the plaster away, clean the prisms with benzene and check each angle with the angle gauge. Correct by hand on a flat tool with smoothing grit. Repeat blocking and polishing for every face, smallest face first.
Tools needed:
 Hammer
 BenzeneAngle GaugeIron Grinding DiskSilicon Carbide Abrasive Grit Set
Materials
1- 1 as requiredPlaceholder
Tools Required
23- Placeholder
- Placeholder
- Placeholder
- Placeholder
- Placeholder
- Placeholder
- Placeholder
- Placeholder
- Placeholder
- Placeholder
- Placeholder
- Placeholder
- Placeholder
- Placeholder
- Placeholder
- Placeholder
- Placeholder
- Placeholder
- Placeholder
- Placeholder
- Placeholder
- Placeholder
- Placeholder
This blueprint makes

Related Blueprints
These blueprints share knowledge with this one — techniques, materials, or principles that connect them in the learning graph.
CC0 Public Domain
This blueprint is released under CC0. You are free to copy, modify, distribute, and use this work for any purpose, without asking permission.
Support the Maker by purchasing products through their Blueprint where they earn a Maker Commission set by Vendors, or create a new iteration of this Blueprint and include it as a connection in your own Blueprint to share revenue.