ART
BEAUTY & WELLNESS
CRAFT
CULTURE & HISTORY
ENTERTAINMENT
ENVIRONMENT
FOOD & DRINKS
REVERSE ENGINEERING
SCIENCES
SPORTS
TECHNOLOGY
WEARABLES
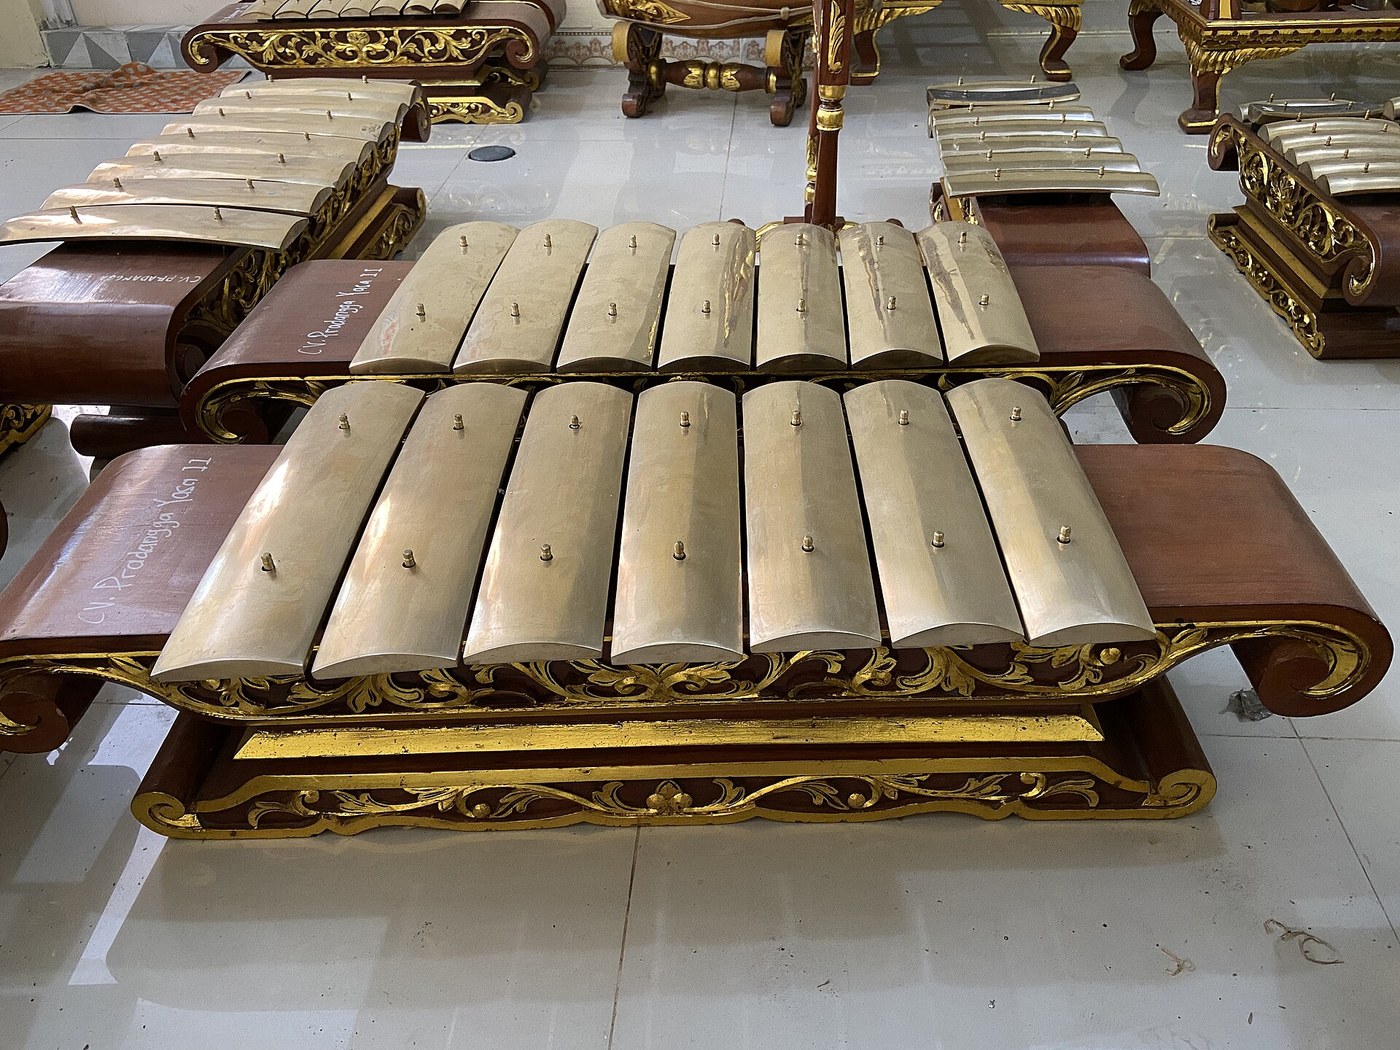


Gamelan Bronze Keys: Ten Parts Copper, Three Parts Tin, Cast and Forged
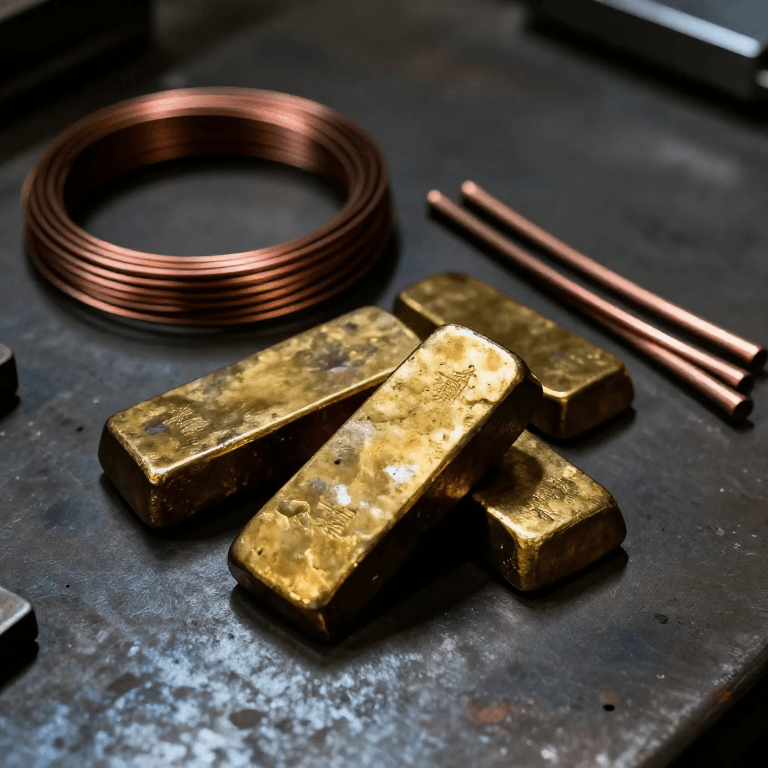
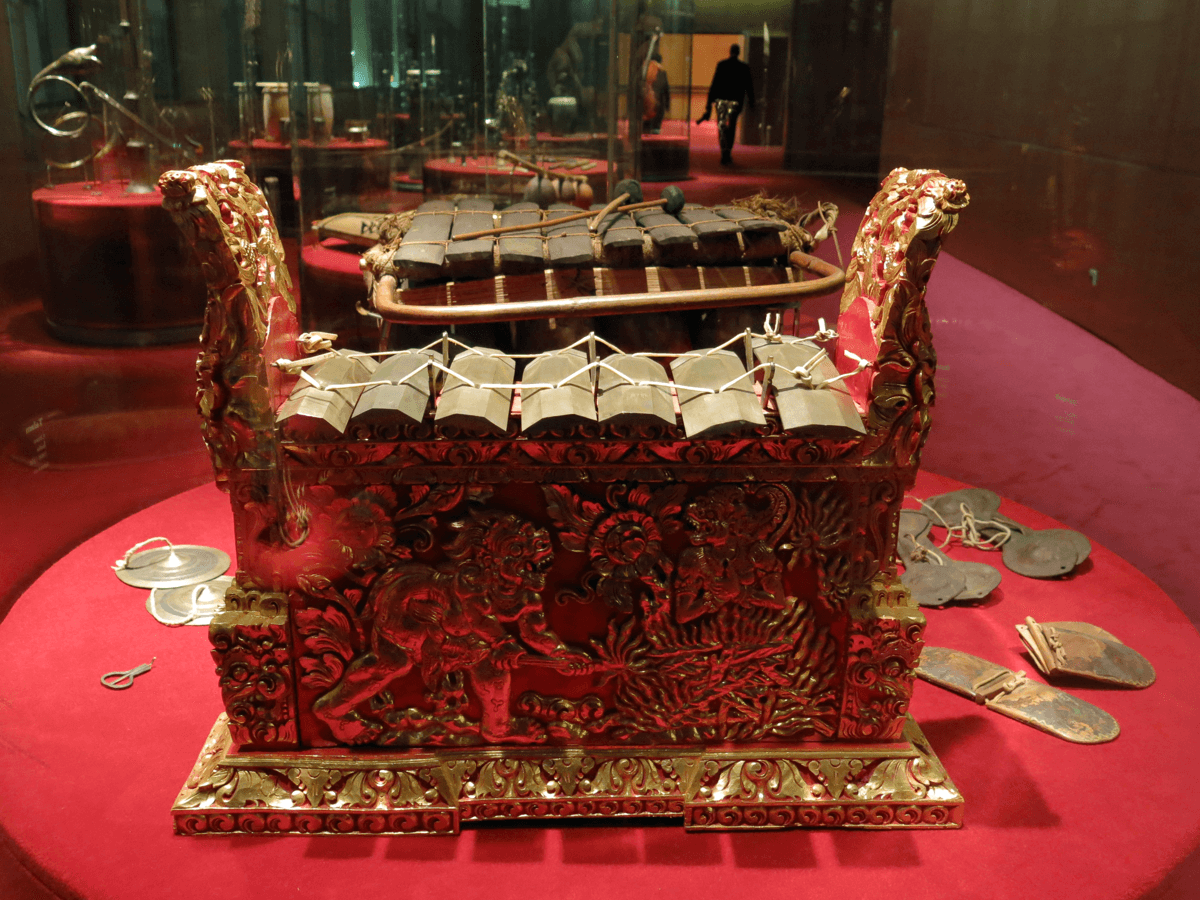
The keys of a saron are bronze bars. Javanese makers give the best gamelan bronze as ten parts copper to three parts tin, melted in a clay bowl (kowi), poured to a blade shape, forged with many kinds of hammer blows, checked, then tuned to the set's scale (Wikipedia, Gamelan production). Charge size, mould and tuning method are ours.
The picture: new saron keys on their frame (Wikimedia Commons).
Advanced
3 days
Instructions
1
1
Weigh ten to three
Weigh ten to three
For six keys weigh 1 kg of copper and 300 g of tin: ten parts copper to three parts tin.
Materials for this step:
 Copper Ingot1000 g
 Tin Ingot300 g
Tools needed:
 Digital Kitchen Scale
2
2
Melt in the clay crucible
Melt in the clay crucible
Melt the copper in a clay crucible in the furnace under a strong blast, then add the tin and stir it in.
Materials for this step:
 Charcoal1 as required
Tools needed:
 Clay Crucible - Deep
 Brick Furnace
 Bellows
 Crucible Tongs
 Welding Gloves
 Leather Apron
 Face Shield
3
3
Pour the blades
Pour the blades
Pour into an open iron mould to blade-shaped bars, a little longer and thicker than the finished keys. Let them cool.
Tools needed:
Crucible Tongs Ingot MouldWelding GlovesLeather ApronFace Shield
4
4
Forge
Forge
Forge each bar to shape on the anvil with a range of hammer blows, working it even along its length.
Tools needed:
 Blacksmith Forge
 Anvil
Anvil Cross Peen Hammer
 Blacksmith TongsWelding GlovesLeather ApronFace Shield
5
5
Check and tune
Check and tune
Check each key for cracks. Strike it on soft supports and read its note on the tuner. Grind the ends to raise the note; thin the underside at the middle to lower it. Work in small steps until each key sits on its note.
Tools needed:
 Chromatic Tuner and Metronome (Clip-On)
 Angle Grinder
 File SetFace Shield
Materials
3- 1000 gPlaceholder
- 300 gPlaceholder
- 1 as requiredPlaceholder
Tools Required
16- Placeholder
- Placeholder
- Placeholder
- Placeholder
- Placeholder
- Placeholder
- Placeholder
- Placeholder
- Placeholder
- Placeholder
- Placeholder
- Placeholder
- Placeholder
- Placeholder
- 1 vendor sell this, none ship to you yetPlaceholder
- Placeholder
This blueprint makes
Related Blueprints
These blueprints share knowledge with this one — techniques, materials, or principles that connect them in the learning graph.
CC0 Public Domain
This blueprint is released under CC0. You are free to copy, modify, distribute, and use this work for any purpose, without asking permission.
Support the Maker by purchasing products through their Blueprint where they earn a Maker Commission set by Vendors, or create a new iteration of this Blueprint and include it as a connection in your own Blueprint to share revenue.