ART
BEAUTY & WELLNESS
CRAFT
CULTURE & HISTORY
ENTERTAINMENT
ENVIRONMENT
FOOD & DRINKS
REVERSE ENGINEERING
SCIENCES
SPORTS
TECHNOLOGY
WEARABLES
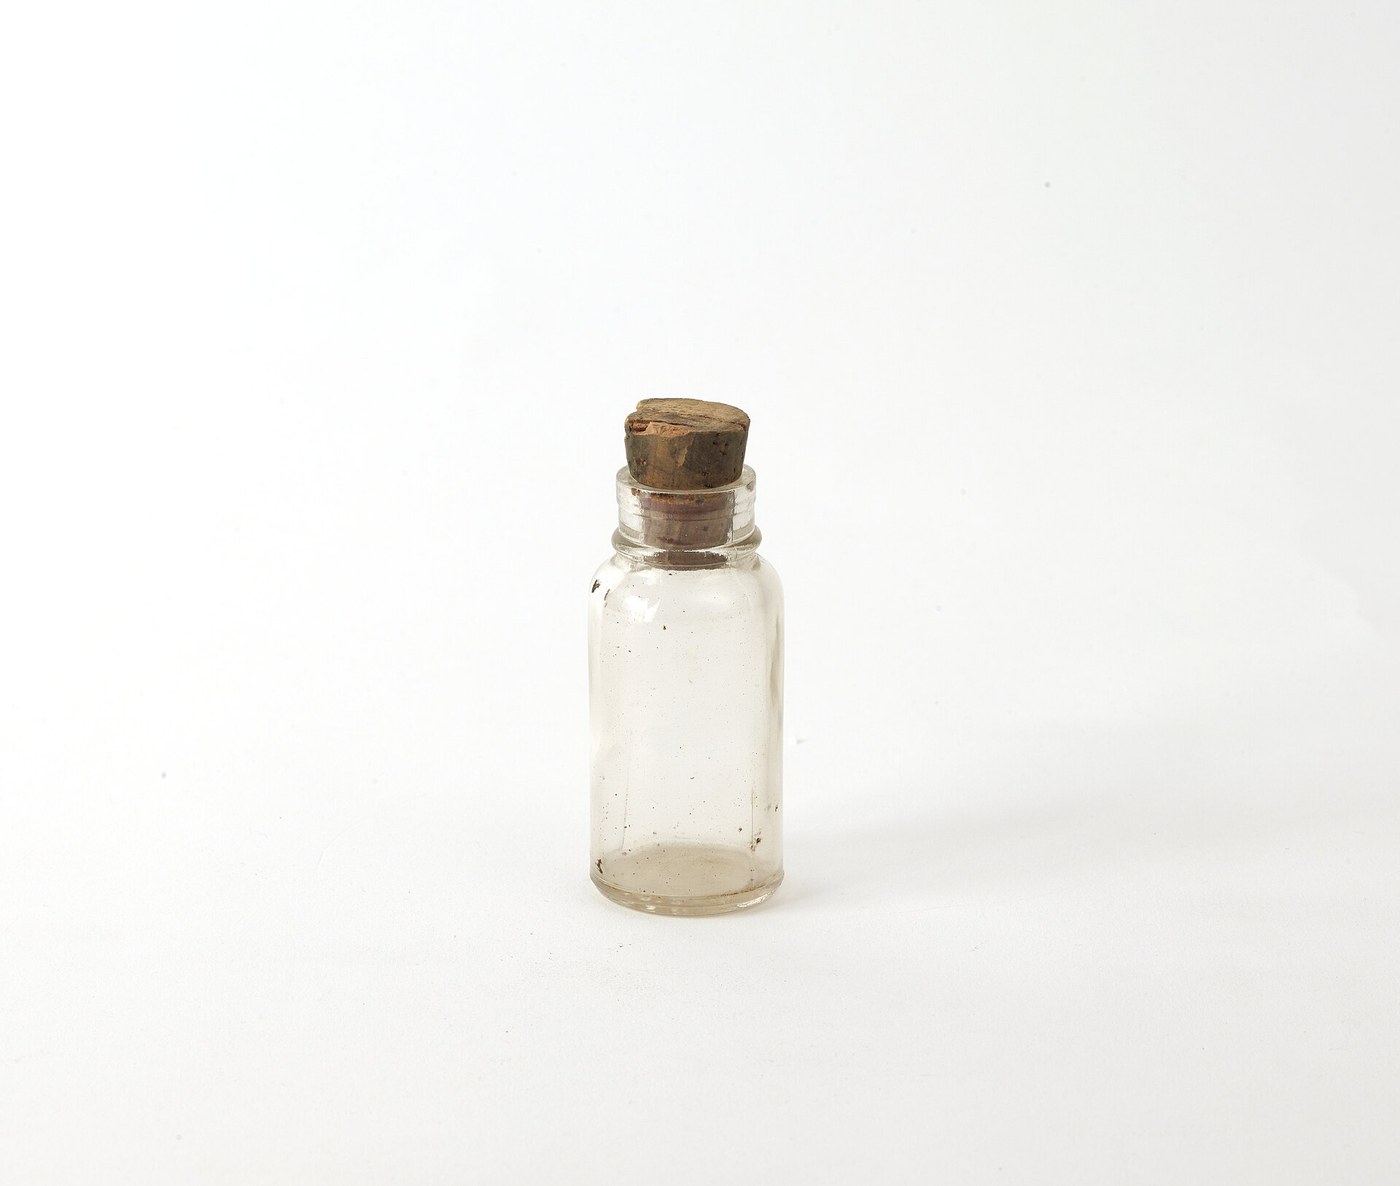


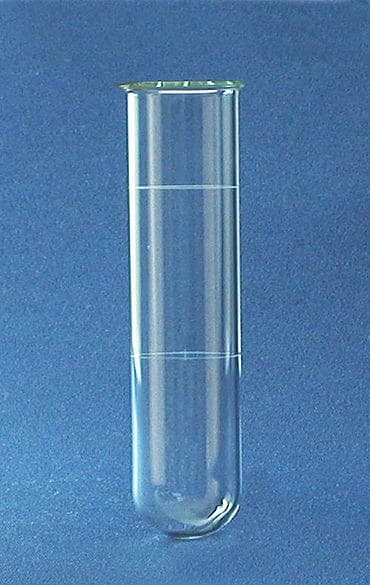
Glass Vial: a Corked Specimen Vial Closed and Flanged from Glass Tube (after Frary, 1914)
A small glass vial with a cork, for specimens, gold flakes or samples: an 18 mm glass tube closed to a round bottom, cut to length and flanged at the mouth so a cork goes in without cracking it, then annealed. The methods are from Francis Frary's Laboratory Manual of Glass-Blowing (1914). About 14 ml.
Intermediate
About 30 minutes a vial, plus practice
Instructions
1
1
Watch a test tube made
Watch a test tube made
A tube closed to a round bottom at the torch (The Fusing Shop). A vial is the same, shorter, with a flanged mouth.
2
2
How much it holds
How much it holds
Loading Jupyter Notebook...
Tools needed:
 Digital Caliper 6-Inch
3
3
Make a flanging tool
Make a flanging tool
Frary's tool: a triangle of copper or brass about 1/16 in. (1.5 mm) thick on a handle; his Fig. 2 sizes are a = 1 in., b = 1 in. and a = 2 in., b = 1 in. Cut it from brass sheet and fit it in a slot sawn in a hardwood dowel (ours: he wraps the shank in asbestos paper, which we never use).
Tools needed:
 Brass Sheet
 Hardwood Dowels
 Tin Snips
 Files (Hand File)
4
4
Close the end
Close the end
Heat the tube near one end, turning it all the time, and draw it off in a short cone. Draw off the tail with a fine flame passing just below it, lifting the work out when the thread gets thin, so no lump is left. Blow out the little lump slightly, shrink the whole cone a little and blow gently to a round end like a test tube, with walls as thick as the tube's.
Materials for this step:
 Glass Tube1 piece (18 mm x 1.2 mm wall, 200 mm)
Tools needed:
 Bench Glassblowing Torch
 Safety Glasses
 Heat-Resistant Gloves
5
5
Anneal the bottom
Anneal the bottom
Turn the flame smoky and hold the round end in it until coated with soot, then reduce the flame and cool it in the hot air above until it will not singe cotton wool. Let it cool fully.
Tools needed:
Bench Glassblowing Torch Cotton WoolHeat-Resistant Gloves
6
6
Cut to length
Cut to length
Make one scratch with the file edge 80 mm from the bottom (one stroke, no sawing), then pull the ends apart while bending very slightly to open the scratch. The end must be square.
Tools needed:
Files (Hand File)Digital Caliper 6-InchHeat-Resistant Gloves7
7
Flange the mouth
Flange the mouth
Turning the vial, heat only the last 2-3 mm of the mouth until it softens and starts to shrink. Warm the flanging tool, touch it to the wax, put it in at an angle and press on the soft edge while turning the vial quickly. Repeat if the flange is too small. Reheat the mouth to softening and anneal it as before.
Materials for this step:
 Paraffin Wax1 g
Tools needed:
Bench Glassblowing TorchHeat-Resistant GlovesSafety Glasses8
8
Fit the cork
Fit the cork
Choose a tapered cork that starts into the mouth by about a third of its length. Twist it in; never force a cork into an unannealed vial.
Materials for this step:
 Corks1 piece (tapered, about 15 to 18 mm)
9
9
Troubleshooting
Troubleshooting
Vial problems and fixes.
Flow
Loading...
10
10
History and honest limits
History and honest limits
From Francis C. Frary, Laboratory Manual of Glass-Blowing (1914): cutting (p. 7), flanging (pp. 11-12), the rounded test-tube end (Exercises 6 and 8) and annealing in the smoky flame (pp. 3-4). He used a gas blast lamp; borosilicate tube needs a hotter oxygen torch than soft glass. The picture shows a vial from the chemist Georg Bredig's laboratory (moulded, flat bottom); ours has a round blown bottom. Ours: the sizes, the cork and the wooden tool handle. Not made by us yet.
Materials
3- 1 piece (18 mm x 1.2 mm wall, 200 mm)Placeholder
- 1 gPlaceholder
- 1 piece (tapered, about 15 to 18 mm)Placeholder
Connected Blueprint Materials

This blueprint makes

Related Blueprints
These blueprints share knowledge with this one — techniques, materials, or principles that connect them in the learning graph.
CC0 Public Domain
This blueprint is released under CC0. You are free to copy, modify, distribute, and use this work for any purpose, without asking permission.
Support the Maker by purchasing products through their Blueprint where they earn a Maker Commission set by Vendors, or create a new iteration of this Blueprint and include it as a connection in your own Blueprint to share revenue.