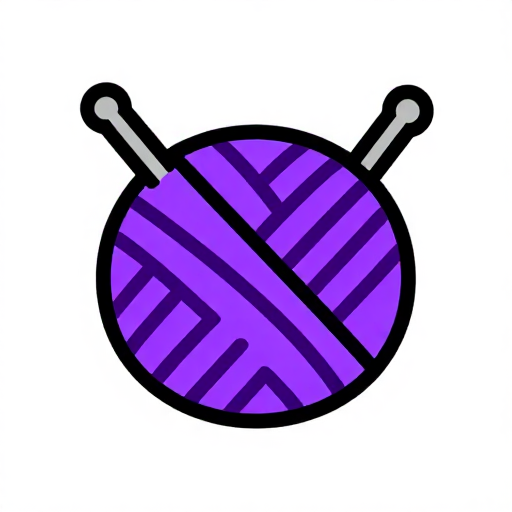
The Granny Square — Modular Crochet from Centre Out
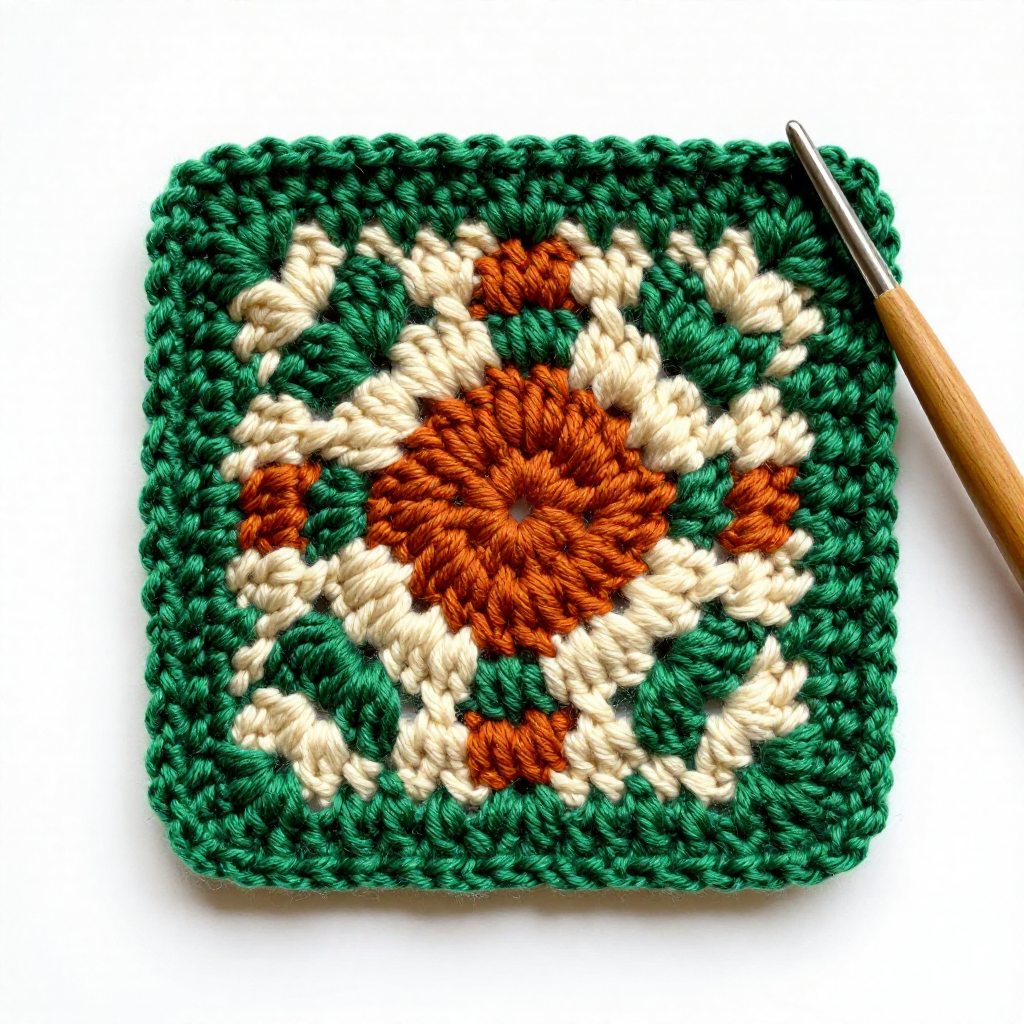
The granny square is the most recognizable motif in crochet — a small square worked from the centre outward in rounds, using clusters of double crochet (treble crochet in UK terminology) separated by chain spaces. Each round adds a new ring of clusters around the previous one, growing the square outward. The resulting fabric has an open, lacy texture with small holes between the clusters — lighter and more flexible than solid crochet, and ideal for blankets, bags, and garments where breathability matters.
The granny square became an icon of the 1960s and 1970s craft revival, but the technique is much older. Square motifs worked from the centre appear in crochet pattern books from the 1880s, and the modular approach — making many small squares and joining them into a larger fabric — has been a practical solution for using up leftover yarn since the beginning of the craft. Each round can be worked in a different colour, making granny squares a natural vehicle for using scraps. A granny square blanket is, at heart, an exercise in thrift: small amounts of many different yarns become a single, colourful whole.
The modular construction is the granny square's greatest advantage. Unlike a blanket crocheted in one piece (which becomes unwieldy as it grows), granny squares are small and portable — each one takes 10-15 minutes. They can be made individually and joined later, making the project flexible: add more squares for a bigger blanket, rearrange colours before joining, replace a damaged square without remaking the whole piece.
Instructions
Choose yarn and hook
Choose yarn and hook
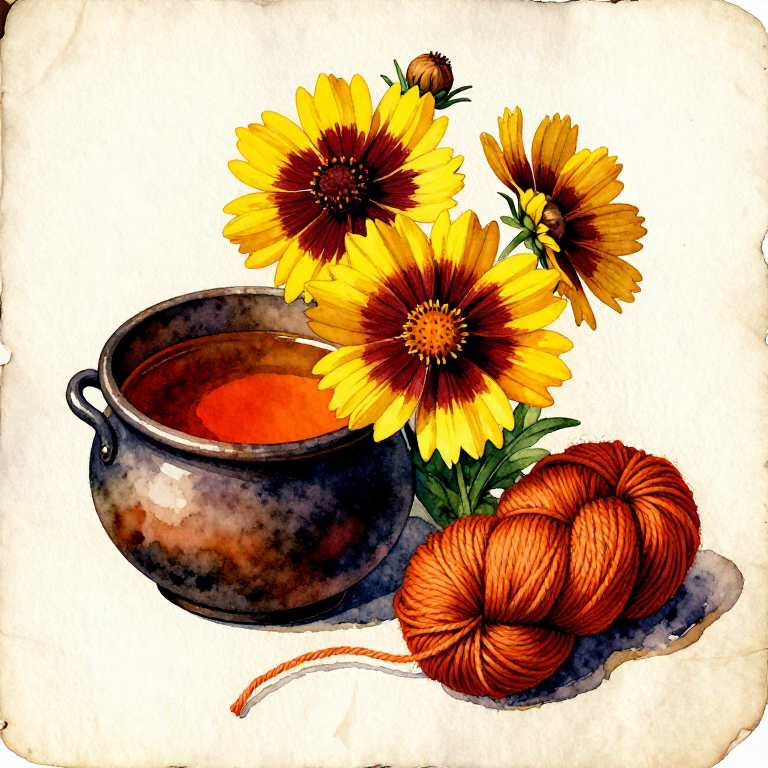
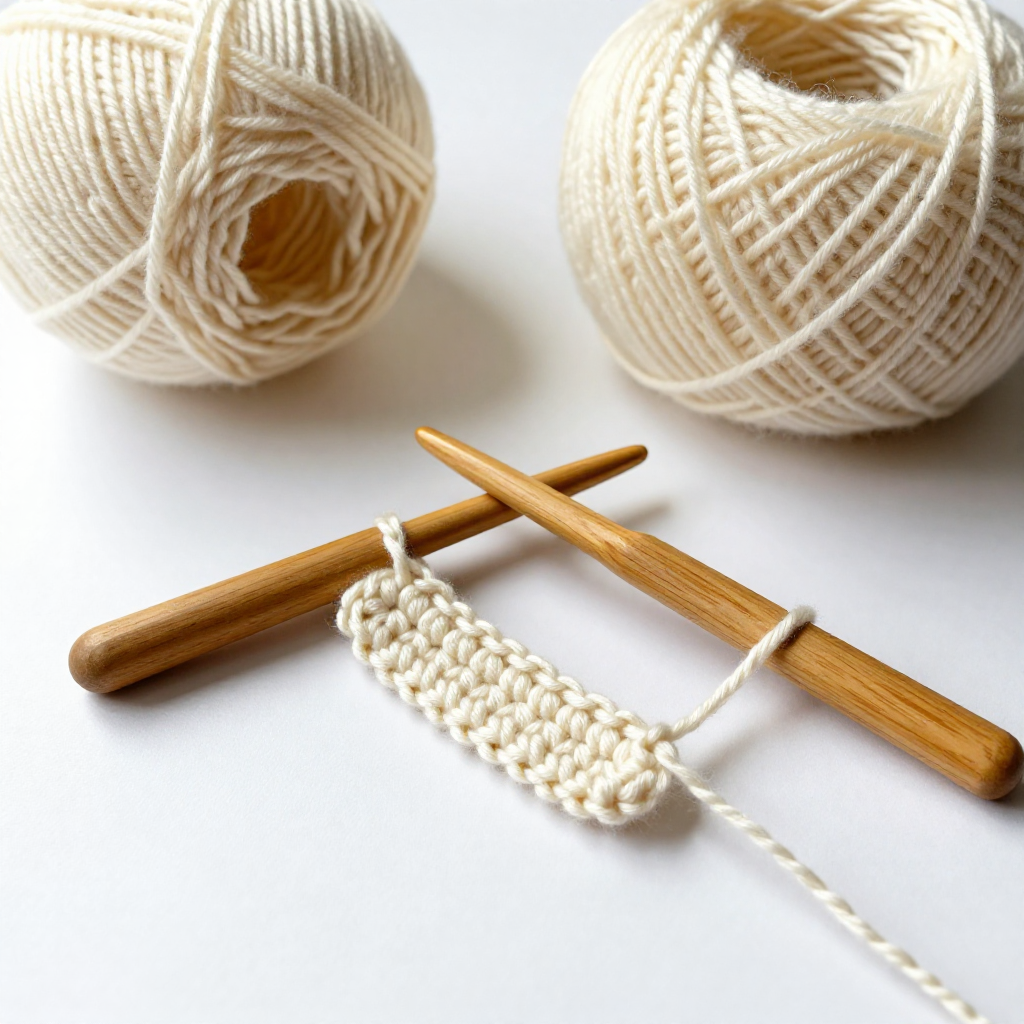
Use medium-weight (worsted/aran) yarn in 2-3 colours and a 5 mm crochet hook. The classic granny square uses a different colour for each round — for a first square, use three colours: colour A for the centre, colour B for round 2, and colour C for round 3. Each colour needs only about 3-5 metres per square, which is why granny squares are perfect for using leftover yarn. Wind small butterflies (figure-eight wraps around your thumb and pinky) of each colour to keep them tangle-free.
Materials for this step:
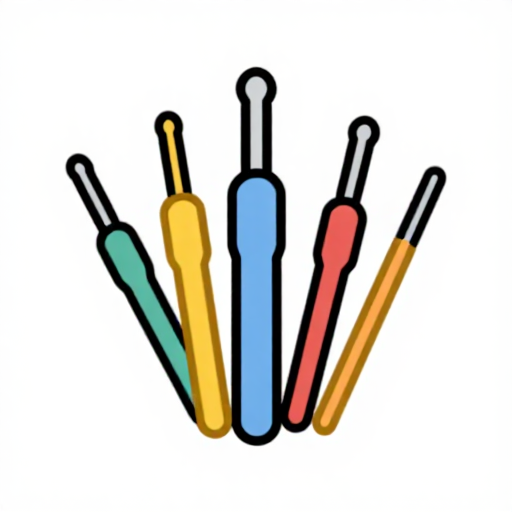 Crochet Hook Set1 set
 Wool Yarn Skein (Undyed)1 piece
Make the centre ring
Make the centre ring
With colour A, chain 4. Join the last chain to the first with a slip stitch to form a ring. Alternatively, use a magic ring (adjustable loop): wrap the yarn around your fingers twice, insert the hook through the loop, pull up a loop, chain 1 to secure. The magic ring can be pulled tight to close the centre hole — the chain ring leaves a small hole in the middle. Either method works; the magic ring gives a neater centre but is harder for beginners.
Work Round 1 — the centre clusters
Work Round 1 — the centre clusters
Chain 3 (counts as the first double crochet). Work 2 more double crochets into the ring — you now have a cluster of 3 double crochets. Chain 2 (this creates the corner space). Work 3 double crochets into the ring, chain 2. Repeat twice more: 3 double crochets, chain 2. You have 4 clusters of 3 double crochets separated by 4 chain-2 corner spaces. Join to the top of the initial chain-3 with a slip stitch. Fasten off colour A by cutting the yarn and pulling the tail through the last loop.
Join colour B for Round 2
Join colour B for Round 2
Join colour B in any corner space: insert the hook into a chain-2 corner space, yarn over with colour B, pull through the space, chain 3 (counts as first double crochet). Work 2 more double crochets into the same corner space, chain 2, then 3 more double crochets into the same corner space. This creates the corner: two clusters of 3 with a chain-2 space between them. Chain 1, then work 3 double crochets, chain 2, 3 double crochets into the next corner space. Chain 1. Repeat for the remaining two corners. Join with a slip stitch to the top of the chain-3. Fasten off colour B.
Work Round 3 — the square grows
Work Round 3 — the square grows
Join colour C in any corner space. Work the corner as before: 3 dc, chain 2, 3 dc into the corner space. Chain 1. Now work 3 dc into the chain-1 space between clusters on the side (this is new — in round 2 there were no side clusters, but now there is one chain-1 space on each side). Chain 1. Work the next corner: 3 dc, chain 2, 3 dc. Repeat around — each side now has one cluster between corners, plus the two corner clusters. Join and fasten off. The square is visibly square now, with distinct corners and sides.
Add more rounds to grow the square
Add more rounds to grow the square
Each additional round adds one more cluster per side. Round 4 has two side clusters between corners, round 5 has three, and so on. The pattern never changes: corners are always 3 dc, chain 2, 3 dc into the corner space; sides are always 3 dc into each chain-1 space with chain 1 between clusters. A 4-round granny square in worsted yarn measures roughly 10-12 cm. A 6-round square measures roughly 15-18 cm. Most granny square blankets use 4-5 round squares — large enough to show the pattern, small enough to make quickly.
Weave in the ends
Weave in the ends
Each colour change leaves two tails (the old colour's cut end and the new colour's starting end). Thread each tail onto a yarn needle and weave it through 5-6 stitches on the wrong side, following the path of the stitches so the tail is hidden. Trim the excess. A three-colour, three-round square has 6 tails to weave in. This is the least glamorous part of granny square work — a blanket of 48 squares has nearly 300 ends to weave. Some crocheters crochet over the tails as they work (laying the tail along the top of the previous round and working stitches over it) to reduce the number of ends to weave later.
Make multiple squares for joining
Make multiple squares for joining
Make at least 4 squares of the same size (same number of rounds, same yarn weight, same hook). Arrange them in a 2x2 grid, deciding on colour placement. The squares can all be identical, all different, or a planned pattern. Block the squares before joining — wet them, pin them to a foam mat in perfect squares, and let them dry. Blocking evens out the stitches and ensures all squares are exactly the same size. Unblocked squares may be slightly different sizes, which makes joining difficult and produces a wavy blanket.
Join squares together
Join squares together
Hold two squares with right sides together. Using a new strand of yarn and the crochet hook, slip stitch through the back loops of both squares along one edge — insert the hook through the back loop of the front square and the back loop of the back square simultaneously, yarn over, pull through both loops and the loop on the hook. This creates a flat, nearly invisible seam on the right side. Alternatively, whip stitch the squares together with a yarn needle for a completely flat join. Join all squares in rows first, then join the rows together. For a blanket, add a border of 1-2 rounds of single crochet or double crochet around the entire joined piece to unify the edges.
Understand granny square construction principles
Understand granny square construction principles
The granny square teaches the fundamental principle of modular crochet: any shape worked from the centre out can be used as a building block for larger fabric. Hexagons, triangles, circles, and flowers all work the same way — clusters of stitches separated by chain spaces, with increases at regular intervals to keep the piece flat. The granny square increases at four points (the corners), which is why it becomes a square. A motif that increases at six points becomes a hexagon. One that increases evenly all around becomes a circle. Understanding this principle lets you design your own motifs and construct blankets, garments, and bags from any combination of shapes that tile together.
Materials
2- 1 setPlaceholder
- 1 piecePlaceholder
Connected Blueprint Materials
You can swap these in
Can't get one of the materials? Swap it for an equivalent — these work just as well.
- Instead of Crochet Hook Set, try:
 Bucket Hook
 Reed Hook
 Threading Hook
 Bamboo Harvesting Pole with Iron Hook (4-6m)
 Long Bamboo Pole with Hook
 Stand Mixer Dough Hook
 - Instead of Wool Yarn Skein (Undyed), try:
 Yarn Skein
Recommended for this build
Products makers often use with builds like this one.
 Stock PotFrequently used with this build's materials
 Cooking Thermometer (0-200°C)Frequently used with this build's materials
 Wooden Stirring SpoonFrequently used with this build's materials
 Digital Kitchen ScaleFrequently used with this build's materials
 Alum (Potassium Alum)Frequently used with this build's materials
 Fine Mesh StrainerFrequently used with this build's materials
 WaterFrequently used with this build's materials
 BoneFrequently used with this build's materials
Related Blueprints
These blueprints share knowledge with this one — techniques, materials, or principles that connect them in the learning graph.
Related blueprints
Other builds that share materials, tools, or techniques with this one.
CC0 Public Domain
This blueprint is released under CC0. You are free to copy, modify, distribute, and use this work for any purpose, without asking permission.
Support the Maker by purchasing products through their Blueprint where they earn a Maker Commission set by Vendors, or create a new iteration of this Blueprint and include it as a connection in your own Blueprint to share revenue.