
Collaboration
ART
BEAUTY & WELLNESS
CRAFT
CULTURE & HISTORY
ENTERTAINMENT
ENVIRONMENT
FOOD & DRINKS
REVERSE ENGINEERING
SCIENCES
SPORTS
TECHNOLOGY
WEARABLES
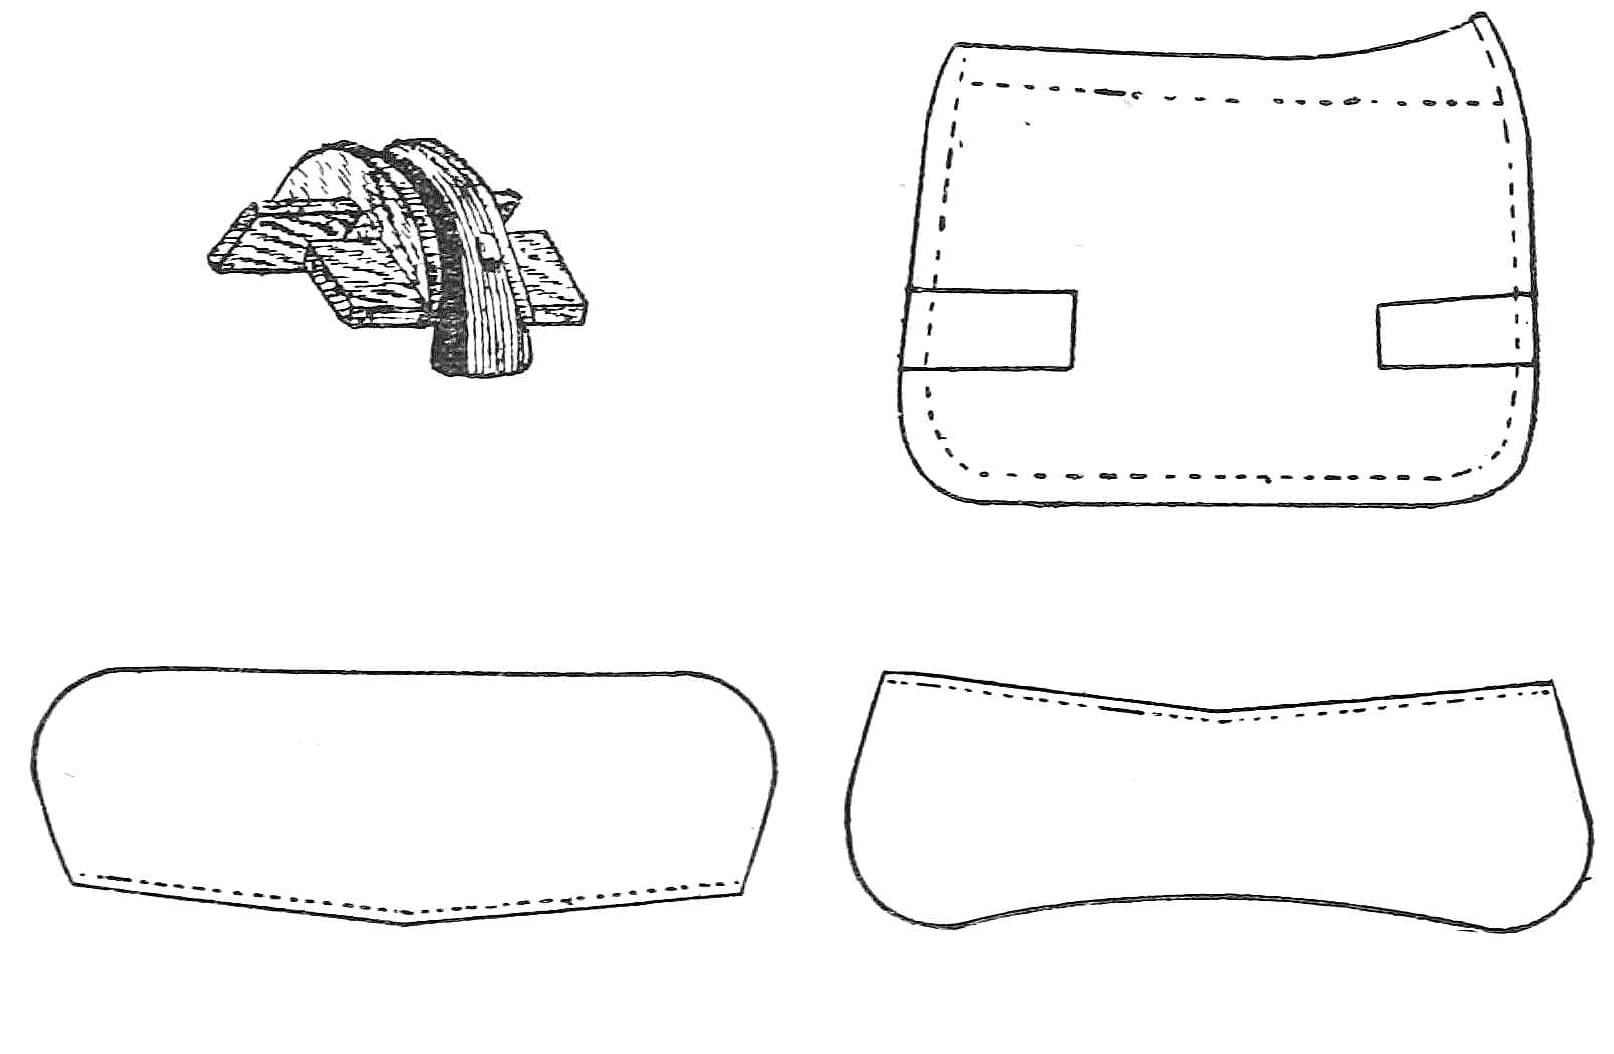
Riding Saddle: Web, Stuffed Seat, Hogskin Skirts, Knee-Pad Flaps and Quilted Panel on a Bought Tree (Hasluck, Saddlery, 1904)
Tex

Created by

Tex

13. November 2026FO
0
0
0
0
0

Riding Saddle: Web, Stuffed Seat, Hogskin Skirts, Knee-Pad Flaps and Quilted Panel on a Bought Tree (Hasluck, Saddlery, 1904)

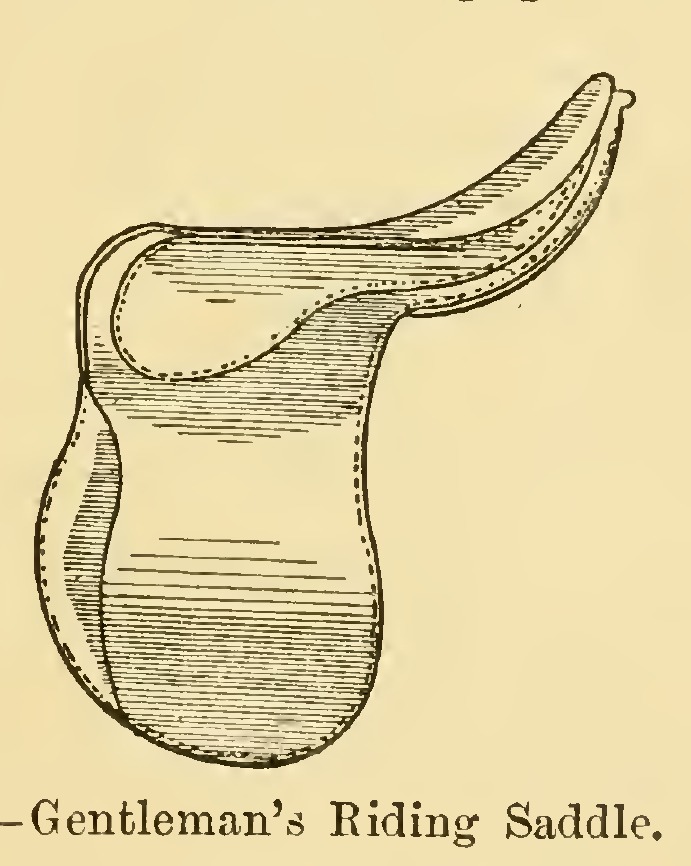
A riding saddle from Paul N. Hasluck's Saddlery (1904), the "gentleman's riding saddle" of the English trade: on a bought tree, a seat of stretched web and linen, stuffed with carded flock and covered in hogskin, hogskin-covered skirts, flaps with stuffed knee-pads, a corded gullet piece, girth straps, and a quilted panel underneath. All sizes are his. It is an English saddle, not a Western stock saddle; no public-domain source for a Western saddle was found.
Advanced
About 1 week

Instructions

1

How much straining web

Loading Jupyter Notebook...
2

Read Saddlery, ch. I

"In making a gentleman's riding saddle, the first article needed is a tree (Fig. 1), which can be bought with a round cantle (the back rising part) or with a square one rounded at the corners, and running in a straight line at the top."
3

Stretch the web

Damp the straining web and nail each end firmly to a board, then push something underneath to stretch it to the utmost. Let it dry; damp it once or twice more as needed, letting it dry between.

Materials for this step:

Straining WebStraining Web1 piece

Tools needed:

Pine BoardPine Board
NailsNails
Claw HammerClaw Hammer
SpongeSponge
4

Web the tree

Cut the web in two and nail two ends at the head of the tree just outside the iron plate, slanting one to each side. Pull them tight and nail them at the back low under the cantle, which throws them 5 to 6 in apart at the back; nail them down closely with headed saddle tacks. Tack the other piece across close to the saddle bar, a little under where the bar is riveted, with 4 in hanging down each side, pulled very tight. Lay another piece of web ("any diaper web will do") close behind and nail it tight, and run a stitch from one web to the other.

Materials for this step:

Riding Saddle TreeRiding Saddle Tree1 piece
Straining WebStraining Web1 piece
NailsNails1 piece
Leather ThreadLeather Thread1 piece

Tools needed:

PincersPincers
Claw HammerClaw Hammer
AwlAwl
Two Harness NeedlesTwo Harness Needles
5

Lay the seat foundation

Stitch a piece of strong linen across to the web, large enough to run all round the seat behind, and nail it round the sides and back, covering the web ends; pull it tight and nail it so the seat will rise toward the cantle when stuffed. Stitch another piece to the web in front and nail it all round, so the seat is covered without hollow.

Materials for this step:

Linen FabricLinen Fabric1 piece
NailsNails1 piece
Leather ThreadLeather Thread1 piece

Tools needed:

Claw HammerClaw Hammer
AwlAwl
Two Harness NeedlesTwo Harness Needles
6

Make the side pads

Double a piece of basil about 6 in long along the centre, pointed at one end and full at the other. Stitch the edges, leave a small opening and stuff it smoothly and tightly with flock: a little thicker than the middle finger at the full end, tapering to a fine point. Close it and flatten it slightly with the mallet. Nail one each side flush with the edge of the tree, thick end against the cantle.

Materials for this step:

Basil LeatherBasil Leather1 piece
Wool FlockWool Flock1 piece
NailsNails1 piece

Tools needed:

Two Harness NeedlesTwo Harness Needles

Wooden MalletWooden Mallet
Claw HammerClaw Hammer
7

Cover and stuff the seat

Cover the seat with white serge, nailed over the cantle edge, under the gullet in front and under the sides to the hanging web; from there forward back-stitch it coarsely to the shape of skirt and seat. Back-stitch it through the tree along the side pads. Rub a patch about 2½ x 1 in in the centre with black wax and cut a 1½ in slit in it. Pass a pound of white flock through the carding machine three or four times, clip long wool, and stuff it in with the seat iron, a little at a time, moving it to the sides, until firm and level; level it with the seat awl, feeling with the left hand, and stitch the opening.

Materials for this step:

Wool SergeWool Serge1 piece
Cobbler's WaxCobbler's Wax1 piece
Wool FlockWool Flock1 piece
NailsNails1 piece
Leather ThreadLeather Thread1 piece

Tools needed:

ScissorsScissors
Flock Carding MachineFlock Carding Machine
Seat IronSeat Iron
AwlAwl
Two Harness NeedlesTwo Harness Needles
Claw HammerClaw Hammer
8

Cover the seat in hogskin

Cut the seat from good hogskin large enough to be nailed underneath. Damp it and nail it on smooth, underneath at the sides and back, so the nails pull out easily and leave no mark. Gather the small pleats behind the cantle into two large ones, one each side of the crupper staple, to be cut and stitched when dry. Let it dry.

Materials for this step:

Pigskin LeatherPigskin Leather1 piece
NailsNails1 piece

Tools needed:

Leather KnifeLeather Knife
SpongeSponge
Claw HammerClaw Hammer
9

Make the skirts

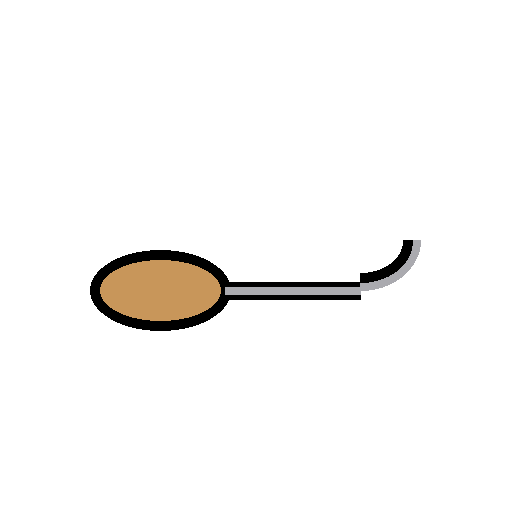
Cut the skirts to his Fig. 3 from flat brown skirt leather. Cut a strip of hogskin belly to run 1 in in from the edge along the under part, to within 4 in of the narrow point and 1½ in beyond in front, low enough to nail under the tree; paste linen on its flesh side. Raise holes along the skirt's edge with a bent awl, not through. Cover the skirt with pasted hogskin (or paste serge on to within ¼ in of the edge and cover without pasting), stitch it fine near the edge with yellow hemp, silk or white linen thread and beeswax, run a row ¾ in from the top, and finish. When dry, stitch the nailing piece through the raised holes with fine beeswax thread.

Materials for this step:

Saddle Skirt LeatherSaddle Skirt Leather2 pieces
Pigskin LeatherPigskin Leather1 piece
Linen FabricLinen Fabric1 piece
Wheat PasteWheat Paste1 piece
Linen ThreadLinen Thread1 piece
BeeswaxBeeswax1 piece

Tools needed:

Leather KnifeLeather Knife
Bent AwlBent Awl
AwlAwl
Two Harness NeedlesTwo Harness Needles
10

Make the flaps and knee-pads

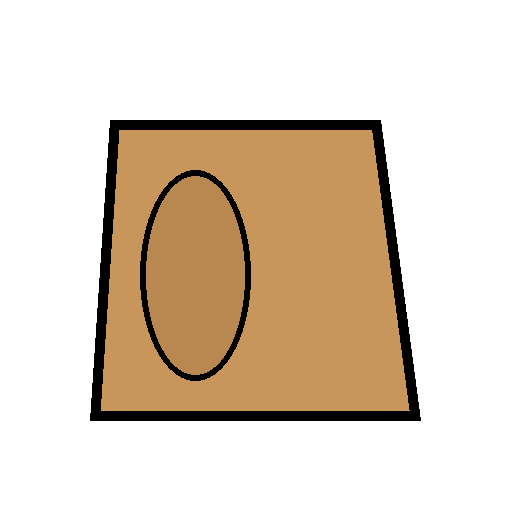
Cut the flaps in pairs, grain side out underneath. On the front of each, spot a serge cover for a knee-pad, from the point of the skirt to the bottom, shaped to the flap outside and straight inside to within 3 in of the top. Nail the flap to the flap (shafteau) block through each end of the pad and stuff it full and evenly, "full in front and sloping towards the inside". Add a small flat pad at the top corner of the other side. Paste damped hogskin over the pads, pulled tight, with a band of leather along the pad's straight side and a smooth string nailed along the front to pull the hogskin into the hollow; dry on the block. Trim the hogskin to the edge, stitch it all round, level the edges with sandpaper and polish.

Materials for this step:

Saddle Skirt LeatherSaddle Skirt Leather2 pieces
Wool SergeWool Serge1 piece
Wool FlockWool Flock1 piece
Pigskin LeatherPigskin Leather1 piece
Wheat PasteWheat Paste1 piece
CordCord1 piece
Linen ThreadLinen Thread1 piece

Tools needed:

Leather KnifeLeather Knife
Flap BlockFlap Block
NailsNails
AwlAwl
Two Harness NeedlesTwo Harness Needles
SandpaperSandpaper
SpongeSponge
11

Join seat and skirts

Tack both skirts in place on the seat, mark a line along the seat at the skirt edge and mark matching points. Cut the seat along the mark. Whip a dogskin welt, 1 in longer than the skirt each end, to the skirt's top edge with single linen thread, regular stitches. Damp the edges and back-stitch seat to skirt through the same holes, marks opposite, catching a piece of hogskin seat at the 4 in near the narrow part. Cut and stitch the two pleats behind the cantle from underneath, half through the leather. Cover the tree points beyond the bars with pasted thin basil or hogskin.

Materials for this step:

Dogskin LeatherDogskin Leather1 piece
Linen ThreadLinen Thread1 piece
Basil LeatherBasil Leather1 piece
Wheat PasteWheat Paste1 piece

Tools needed:

Leather KnifeLeather Knife
Two Harness NeedlesTwo Harness Needles
AwlAwl
SpongeSponge
12

Put seat and skirts on the tree

Damp the seat all over, keeping it from iron stains. Nail the front over the gullet under the tree with the skirts level, nail it behind by the iron plate and slit it over the crupper staple, pulling with small pincers. Fasten the sides with nails driven alternately so it is square and straight. Slit the leather opposite the hanging web, pull it tight with pincers and nail through both into the tree; trim the web and waste close to the nails.

Materials for this step:

NailsNails1 piece

Tools needed:

SpongeSponge
PincersPincers
Claw HammerClaw Hammer
Leather KnifeLeather Knife
13

Fit the flaps

Cut a nick upward in the front of each flap to run above the tree point; pass the rest under the tree behind the bar, cut above the hanging web, round the end and nail it under the tree close to the skirt; stitch through the web piece. Drive a tough silver nail through the top of the knee-pad and clinch it underneath, another in the front of the other flap, and one behind each side below the seat pad, slanting through the tree and clinched.

Materials for this step:

Saddle NailSaddle Nail4 pieces
NailsNails1 piece
Leather ThreadLeather Thread1 piece

Tools needed:

Leather KnifeLeather Knife

Claw HammerClaw Hammer
AwlAwl
Two Harness NeedlesTwo Harness Needles
14

Make the gullet piece

Cut brown leather 1 in wide to run round the front of the gullet from flap point to flap point, and hogskin a little wider. Stitch the hogskin on along the edge, damp it, push a cord in close to the stitches and paste the hogskin down. Punch a hole about 1¼ in below where seat and skirt join, slit it inward, and nail it along the gullet so the cord lies tight against the tree's edge, slits equal each side; raise the parts below to meet the flap ends and nail and stitch them. Put two silver saddle staples through flap point, gullet piece and tree, knock them down and clinch them; cover the nails with a pasted oval of thinned hogskin.

Materials for this step:

Harness LeatherHarness Leather1 piece
Pigskin LeatherPigskin Leather1 piece
CordCord1 piece
Wheat PasteWheat Paste1 piece
Saddle StapleSaddle Staple2 pieces
NailsNails1 piece
Linen ThreadLinen Thread1 piece

Tools needed:

Leather KnifeLeather Knife
Leather Hole PunchLeather Hole Punch
Two Harness NeedlesTwo Harness Needles
Claw HammerClaw Hammer
15

Fit girth straps and underskirts

Cut six stout girth straps 1 in x 1 ft 3 in; shave one end, slant the other to a fine point, edge, rub and crease double on the flesh side. Turn up the hanging web and leather until 3 in long from the tree, stitch two straps on each side and nail the third close by; punch holes along them. Drive a tough nail at the front of each skirt and clinch it. Cut two pear-shaped underskirts reaching a little over halfway down the straps, crease them with the hot creaser and nail them under the tree beneath the straps. Wrap the crupper loop in a thin hogskin strip, and fasten the flap ends to the tree with a leather chape and fine tacks.

Materials for this step:

Harness LeatherHarness Leather1 piece
Saddle Skirt LeatherSaddle Skirt Leather1 piece
Saddle NailSaddle Nail2 pieces
Pigskin LeatherPigskin Leather1 piece
NailsNails1 piece
Leather ThreadLeather Thread1 piece

Tools needed:

Leather KnifeLeather Knife
Creasing ToolCreasing Tool
Propane TorchPropane Torch
Leather Hole PunchLeather Hole Punch
AwlAwl
Two Harness NeedlesTwo Harness Needles
Claw HammerClaw Hammer
16

Make the panel (ch. II)

Cut good basil to the saddle's underside in two halves joined along the middle, marked round the saddle with the seat awl, flush in front, to the crupper loop behind, and about 2½ in shorter at the bottom. Cut the centre slits as he describes (2 in from centre, 1½ in down, then back to about 1 in from the point) and stitch the ends. Line the top and front with basil or linen. Stitch on hogskin pockets for the tree points. Back-stitch a hogskin facing round the front and back with white linen thread, narrowing to nothing at the points and to half width at gullet and crupper loop. Tack it to white serge cut about 2½ in larger, narrowing to about 1 in at the bottom; whip the lining on and turn it out, with a rounded piece of basil or cord in the gullet.

Materials for this step:

Basil LeatherBasil Leather1 piece
Linen FabricLinen Fabric1 piece
Pigskin LeatherPigskin Leather1 piece
Wool SergeWool Serge1 piece
Linen ThreadLinen Thread1 piece
CordCord1 piece

Tools needed:

Leather KnifeLeather Knife
AwlAwl
Two Harness NeedlesTwo Harness Needles
ScissorsScissors
17

Stuff and quilt the panel

Raise stitches along the opening about 1 in apart at the back and a good 3 in in front, making two compartments. Cut a cross in the back and stuff each side pretty full with carded flock. With the seat awl work the flock down to the facing and quilt it with three-cord beeswax thread into a hard roll all round, thick at the back and front, smaller toward the front bottom; softer under the flap. Mark five or six lines about 1½ in apart across the panel flaps, and cross lines, and quilt a stitch at each crossing. Level the flock with the seat awl.

Materials for this step:

Wool FlockWool Flock1 piece
Leather ThreadLeather Thread1 piece
BeeswaxBeeswax1 piece

Tools needed:

AwlAwl
Two Harness NeedlesTwo Harness Needles
Leather KnifeLeather Knife
18

Fit the panel

Put the tree points into the pockets and pull them right to the end; tack the panel close to the gullet piece all round the front and two tacks between the crupper-loop points behind. Put a tuft of flock under the heads of six medium nails and drive one each side near the facing about 8 in from the crupper loop, one each side in the middle nearer the front, and one each side in front about 2 in from the top of the pockets; trim the flock at the heads.

Materials for this step:

NailsNails1 piece
Wool FlockWool Flock1 piece

Tools needed:

Claw HammerClaw Hammer
ScissorsScissors
19

Troubleshooting

Riding saddle troubleshooting.

Flow

Loading...
20

History and honest limits

From **Saddlery**, edited by Paul N. Hasluck, David McKay, Philadelphia, 1904 (archive.org saddlery00hasl), chapters I and II. Hasluck assumes "the worker has a general acquaintance with the craft of the harness-maker" and buys the tree. All sizes are his. He lists several styles (plain flaps, demi-flap, half shafts); this is the hogskin seat and skirts with knee-pad flaps he describes in full. The metal name plate and silver dees are not made here. This is an English riding saddle, not a Western stock saddle.

Materials

19

Tools Required

18

This blueprint makes

CC0 Public Domain

This blueprint is released under CC0. You are free to copy, modify, distribute, and use this work for any purpose, without asking permission.

Support the Maker by purchasing products through their Blueprint where they earn a Maker Commission set by Vendors, or create a new iteration of this Blueprint and include it as a connection in your own Blueprint to share revenue.

Discussion

(0)

Log in to join the discussion

Loading comments...