Collaboration
ART
BEAUTY & WELLNESS
CRAFT
CULTURE & HISTORY
ENTERTAINMENT
ENVIRONMENT
FOOD & DRINKS
REVERSE ENGINEERING
SCIENCES
SPORTS
TECHNOLOGY
WEARABLES


Plough Back-Band With Hooks: Faced, Flock-Padded Back-Band With a Rein Dee (Hasluck, Harness Making, 1904)
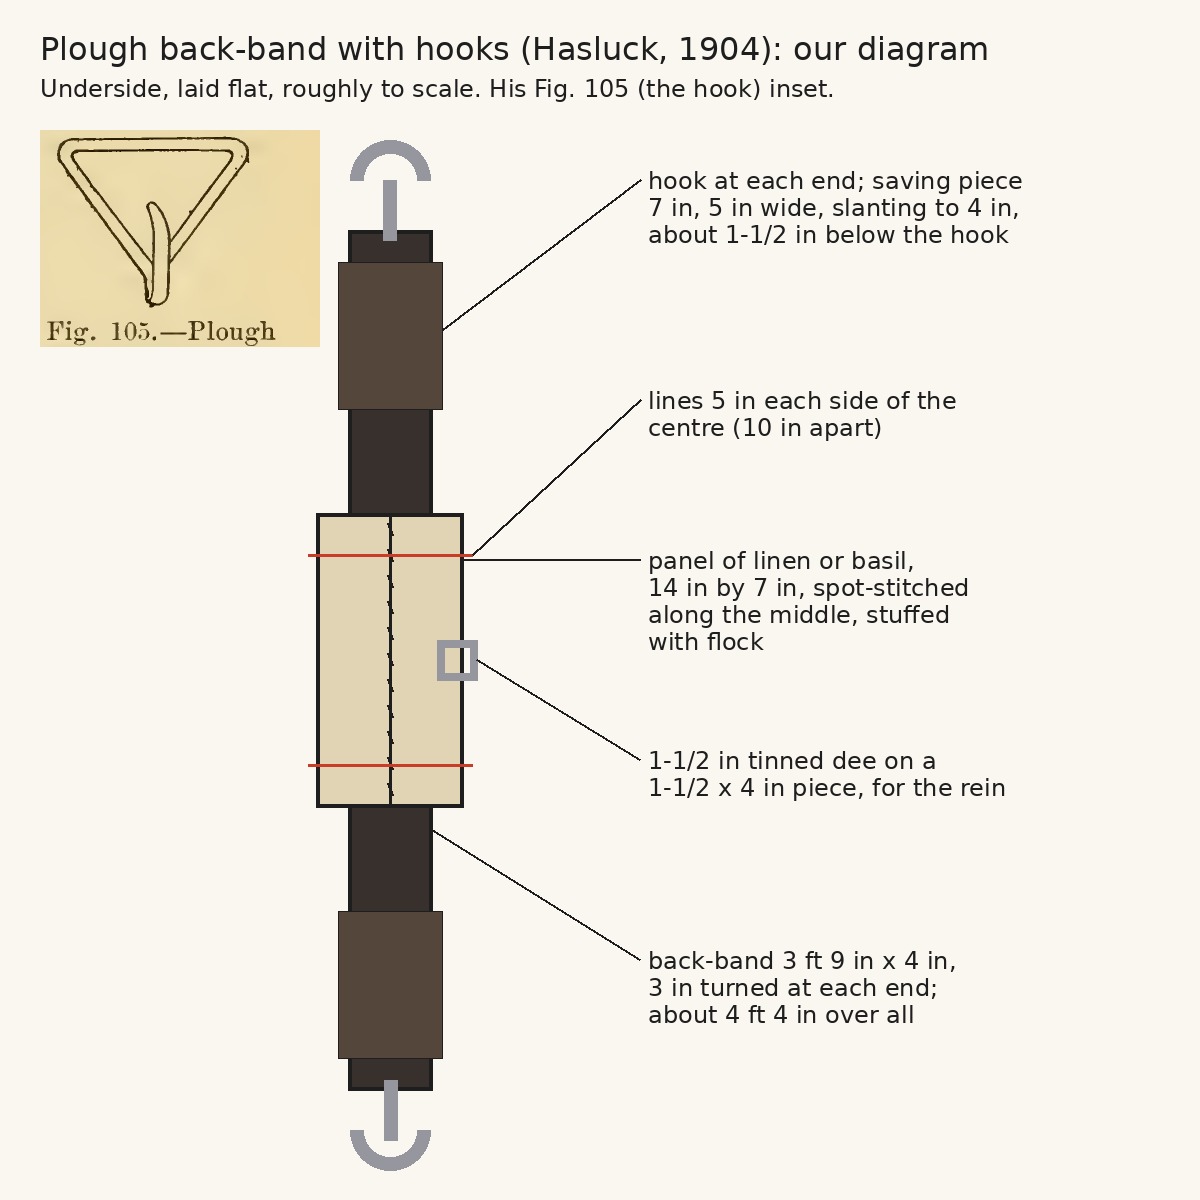
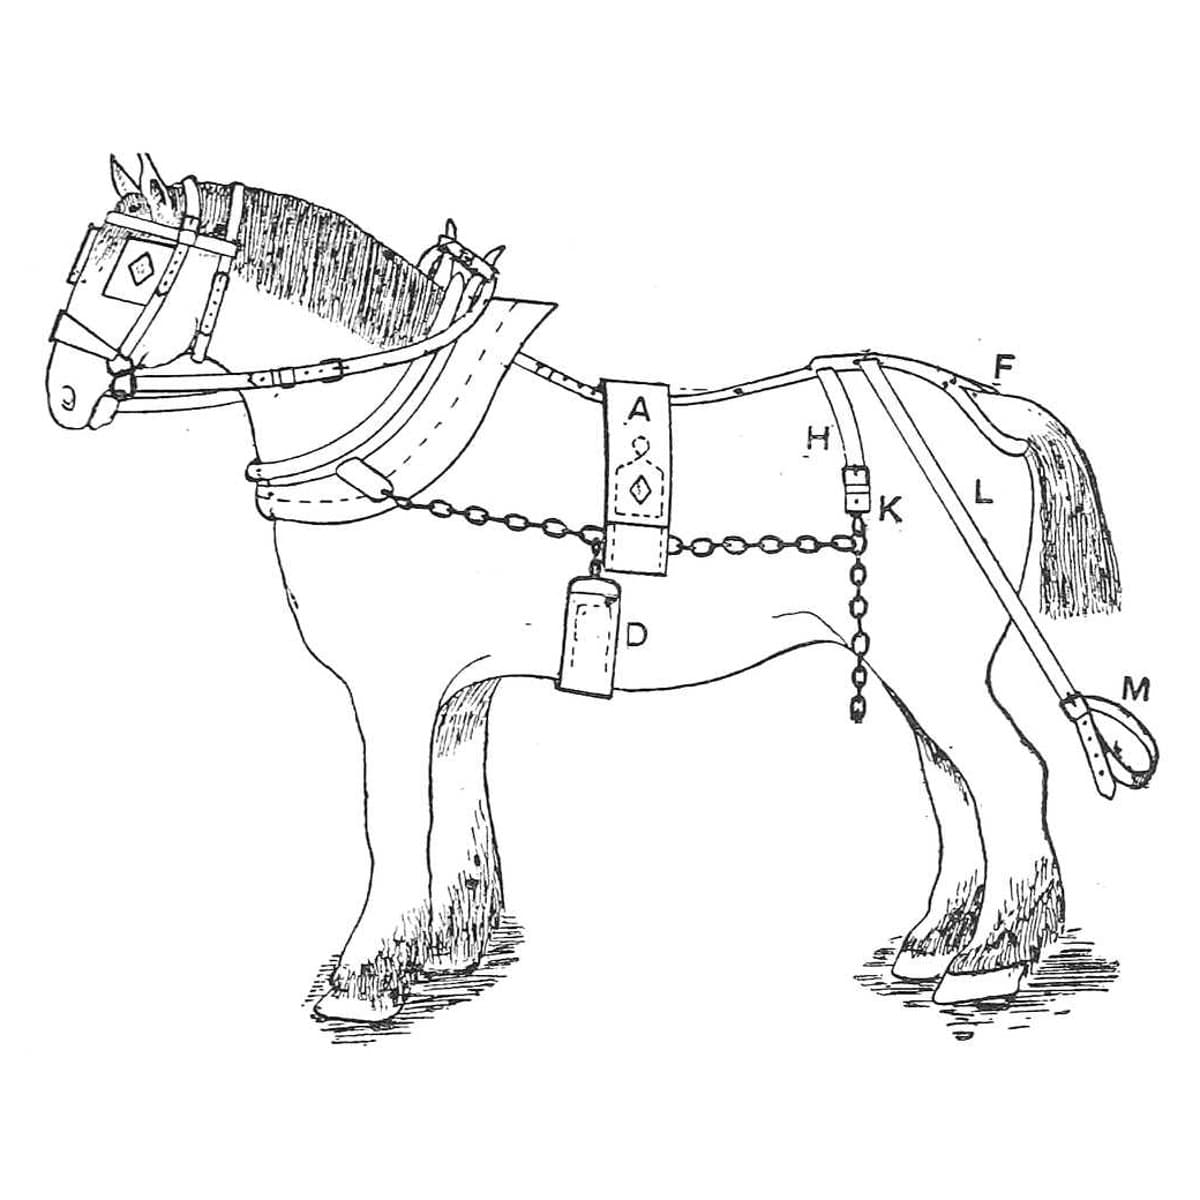
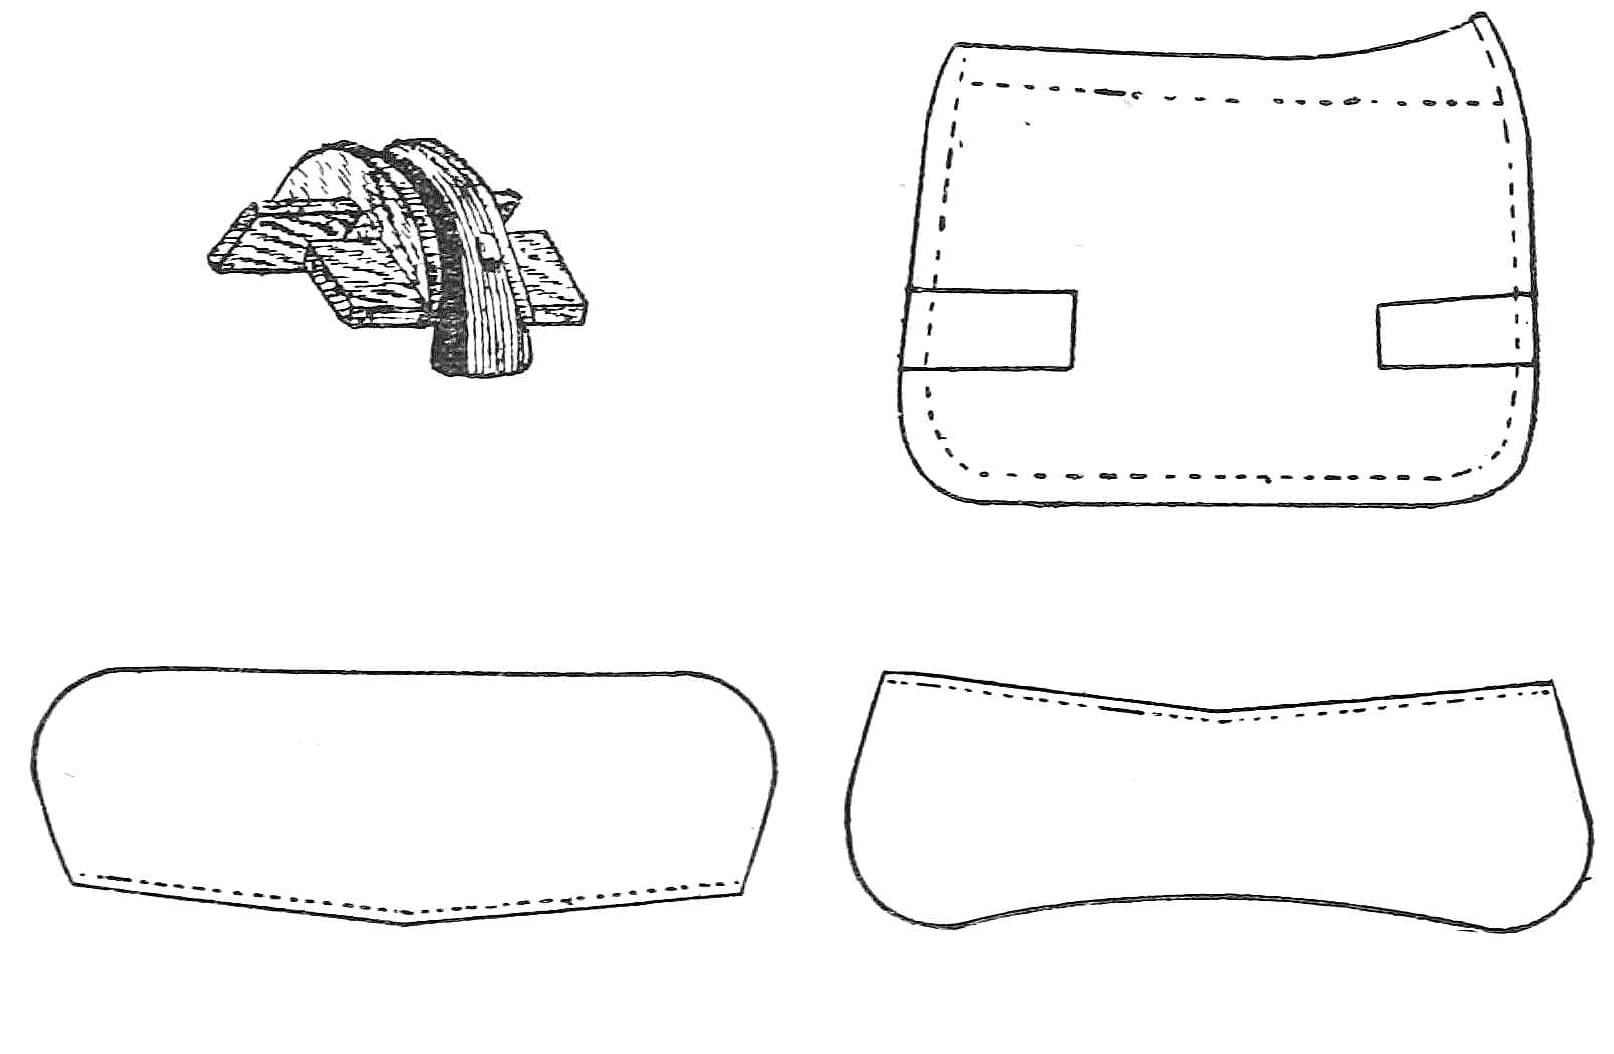
In plough harness the back-band carries the traces over the horse's back. This is the plough back-band with hooks from Paul N. Hasluck's Harness Making (1904): a 4 in band about 4 ft 4 in over all, with leather facings, a flock-stuffed panel to stop the back getting sore, a dee for the plough rein, and a hook sewn into each end. Every size is his; the picture is our diagram with his Fig. 105 inset.
Intermediate
About 1 day
Instructions
1
1
His sizes in centimetres
His sizes in centimetres
Loading Jupyter Notebook...
2
2
Read Harness Making, ch. IX
Read Harness Making, ch. IX
"In plough gears the ordinary bridle and collar are employed. The back-band is made in various ways. The method with hooks is taken first. The eye of the hook (Fig. 105) is 4 in. wide."
3
3
Cut and mark the back-band
Cut and mark the back-band
Cut the leather 3 ft 9 in long and 4 in wide. Turn down 3 in at each end, beat the bend slightly with the hammer to keep it down, and crease it with the screw race, two rows on each side. Mark the centre from each end and draw a line straight across there, then two lines 5 in each side of the centre, 10 in apart.
Materials for this step:
 Harness Leather1 piece
Tools needed:
 Leather Knife
 Hammer
 Creasing Tool
 Propane Torch
 Pencil
 Tape Measure
4
4
Stitch on the facings
Stitch on the facings
Cut two pieces 10-1/2 in long and 3/4 in wide; cut a small piece out of each corner of the working side, then dye and crease that side. Draw a line along the centre of each with the compasses and mark across the centre. Prick out where they go on the back-band, then place one underneath the back-band, centre to centre, as far as the drawn line, and tack it down; place the other the same way on the other side, so the pieces run a little over both lower lines at each end. Stitch, keeping the line close to the edge of the back-band, with thread of three or four cords of coarse hemp.
Materials for this step:
Harness Leather1 piece Leather Dye1 piece
 Lasting Tacks1 piece
 Hemp Cord1 piece
 Beeswax1 piece
Tools needed:
Leather KnifeCreasing Tool Race Compass
 Pricking IronHammer
 Awl
 Two Harness Needles
 Stitching Pony
5
5
Fit the rein dee
Fit the rein dee
Cut a piece of leather 1-1/2 in by 4 in, shave and point both ends, and crease, black and prick it like the side, eight or ten marks per inch. Put a 1-1/2 in tinned dee in the centre of it, lay it flat on the back-band in the centre (measured from both sides, or from the top line to either line below), tack it and stitch. The plough rein runs through this dee; for a pair of horses put the dee on the opposite side of each back-band, for a single horse one on each side of the same back-band.
Materials for this step:
 Harness Dee1 pieceHarness Leather1 pieceLeather Dye1 pieceHemp Cord1 pieceBeeswax1 piece
Tools needed:
Leather KnifePricking IronAwlTwo Harness NeedlesStitching Pony6
6
Make the panel
Make the panel
Take linen (or basil) 14 in by 7 in and lay the back-band on it centre to centre, even on both sides. Spot-stitch across the back-band and through the linen along the middle line, like this: // // //. Turn in the linen all round about 1/2 in (basil needs no turning). Make a pleat at each corner at the end of the facing, both exactly the same length, and another opposite each, so the width equals the back-band and facing together (for basil, cut the corner off and stitch the cut instead). Stitch all round, starting about 1-1/2 in from the centre on one side to leave an opening for stuffing, along the cross lines at the bottom, to within 1-1/2 in of the centre on the other side.
Materials for this step:
 Linen Fabric1 pieceHemp Cord1 pieceBeeswax1 piece
Tools needed:
 ScissorsAwlTwo Harness Needles
7
7
Stuff the panel
Stuff the panel
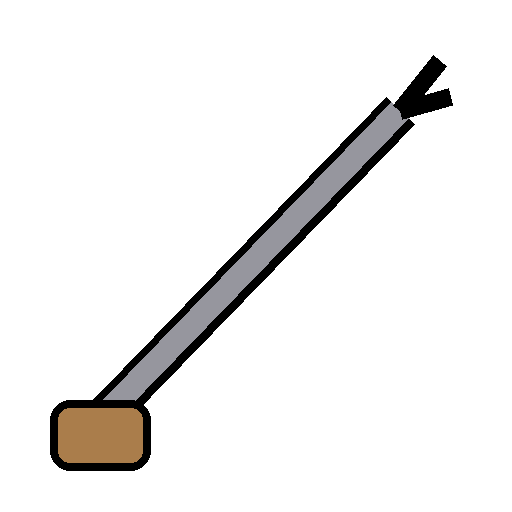
Lay the back-band flat on the bench, leather side underneath, openings near the bench edge. Stuff each side rather tightly with flock through the openings, using the stuffing stick; smooth it well towards the sides, flatten with a mallet, and stitch along the openings to the starting point.
Materials for this step:
 Wool Flock1 pieceHemp Cord1 pieceBeeswax1 piece
Tools needed:
 Stuffing Stick
 Wooden MalletAwlTwo Harness Needles
8
8
Sew in the hooks
Sew in the hooks
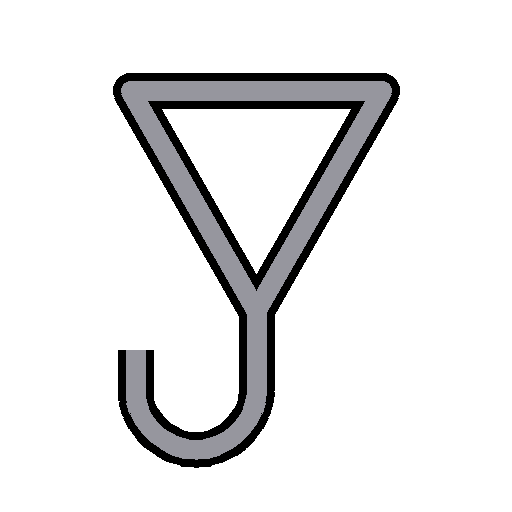
Cut two saving pieces from a thick, firm face of hide (the face of a gear hide is best), 7 in long and, for a 4 in back-band, 5 in wide. Cut one end slanting to 4 in, the back-band's width, and shave it; round the corners of the other end, leaving it full width; black and crease the edges. Put the hooks in place with the saving pieces under them about 1-1/2 in lower than the end of the hook, and tack them down exactly in the centre. Mark and prick four rows from the hook up to the end of the saving pieces, stitch with four-cord thread, nine or ten stitches per inch, and stitch a line across close to the hook to bind it all together.
Materials for this step:
 Back-Band Hook2 piecesHarness Leather1 pieceLeather Dye1 pieceLasting Tacks1 pieceHemp Cord1 pieceBeeswax1 piece
Tools needed:
Leather KnifeCreasing ToolPropane TorchPricking IronHammerAwlTwo Harness NeedlesStitching Pony9
9
Troubleshooting
Troubleshooting
Plough back-band troubleshooting.
Flow
Loading...
10
10
History and honest limits
History and honest limits
From **Harness Making**, edited by Paul N. Hasluck, Cassell, 1904 (Project Gutenberg 70169), chapter IX, "Plough Harness", pp. 107-110, Fig. 105; every fraction was checked on the archive.org scan (harnessmaking00hasl). The back-band with chains instead of hooks and the coupling straps are not made here. Linen for the panel (he allows basil), the tools and metric figures are ours; the picture is our diagram with his Fig. 105 inset.
Materials
9- 4 piecesPlaceholder
- 3 piecesPlaceholder
- 1 piecePlaceholder
- 5 piecesPlaceholder
- 5 piecesPlaceholder
- 1 piecePlaceholder
- 1 piecePlaceholder
- 1 piecePlaceholder
- 2 piecesPlaceholder
Tools Required
14- Placeholder
- Placeholder
- Placeholder
- Placeholder
- 1 vendor sell this, none ship to you yetPlaceholder
- 1 vendor sell this, none ship to you yetPlaceholder
- Placeholder
- Placeholder
- Placeholder
- Placeholder
- Placeholder
- Placeholder
- Placeholder
- Placeholder
This blueprint makes
Related Blueprints
These blueprints share knowledge with this one — techniques, materials, or principles that connect them in the learning graph.
CC0 Public Domain
This blueprint is released under CC0. You are free to copy, modify, distribute, and use this work for any purpose, without asking permission.
Support the Maker by purchasing products through their Blueprint where they earn a Maker Commission set by Vendors, or create a new iteration of this Blueprint and include it as a connection in your own Blueprint to share revenue.