Collaboration
ART
BEAUTY & WELLNESS
CRAFT
CULTURE & HISTORY
ENTERTAINMENT
ENVIRONMENT
FOOD & DRINKS
REVERSE ENGINEERING
SCIENCES
SPORTS
TECHNOLOGY
WEARABLES
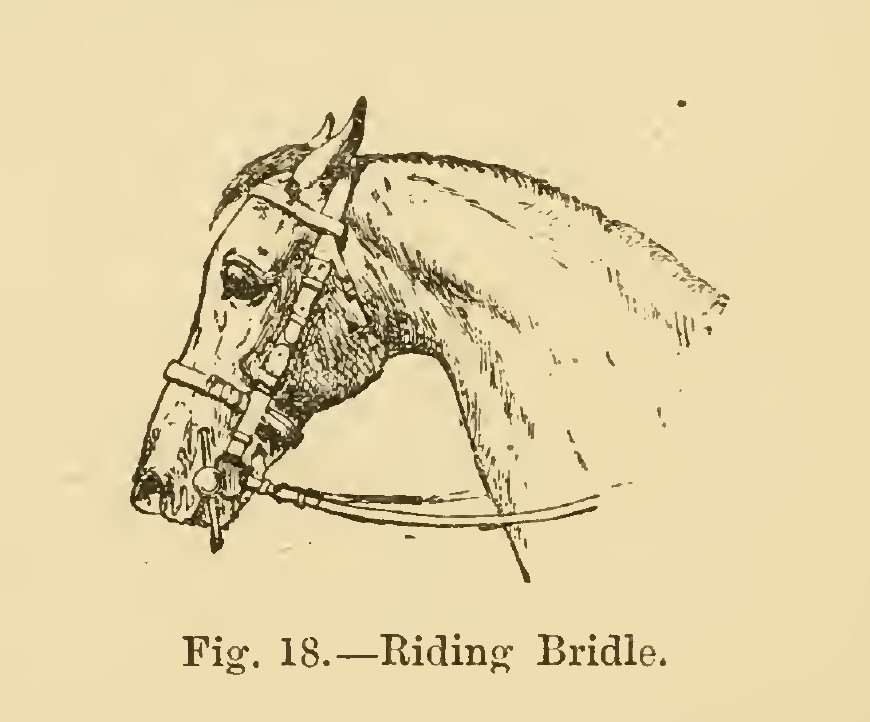


Snaffle Riding Bridle: Cheeks, Slit Head Strap, Front, Throat Lash and Reins (Hasluck, Saddlery, 1904)
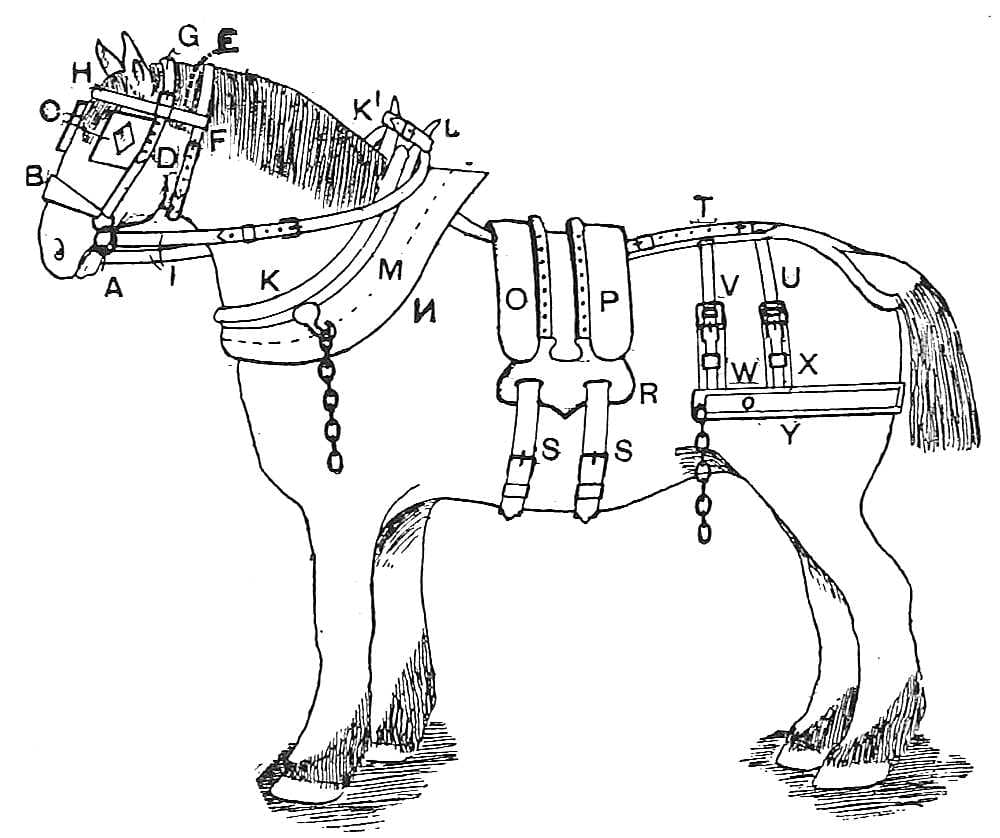
The plain riding bridle, "a single head and rein bridle", from Paul N. Hasluck's Saddlery (1904): two cheeks buckled to a snaffle bit, a head strap slit at each end into cheek and throat-lash straps, a front (browband), a throat lash and a pair of buckled reins. Every size is his; the bit is bought.
It is the riding counterpart of the cart bridle.
Intermediate
About 1 day
Instructions
1
1
Cutting list
Cutting list
Loading Jupyter Notebook...
2
2
Read Saddlery, ch. VI
Read Saddlery, ch. VI
"All the stitching must be done from behind, so that the best face of the stitches will be next the horse when the bridle is on."
3
3
Make the cheeks
Make the cheeks
Cut two cheeks about 7/8 in wide and 9 in long. Each has a buckle at each end: one on a chape turned down, the other on the flat end of the strap without turning, with the billet underneath. Leave room for a loop before the buckle and the point of the cheek, and set the billet far enough behind the buckle for two loops; put a runner loop on the cheek and stitch another in with the chape. Cut the billets 9 in long. Stitch them in single-handed and back-stitch with linen thread, all from behind. Make one hole in each billet.
Materials for this step:
 Harness Leather1 piece
 Brass Buckle with Tongue4 pieces
 Linen Thread1 piece
Tools needed:
 Leather Knife
 Edge Beveller
 Creasing Tool
 Pricking Iron
 Awl
 Two Harness Needles
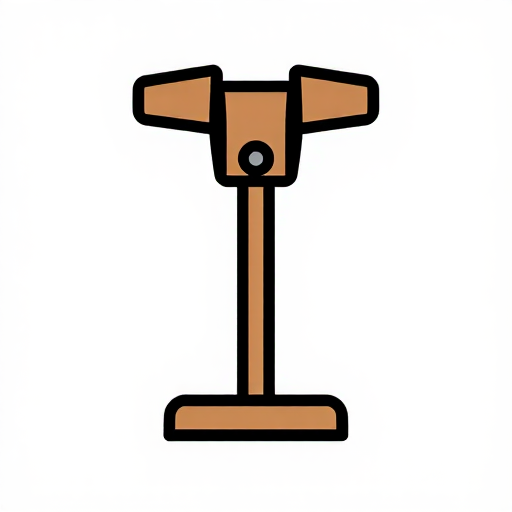 Stitching Pony
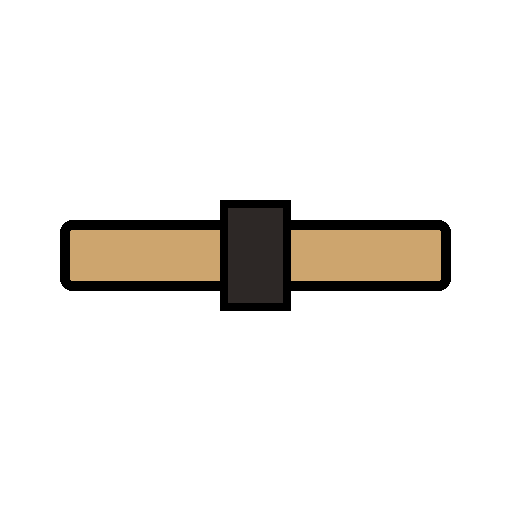 Loop Stick
 Leather Hole Punch
4
4
Make the head strap
Make the head strap
Cut the head strap 1-1/8 in by 1 ft 10 in and slit it 5 in at each end. For a 3/4 in cheek, slit 3/4 in on one side and 3/8 in for a 3/8 in throat lash, with the wide slits on the same side at both ends. Punch four holes in each wide slit and six, closer together, in each narrow one.
Materials for this step:
Harness Leather1 pieceTools needed:
Leather KnifeLeather Hole Punch Tape Measure
5
5
Make the front
Make the front
Cut the front 3/4 in by 1 ft 2-1/4 in from the end of one bend to the other, after bending. Turn it over the head strap and mark a line across close to it, so there is 1 ft 1 in between the cross lines. Stitch the ends down, with a row along each side.
Materials for this step:
Harness Leather1 pieceLinen Thread1 pieceTools needed:
Leather KnifePricking IronAwlTwo Harness Needles6
6
Make the throat lash
Make the throat lash
Make the throat lash 3/8 in by 1 ft 7 in after turning down for the buckles. Put two runner loops on it besides the loops at the buckles of each end.
Materials for this step:
Harness Leather1 pieceBrass Buckle with Tongue2 piecesLinen Thread1 pieceTools needed:
Leather KnifeAwlTwo Harness NeedlesLoop Stick7
7
Make the reins
Make the reins
Cut the reins 1 in or 7/8 in by 4 ft. Prepare them for the bit buckles like the bottom of the cheeks, in the flat. Put a 3/4 in covered buckle on the other end of one rein, narrowing its chape to the buckle's width, and narrow the end of the other rein for buckling. Put in the billets, 10 in long, with one loop before the buckle and two behind, "and always put the strong end of the rein in the billet end".
Materials for this step:
Harness Leather1 pieceBrass Buckle with Tongue3 piecesLinen Thread1 pieceTools needed:
Leather KnifeAwlTwo Harness NeedlesLoop Stick8
8
Put it together
Put it together
Buckle the cheeks to the head strap's wide slits and the throat lash to the narrow ones, run the front over the head strap, buckle the cheeks' lower ends and the reins to the snaffle bit's rings, and buckle the two reins together. Buckled billets let the bit be taken off, which he prefers to stitching the cheeks and reins fast to it.
Materials for this step:
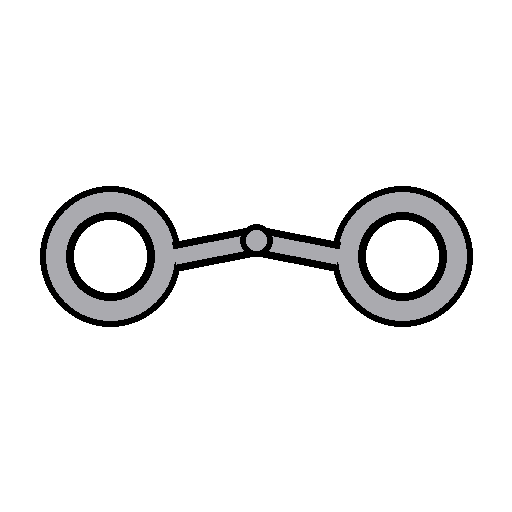 Snaffle Bit1 piece
9
9
Troubleshooting
Troubleshooting
Riding bridle troubleshooting.
Flow
Loading...
10
10
History and honest limits
History and honest limits
From **Saddlery**, edited by Paul N. Hasluck, David McKay, 1904 (archive.org saddlery00hasl), chapter VI, "Riding Bridles", the snaffle bridle; every fraction was read on the scan. Not made here: his Pelham, Weymouth, gag, exercising and stallion bridles. The bit is bought. The metric figures are ours.
Materials
4- 5 piecesPlaceholder
- 4 piecesPlaceholder
- 4 piecesPlaceholder
- 1 piecePlaceholder
Tools Required
10- Placeholder
- Placeholder
- Placeholder
- Placeholder
- Placeholder
- Placeholder
- Placeholder
- Placeholder
- Placeholder
- 1 vendor sell this, none ship to you yetPlaceholder
This blueprint makes
Related Blueprints
These blueprints share knowledge with this one — techniques, materials, or principles that connect them in the learning graph.
CC0 Public Domain
This blueprint is released under CC0. You are free to copy, modify, distribute, and use this work for any purpose, without asking permission.
Support the Maker by purchasing products through their Blueprint where they earn a Maker Commission set by Vendors, or create a new iteration of this Blueprint and include it as a connection in your own Blueprint to share revenue.