ART
BEAUTY & WELLNESS
CRAFT
CULTURE & HISTORY
ENTERTAINMENT
ENVIRONMENT
FOOD & DRINKS
REVERSE ENGINEERING
SCIENCES
SPORTS
TECHNOLOGY
WEARABLES
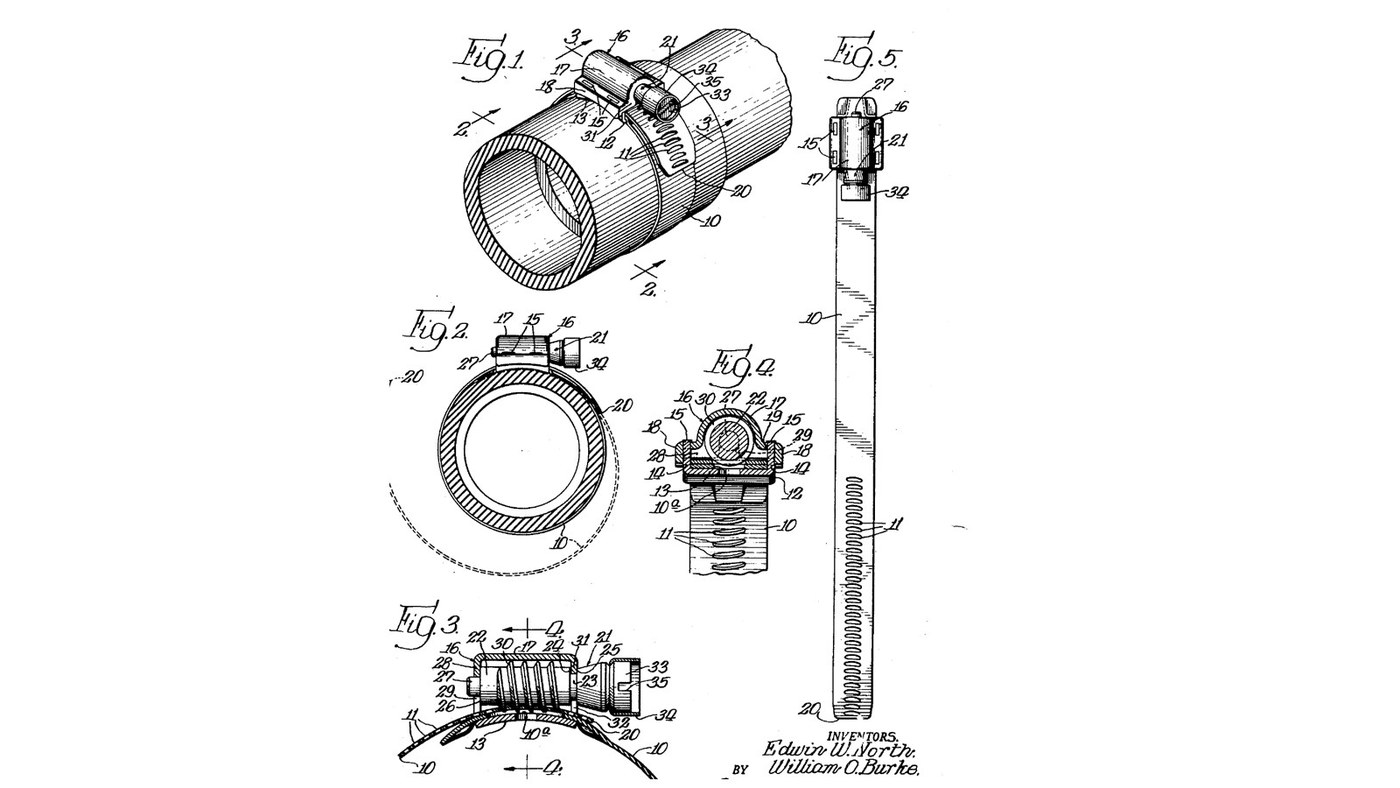


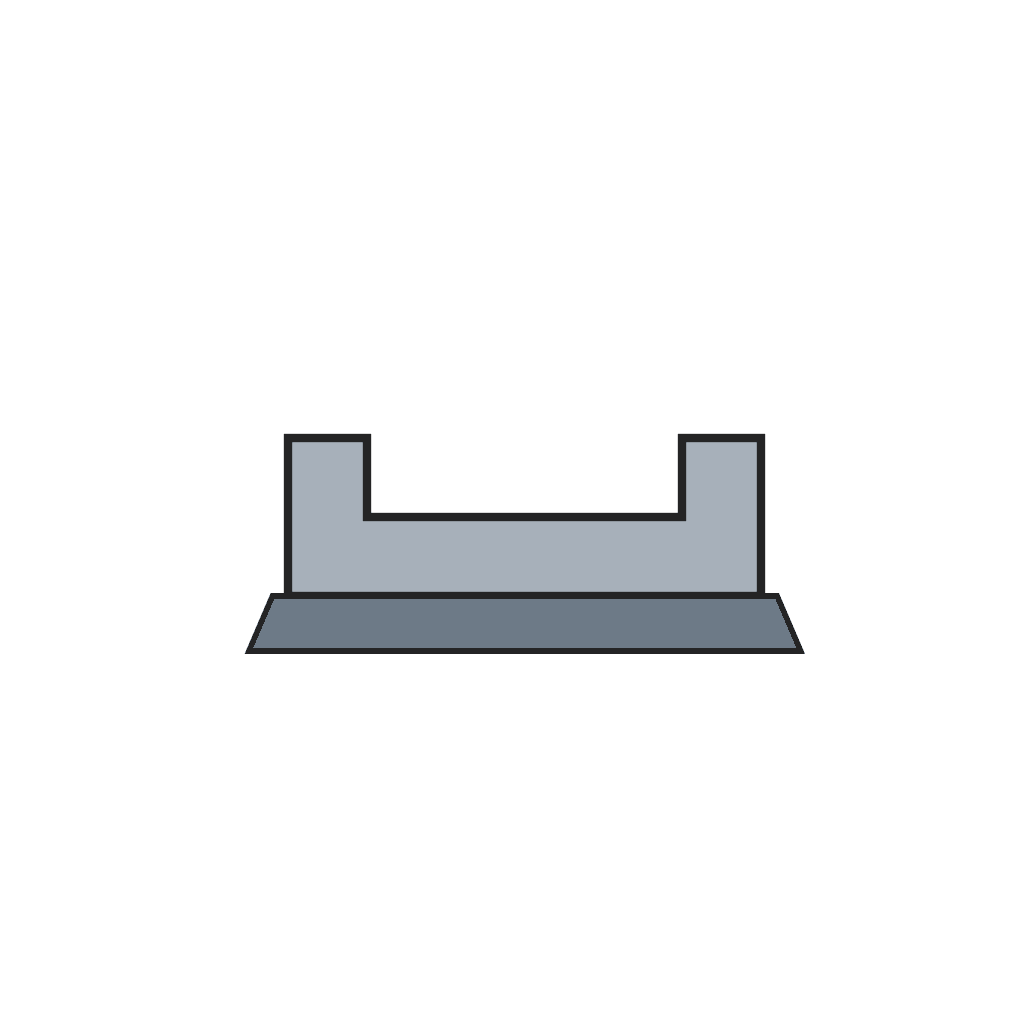
Hose-Clamp Saddle, Screw Housing and Worm Screw (North & Burke, 1945)
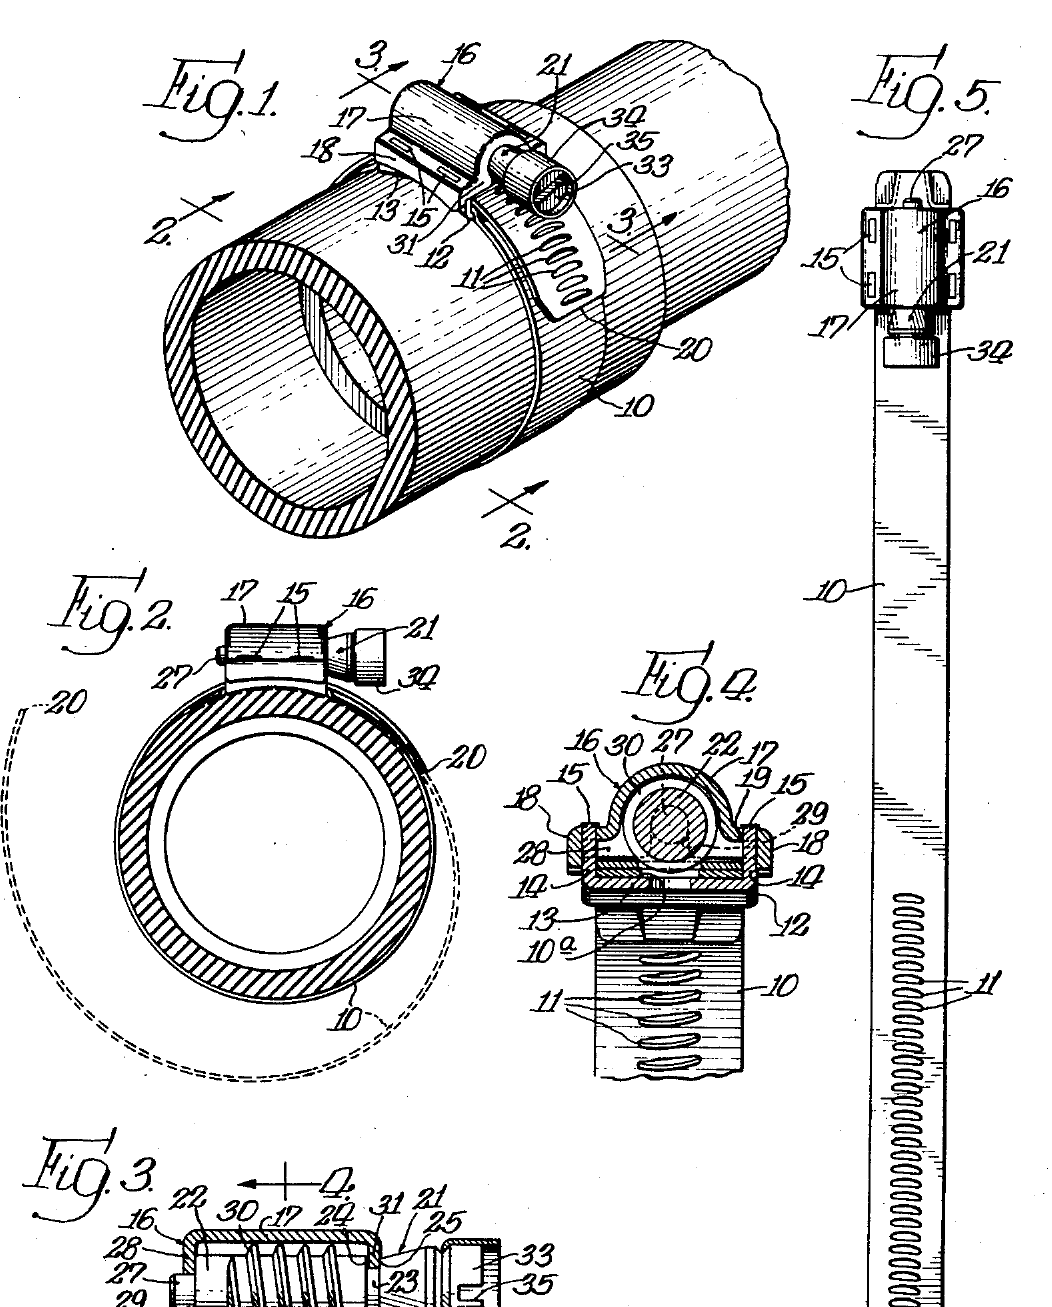
North and Burke's worm-drive hose clamp of 1945 has three small parts on the band: a U-shaped saddle welded to it, a housing that fits over the saddle as the screw's casing, held by prongs riveted through its flanges, and a screw with one continuous thread whose reduced ends sit in slots in the housing's end walls. Here they are made by hand from mild steel sheet and bar instead of being stamped; method and sizes are ours.
The picture: North and Burke's patent drawing, US 2,386,629.
Advanced
1 day
Instructions
1
1
Saddle
Saddle
From 0.8 mm mild steel sheet cut a strip as wide as the band, with two narrow tabs on each long edge for the prongs. Bend the long edges up into a U and curve the base slightly along its length to match the band.
Materials for this step:
 Mild Steel Sheet1 piece
Tools needed:
 Scriber
 Ruler
 Tin Snips
 File Set
 Bench Vise
 Cross Peen Hammer
 Leather Work Gloves
2
2
Screw housing
Screw housing
Cut a blank for the casing that fits over the saddle, with a flange along each side and an end wall at each end. Drill a hole in each flange where a prong will pass, and cut a slot down into each end wall for the screw's reduced ends. Bend it to shape.
Tools needed:
ScriberTin Snips Hand DrillFile SetBench ViseCross Peen HammerLeather Work Gloves
3
3
Turn the worm screw
Turn the worm screw
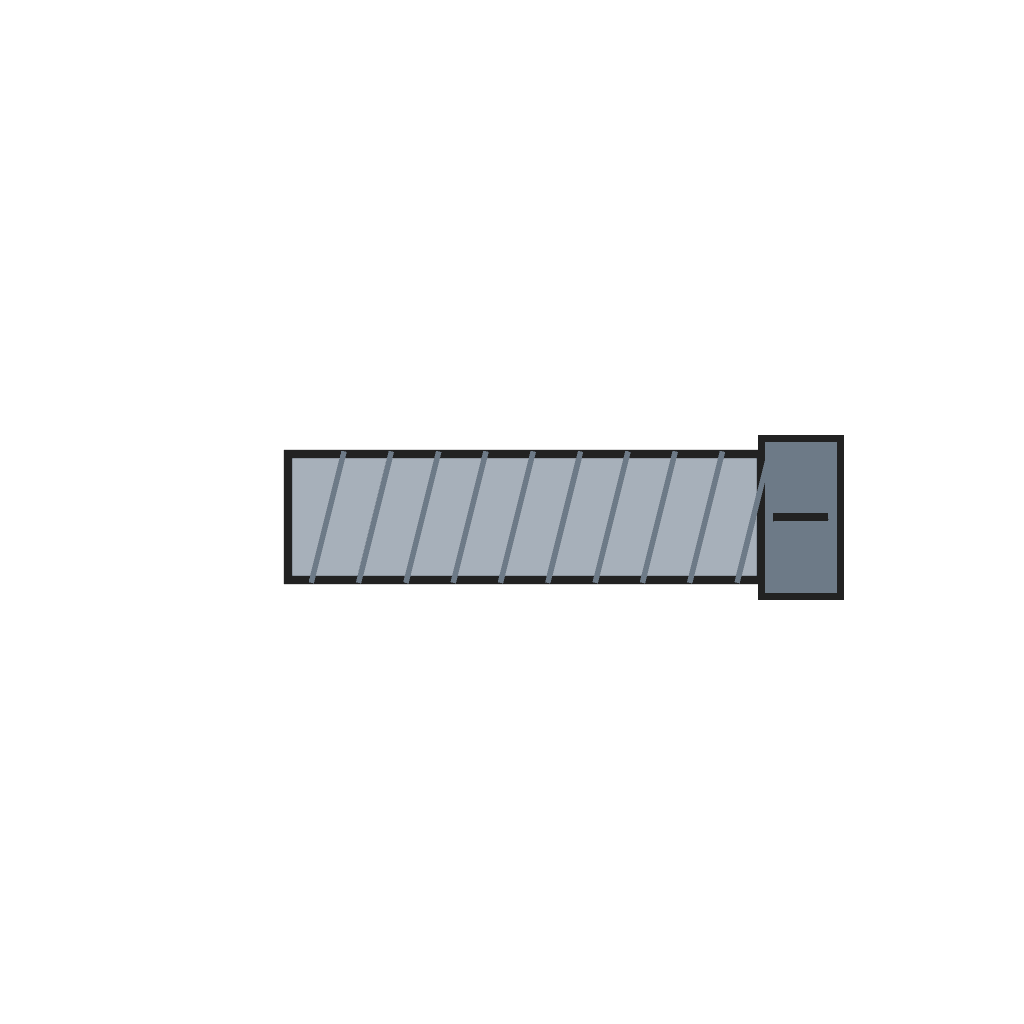
Chuck mild steel bar and turn the screw: a head with a screwdriver slot, a shoulder, the threaded body, and a reduced end at each end that drops into the housing's slots, with shoulders that bear on the end walls.
Materials for this step:
 Mild Steel Bar1 piece
Tools needed:
 Metal Lathe
 Lathe Chuck 3-Jaw
 Lathe Cutting Tool
 Parting Tool
 Hacksaw
 Digital Caliper 6-Inch
 Cutting Oil
 Safety Glasses
4
4
Cut the thread
Cut the thread
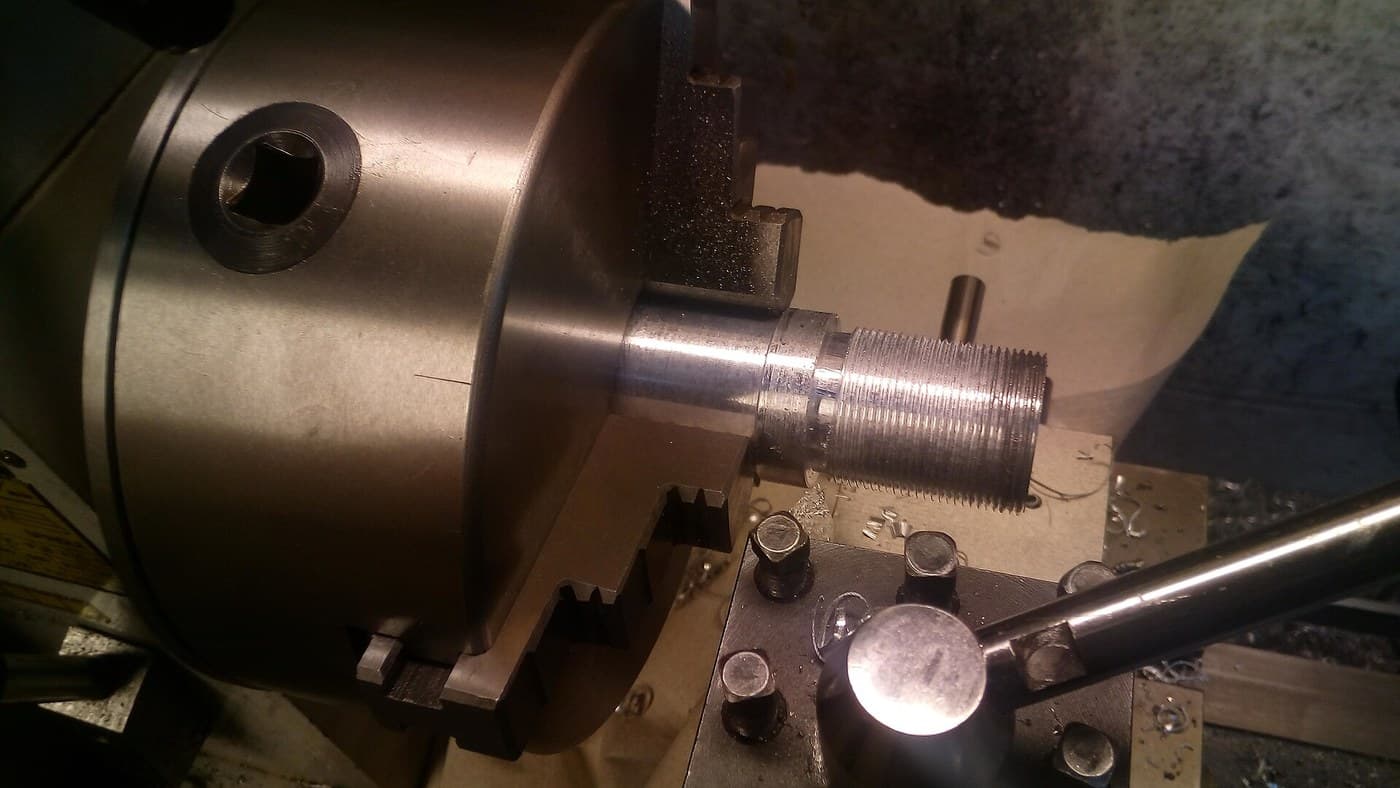
Single-point cut one continuous thread along the body, its pitch matching the spacing of the band's slots, with a flat working face and a rounded back so it fills the slots.
Tools needed:
Metal LatheLathe Cutting Tool Thread Pitch GaugeCutting Oil
5
5
Trial fit
Trial fit
Lay the screw in the saddle with its ends in the housing's slots, fit the housing over it and check the prongs pass through the flange holes and the screw turns freely without end play. The clamp blueprint then welds, rivets and assembles them.
Tools needed:
Digital Caliper 6-InchFile SetMaterials
2- 1 piecePlaceholder
- 1 piecePlaceholder
Tools Required
17- Placeholder
- Placeholder
- Placeholder
- Placeholder
- Placeholder
- Placeholder
- Placeholder
- Placeholder
- Placeholder
- Placeholder
- Placeholder
- Placeholder
- Placeholder
- Placeholder
- Placeholder
- Placeholder
- Placeholder
This blueprint makes
Related Blueprints
These blueprints share knowledge with this one — techniques, materials, or principles that connect them in the learning graph.

CC0 Public Domain
This blueprint is released under CC0. You are free to copy, modify, distribute, and use this work for any purpose, without asking permission.
Support the Maker by purchasing products through their Blueprint where they earn a Maker Commission set by Vendors, or create a new iteration of this Blueprint and include it as a connection in your own Blueprint to share revenue.