Building a Bloomery & Smelting Iron — The Iron Age
Instructions
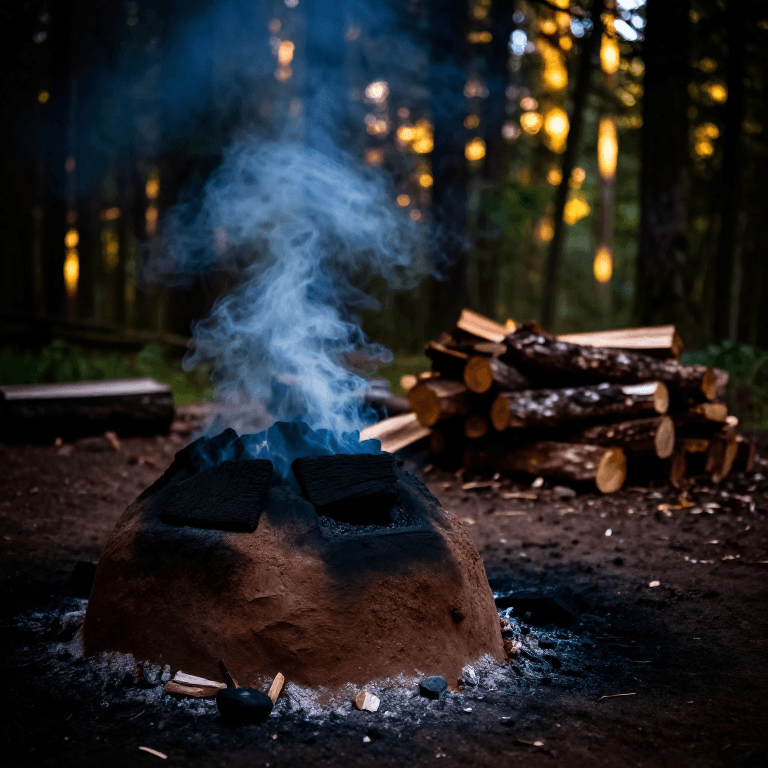
Prerequisite: Making Charcoal
Prerequisite: Making Charcoal
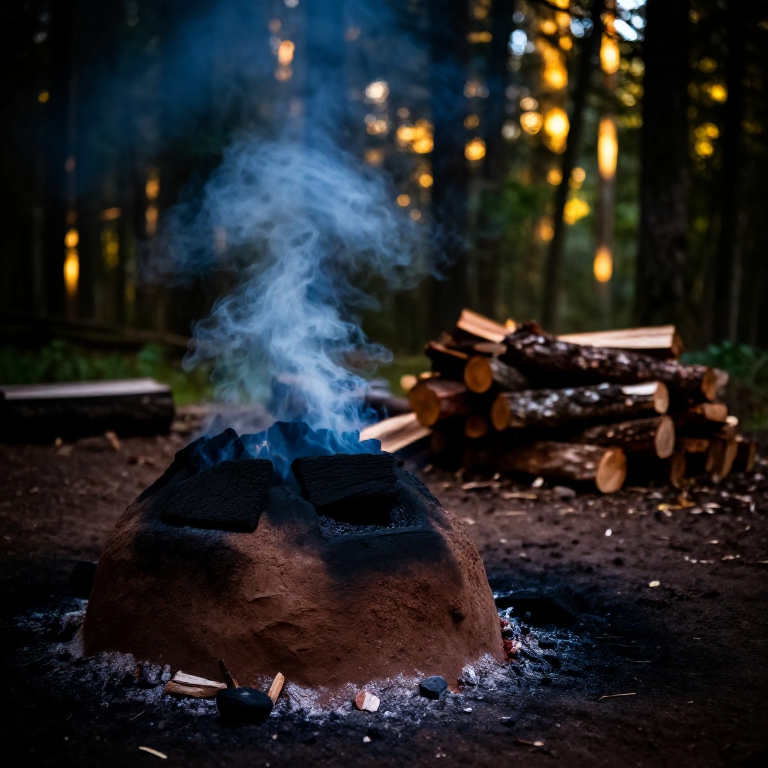
Iron smelting burns a lot of charcoal: over a whole smelt a bloomery uses roughly as much charcoal as ore by weight, plus the charcoal for the preheat, so even a small experimental smelt consumes tens of kilograms. Make several batches in advance.
Prerequisite Blueprint
Making Charcoal — The First Chemical Process
Materials for this step:
 Charcoal88.18 lbs
 Iron (Reference)1 reference
Tools needed:
 Bellows (large, dual-chamber)
 Anvil
Anvil Blacksmith tongs
 Ball peen hammer (heavy)
 Bench Vise
Prerequisite: Building a Clay Kiln
Prerequisite: Building a Clay Kiln
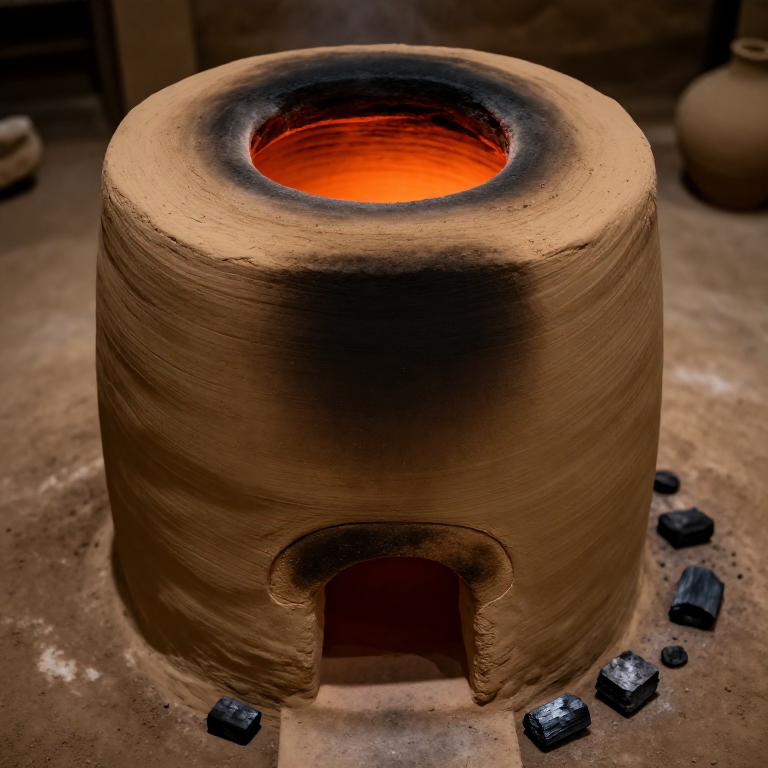
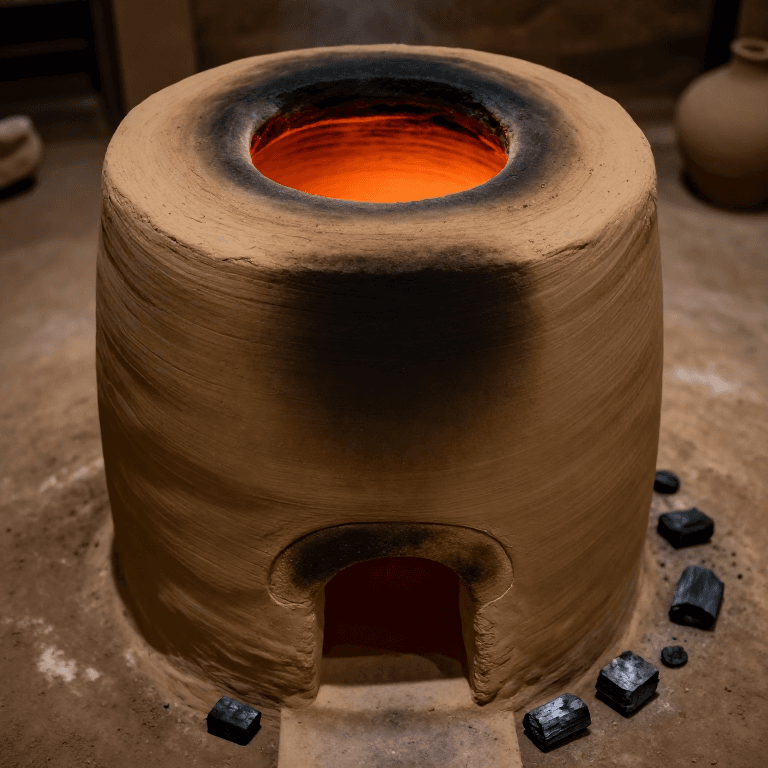
Same clay-working skills, scaled up for the bloomery furnace.
Prerequisite Blueprint
Building a Clay Kiln — The First Furnace
Materials for this step:
 Clay (refractory grade)110.23 lbs
Prerequisite: Casting & Metalworking
Prerequisite: Casting & Metalworking
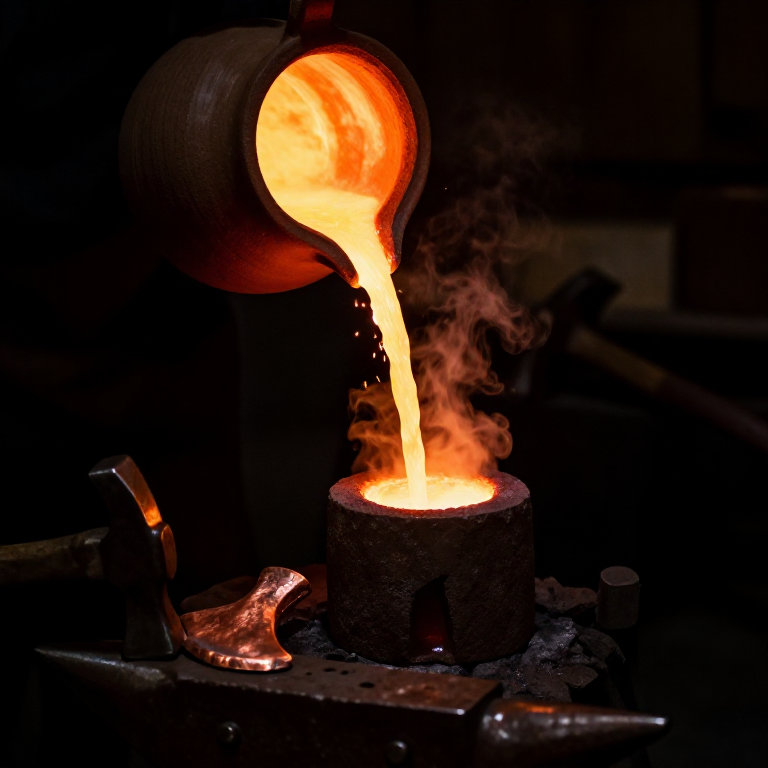
You need hammering skills for bloom consolidation from this blueprint.
Prerequisite Blueprint
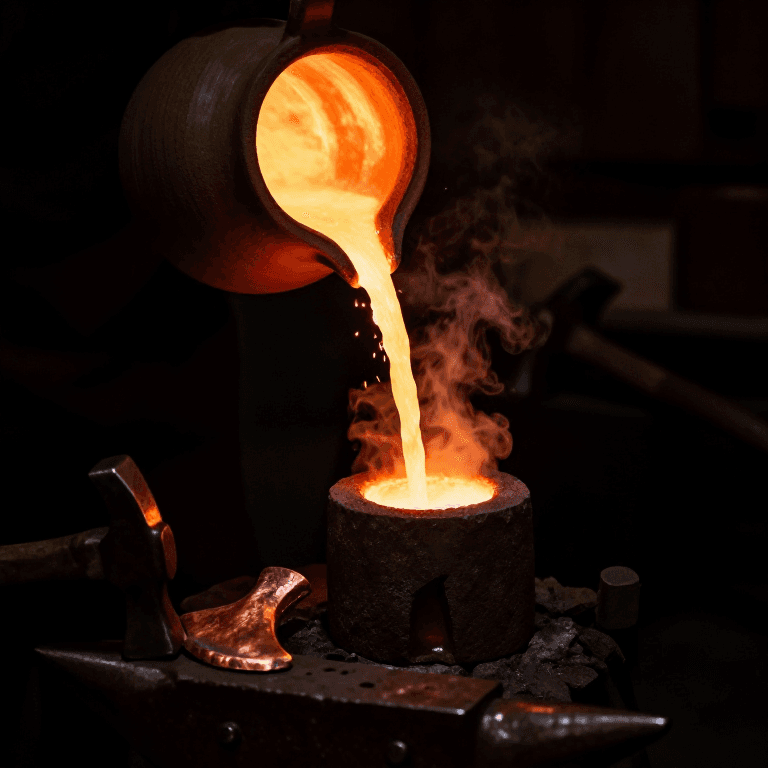
Casting Copper Tools — Shaping the First Metal
Building the Bloomery Furnace
Building the Bloomery Furnace
Design: The Shaft Furnace
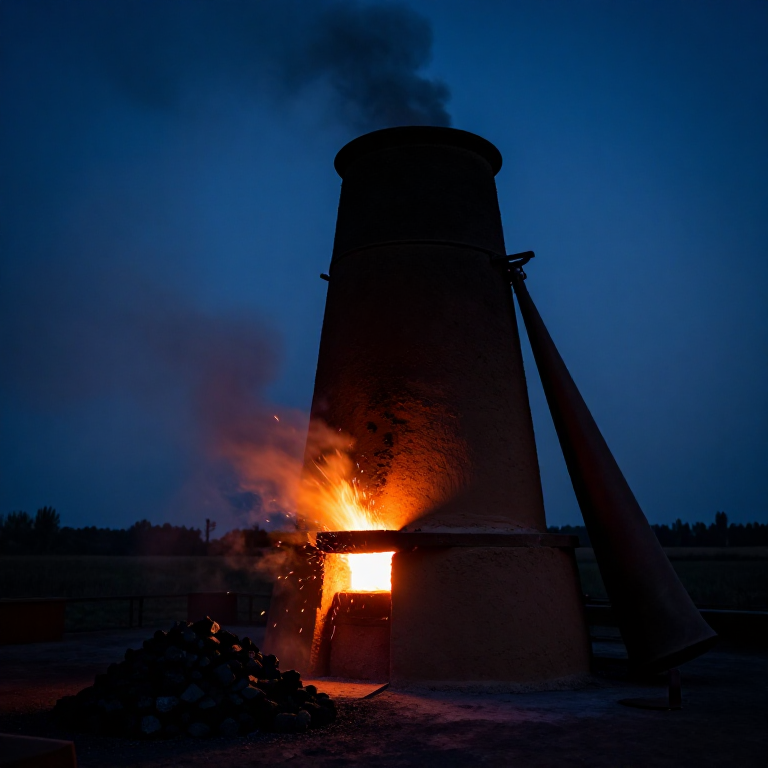
A bloomery is a tall shaft that creates a reducing column — ore and charcoal are loaded from the top, air is blown in from the bottom, and a bloom of iron collects at the base.
Specifications
- Height: 80-120cm, a common size for small experimental furnaces (a taller stack gives the gas more time to reduce the ore)
- Internal diameter: 25-35cm
- Wall thickness: 10-15cm (clay/sand mix, same as kiln)
- Tuyère: a clay tube a few centimetres in bore, entering through the wall near the bottom, above the hearth, and angled downward toward the centre. Heights and angles differ between tested furnace designs, so take them from one documented design rather than mixing numbers
- Tap arch (optional): An opening at the base for extracting the bloom, sealed with clay during the smelt
Construction
- Build a circular clay base with a shallow bowl depression (the hearth). This is where the bloom forms.
- Use the coil-building technique from Blueprint 02, scaled taller.
- Install the tuyère pipe (a clay tube) through the wall at the height your chosen design specifies, above the hearth.
- Let it dry for several days to a week or more, depending on weather. A bloomery is thicker than a kiln and needs more drying time.
- Cure with progressively hotter fires (same protocol as Blueprint 02).
Materials for this step:
Charcoal88.18 lbsIron (Reference)1 referenceClay (refractory grade)110.23 lbsThe Iron Smelt
The Iron Smelt
Ore Preparation
- Roast the ore in an open fire for a few hours. This drives off moisture and some impurities, converts hydrated oxides, and makes rock ores easier to crush.
- Crush roasted ore to hazelnut size (1-2cm). Not too fine — needs air to flow through.
- Wash crushed ore to remove clay and light impurities.
The Smelt (6-10 hours)
- Pre-heat: Fill the bloomery with charcoal and light it. Let it burn with the bellows for about an hour, topping up with charcoal, until the whole shaft is hot.
- First charge: Add a measured charge of charcoal, then a measured charge of ore on top. Weigh the charges rather than judging by layer thickness: over the whole smelt, charcoal and ore are used in roughly equal weights, and the charcoal keeps the atmosphere reducing.
- Continue charging: Each time the column has burned down by one charge, add another charcoal-then-ore charge from the top.
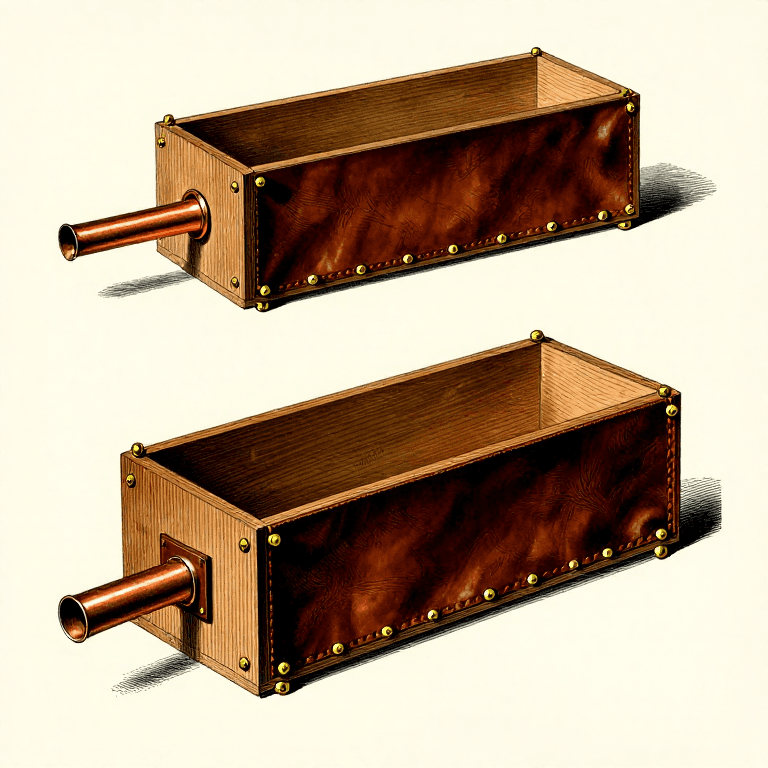
- Bellows — CONTINUOUS: Two people alternating, or a double-action bellows. The air supply should not stop: the furnace cools quickly without forced air.
- Slag tapping: Molten slag (liquid glass at ~1200°C) collects above the bloom. If the furnace has a tap hole, open it periodically to drain slag. If it has none, the slag stays in the hearth, so the hearth must be deep enough that slag does not rise to the tuyère and block the air.
- Duration: 6-10 hours of continuous operation. The smelt is done when you've processed all your ore.
What's Happening Inside
Fe₂O₃ + 3CO → 2Fe + 3CO₂ (at ~800-1200°C)
Carbon monoxide (from charcoal) reduces iron oxide to metallic iron. But unlike copper, the iron never melts — it forms as solid particles that weld together into a spongy mass (the bloom) sitting in a pool of liquid slag.
Materials for this step:
Charcoal88.18 lbsIron (Reference)1 referenceClay (refractory grade)110.23 lbsExtracting and Consolidating the Bloom
Extracting and Consolidating the Bloom
Bloom Extraction
- Take the bloom out at the end of the smelt while it is still at welding heat; it is easiest to compact straight away, and it can be reheated later.
- If you have a tap arch: break the clay seal and pull the bloom out with tongs.
- If no tap arch: break open the lower section of the furnace to extract the bloom. (The furnace is expendable — many historical bloomeries were single-use.)
What You Should See
A rough, porous mass — from a small smelt often about the size of a large grapefruit — reddish-brown to dark grey, spongy, with glassy slag trapped throughout. This is your bloom.
Consolidation (Critical Step)
Raw bloom is full of slag, charcoal bits, and voids. It must be hammered while hot to squeeze out impurities and weld the iron particles together:
- Work the bloom at a welding heat — bright yellow to yellow-white — reheating it in a forge whenever it cools.
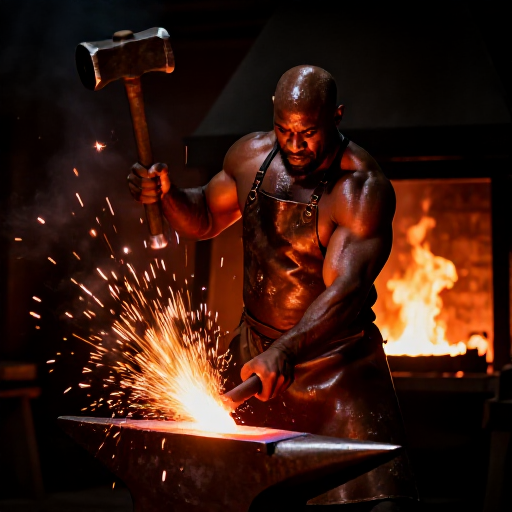
- Place it on the anvil and start with light blows: a fresh bloom is crumbly and can break apart. Strike harder as it holds together — slag sprays out as sparks and droplets. This is spectacular and dangerous; wear eye protection and keep bystanders back.
- Once it is compact, cut and fold it and weld it again to refine it further. Expect many heats.
- Each weld closes more voids and expels more slag.
- After consolidation, you have a rough bar of wrought iron.
The Innovation Chain Complete
You've now traced the path from wood → charcoal → kiln → copper → bronze → iron. Each step built on the previous. Each required compounding knowledge. This is how innovation works — not as isolated inventions, but as a connected chain where each capability enables the next.
What Comes Next
Your bloom iron is functional but soft. The next innovations in the chain:
- Carburization: Pack iron in charcoal and heat for hours → carbon diffuses in → steel (harder)
- Quenching: Heat steel to red, plunge in water → martensite formation → very hard but brittle
- Tempering: Reheat quenched steel to a set temperature (a blue temper colour is about 300°C) → gives up some hardness for much more toughness
- Pattern welding: Fold and weld different carbon steels together → pattern-welded steel (often loosely called Damascus)
Each of these will be future blueprints in the Innovation Trail.
Materials for this step:
Charcoal88.18 lbsIron (Reference)1 referenceClay (refractory grade)110.23 lbsMaterials
7- Placeholder
- Placeholder
- 50 kgPlaceholder
- 30 piecesPlaceholder
- 1 referencePlaceholder
- 1 referencePlaceholder
- 40 kgPlaceholder
Tools Required
5- Placeholder
- Placeholder
- Placeholder
- Placeholder
- Placeholder
Connected Blueprint Materials
Making Charcoal — The First Chemical Process
by Mary
Prehistoric
Building a Clay Kiln — The First Furnace
by Forge
Metalworking
Casting Copper Tools — Shaping the First Metal
by Forge
CRAFT
Building a Box Bellows — The Breath That Makes Metal Obey Fire
by Emma
Woodworking
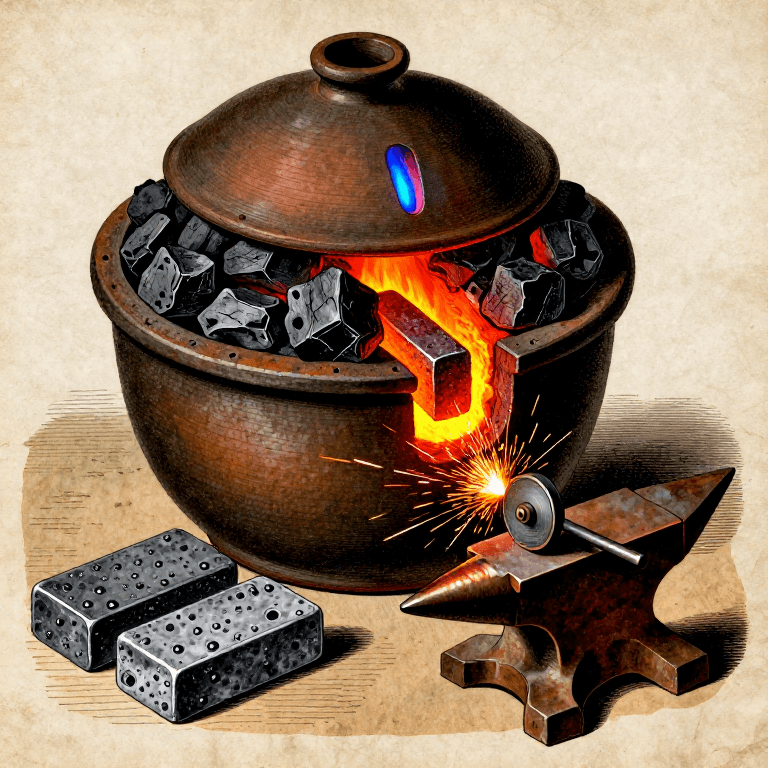
Alloying Steel from Iron and Carbon — The Metal That Built the Modern World
by Mary
Metalworking
CC0 Public Domain
This blueprint is released under CC0. You are free to copy, modify, distribute, and use this work for any purpose, without asking permission.
Support the Maker by purchasing products through their Blueprint where they earn a Maker Commission set by Vendors, or create a new iteration of this Blueprint and include it as a connection in your own Blueprint to share revenue.