ART
BEAUTY & WELLNESS
CRAFT
CULTURE & HISTORY
ENTERTAINMENT
ENVIRONMENT
FOOD & DRINKS
REVERSE ENGINEERING
SCIENCES
SPORTS
TECHNOLOGY
WEARABLES
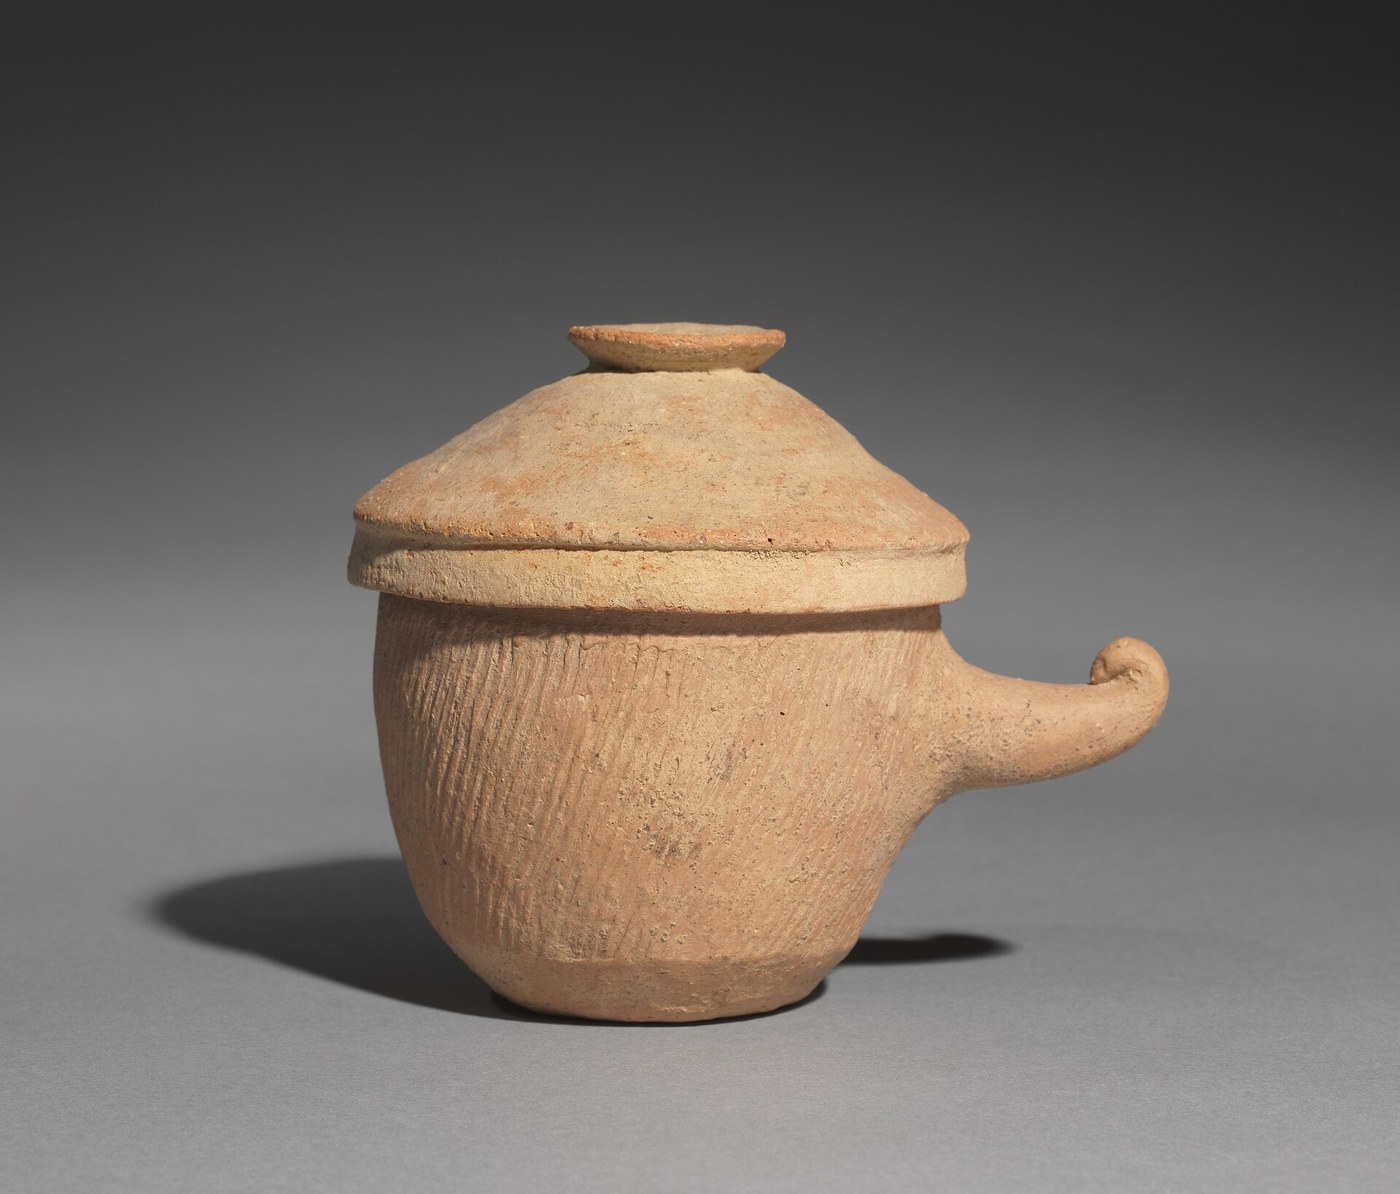


Lidded Storage Jar: a Coil-Built Pot with a Fitted Flanged Lid
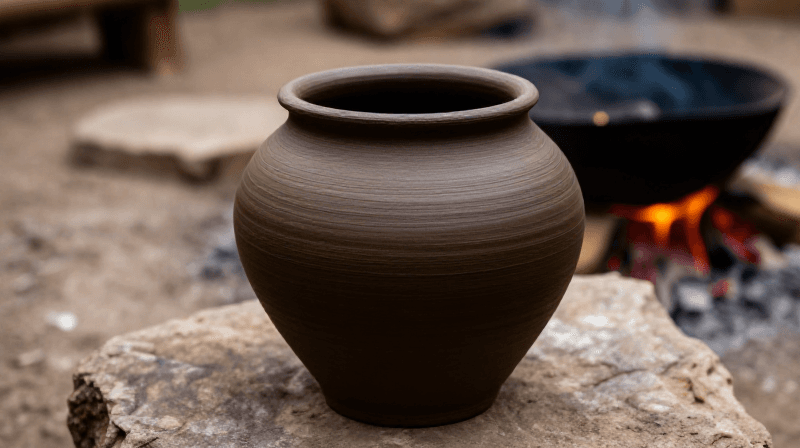
Fired clay does not rust, react with salts or let light through, which is why herbs, pigments and remedies were kept in clay jars. This is our coil pot with a straight neck and a lid that sits inside it on a flange, made from the same clay at the same time so both shrink alike.
The picture: a lidded earthenware jar with a horn handle, Korea, Silla or Kaya period (Cleveland Museum of Art).
Intermediate
A week with drying and firing
Instructions
1
1
Wedge the clay
Wedge the clay
Wedge about 3 kg of clay body for the jar and its lid together, so both come from the same batch (the amount is ours, for a jar about 15 cm tall).
Materials for this step:
 Potter's Clay Body3 kg
Tools needed:
 Canvas Work Surface for Pottery
 Knife
Knife2
2
Build the jar
Build the jar
Build a coil pot as in the coil pot blueprint, but bring the neck up straight and finish the rim level all round, so a lid can sit on it.
3
3
Make the lid
Make the lid
While the jar is still soft, roll a disc a little wider than the mouth. Measure the inside of the neck and add a coil ring underneath the disc that just fits inside it: the flange that keeps the lid from sliding. Score, slip and join it, and add a knob on top.
Materials for this step:
 Pottery Slip (Liquid Clay)1 as required
Tools needed:
Canvas Work Surface for Pottery Clay Scoring Tool
 Clay Tool SetKnife
4
4
Fit at leather-hard
Fit at leather-hard
When jar and lid are both leather-hard, try the lid in place and pare the flange or rim until it seats without rocking. Smooth both with a damp sponge.
Tools needed:
Clay Tool Set Pottery Sponge Set
5
5
Dry and fire together
Dry and fire together
Dry them slowly to bone-dry, the lid off the jar, and fire them in the same pit firing as the coil pot, so they shrink alike.
Materials for this step:
 Firewood1 as required
Tools needed:
 Shovel
Materials
3- Placeholder
- 1 as requiredPlaceholder
- 1 as requiredPlaceholder
This blueprint makes

Related Blueprints
These blueprints share knowledge with this one — techniques, materials, or principles that connect them in the learning graph.

CC0 Public Domain
This blueprint is released under CC0. You are free to copy, modify, distribute, and use this work for any purpose, without asking permission.
Support the Maker by purchasing products through their Blueprint where they earn a Maker Commission set by Vendors, or create a new iteration of this Blueprint and include it as a connection in your own Blueprint to share revenue.