ART
BEAUTY & WELLNESS
CRAFT
CULTURE & HISTORY
ENTERTAINMENT
ENVIRONMENT
FOOD & DRINKS
REVERSE ENGINEERING
SCIENCES
SPORTS
TECHNOLOGY
WEARABLES
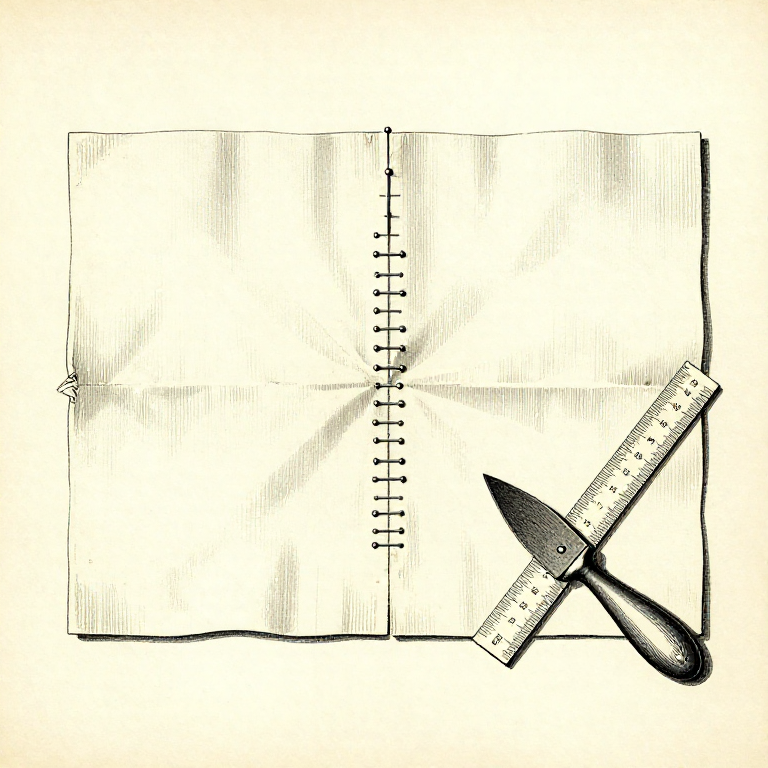


Making a Seam: Pin, Tack, Sew, Press — In That Order
A seam is not just a line of stitches. It is a sequence — pin it, tack it, sew it, press it — and skipping any step shows in the finished result.
The most commonly skipped is PRESSING, and it is the one that most changes how the work looks. A pressed seam lies flat and reads as a clean line; an unpressed one is a ridge, and no amount of careful stitching compensates.
The second most skipped is TACKING, and the reason people skip it is that it feels like sewing the same seam twice. It is, and it is still faster than unpicking.
Beginner
3 hours
Instructions
1
1
Right sides together, and pin across the seam
Right sides together, and pin across the seam
Put the two pieces face to face so the seam will be hidden inside, match the raw edges, and pin at right angles to the seam line with the points toward the edge.
Across, not along. A pin lying along the seam has to be removed before you reach it; a pin across it holds both layers against the sideways creep that is the real problem, and the needle passes it without stopping.
Pin the ends first, then the middle, then halve the gaps. Working from the ends inward distributes any difference in length between the two pieces evenly instead of leaving it all bunched at the finish.
Materials for this step:
 Linen Fabric2 pieces
Tools needed:
 Dressmaker's Pins
 Seam Gauge
 Tailor's Chalk
2
2
Tack it: a temporary seam that costs two minutes
Tack it: a temporary seam that costs two minutes
Sew the seam with a long loose running stitch in a contrasting thread, take the pins out, and check the result before committing.
Tacking holds far more reliably than pins, lets you try the piece on or offer it up, and removes the pins from the path of the real stitching. Two minutes here saves the twenty that unpicking a finished seam costs.
Use a contrasting colour so the tacking is unmistakable when you come to remove it, and leave the ends loose rather than knotted so it pulls out in one. Curves, set-in sleeves and anything that must fit are where tacking stops being optional.
Materials for this step:
 Sewing Thread1 pieceLinen Fabric2 pieces
Tools needed:
 Hand Sewing Needles
 Fabric Scissors
 Seam Ripper
3
3
Sew a consistent seam allowance
Sew a consistent seam allowance
Sew at a fixed distance from the raw edge — commonly 10 or 15 mm — and keep that distance the same for the whole seam and every matching seam on the piece.
The allowance is what makes parts fit. Two pieces cut to the same pattern and sewn at different allowances finish at different sizes, and on a garment that shows up as a twist that cannot be traced to any single mistake.
A seam gauge — a short rule with a sliding marker — set once and used to check every few centimetres keeps it honest. Marking the line first with tailor's chalk is better still on anything that has to be right.
Materials for this step:
Linen Fabric2 piecesSewing Thread1 pieceTools needed:
Seam GaugeTailor's ChalkHand Sewing Needles4
4
Press it — this is the step that makes it look made
Press it — this is the step that makes it look made
Press the seam flat as sewn first, which sets the stitches into the cloth, then press the allowance open or to one side as the design needs.
PRESS, do not iron: lift the iron and put it down, rather than sliding it along. Sliding stretches the fabric, and a stretched seam ripples in a way that cannot be pressed out afterwards.
Match the heat to the fibre and test on a scrap — linen takes a hot iron, wool wants steam and a cloth between, and synthetics melt. Press each seam as you finish it rather than all of them at the end; once a seam is crossed by another, you can no longer get at it.
Materials for this step:
Linen Fabric2 pieces Cotton Cloth1 piece
Tools needed:
 IronSeam Gauge
Materials
3- 8 piecesPlaceholder
- 2 piecesPlaceholder
- 1 piecePlaceholder
Tools Required
7- Placeholder
- Placeholder
- Placeholder
- Placeholder
- Placeholder
- Placeholder
- Placeholder
Related Blueprints
These blueprints share knowledge with this one — techniques, materials, or principles that connect them in the learning graph.
CC0 Public Domain
This blueprint is released under CC0. You are free to copy, modify, distribute, and use this work for any purpose, without asking permission.
Support the Maker by purchasing products through their Blueprint where they earn a Maker Commission set by Vendors, or create a new iteration of this Blueprint and include it as a connection in your own Blueprint to share revenue.