Making Black Tattoo Ink from Wood Soot — The Oldest Body Pigment in Human History
Carbon black from wood soot is the oldest and most universal tattoo pigment known to humanity. The tattooed skin of Ötzi the Iceman (c. 3300 BCE, found in the Alps) contains pure carbon particles — soot rubbed into punctured skin. The same basic technique was used independently across every inhabited continent: by Polynesian, Japanese, Egyptian, Celtic, Scythian, Inuit, and Native American cultures, all using carbon soot as their primary black pigment.
Carbon black is one of the safest pigments for tattooing. It is chemically inert (pure elemental carbon), non-toxic, non-allergenic, and extraordinarily lightfast — it does not fade, shift colour, or break down in the skin. This is why carbon black remains the most widely used tattoo pigment even in modern professional tattooing. The process described here produces a pure, finely divided carbon pigment suspended in a simple water and fat carrier — the same fundamental formula used for at least 5,000 years.
NOTE ON SAFETY: While the PIGMENT itself is non-hazardous, tattooing is an invasive procedure that breaks the skin barrier. Historically, infection was the primary risk. This blueprint covers pigment preparation only — not the tattooing procedure itself, which requires sterile technique and carries infection risks if performed improperly.
Instructions
Collect soot from a wood fire
Collect soot from a wood fire
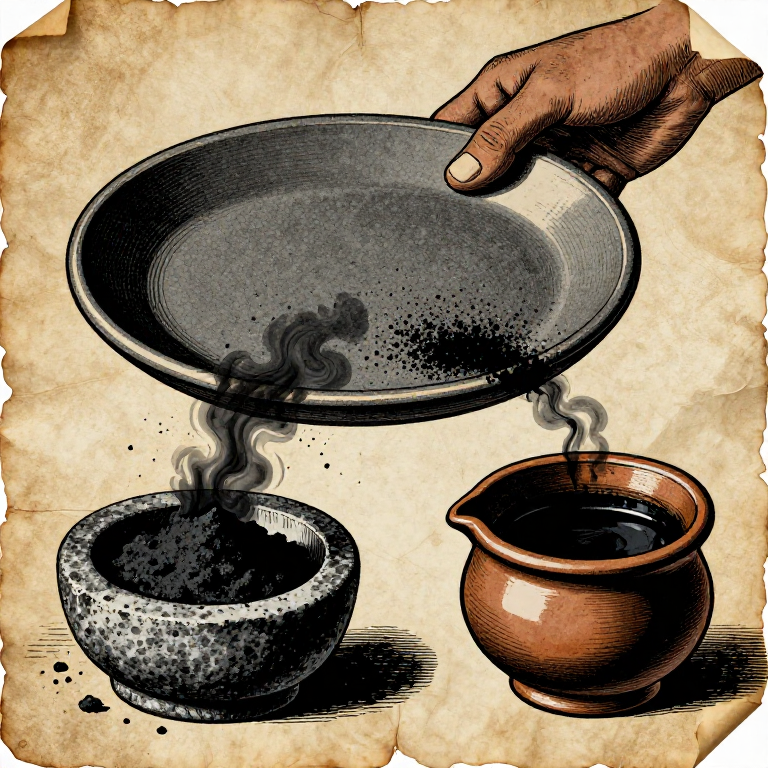
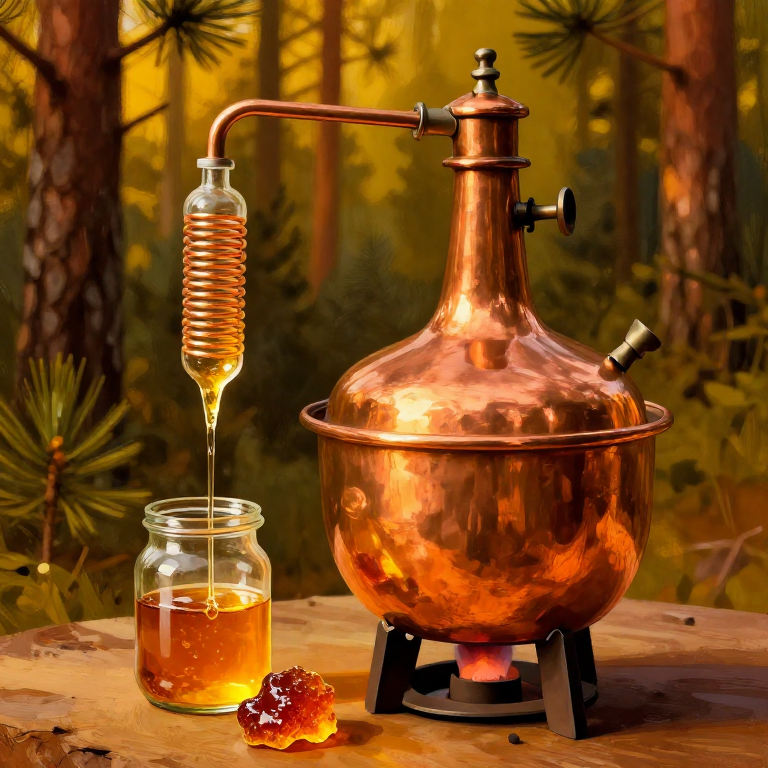
Build a small fire using resinous softwood — pine, spruce, or birch bark produce abundant, fine-grained soot. Hold a flat ceramic plate or stone slab in the smoke above the fire, approximately 30-40 cm above the flame tips, where the smoke is thick but the surface is not in direct flame. Soot deposits as a fine black powder on the underside of the plate. Rotate the plate periodically and scrape off the accumulated soot with a flint scraper or bone tool into a clean container. Repeat until you have collected approximately 20-30 g of soot — this requires 1-2 hours of patient collection. Pine soot gives the finest, most intensely black particles.
Materials for this step:
 Pine Resin200 g
Tools needed:
 Ceramic Plate (for soot collection)
 Flint Knife
Grind the soot to a fine powder
Grind the soot to a fine powder
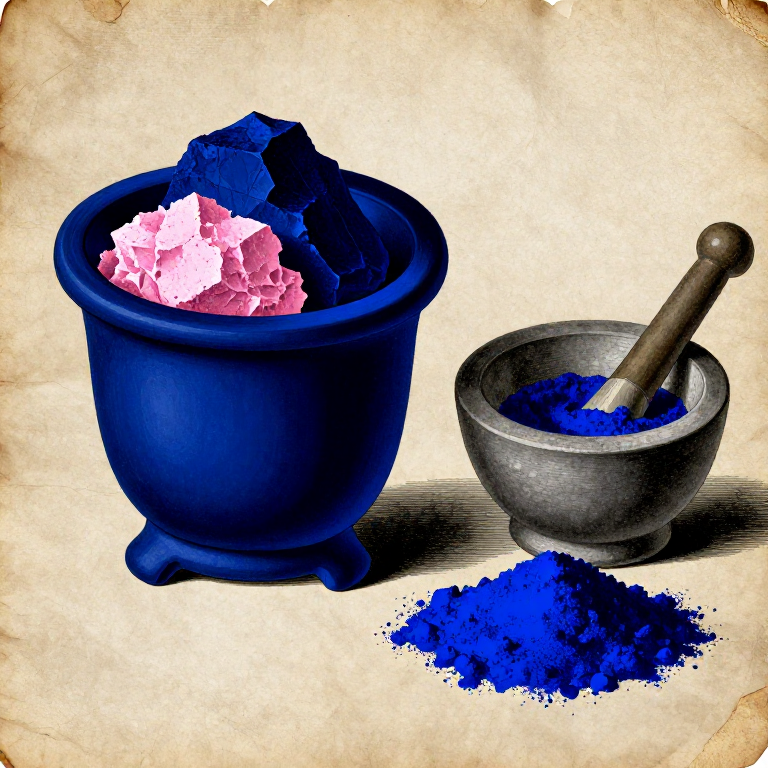
Transfer the collected soot to a flat stone mortar. Grind thoroughly with a smooth river pebble or stone pestle, using firm circular motions. The goal is to break up any lumps and produce a uniformly fine, impalpable powder. Wood soot naturally consists of extremely fine carbon particles (typically 20-100 nanometres), but lumps form during collection. Grind for 10-15 minutes until the powder feels silky-smooth between your fingers — no grittiness should remain. This fineness is critical for even distribution in the skin during tattooing.
Tools needed:
 Stone Mortar (flat)
Mix with water to form a paste
Mix with water to form a paste
Add clean water drop by drop to the ground soot, mixing with a clean wooden stick after each addition. You want a thick, smooth paste — approximately the consistency of honey. Use roughly 2 parts soot to 1 part water by volume. The carbon particles suspend in water but do not dissolve — this forms a stable dispersion. Mix thoroughly to ensure no dry pockets remain. This water-based soot paste is the simplest form of tattoo ink, and was the type used by many ancient cultures including the Polynesian hand-tap tradition.
Tools needed:
 Stirring Rod (wooden)
Add animal fat as a carrier (optional)
Add animal fat as a carrier (optional)
For a more durable ink that adheres better to tattooing needles, mix in a small amount of rendered animal fat (tallow) — approximately 1 part fat to 4 parts soot paste. Warm the fat gently until liquid, then stir into the soot paste. The fat acts as a carrier and binder, helping the carbon particles stay suspended and transfer smoothly into the skin punctures. Many ancient cultures added fat, breast milk, or plant oils as carriers. The resulting ink should be smooth, dark, and slightly oily. Rendered tallow from cattle or sheep is most commonly documented in European and Central Asian tattoo traditions.
Materials for this step:
 Animal Fat (Tallow)30 g
Store the finished ink
Store the finished ink
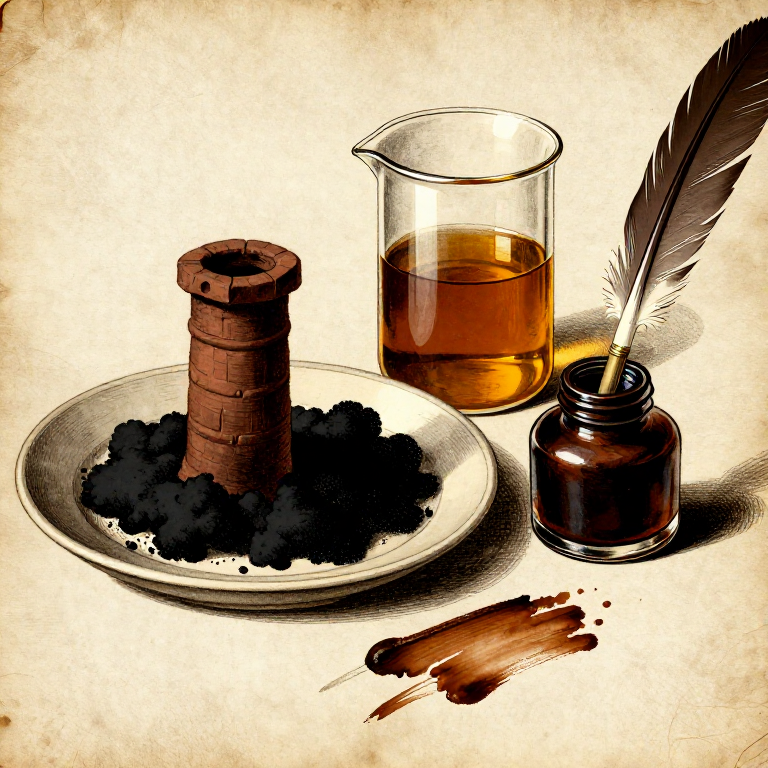
Transfer the finished tattoo ink to a small ceramic or stone container with a cover. The ink keeps indefinitely if stored sealed — carbon does not degrade, oxidise, or change colour. Before each use, stir thoroughly as the carbon particles settle to the bottom over time. If the ink has dried, reconstitute by adding a few drops of water and mixing back to a paste. This soot-and-water ink produces a blue-black colour in healed tattoos — the carbon particles in the dermis scatter light slightly differently than on the surface, giving the characteristic blue-grey tone of traditional tattoos rather than a pure surface black.
Tools needed:
 Ceramic Storage Jar with Lid
Materials
2- 200 gPlaceholder
- Placeholder
Tools Required
5- Placeholder
- Placeholder
- Placeholder
- Placeholder
- Placeholder
Connected Blueprint Materials
Related Blueprints
These blueprints share knowledge with this one — techniques, materials, or principles that connect them in the learning graph.
Related blueprints
Other builds that share materials, tools, or techniques with this one.

CC0 Public Domain
This blueprint is released under CC0. You are free to copy, modify, distribute, and use this work for any purpose, without asking permission.
Support the Maker by purchasing products through their Blueprint where they earn a Maker Commission set by Vendors, or create a new iteration of this Blueprint and include it as a connection in your own Blueprint to share revenue.