Making Red Ochre Tattoo Paint — Iron Oxide Body Pigment of Ancient Cultures
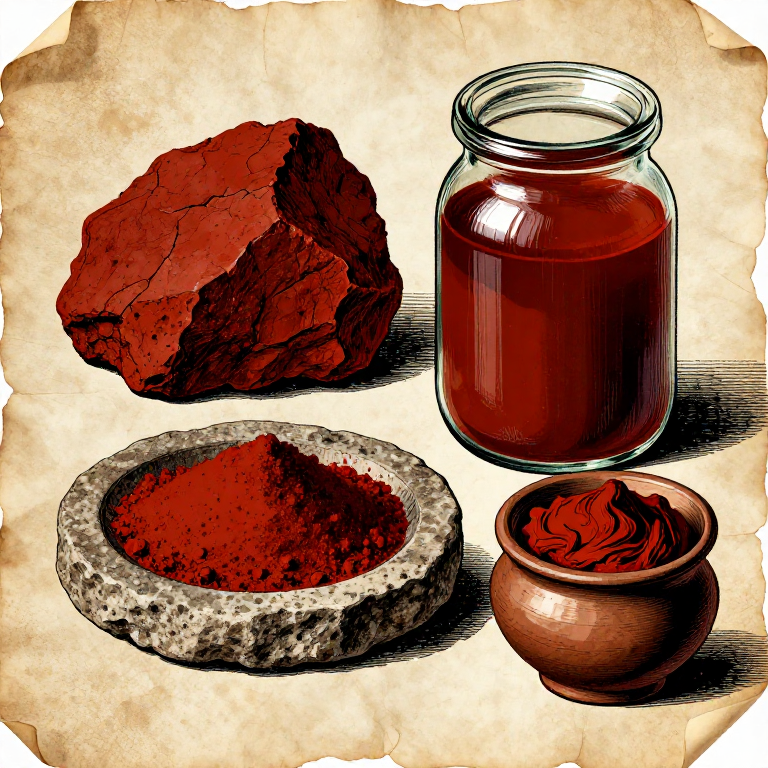
Red ochre (iron oxide, Fe₂O₃) is one of the oldest pigments used by humans — and one of the few natural mineral pigments safe enough for tattooing and body painting. Archaeological evidence from sites across Africa, Europe, and Australia shows red ochre used for body decoration dating back over 100,000 years. As a tattoo pigment, red ochre was used by ancient Egyptian, Inuit, Berber, and various Southeast Asian and Pacific Island cultures to create red-brown tattoo marks alongside the more common carbon black.
Red ochre is non-toxic, chemically stable (iron oxide is one of the most inert compounds in nature), non-allergenic, and lightfast. It produces warm red-brown to terracotta tones in the skin. Unlike organic red pigments (which fade) or toxic mineral reds (cinnabar/vermillion, which contain mercury; realgar, which contains arsenic), red ochre is entirely safe for prolonged skin contact and subcutaneous implantation. This makes it one of very few historically authentic AND safe red tattoo pigments.
The preparation involves selecting high-quality ochre, purifying it by levigation (water-washing to separate fine pigment from sand and grit), and grinding to an extremely fine particle size suitable for tattoo application.
Instructions
Select and inspect raw ochre
Select and inspect raw ochre
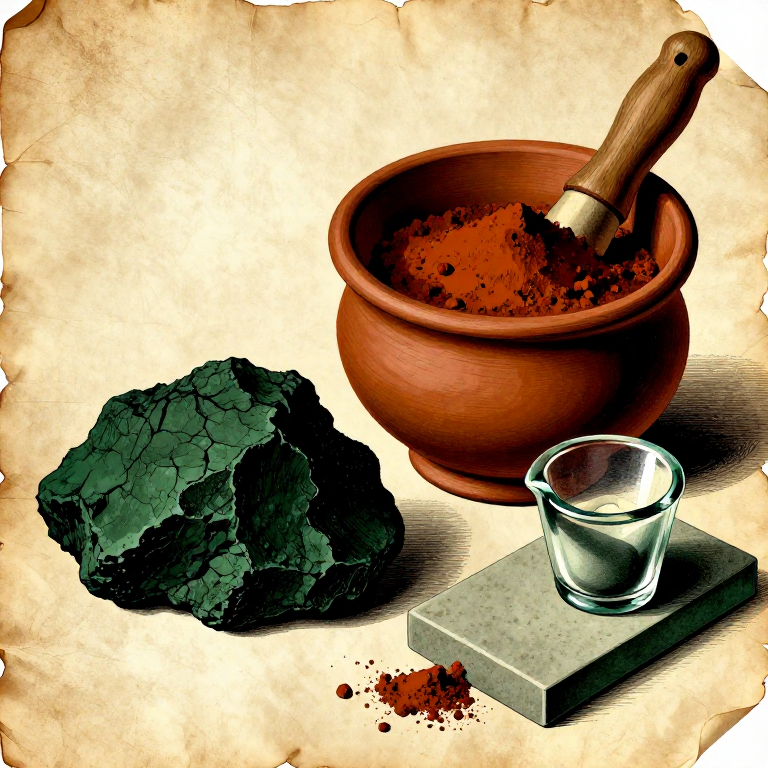
Obtain natural red ochre — either collected from a known deposit or purchased from a pigment supplier. Good red ochre for tattooing should be a deep, warm red (not brownish or pale). Break a piece and examine the fresh surface: it should be a uniform, rich red-brown without visible sand grains or pale inclusions. Red ochre is naturally occurring iron oxide (hematite, Fe₂O₃) mixed with clay and silica. The purer the iron oxide content, the more intensely red the pigment. Avoid ochre that is gritty, pale, or streaked with white — these contain too much sand or clay for tattoo use.
Materials for this step:
 Raw Ochre200 g
Crush to coarse powder
Crush to coarse powder
Break the ochre into small pieces by striking with a stone. Transfer to a flat stone mortar and crush to a coarse powder using firm, downward strokes. The ochre should break down readily — if it is very hard, soak in water overnight first to soften it. Remove any visible pebbles, root fragments, or other debris. You want a rough powder with no pieces larger than a grain of rice. This initial crushing prepares the ochre for the levigation (water-washing) step that follows.
Tools needed:
 Stone Mortar and Pestle (large)
Levigation — wash and separate fine pigment
Levigation — wash and separate fine pigment
Place the crushed ochre in a large jar and add 5 parts clean water to 1 part ochre. Stir vigorously for 2-3 minutes, then let stand for exactly 30 seconds. The heavy sand and grit sink immediately to the bottom, while the fine iron oxide pigment remains suspended in the water as a red cloud. Carefully pour off the red water into a second clean jar, leaving the settled sand behind. Repeat this process 2-3 times with the settled residue, collecting all the red water. The fine pigment in the red water is your tattoo-grade ochre — the coarse residue left behind is waste sand.
Tools needed:
 Glass Settling Jar (5L)
Settle and collect the pigment
Settle and collect the pigment
Let the collected red water stand undisturbed overnight (12-24 hours). The fine ochre pigment slowly settles to the bottom as a dense, smooth red layer. Carefully pour off the clear water above without disturbing the settled pigment. What remains is purified, levigated red ochre — extremely fine-grained iron oxide with minimal sand or grit. Spread this wet pigment paste on a clean cloth and let it dry in the shade. Once dry, grind to a fine powder on a flat stone mortar. The finished pigment should feel silky-smooth between your fingers with no detectable grit.
Tools needed:
 Clean Cotton Cloth
 Stone Mortar (flat)
Mix the tattoo paint
Mix the tattoo paint
To prepare the tattoo paint, mix the ground red ochre with a small amount of clean water to form a thick, smooth paste — roughly the consistency of thick cream. For better adhesion to tattooing needles, add a small amount of rendered animal fat (approximately 1 part fat to 6 parts ochre paste) and mix thoroughly. The resulting paint should be a deep, warm red with a slightly oily consistency. Store in a sealed ceramic container. Red ochre tattoo pigment produces a warm reddish-brown colour in healed skin — slightly muted compared to the vivid surface colour, but permanent and stable. It does not fade, shift colour, or cause allergic reactions.
Materials for this step:
 Animal Fat (Tallow)20 g
Tools needed:
 Ceramic Storage Jar with Lid
Tools Required
5- Placeholder
- Placeholder
- Placeholder
- Placeholder
- Placeholder
Connected Blueprint Materials
Related Blueprints
These blueprints share knowledge with this one — techniques, materials, or principles that connect them in the learning graph.
Related blueprints
Other builds that share materials, tools, or techniques with this one.
CC0 Public Domain
This blueprint is released under CC0. You are free to copy, modify, distribute, and use this work for any purpose, without asking permission.
Support the Maker by purchasing products through their Blueprint where they earn a Maker Commission set by Vendors, or create a new iteration of this Blueprint and include it as a connection in your own Blueprint to share revenue.