ART
BEAUTY & WELLNESS
CRAFT
CULTURE & HISTORY
ENTERTAINMENT
ENVIRONMENT
FOOD & DRINKS
REVERSE ENGINEERING
SCIENCES
SPORTS
TECHNOLOGY
WEARABLES


Micrometry: Measuring with a Microscope
Seven rungs of this batch make things visible. This one turns looking into measuring, and it is the rung that is almost always skipped.
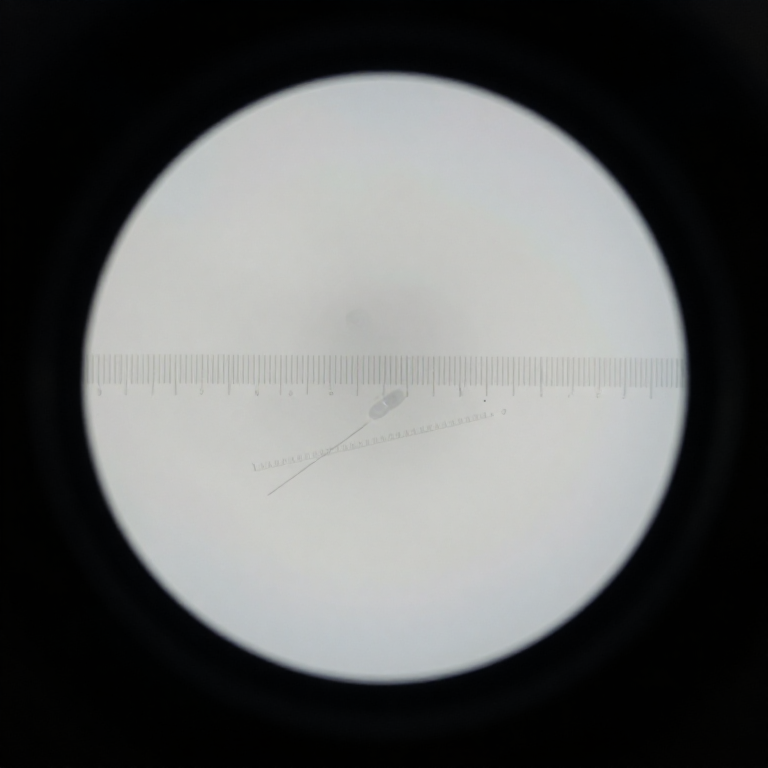
A microscope has no inherent scale. The number stamped on the objective is nominal, the tube length is approximate, and 'about the size of a red blood cell' is not a measurement. What you need is an eyepiece graticule — a ruled scale in the eyepiece, which moves with the image — calibrated against a stage micrometer of known spacing.
Do it once per objective and write the numbers on a card taped to the microscope, and every observation you make afterwards carries a dimension. That is the difference between a hobby and an instrument, and it is the same argument the turbidity tube and the reference library made in the two batches before this one.
Beginner
3 hours
Instructions
1
1
Fit the eyepiece graticule
Fit the eyepiece graticule
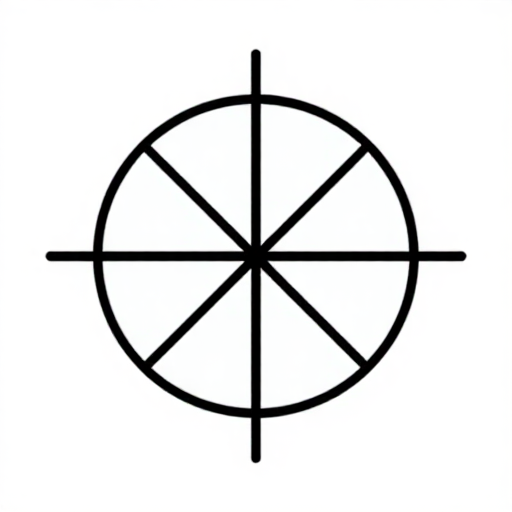
Unscrew the eyepiece's top lens, drop the etched glass disc onto the internal shoulder with the ruled side facing the field lens, and reassemble.
It must sit at the eyepiece's field stop — the plane where the intermediate image forms — or it will never be in focus at the same time as the specimen. If the scale and the specimen cannot both be sharp, the disc is in the wrong plane, not the wrong eyepiece. Focus the scale itself by turning the eyepiece's top lens before you focus the microscope.
Materials for this step:
 Graticule Reticle (Etched Glass)1 piece
Tools needed:
 Microscope
2
2
Make a stage micrometer if you cannot buy one
Make a stage micrometer if you cannot buy one
A stage micrometer is a slide with a finely ruled scale of known spacing. If you do not have one, a diffraction grating of stated line spacing, or a printed scale photographed and reduced by a known factor, will serve — but measure it, do not assume it.
Whatever you use becomes the origin of every dimension you will ever quote. An error here propagates into all of them silently and identically, which is the worst kind: it never shows up as inconsistency. This is the same argument as the home-made turbidity standard, with the same honest caveat.
Materials for this step:
 Microscope Slides with Coverslips5 pieces
Tools needed:
 Metal Ruler
3
3
Calibrate each objective separately
Calibrate each objective separately
Put the stage micrometer on, focus, and line the two scales up side by side. Count how many EYEPIECE divisions span a known number of STAGE divisions, using as long a span as the field allows.
Use the longest span you can, not the shortest: reading 80 eyepiece divisions against 10 stage divisions divides your reading error by eight. Repeat for every objective — the calibration is different for each, and it changes again if you swap the eyepiece.
Tools needed:
Microscope4
4
Write the card and tape it to the microscope
Write the card and tape it to the microscope
One line per objective: objective, eyepiece, micrometres per eyepiece division. Tape it to the base.
A calibration you have to look up is a calibration you will not use, and a measurement made with a half-remembered factor is worse than none. The card also records WHICH eyepiece — swap in a different one and every number on it is wrong, which is the commonest way a careful calibration quietly stops being true.
Materials for this step:
 Card Stock2 pieces
5
5
Measure a real population, not one cell
Measure a real population, not one cell
Measure thirty or more of whatever you are interested in — yeast cells, pollen grains, fibre diameters — and record every value, not a typical one.
Biological things vary, often by a factor of two, so a single measurement tells you almost nothing and 'about 5 micrometres' hides whether the population is tight or spread. The spread is frequently the interesting part: it is how you tell one species from another, or a healthy culture from a stressed one.
Materials for this step:
 Bread Yeast10 gMicroscope Slides with Coverslips10 pieces
Tools needed:
Microscope6
6
Calibration, error and how many to count
Calibration, error and how many to count
Loading Jupyter Notebook...
7
7
Quote the measurement the way it can be checked
Quote the measurement the way it can be checked
Write: the value, the spread, how many you counted, the objective and eyepiece, and the calibration factor you used.
'Yeast cells 5.2 ± 1.3 µm, n = 34, 40× with 10× graticule, 0.303 µm per division' is a statement another maker can repeat and disagree with. '5 microns' is not. This is the same standard the reference-library rung set for identification, and it is what makes an observation worth feeding to MOS rather than just worth looking at.
Materials
4- Placeholder
- 10 piecesPlaceholder
- 2 piecesPlaceholder
- 10 gPlaceholder
Related Blueprints
These blueprints share knowledge with this one — techniques, materials, or principles that connect them in the learning graph.



CC0 Public Domain
This blueprint is released under CC0. You are free to copy, modify, distribute, and use this work for any purpose, without asking permission.
Support the Maker by purchasing products through their Blueprint where they earn a Maker Commission set by Vendors, or create a new iteration of this Blueprint and include it as a connection in your own Blueprint to share revenue.