Collaboration
ART
BEAUTY & WELLNESS
CRAFT
CULTURE & HISTORY
ENTERTAINMENT
ENVIRONMENT
FOOD & DRINKS
REVERSE ENGINEERING
SCIENCES
SPORTS
TECHNOLOGY
WEARABLES


Netted Hammock: Hardwood Shuttle, Gauge Board and Mesh Stick, 8 ft of Seine-Twine Net (Boy Mechanic, 1919)
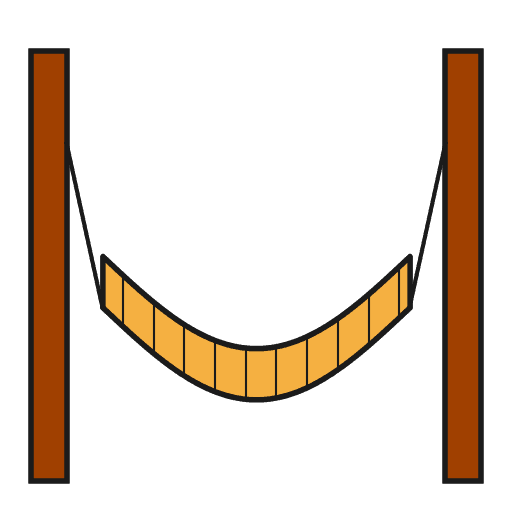
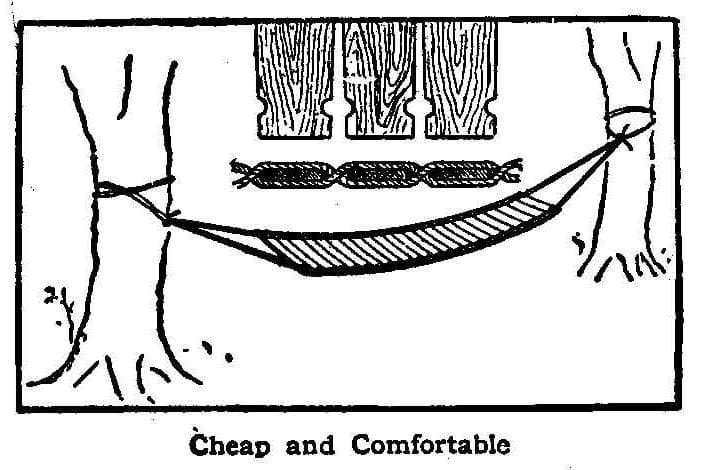
Charles M. Miller's netted hammock from The Boy Mechanic, Book 3 (1919): about 12 ft long, with 8 ft of net made on a homemade 12 in hardwood shuttle over an 8 in mesh stick, and 30 long 2 ft meshes at each end formed on a gauge board and gathered into a 2-1/2 in galvanized ring. It takes 1-1/2 lb of 24-ply seine twine.
Intermediate
Several days
Instructions
1
1
Tools and hammock in metric
Tools and hammock in metric
Loading Jupyter Notebook...
2
2
Read The Boy Mechanic, Book 3
Read The Boy Mechanic, Book 3
"A good hammock should be about 12 ft. long, which includes 8 ft. of network and 2 ft., at each end, of long cords that are attached to rings."
3
3
Make the shuttle
Make the shuttle
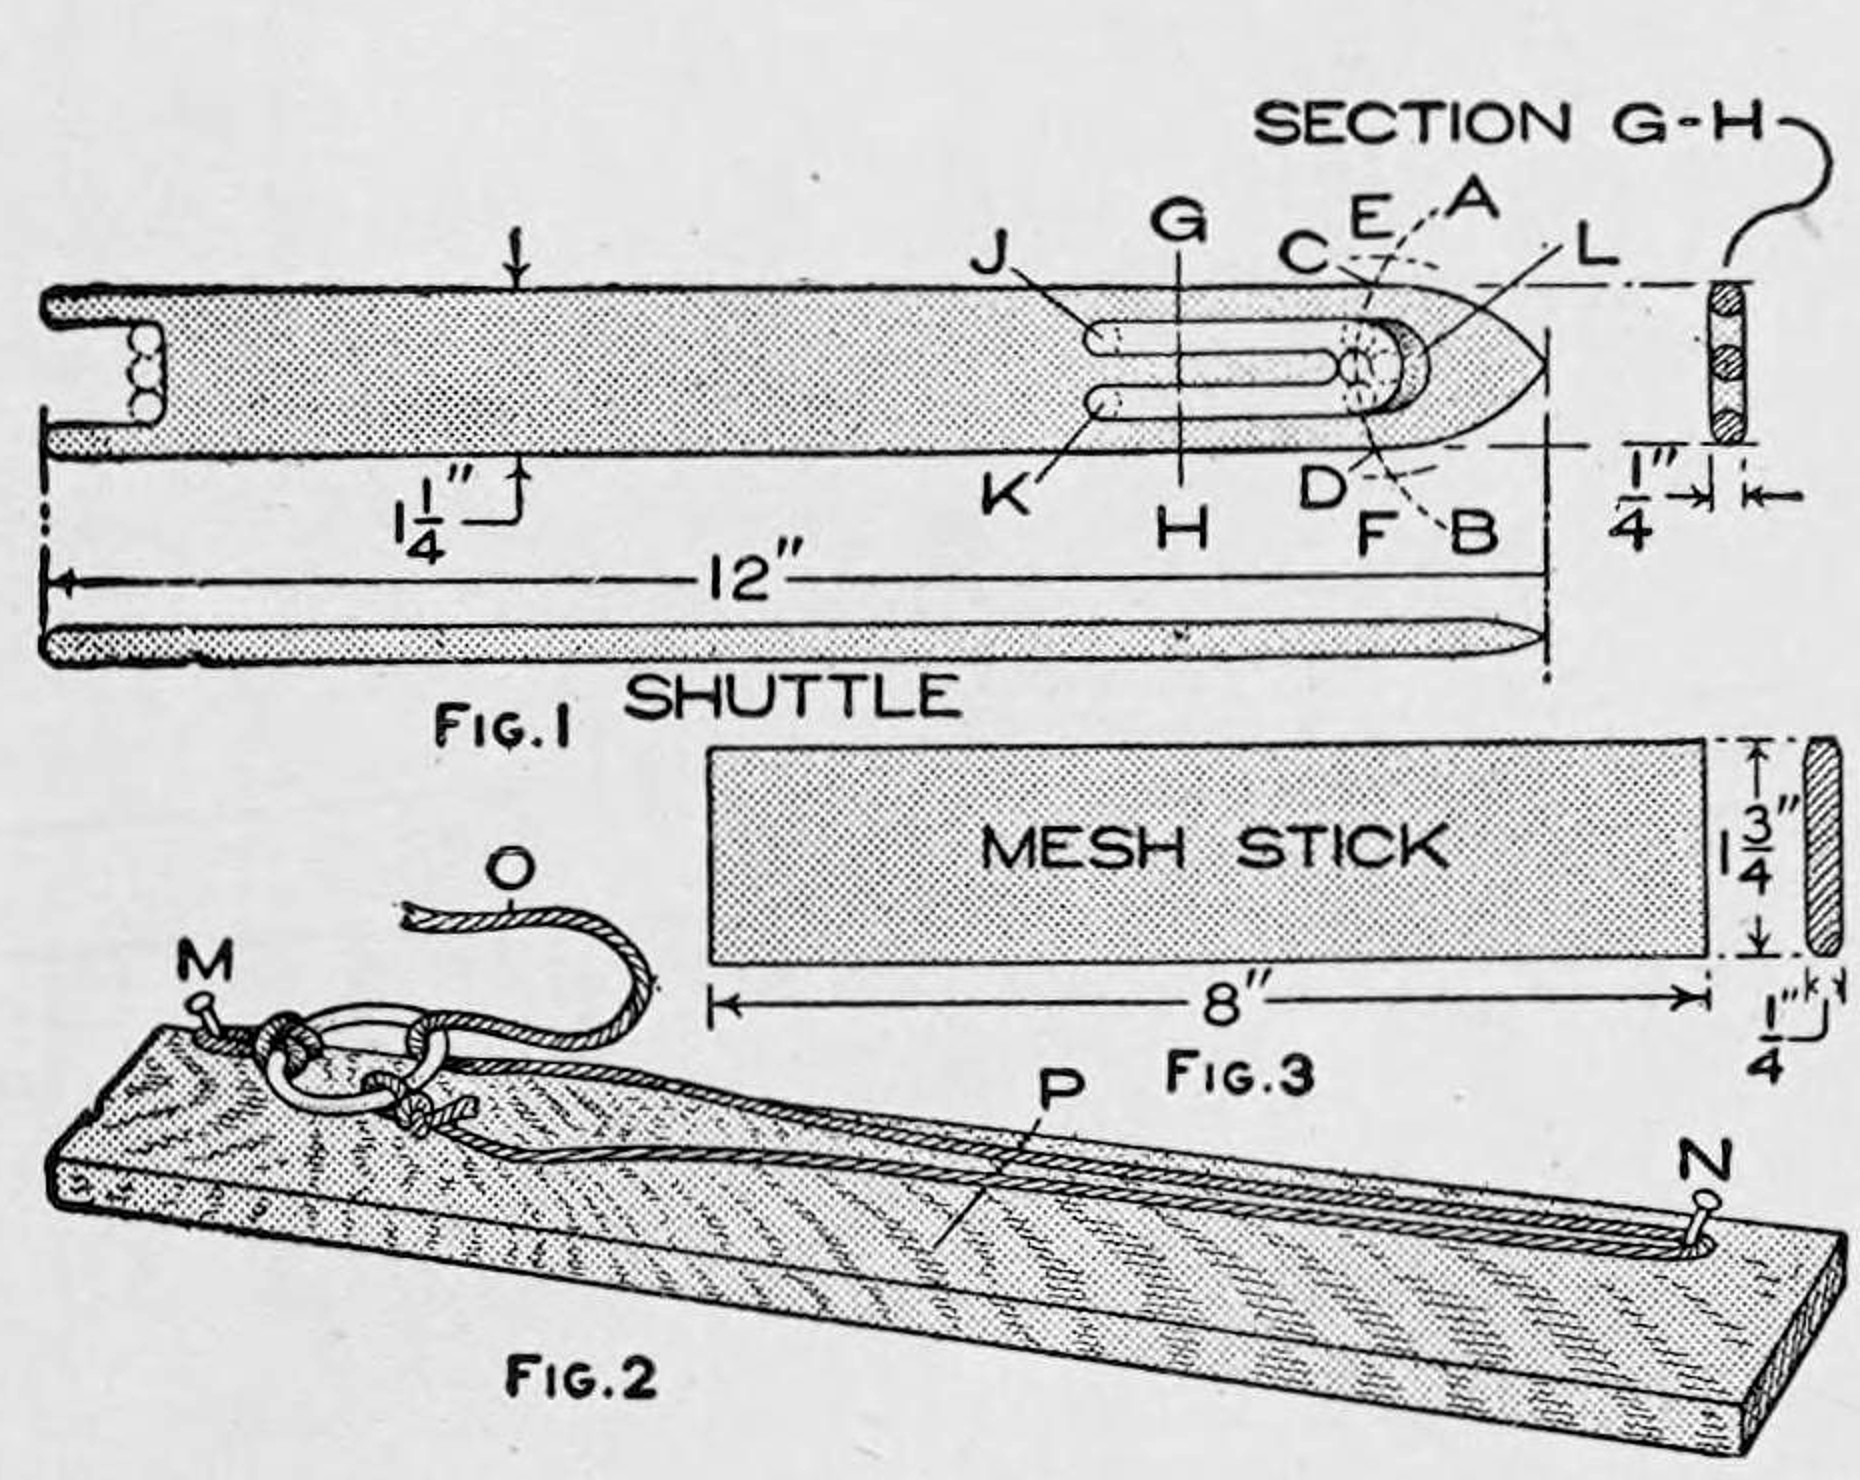
Cut maple or other hard wood (or good-grained pine) 12 in long, 1-1/4 in wide and 1/4 in thick. Lay out the point first: from the centre of the end draw arc AB with a 1-1/2 in radius; from C and D, where it meets the sides, cut AB at E and F with the same radius, and from E and F draw the curves of the point. Divide GH into five 1/4 in divisions; centre holes J and K 3-1/2 in from the point; make the opening 2-3/4 in long, boring a 1/4 in hole at its right end and three holes to the left, then cut out with a coping saw and finish with knife, file and sandpaper. Bevel the curve at L, cut the fork 3/4 in deep with 1/4 in prongs, slant the point and round every edge (Fig. 1).
Materials for this step:
 Hardwood Board1 piece
Tools needed:
 Compass
 Ruler
 Pencil
 Hand Drill
 Coping Saw
 Steel Pocket Knife
 Files (Hand File)
 Sandpaper
4
4
Make the gauge board and mesh stick
Make the gauge board and mesh stick
Gauge board: about 3 ft by 4 by 1 in, with an eightpenny nail M driven 1 in from the right edge and 2 in from the end, projecting about 1 in and slanting a little toward the end (Fig. 2). Mesh stick: maple 8 in long, 1-3/4 in wide and 1/4 in thick, edges rounded and sanded very smooth (Fig. 3).
Materials for this step:
 Pine Board1 pieceHardwood Board1 piece
 Nails2 pieces
Tools needed:
 Hand Saw
 Hand Plane
 HammerSandpaper
5
5
Wind the shuttle and make the long meshes
Wind the shuttle and make the long meshes
Wind the 1/2 lb skeins of 24-ply seine twine into balls. Loop the twine over the tongue, down to the fork and up the other side, and back, until the shuttle holds 20 to 35 rounds, not so full that it crowds (Fig. 4). Tie a 2-1/2 in galvanized ring by a short cord to nail M and drive an eightpenny finishing nail N 2 ft below the ring. Tie the twine to the ring, take the shuttle round N, back up through the ring from below, thumb the cord, throw a loop to the left over the thumb and the ring, pass the shuttle under the two taut cords and up between thumb and cords, and draw tight (Fig. 5). Slip the loop off N and tie a simple knot at P. Repeat for 30 long meshes.
Materials for this step:
 Seine Twine3 skeins
 Metal Ring1 piece
Tools needed:
 Wooden Netting Shuttle/needle
6
6
Net the body
Net the body
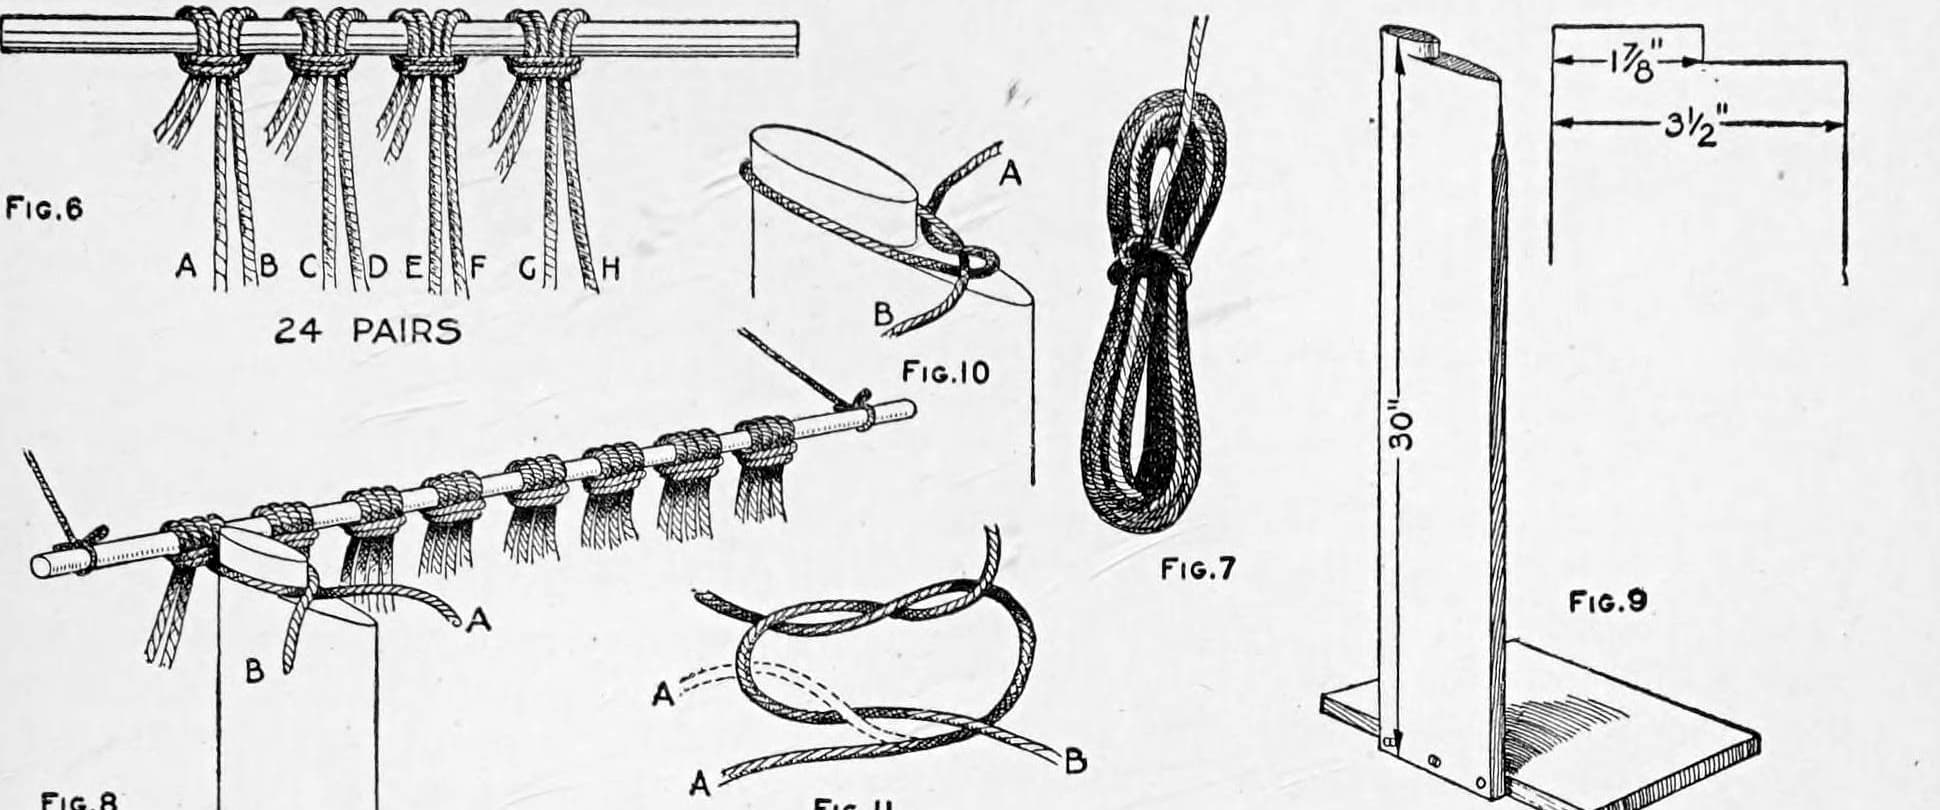
Anchor the ring by its cord a little above working height. Working left to right, tie the twine to the first long loop, keeping the loops in order. Bring the cord down over the mesh stick, up through loop 2, draw it down to the stick, thumb it, throw the cord left over the thumb and round the loop, pass the shuttle under both cords of the mesh and up between them and the backward loop, and draw very tight (Figs. 6, 7). Never let a mesh draw below the top of the stick. At the end of each row slip the meshes off and flip the work, alternately right and left so it does not twist; pull the first mesh of each row sideways so its knots sit side by side (Fig. 8). Join new twine with a weaver's or square knot (Figs. 9, 10). Net 8 ft.
Materials for this step:
Seine Twine1 pieceTools needed:
Wooden Netting Shuttle/needle Mesh Gauge Stick
7
7
Finish the far end
Finish the far end
Make the long loops at the far end on the gauge board with the second ring: slip a mesh of the last row over nail N and pass the shuttle through the same mesh as the cord comes down from the ring (Fig. 11). These loops come out about 3 in shorter, which does not matter. With about 6 ft of cord, wind all the long-loop cords together close to each ring, very tight, looping under each turn (Fig. 12).
Materials for this step:
Metal Ring1 pieceSeine Twine1 pieceTools needed:
Wooden Netting Shuttle/needle Scissors
8
8
Finishing and troubleshooting
Finishing and troubleshooting
Hammock troubleshooting.
Flow
Loading...
9
9
History and honest limits
History and honest limits
From "How to Make Hammocks, Part II: A Netted Hammock" by Charles M. Miller, in **The Boy Mechanic, Book 3**, Popular Mechanics, 1919 (Project Gutenberg 71856; checked on the archive.org scan boymechanic0003unse, pp. 282-285). The stretcher length is not given (only shorter than for web hammocks). The tools and the metric figures are ours.
Materials
5- 1 piecePlaceholder
- 1 piecePlaceholder
- 2 piecesPlaceholder
- 2 piecesPlaceholder
- 1 piecePlaceholder
Tools Required
14- Placeholder
- Placeholder
- 1 vendor sell this, none ship to you yetPlaceholder
- Placeholder
- Placeholder
- Placeholder
- Placeholder
- Placeholder
- Placeholder
- Placeholder
- Placeholder
- Placeholder
- Placeholder
- Placeholder
This blueprint makes
Related Blueprints
These blueprints share knowledge with this one — techniques, materials, or principles that connect them in the learning graph.

CC0 Public Domain
This blueprint is released under CC0. You are free to copy, modify, distribute, and use this work for any purpose, without asking permission.
Support the Maker by purchasing products through their Blueprint where they earn a Maker Commission set by Vendors, or create a new iteration of this Blueprint and include it as a connection in your own Blueprint to share revenue.