ART
BEAUTY & WELLNESS
CRAFT
CULTURE & HISTORY
ENTERTAINMENT
ENVIRONMENT
FOOD & DRINKS
REVERSE ENGINEERING
SCIENCES
SPORTS
TECHNOLOGY
WEARABLES
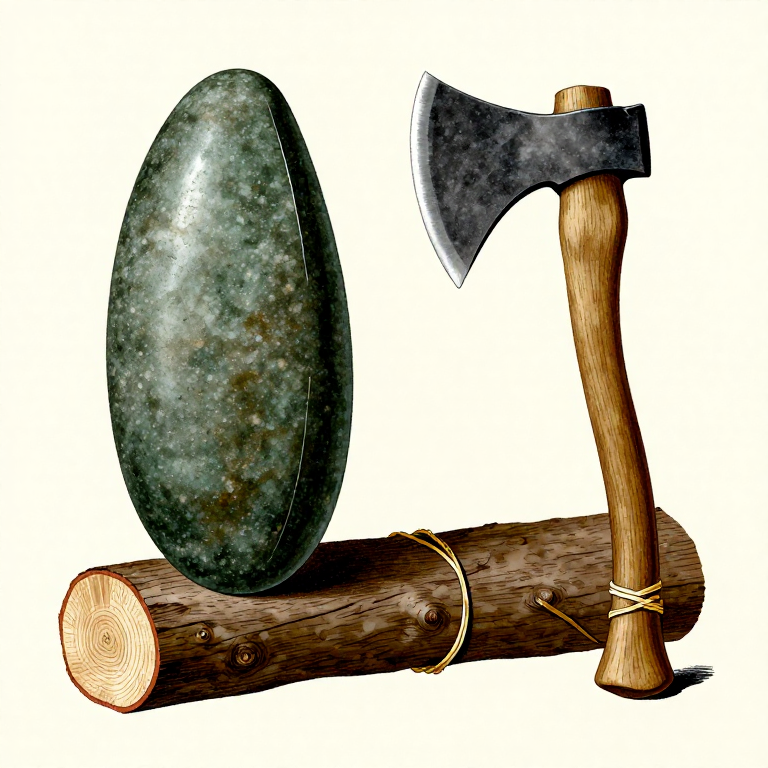


Polishing a Neolithic Ground Stone Axe — The Tool That Cleared the Forests
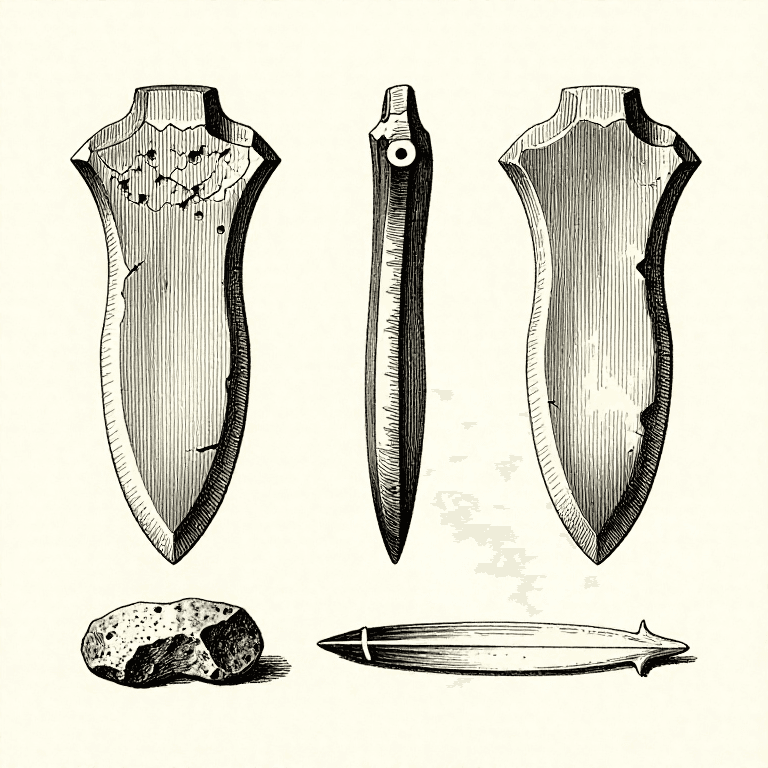
The ground stone axe represents one of the most important technological leaps in human history. Around 10,000 BCE, toolmakers discovered that pecking and grinding a stone blank into shape — rather than knapping it — produced an axe head with a smooth, durable cutting edge that could be resharpened indefinitely. Unlike a knapped flint axe whose edge chips and degrades with each blow, a ground stone axe's edge survives repeated heavy impact against wood. This technology enabled the Neolithic revolution: forests could be felled efficiently, creating farmland, building timber, and fuel. The grinding technique works on tough, fibrous stones (greenstone, basalt, diorite, nephrite) that are impossible to knap but become superb tools when shaped by abrasion. This blueprint teaches the complete process from rough blank to polished, hafted axe head.
Intermediate
4-8 hours
Instructions
1
1
Select a Suitable Stone Blank
Select a Suitable Stone Blank
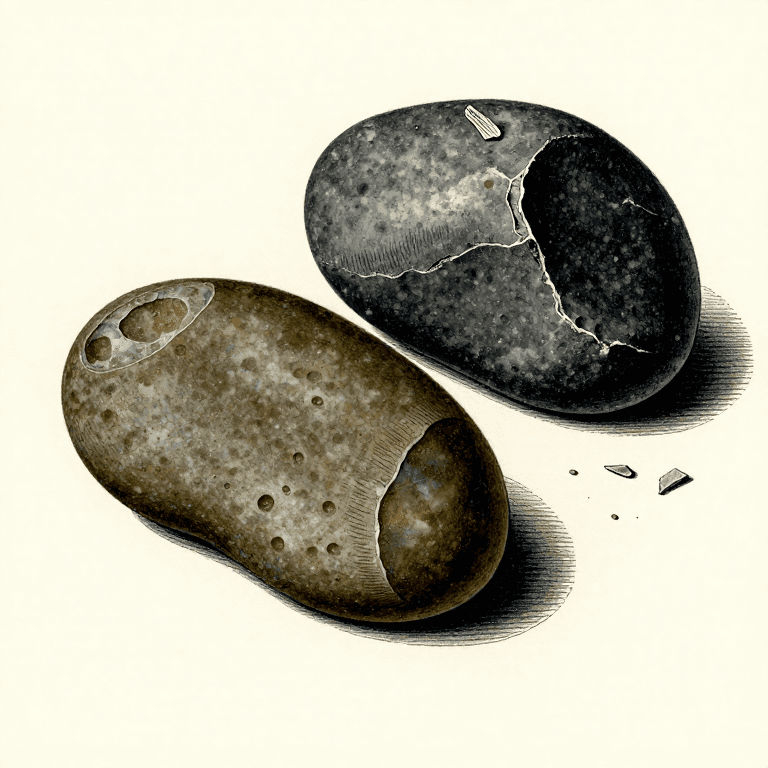
Find a dense, fine-grained igneous or metamorphic stone — greenstone (epidotised basalt), diorite, basalt, or nephrite are traditional choices. The stone should be roughly the size and shape of the desired axe head: 12 to 20 cm long, 6 to 10 cm wide, 3 to 5 cm thick. River cobbles of the right proportions save hours of initial shaping.
Materials for this step:
 Stone Block1 piece
2
2
Rough-Shape by Pecking
Rough-Shape by Pecking
Hold a pointed hammerstone and strike the blank repeatedly with short, controlled taps to remove high spots and define the basic axe shape. This pecking technique crushes and spalls the surface rather than detaching conchoidal flakes. Work the blank into a rough wedge shape — wider and thinner at the bit (cutting edge) end, thicker at the poll (butt) end.
Tools needed:
 Hammerstone
3
3
Define the Cutting Edge Profile
Define the Cutting Edge Profile
Peck the bit end into a gently convex arc when viewed from the front. The cutting edge should be symmetrical — not lopsided — with the apex centred on the axe body. A slightly convex edge is stronger than a straight one because it distributes impact force across a broader area and resists chipping at the corners.
Tools needed:
Hammerstone4
4
Shape the Cross-Section
Shape the Cross-Section
Peck the sides to create a biconvex (lens-shaped) cross-section. Both faces should curve symmetrically outward from the centreline to the edges. A biconvex cross-section splits wood efficiently because the expanding cheeks force the split wider with each blow. Avoid flat faces — they bind in the cut and the axe sticks.
Tools needed:
Hammerstone5
5
Begin Grinding on a Coarse Sandstone Slab
Begin Grinding on a Coarse Sandstone Slab
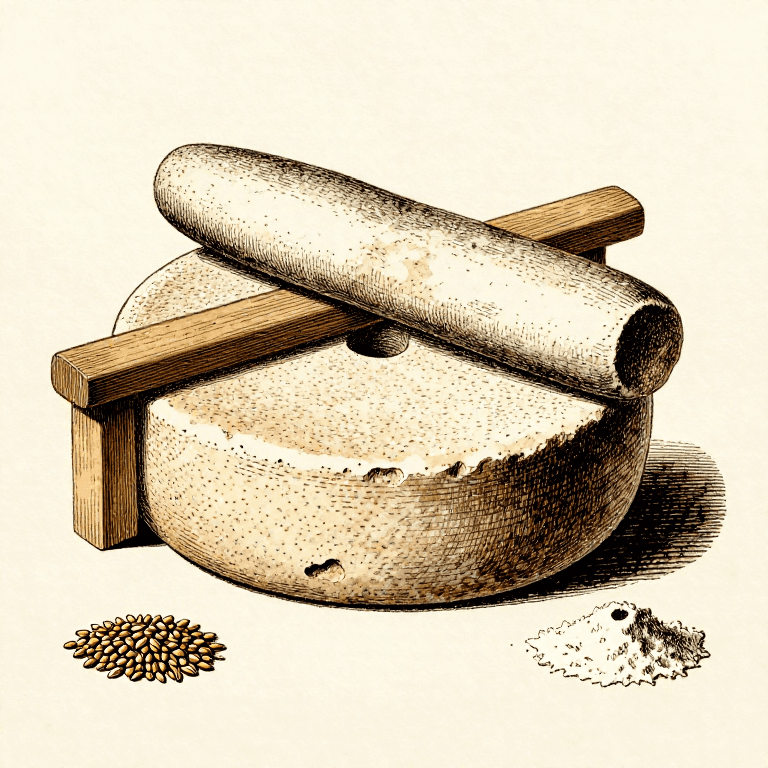
Wet a large flat sandstone slab with water to create an abrasive slurry. Place the pecked axe blank face-down on the slab and push it back and forth with firm, even pressure using both hands. Start with the bit end, grinding in long strokes to remove pecking marks and establish a smooth, flat grinding facet. The wet slurry carries away waste and prevents heat buildup.
Tools needed:
 Sandstone (Abrasive)
6
6
Grind Both Faces of the Bit
Grind Both Faces of the Bit
Alternate between grinding each face of the bit end, checking symmetry frequently by sighting down the edge. The two grinding facets should meet at the centreline to form a cutting edge at approximately 25 to 30 degrees — steep enough to resist chipping but acute enough to bite into wood. Grind until the bit area is uniformly smooth for at least 3 to 5 cm back from the edge.
Tools needed:
Sandstone (Abrasive)7
7
Grind the Body and Sides
Grind the Body and Sides
Extend the grinding to cover the entire axe body. The sides and cheeks do not need to be mirror-polished but should be smooth enough that the axe slides through a wood split without catching on rough patches. Use long, sweeping strokes and rotate the axe frequently to maintain the biconvex cross-section.
Tools needed:
Sandstone (Abrasive)8
8
Polish the Cutting Edge on a Fine-Grained Stone
Polish the Cutting Edge on a Fine-Grained Stone
Switch to a fine-grained sandstone or siltstone slab for the final edge polish. Wet the stone and grind the last 2 cm of the bit with light, precise strokes. The polished edge should be smooth enough to reflect light faintly. A polished edge cuts cleaner and lasts longer because the smooth surface has fewer micro-fracture initiation points.
Tools needed:
 Sharpening Stone
9
9
Test the Edge Sharpness
Test the Edge Sharpness
Press the finished cutting edge against your thumbnail at a low angle. A properly ground axe edge bites into the nail cleanly without sliding. You can also test on a piece of green wood — press the edge into end grain and push. It should cut into the fibres with moderate hand pressure alone. If it slides off, return to the fine stone and grind steeper.
10
10
Select and Prepare a Haft
Select and Prepare a Haft
Cut a straight-grained hardwood branch (ash, hickory, or oak) approximately 40 to 60 cm long and 3 to 4 cm in diameter. The branch should be green (freshly cut) because green wood is easier to shape and will shrink as it dries, tightening around the axe head. Remove the bark and smooth the surface with a stone scraper.
Materials for this step:
 Hardwood Sapling1 piece
11
11
Create the Axe Head Socket
Create the Axe Head Socket
Split the top end of the haft about 8 to 10 cm deep using a stone wedge and hammerstone. Carefully widen the split by inserting progressively larger wedges until the axe head fits snugly into the gap. The axe head should sit with its cutting edge perpendicular to the haft, with 2 to 3 cm of the haft extending above the head.
Tools needed:
Hammerstone12
12
Bind the Axe Head to the Haft
Bind the Axe Head to the Haft
Wrap the split section tightly with wet rawhide strips or soaked sinew, starting below the axe head and working upward, crossing over the top of the haft above the head. Pull each wrap as tight as possible. As the rawhide dries it shrinks by 10 to 15 percent, creating an extremely rigid binding. For extra security, apply pine pitch or birch tar over the wrapping.
Materials for this step:
 Rawhide2 pieces
13
13
Test the Hafted Axe on Standing Wood
Test the Hafted Axe on Standing Wood
Find a softwood log (pine, poplar, or willow) and deliver moderate chops at a 45 degree angle to the grain. The axe should bite 1 to 2 cm into the wood with each blow without the head loosening or the edge chipping. If the head wobbles, tighten the binding. If the edge chips, the stone may have hidden flaws — grind past the chip and continue testing.
14
14
Resharpen by Grinding After Heavy Use
Resharpen by Grinding After Heavy Use
After felling timber or extended chopping, the cutting edge will develop small chips and rounded sections. Resharpen by grinding on the same wet sandstone slab used during manufacture. Unlike a knapped axe where edge damage is permanent, the ground edge can be restored to full sharpness in 10 to 15 minutes — this is the key advantage of ground stone technology.
Tools needed:
Sandstone (Abrasive)Materials
3- 1 piecePlaceholder
- 1 piecePlaceholder
- 2 piecesPlaceholder
Connected Blueprint Materials
Related Blueprints
These blueprints share knowledge with this one — techniques, materials, or principles that connect them in the learning graph.

CC0 Public Domain
This blueprint is released under CC0. You are free to copy, modify, distribute, and use this work for any purpose, without asking permission.
Support the Maker by purchasing products through their Blueprint where they earn a Maker Commission set by Vendors, or create a new iteration of this Blueprint and include it as a connection in your own Blueprint to share revenue.