ART
BEAUTY & WELLNESS
CRAFT
CULTURE & HISTORY
ENTERTAINMENT
ENVIRONMENT
FOOD & DRINKS
REVERSE ENGINEERING
SCIENCES
SPORTS
TECHNOLOGY
WEARABLES
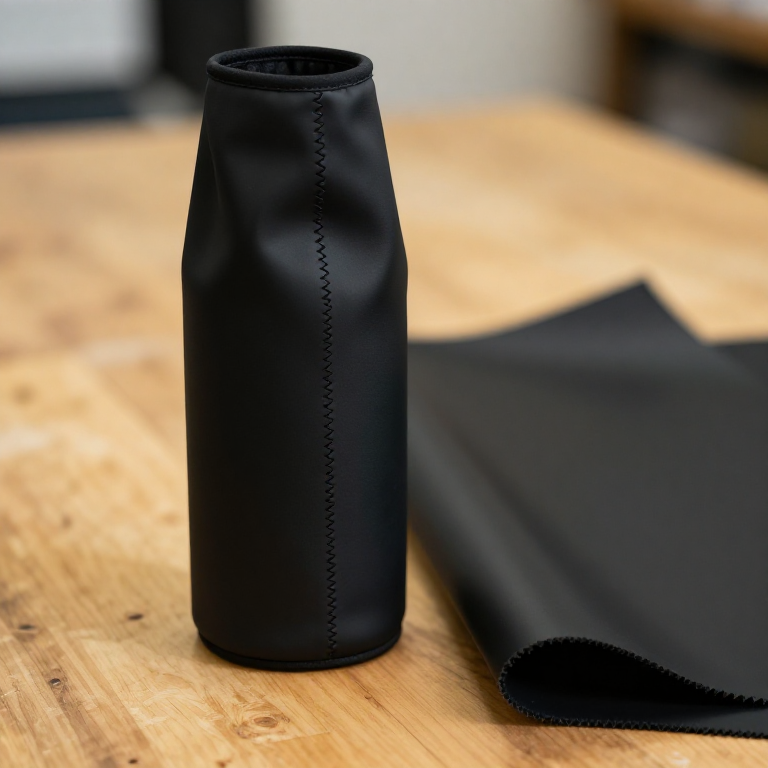


Neoprene
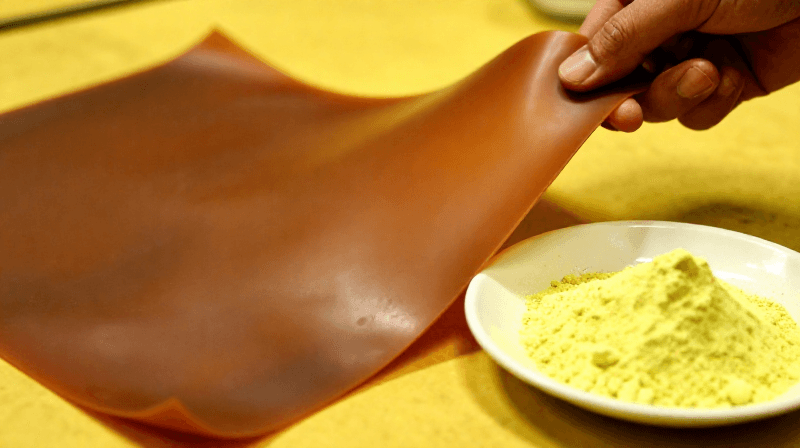
Natural rubber swells and softens in oil and cracks in sunlight. In April 1930 Arnold Collins, working in Wallace Carothers' group at DuPont, isolated chloroprene - a close relative of the isoprene in natural rubber, with one chlorine atom in place of a methyl group - and found that it polymerised by itself into a rubber-like solid. DuPont sold it from 1931 as DuPrene and renamed it neoprene in 1937. It was one of the first commercially successful synthetic rubbers, and its selling point was exactly what natural rubber lacked: resistance to oil, weather and heat.
**No patent number is cited here**: the chemistry is well documented and dated, but no single patent was verified as covering neoprene itself, so none is claimed.
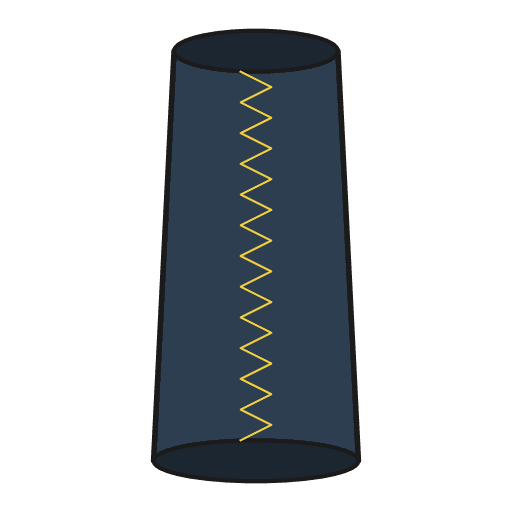
**You make a snug neoprene sleeve with a glued-and-stitched butt seam, then test the claim** - a strip of neoprene and a natural rubber band in mineral oil for a day, measured before and after.
Beginner
2 hours plus 24 h soak
Instructions
1
1
Size the sleeve
Size the sleeve
Measure the bottle diameter. Run the notebook's sizing cell for the cut width and base disc.
Tools needed:
 Digital Caliper 6-Inch
 Steel Ruler
2
2
Mark the pieces
Mark the pieces
On 3 mm neoprene, chalk a rectangle: cut width x 200 mm tall. Chalk the base disc beside it.
Materials for this step:
 Neoprene Fabric1 sheet
Tools needed:
 Tailor's ChalkSteel Ruler
3
3
Cut
Cut
Cut the rectangle with the rotary cutter against the ruler, one firm pass. Cut the disc with fabric scissors.
Tools needed:
 Rotary Cutter & Mat Set
 Fabric Scissors
4
4
Cement the edges
Cement the edges
Brush a thin coat of contact cement on both 3 mm long edges, using the brush in the can lid. Leave until touch-dry, as the can directs.
Materials for this step:
 Contact Cement10 ml
Tools needed:
 Stopwatch
5
5
Butt the seam
Butt the seam
Roll into a tube and press the edges face to face, no overlap. Contact cement grabs on touch - align the top first, then close downward. Clip and leave 10 minutes.
Tools needed:
 Large Binder Clips
6
6
Stitch across the seam
Stitch across the seam
Zigzag across the glued seam, stitch width wide enough to bite both sides. Stretch slightly as you sew so the thread gives with the fabric.
Materials for this step:
 Polyester Thread5 meters
Tools needed:
 Sewing Machine
7
7
Close the base
Close the base
Cement the disc rim and the tube's bottom edge, press together, then whip-stitch round by hand.
Materials for this step:
Contact Cement5 mlPolyester Thread2 metersTools needed:
 Hand Sewing Needles
8
8
Set up the swell test
Set up the swell test
Cut a 50 x 10 mm neoprene offcut. Cut open a rubber band to a 50 mm strip. Measure both. Submerge in mineral oil in a lidded jar for 24 hours.
Materials for this step:
 Food-grade Mineral Oil100 ml
 Rubber Bands1 pack
Tools needed:
 Glass JarDigital Caliper 6-Inch
9
9
Measure again
Measure again
Blot the strips dry and measure their lengths. Enter all four numbers in the notebook.
Tools needed:
Digital Caliper 6-Inch10
10
Chlorine, swell and sizing
Chlorine, swell and sizing
Loading Jupyter Notebook...
11
11
History & Context
History & Context
Neoprene grew out of Julius Nieuwland's acetylene chemistry at Notre Dame, which DuPont licensed; Collins' chloroprene came from that work in Carothers' laboratory, the same group that produced nylon.
Its limits are the other side of its strength: it costs more than natural rubber, is less springy, and stiffens in deep cold. The sheet you used is almost certainly closed-cell neoprene FOAM laminated to nylon jersey - the form wetsuits made familiar - where trapped gas cells add insulation that solid neoprene lacks.
Materials
5- 1 sheetPlaceholder
- 15 mlPlaceholder
- 7 metersPlaceholder
- 100 mlPlaceholder
- 1 packPlaceholder
Tools Required
10- Placeholder
- Placeholder
- Placeholder
- Placeholder
- Placeholder
- Placeholder
- Placeholder
- Placeholder
- Placeholder
- Placeholder
This blueprint makes
Related Blueprints
These blueprints share knowledge with this one — techniques, materials, or principles that connect them in the learning graph.


CC0 Public Domain
This blueprint is released under CC0. You are free to copy, modify, distribute, and use this work for any purpose, without asking permission.
Support the Maker by purchasing products through their Blueprint where they earn a Maker Commission set by Vendors, or create a new iteration of this Blueprint and include it as a connection in your own Blueprint to share revenue.