ART
BEAUTY & WELLNESS
CRAFT
CULTURE & HISTORY
ENTERTAINMENT
ENVIRONMENT
FOOD & DRINKS
REVERSE ENGINEERING
SCIENCES
SPORTS
TECHNOLOGY
WEARABLES
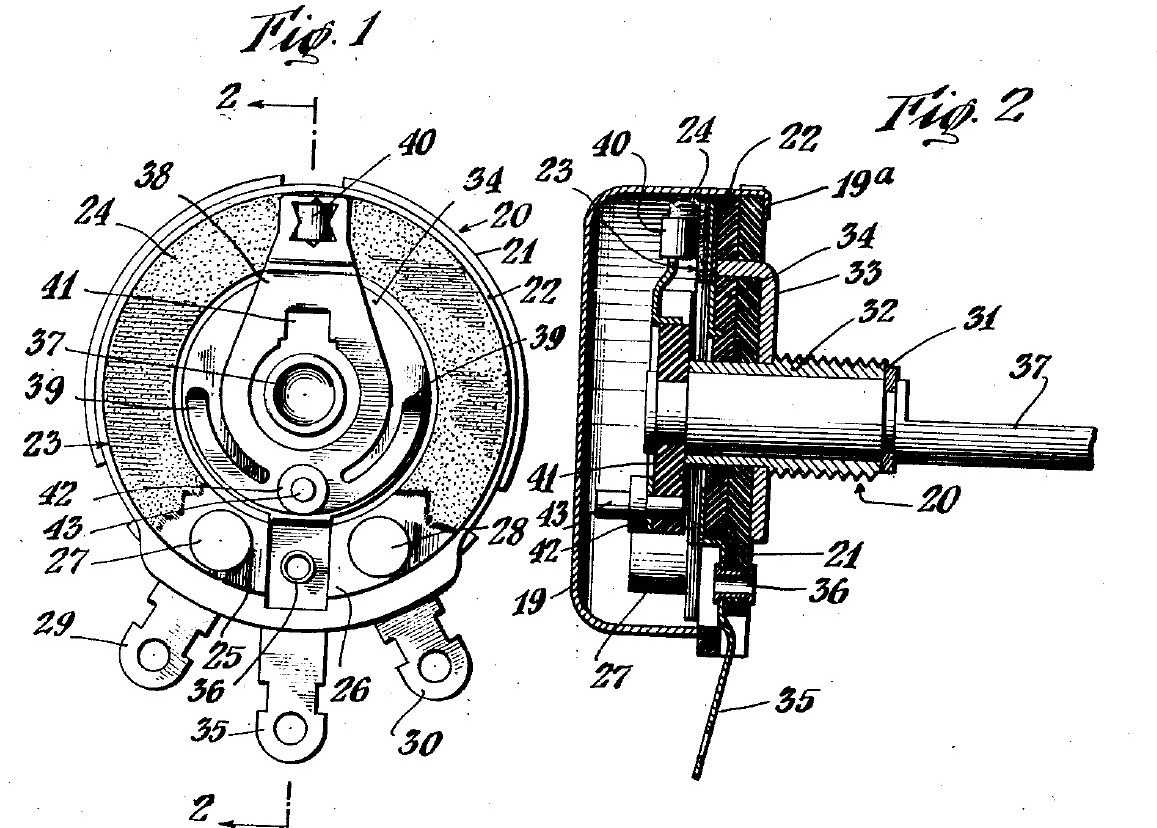


Potentiometer: Mallory Volume Control on a Tung-Oil Paper Ring
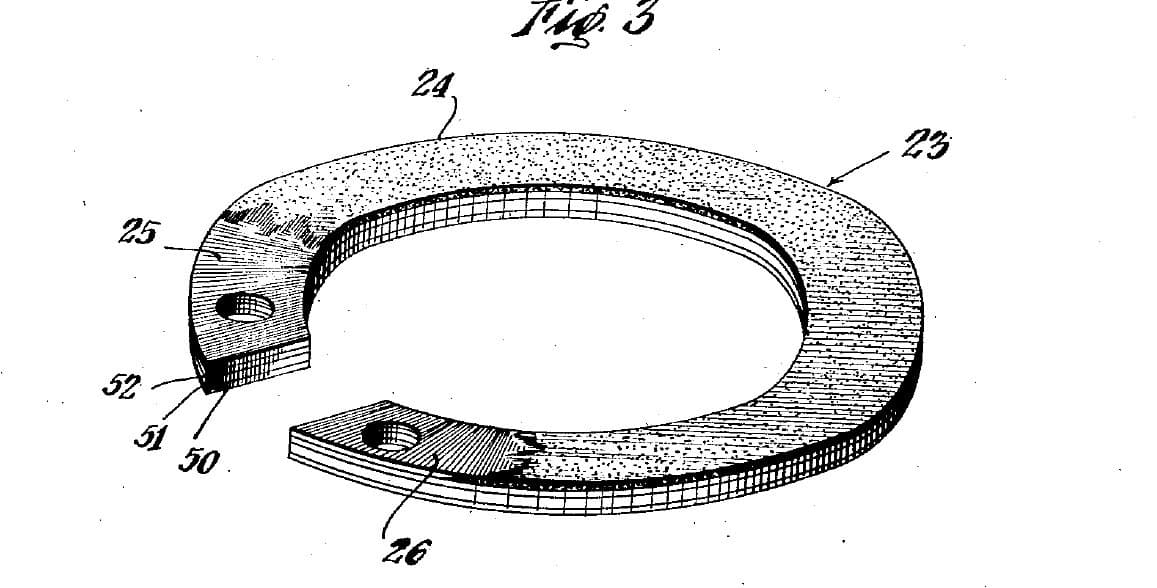
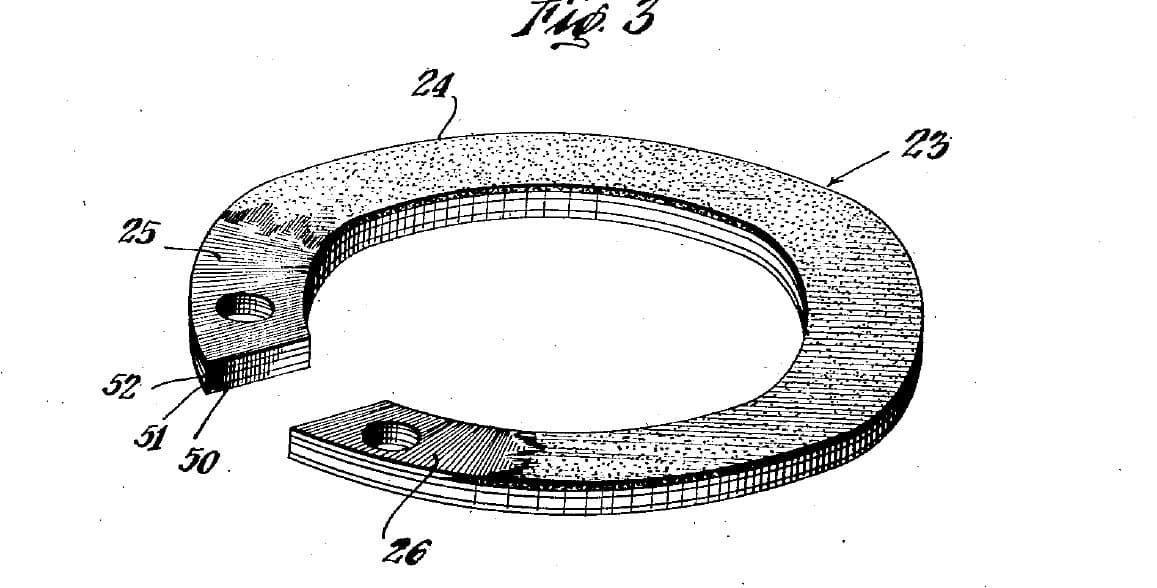
A 1930s radio volume control from Mallory's patent (US 2,144,925, 1939). A carbon ring sits on a base of two resin-fibre discs. A spring arm on the shaft wipes the ring with one contact and a centre metal ring with its fingers, so turning the knob changes the resistance between the centre lug and either end lug. The patent gives no sizes; the parts are named by what they do.
The picture: the patent's drawing (Figs. 1 and 2).
Intermediate
2 hours
Instructions
1
1
Clamp the two base discs on the bushing
Clamp the two base discs on the bushing
Stack two discs of resin-impregnated fibre. A metal bushing through their centres clamps them together, with a metal disc clamped against the back of the rear disc. Ours: close the bushing with a hammer and rivet set.
Materials for this step:
 Resin-Impregnated Fibre Disc2 pieces
 Metal Bushing1 piece
 Metal Backing Disc1 piece
Tools needed:
 Riveting Hammer
 Rivet Set
2
2
Fit the centre contact ring
Fit the centre contact ring
Lay the metal contact ring, with its own terminal lug, on the face of the front disc, centred. An eyelet (or rivet) through the lug holds it. Ours: set with a rivet set and hammer.
Materials for this step:
 Contact Ring with Terminal Lug1 piece
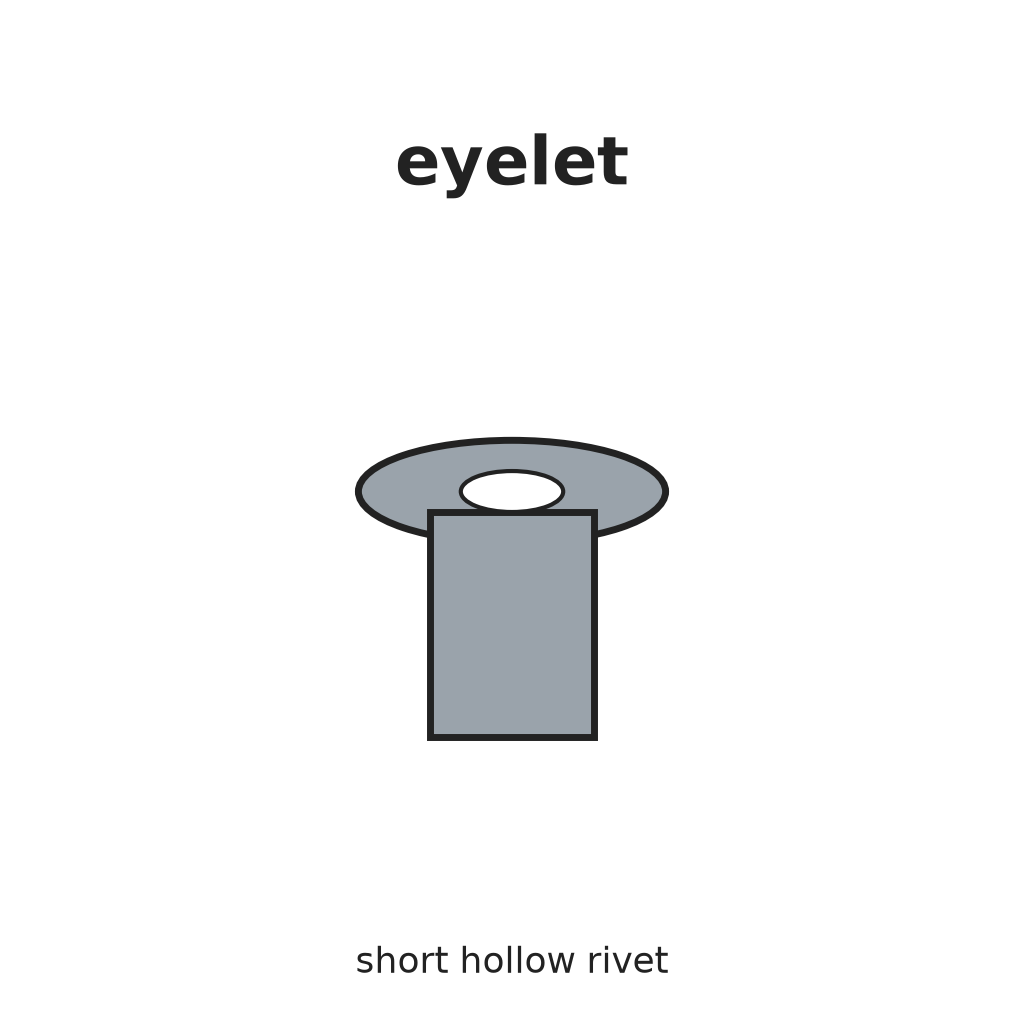 Eyelet1 piece
Tools needed:
Riveting HammerRivet Set3
3
Bolt on the resistance ring
Bolt on the resistance ring
Lay the carbon resistance ring on the front disc, round the contact ring. Two terminal bolts pass through the ring's silver-painted ends and the disc; each holds a terminal lug under the disc. The bolts clamp the ring and connect its ends.
Materials for this step:
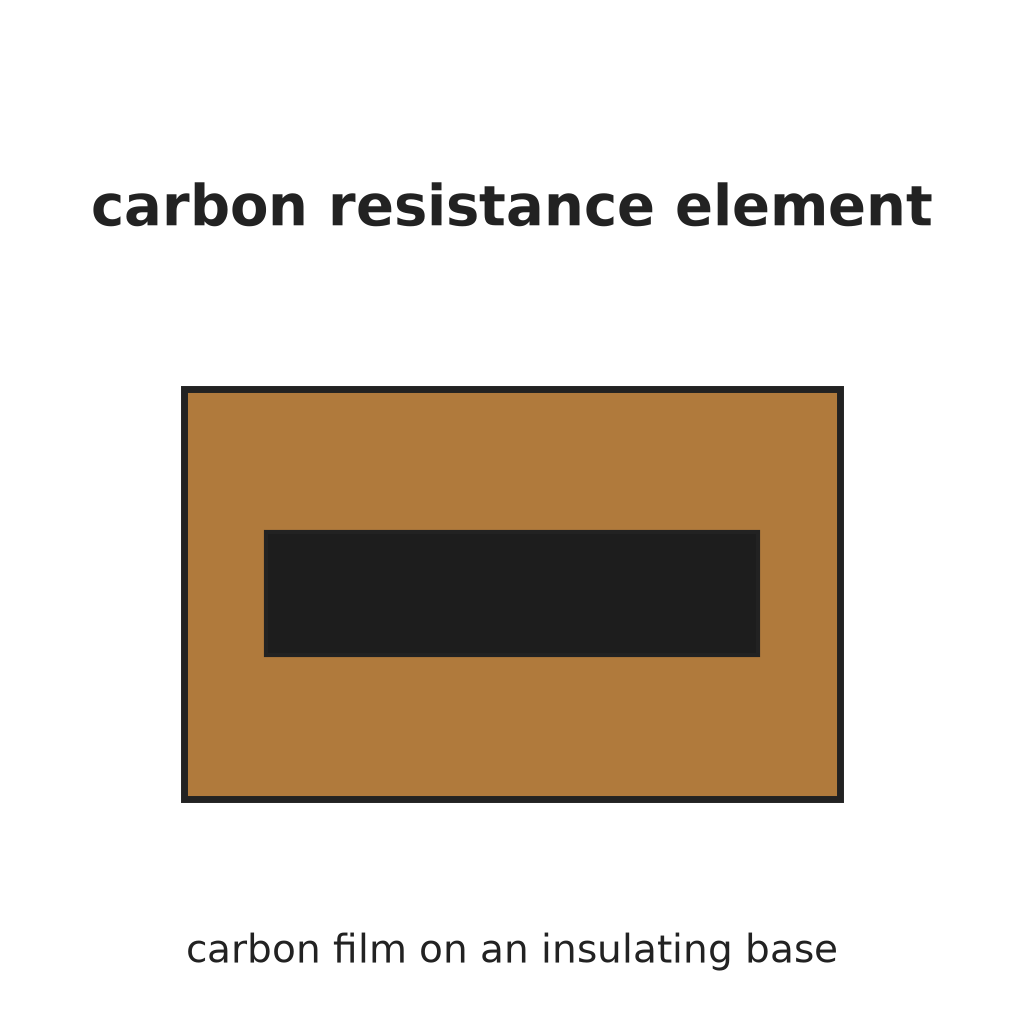 Carbon Resistance Element1 piece
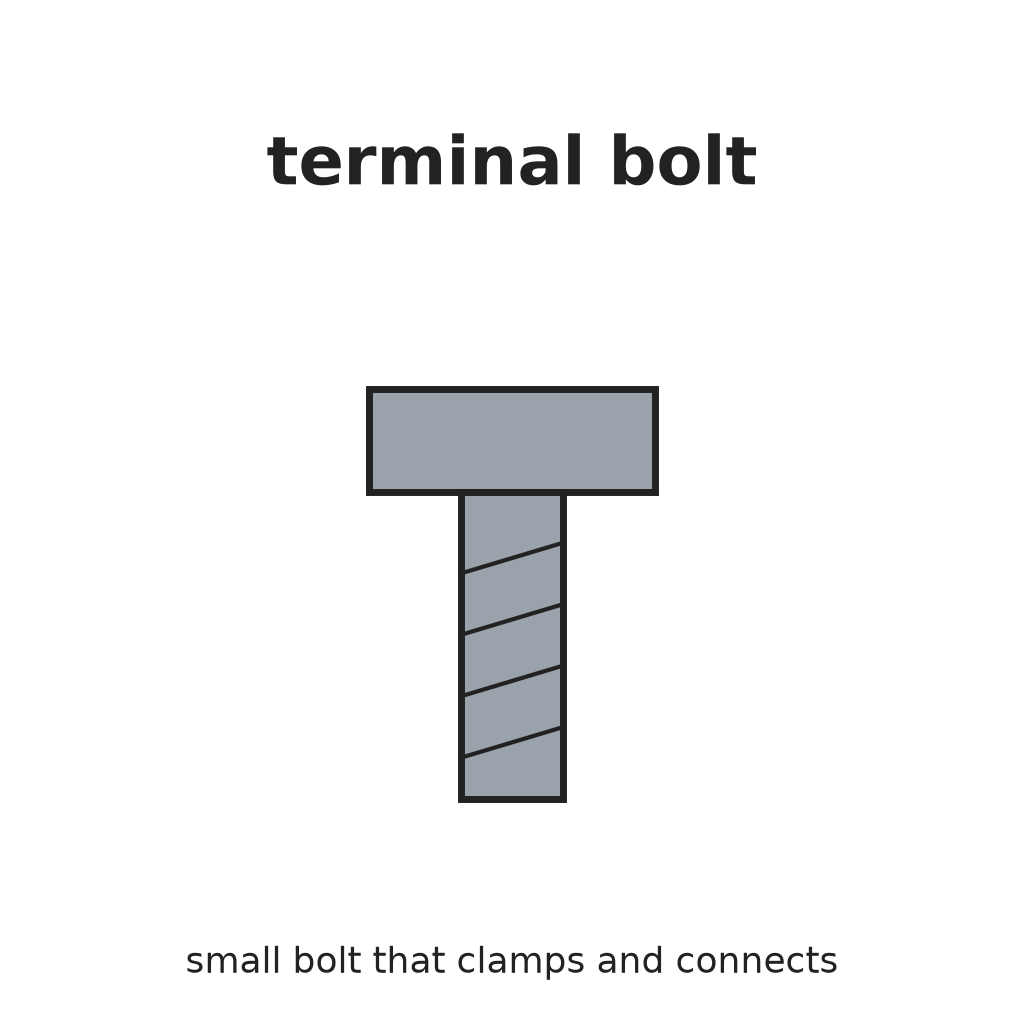 Terminal Bolt2 pieces
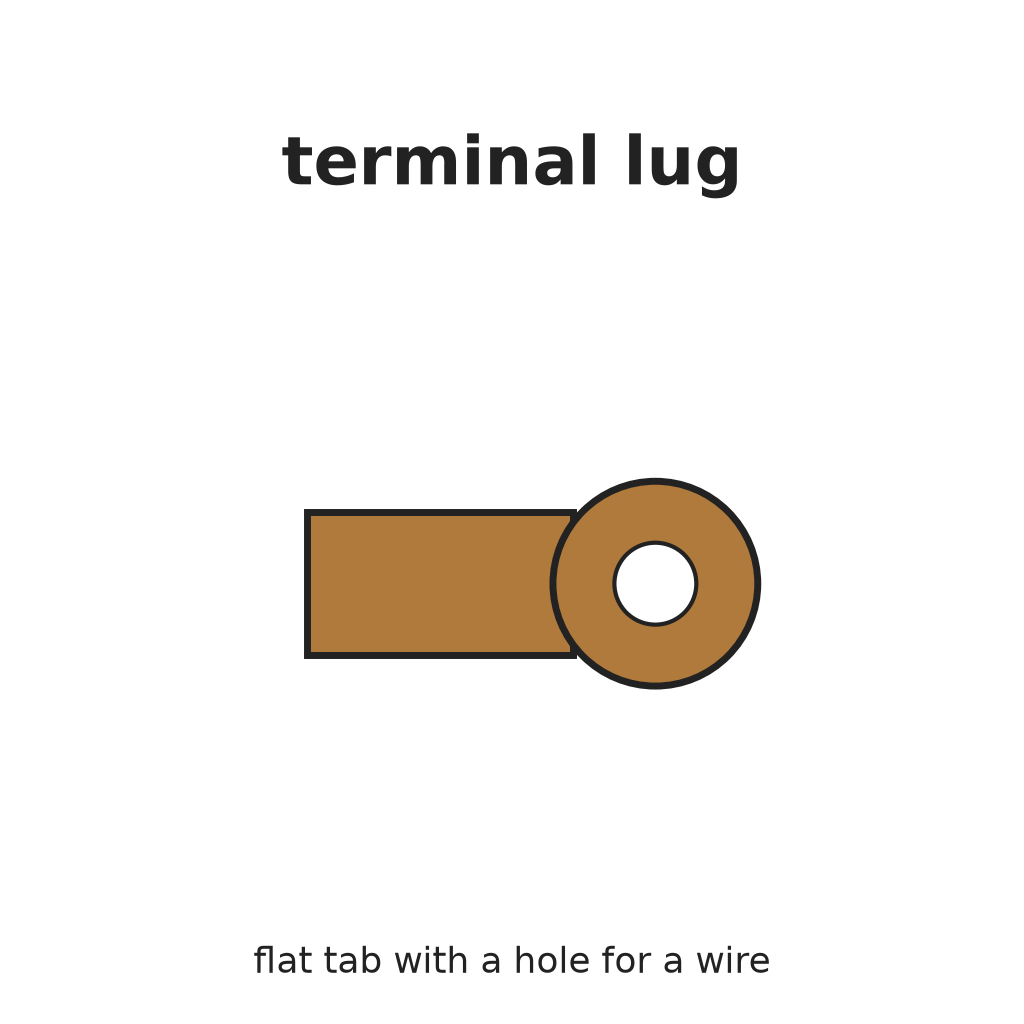 Terminal Lug2 pieces
Tools needed:
 Needle-Nose Pliers
4
4
Fit shaft and spring contact arm
Fit shaft and spring contact arm
Put the shaft through the bushing. On its front end fix the spring contact arm over a small piece of sheet insulation: upset the shaft end to hold the insulation, and clamp arm and insulation together with a rivet pin. The arm's contactor rides on the carbon track, its fingers on the contact ring.
Materials for this step:
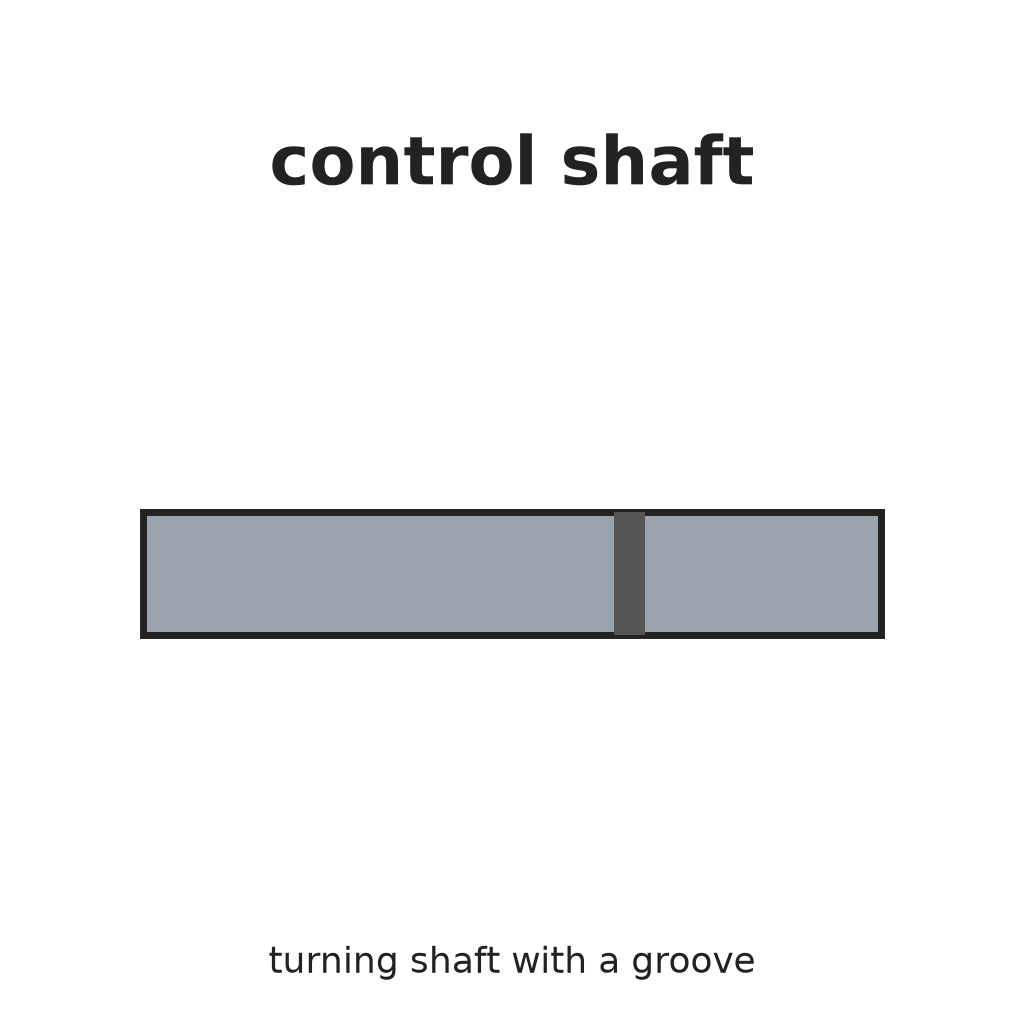 Control Shaft1 piece
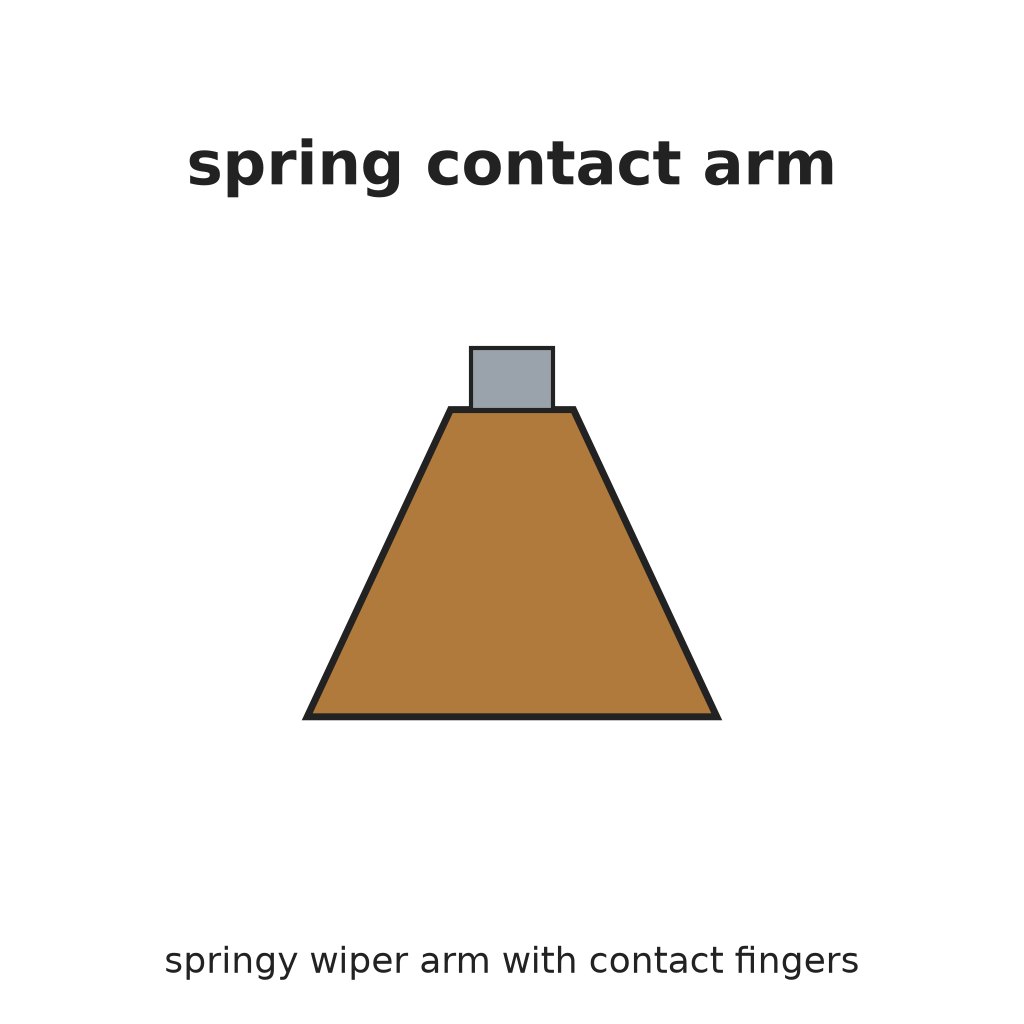 Spring Contact Arm1 piece
 Insulating Sheet1 piece
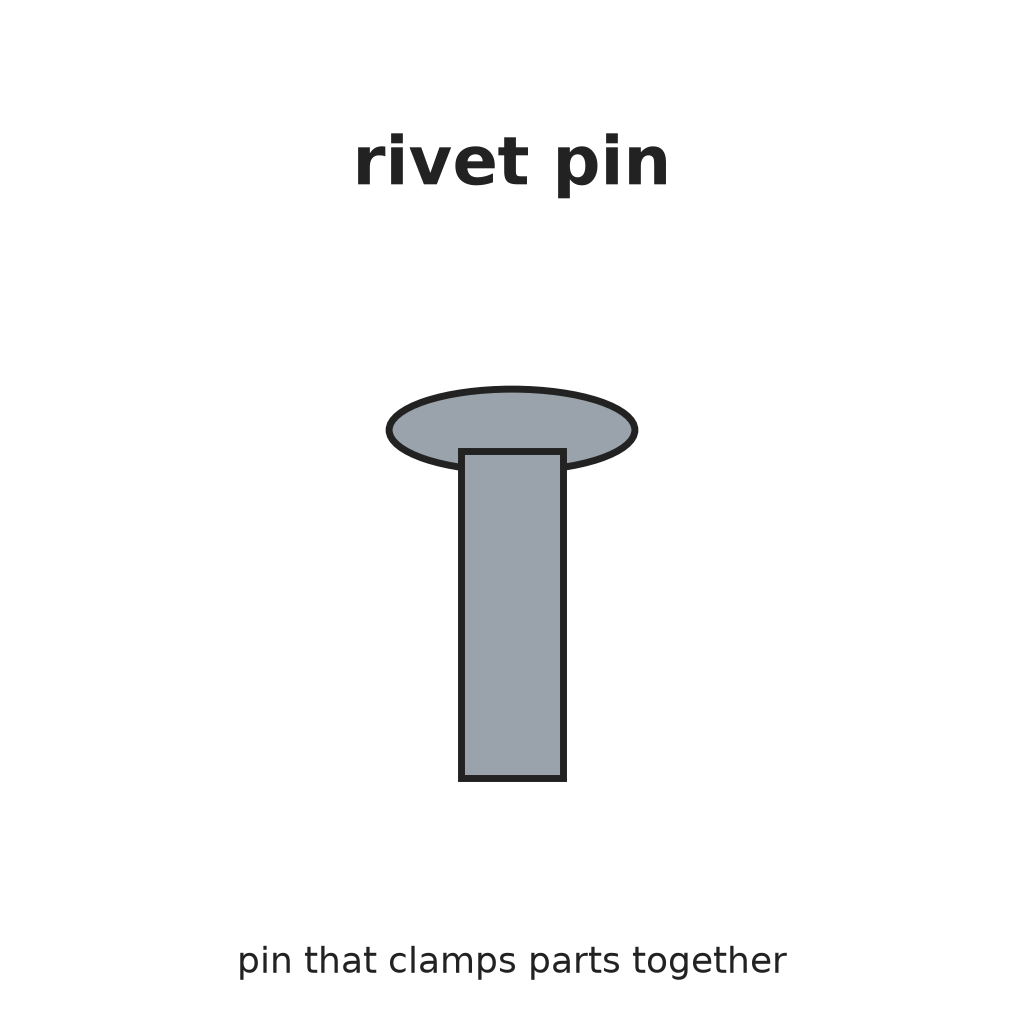 Rivet Pin1 piece
Tools needed:
Riveting HammerRivet Set5
5
Clip washer and cover
Clip washer and cover
Snap a clip washer into the groove in the shaft behind the bushing. It stops the shaft sliding and keeps the arm and fingers pressed on their rings. Fix the metal cover cap over the parts by bending its ears onto the discs.
Materials for this step:
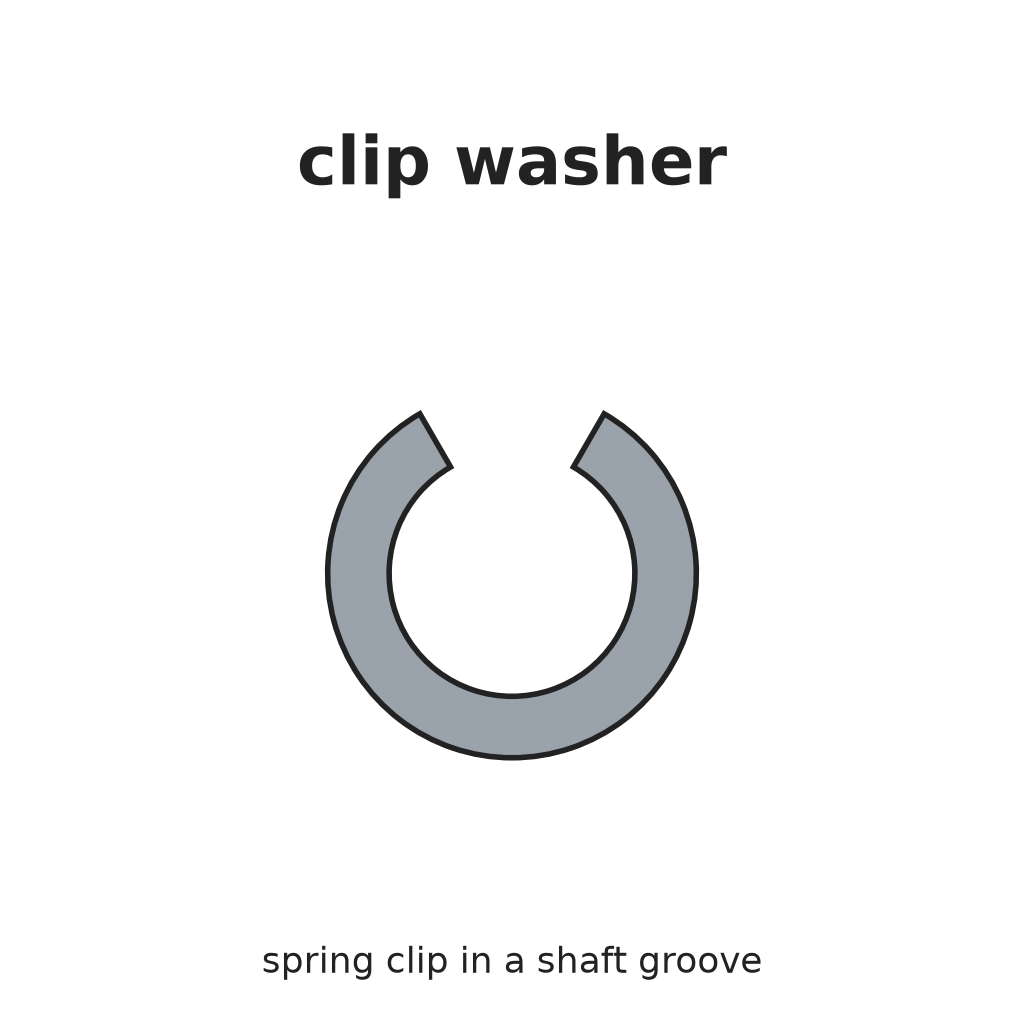 Clip Washer1 piece
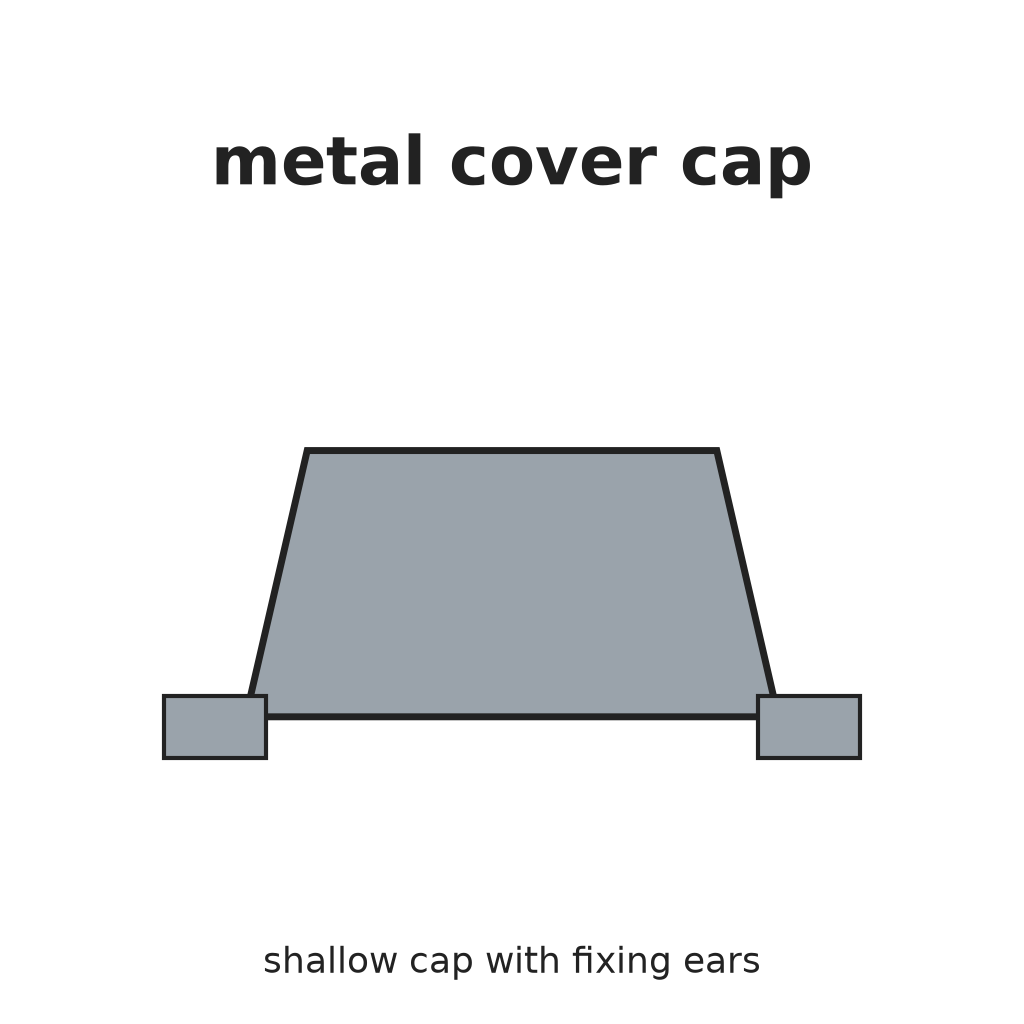 Metal Cover Cap1 piece
Tools needed:
Needle-Nose Pliers Flat-Nose Pliers
Materials
14- 2 piecesPlaceholder
- 1 piecePlaceholder
- 1 piecePlaceholder
- Placeholder
- 1 piecePlaceholder
- 1 piecePlaceholder
- 2 piecesPlaceholder
- 2 piecesPlaceholder
- 1 piecePlaceholder
- 1 piecePlaceholder
- 1 piecePlaceholder
- 1 piecePlaceholder
- 1 piecePlaceholder
- 1 piecePlaceholder
This blueprint makes
Related Blueprints
These blueprints share knowledge with this one — techniques, materials, or principles that connect them in the learning graph.
CC0 Public Domain
This blueprint is released under CC0. You are free to copy, modify, distribute, and use this work for any purpose, without asking permission.
Support the Maker by purchasing products through their Blueprint where they earn a Maker Commission set by Vendors, or create a new iteration of this Blueprint and include it as a connection in your own Blueprint to share revenue.