ART
BEAUTY & WELLNESS
CRAFT
CULTURE & HISTORY
ENTERTAINMENT
ENVIRONMENT
FOOD & DRINKS
REVERSE ENGINEERING
SCIENCES
SPORTS
TECHNOLOGY
WEARABLES


Potentiometer: Podolsky Roller-Contact Unit in a Moulded Casing
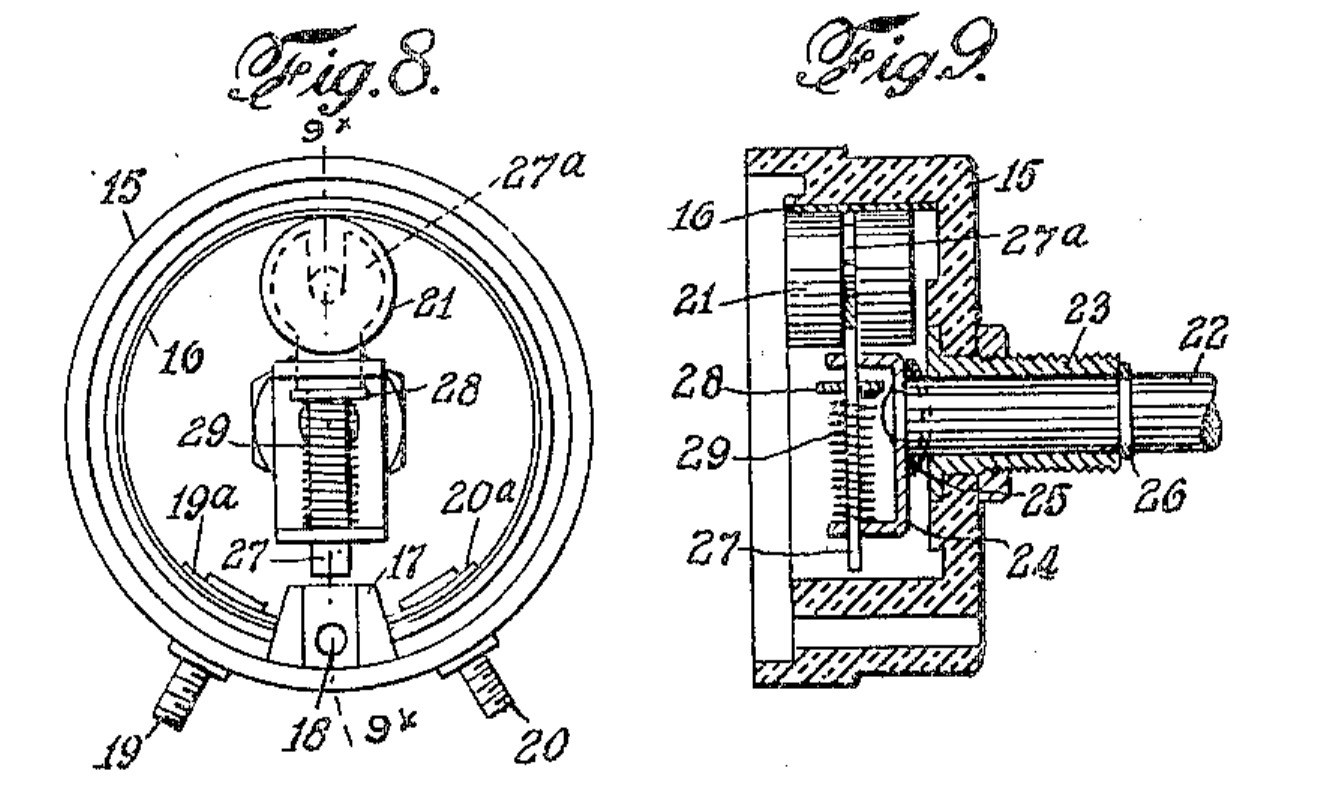
Podolsky's variable resistor (Wirt Company, US 2,060,114, 1936). The carbon strip is bent into a ring inside a moulded casing, and instead of a sliding wiper a small roller runs round it. A coil spring presses the roller out against the strip with even pressure in every position, even over slight irregularities. The patent gives no sizes; the parts are named by what they do.
The picture: the patent's drawing (Figs. 8 and 9).
Intermediate
2 hours
Instructions
1
1
Seat the strip in the casing
Seat the strip in the casing
Bend the resistance strip into a ring against the round inner wall of the moulded casing. A small rib across the wall stops both ends of the strip so it cannot shift; the thick part at the rib has a hole for bolting the casing to a panel. Ours: flat-nose pliers to ease the strip in.
Materials for this step:
 Moulded Insulating Casing1 piece
 Carbon Resistance Element1 piece
Tools needed:
 Flat-Nose Pliers
2
2
Bolt the terminals
Bolt the terminals
Put two terminal bolts through the casing wall, one at each end of the strip. Under each bolt head a small contact plate rests on the coated end of the strip.
Materials for this step:
 Terminal Bolt2 pieces
 Contact Plate2 pieces
Tools needed:
 Needle-Nose Pliers
3
3
Fit shaft, sleeve, collar and yoke
Fit shaft, sleeve, collar and yoke
The shaft turns in a sleeve fixed in the base of the casing. A collar on the shaft rests on the outer end of the sleeve; on the inner end the shaft carries a yoke, with a spring washer between yoke and sleeve so the shaft cannot slide. Ours: pliers to seat the spring washer.
Materials for this step:
 Control Shaft1 piece
 Shaft Sleeve1 piece
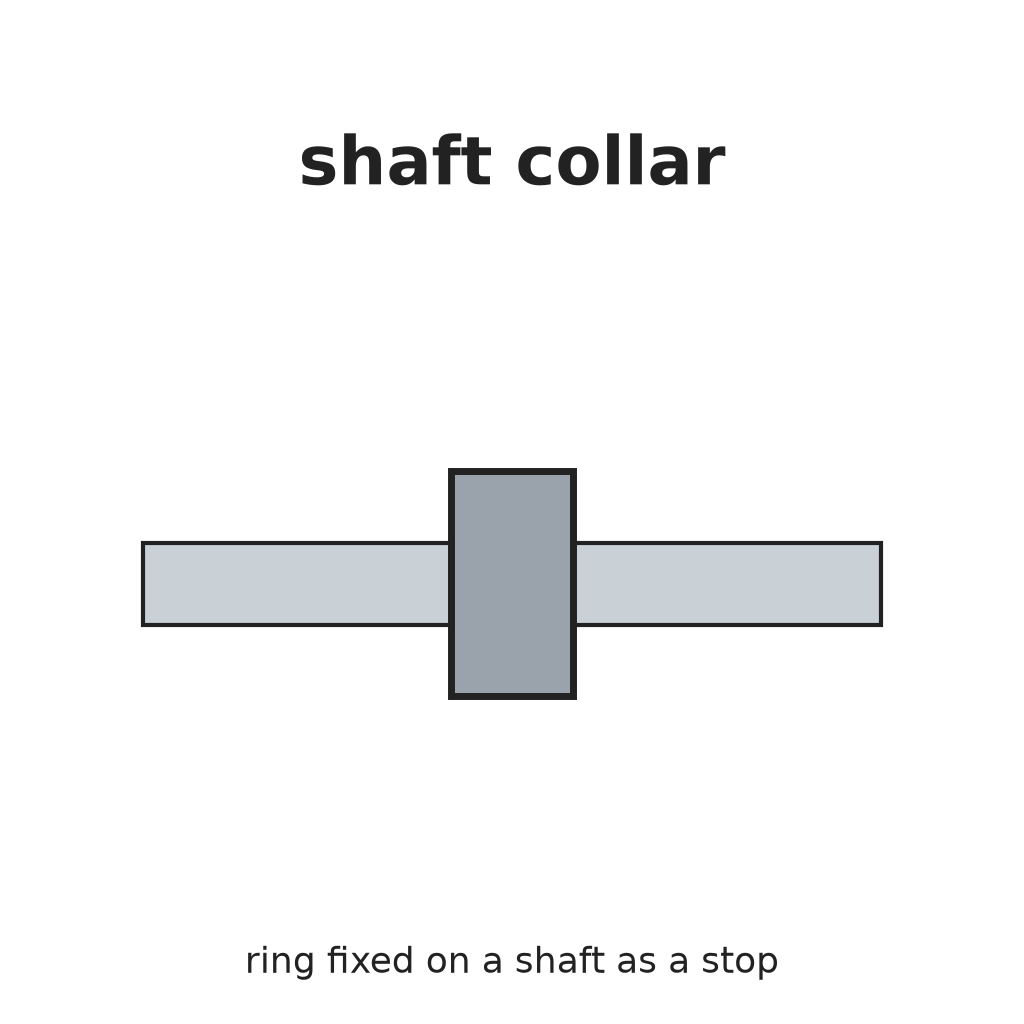 Shaft Collar1 piece
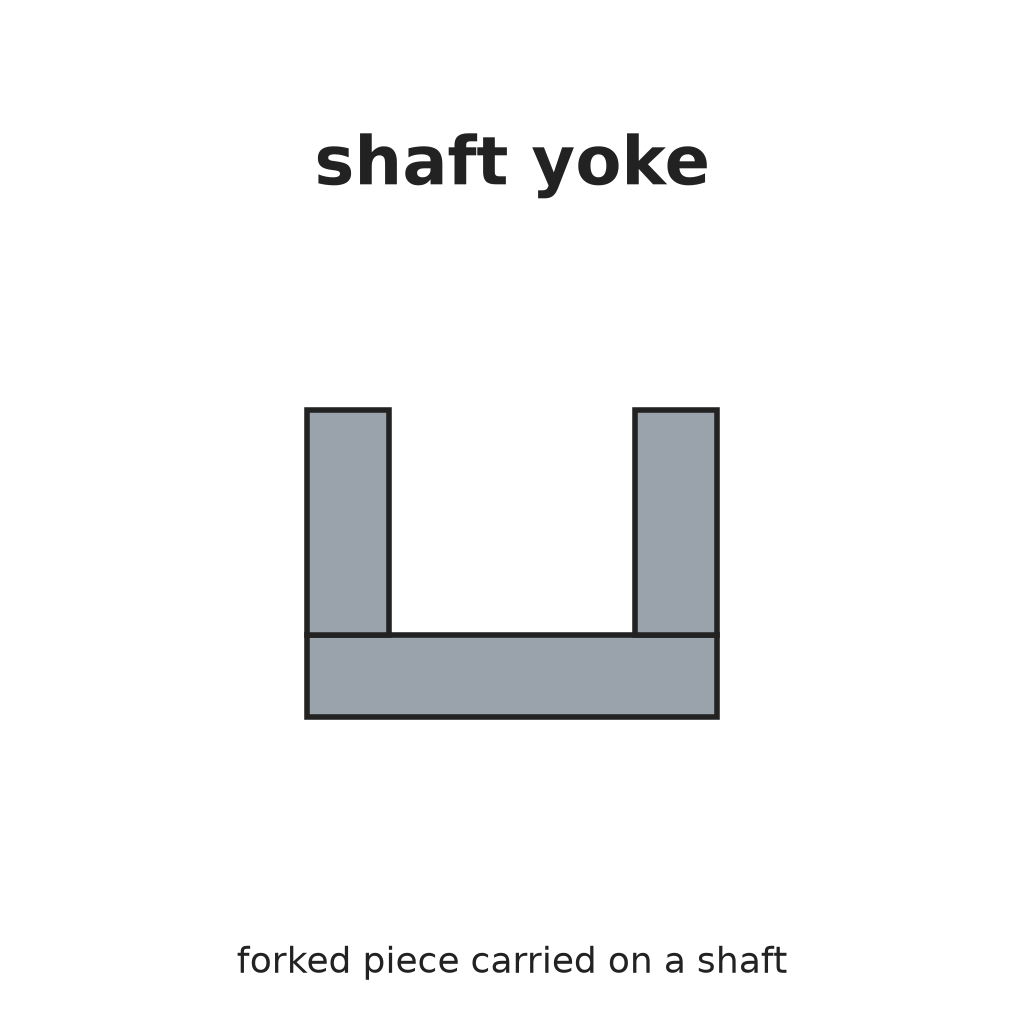 Shaft Yoke1 piece
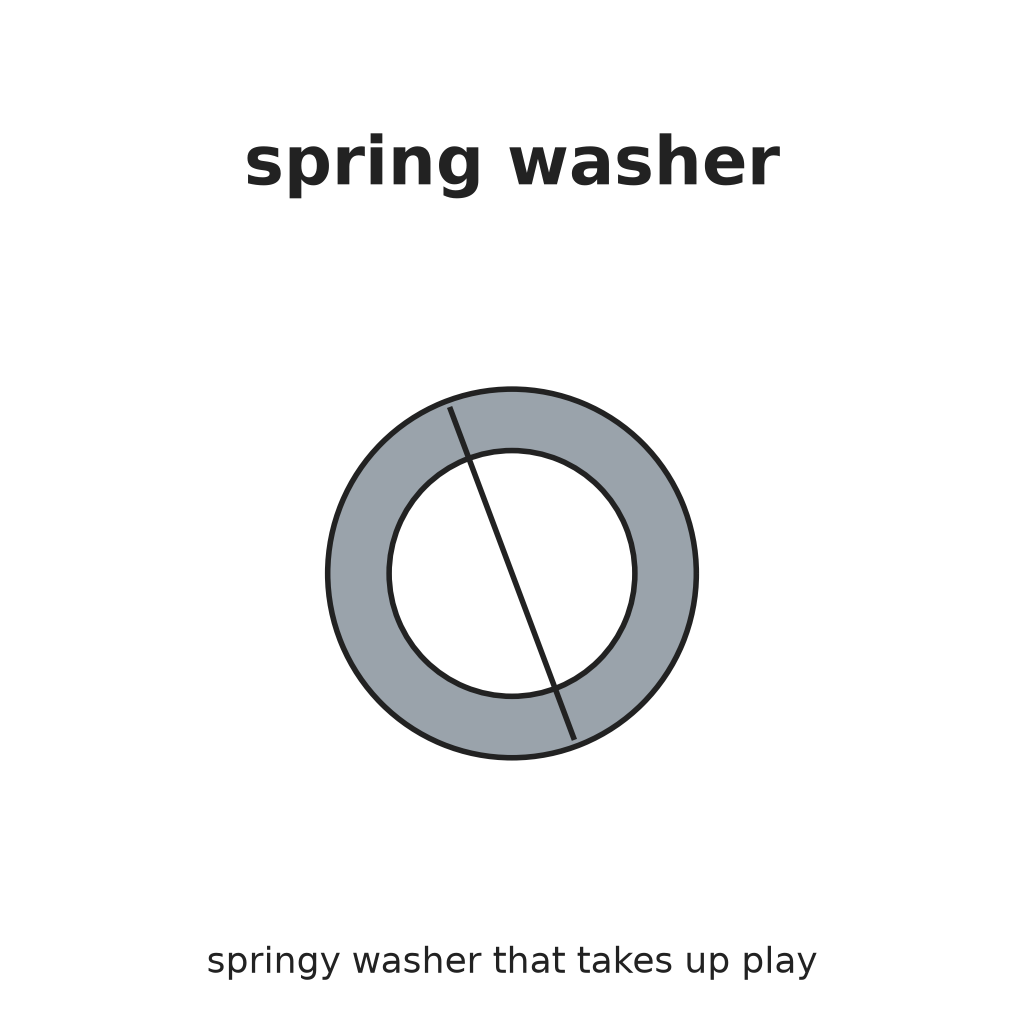 Spring Washer1 piece
Tools needed:
Needle-Nose Pliers4
4
Fit the sprung roller
Fit the sprung roller
The yoke's slotted ends guide a flat stem. The roller sits in the stem's forked outer end. A washer on shoulders of the stem, pushed out by a coil spring, holds the roller on the strip with even pressure all the way round.
Materials for this step:
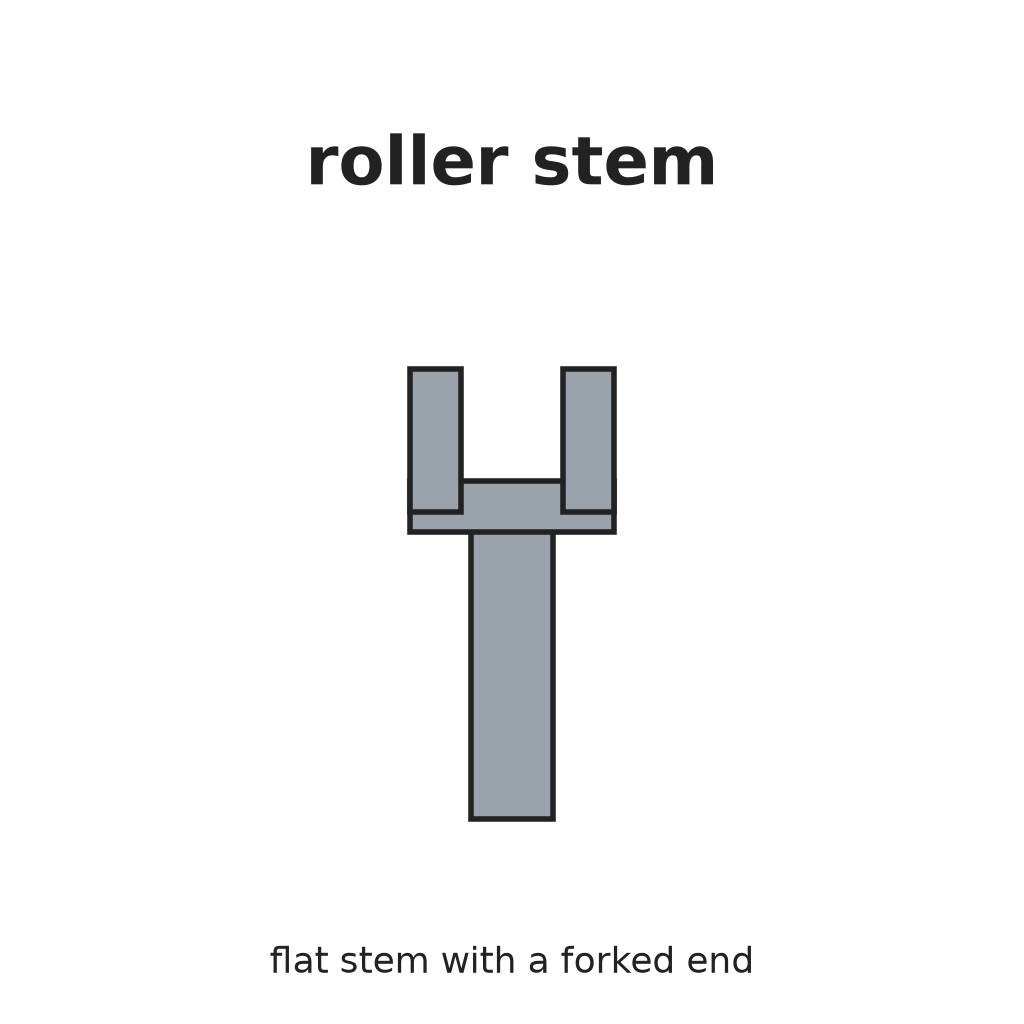 Roller Stem1 piece
 Contact Roller1 piece
 Flat Washer1 piece
 Coil Spring1 piece
Tools needed:
Needle-Nose PliersMaterials
13- 1 piecePlaceholder
- 1 piecePlaceholder
- 2 piecesPlaceholder
- 2 piecesPlaceholder
- 1 piecePlaceholder
- 1 piecePlaceholder
- 1 piecePlaceholder
- 1 piecePlaceholder
- 1 piecePlaceholder
- 1 piecePlaceholder
- 1 piecePlaceholder
- 1 piecePlaceholder
- 1 piecePlaceholder
Tools Required
2- Placeholder
- Placeholder
This blueprint makes

Related Blueprints
These blueprints share knowledge with this one — techniques, materials, or principles that connect them in the learning graph.
CC0 Public Domain
This blueprint is released under CC0. You are free to copy, modify, distribute, and use this work for any purpose, without asking permission.
Support the Maker by purchasing products through their Blueprint where they earn a Maker Commission set by Vendors, or create a new iteration of this Blueprint and include it as a connection in your own Blueprint to share revenue.