ART
BEAUTY & WELLNESS
CRAFT
CULTURE & HISTORY
ENTERTAINMENT
ENVIRONMENT
FOOD & DRINKS
GREEN FUTURE
REVERSE ENGINEERING
SCIENCES
SPORTS
TECHNOLOGY
WEARABLES
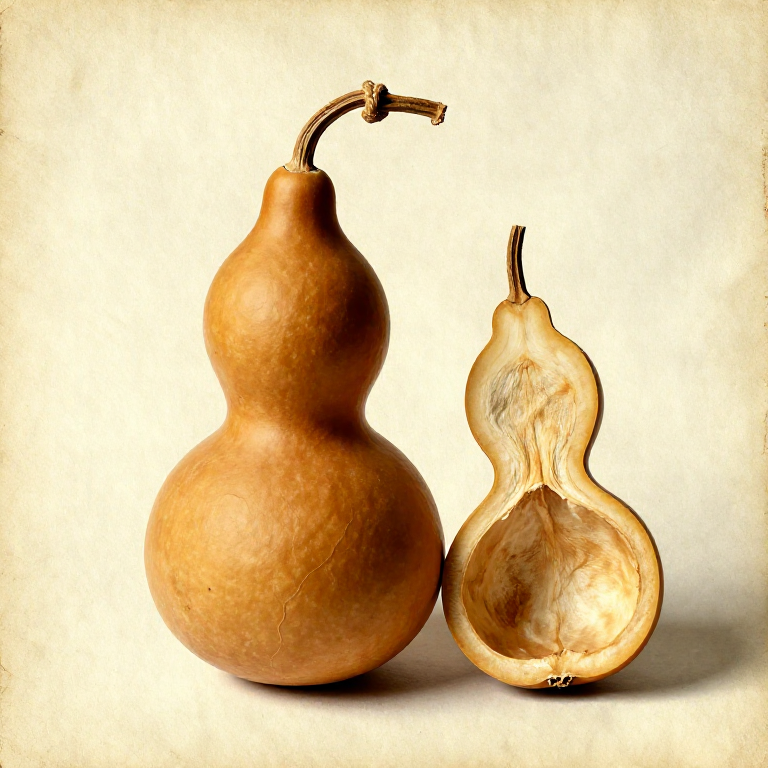
Making a Dried Gourd Container — Humanity's First Vessel
The bottle gourd (Lagenaria siceraria) was likely the first plant domesticated by humans — not for food, but for its hard-shelled fruit that naturally forms a waterproof, durable container when dried. Archaeological bottle gourd fragments from Norte Chico in Peru date to approximately 13,000 years ago, and genetic studies suggest the species originated in Africa and crossed to the Americas either carried by ocean currents or by early maritime peoples. Gourds predate pottery by thousands of years and served as water bottles, bowls, ladles, storage vessels, rattles, and floats for fishing nets across every culture that had access to them. The bottle gourd is unique among plants: its shell (the outer exocarp and mesocarp) dries into a lignified, woody material that is naturally waterproof, lightweight, and remarkably strong. A dried gourd wall 3 to 5 mm thick can hold water, resist moderate impacts, and last for years with basic care. The interior contains a spongy matrix of seeds and dried pulp that must be removed. The drying process is passive — the gourd does most of the work itself once harvested at maturity. This blueprint teaches how to harvest, dry, clean, and prepare bottle gourds for use as containers, covering the complete process from vine to finished vessel.
Beginner
1-2 weeks
Instructions
1
1
Identify and Select a Mature Gourd
Identify and Select a Mature Gourd
Harvest the gourd only when it is fully mature on the vine. Signs of maturity: the stem connecting the gourd to the vine has turned brown and dry (green stems mean the gourd is still growing), the shell is hard and resists a fingernail scratch (a fingernail should not dent the surface), and the gourd feels lighter than expected for its size (internal moisture has begun to decrease). The shell colour changes from green to yellow or tan as it matures. Tapping a mature gourd produces a hollow, resonant sound rather than a dull thud. Never harvest a gourd with a green stem — it will shrivel and rot rather than dry properly.
Materials for this step:
 Mature Bottle Gourd1 piece
2
2
Cut the Gourd from the Vine
Cut the Gourd from the Vine
Cut the stem with a sharp flint knife, leaving 5 to 8 cm of stem attached to the gourd. Do not pull or twist the gourd off — this can crack the shell at the neck, creating a weak point that may split during drying. The remaining stem stub acts as a natural handle and also seals the vascular connection point, preventing moisture from entering through the cut.
Tools needed:
 Flint Knife
3
3
Clean the Exterior Surface
Clean the Exterior Surface
Wash the exterior of the gourd with clean water to remove dirt, sap, and any mould spores on the surface. Scrub gently with a handful of coarse sand or a rough leaf to remove the waxy outer coating (cuticle) without gouging the shell. Removing this coating allows moisture inside the gourd to escape through the shell walls during drying. Do not soak the gourd — brief washing is sufficient.
4
4
Hang the Gourd to Dry in Ventilated Shade
Hang the Gourd to Dry in Ventilated Shade
Tie a length of cordage around the stem and hang the gourd in a well-ventilated, shaded location — under a tree canopy, inside an open-sided shelter, or from a horizontal pole. The gourd must not touch the ground or rest against a surface, as trapped moisture on the contact point causes soft rot. Shade is important: direct sun dries the exterior too quickly while the interior remains moist, which can cause cracking. Good air circulation on all sides is the key factor. In dry climates, drying takes 1 to 2 weeks; in humid climates, 3 to 4 weeks or longer.
Materials for this step:
 Cordage1 piece
5
5
Monitor the Drying Process
Monitor the Drying Process
Check the gourd every 2 to 3 days. During the first week, the exterior may develop patches of surface mould (white, grey, or green fuzz) — this is normal and does not harm the shell. Wipe mould off with a dry cloth or scrub with sand if it becomes thick. The gourd will gradually become lighter in weight as internal moisture evaporates through the shell walls. A fully dried gourd weighs a fraction of its fresh weight. Shake the gourd periodically: when you can hear the dried seeds rattling freely inside, the interior is dry.
6
6
Test for Complete Drying
Test for Complete Drying
The gourd is fully dried when: it feels very light for its size, shaking produces a loud rattle of dried seeds inside, the shell is uniformly hard and sounds hollow when tapped, and the exterior has turned from green or yellow to a uniform tan, brown, or buff colour. Press firmly on the shell with your thumb — a properly dried gourd shell will not flex or give. If any part of the shell feels soft or spongy, continue drying for another week.
7
7
Cut the Opening
Cut the Opening
Decide the intended use and cut the opening accordingly. For a water bottle: cut a small circular hole (3 to 4 cm diameter) at the top near the stem, just large enough to pour water in and out. For a bowl: cut the gourd in half lengthwise or crosswise. For a ladle or dipper: cut off the top third at an angle, leaving the neck as a handle. Score the cut line first by scratching repeatedly with a flint blade, then carefully deepen the score until the blade cuts through the shell. Work slowly — the dried shell is brittle and can crack if forced. Alternatively, use a stone drill or heated bone awl to punch a starting hole, then enlarge it with a flint blade.
Tools needed:
Flint Knife8
8
Remove the Seeds and Interior Membrane
Remove the Seeds and Interior Membrane
Shake out the loose dried seeds through the opening. Then use a long stick, a curved bone tool, or a flexible twig to scrape the dried interior membrane (the spongy pith that surrounded the seeds) from the inside walls. If the opening is too small for a hand, fill the gourd with water, let it soak for 1 to 2 hours to soften the dried pith, then shake and pour vigorously to flush it out. Repeat until the interior is clean. For water bottles, a clean interior is essential — residual pith makes water taste musty.
9
9
Smooth the Cut Edges
Smooth the Cut Edges
The cut edge of the gourd shell will be rough and may have small splinters or cracks radiating from the cut line. Sand the edge smooth by rubbing it in a circular motion on a piece of sandstone. This prevents the edge from cracking further and makes the opening comfortable to drink from if the gourd is used as a water bottle or cup. Check for and remove any small cracks that started at the cut line — if a crack has begun, it may propagate during use.
Tools needed:
 Sandstone
10
10
Seal the Interior for Water Use (Optional)
Seal the Interior for Water Use (Optional)
A dried gourd shell is naturally water-resistant but not perfectly waterproof — water will slowly seep through the shell walls over many hours. For short-term water carrying (hours), the untreated gourd is adequate. For long-term water storage or to make the gourd fully waterproof, coat the interior with melted pine pitch or beeswax. Pour a small amount of heated pine pitch into the gourd, swirl it to coat all interior surfaces, then pour out the excess and let it cool. The thin pitch layer seals the pores completely. Alternatively, fill the gourd with water repeatedly — after several wettings, the shell fibres swell slightly and become more water-tight on their own.
Materials for this step:
 Pine Pitch Glue1 piece
11
11
Attach a Carrying Cord (Optional)
Attach a Carrying Cord (Optional)
For a water bottle, tie a length of cordage around the narrow neck of the gourd to create a carrying strap. Wrap the cordage several times around the neck in a groove or notch, then tie a loop long enough to hang from the shoulder or belt. For added security, carve a shallow groove around the neck with a flint blade to prevent the cord from slipping. Some bottle gourd varieties have a natural constriction at the neck that holds cordage without a groove.
Materials for this step:
Cordage1 piece12
12
Make a Stopper for the Opening
Make a Stopper for the Opening
Carve a stopper from a piece of green hardwood to fit snugly into the gourd opening. Whittle the stopper slightly tapered so it wedges into the hole. Alternatively, wrap a small bundle of dried grass or moss in a scrap of leather to form a cork-like plug. A tight-fitting stopper prevents spillage during transport and keeps insects and debris out of stored water or food. For the best seal, wrap the stopper in a thin piece of rawhide — the hide moulds to the opening shape when damp and creates a snug fit.
Tools needed:
Flint KnifeMaterials
3- 1 piecePlaceholder
- 1 piecePlaceholder
Connected Blueprint Materials
Related Blueprints
These blueprints share knowledge with this one — techniques, materials, or principles that connect them in the learning graph.
Related blueprints
Other builds that share materials, tools, or techniques with this one.
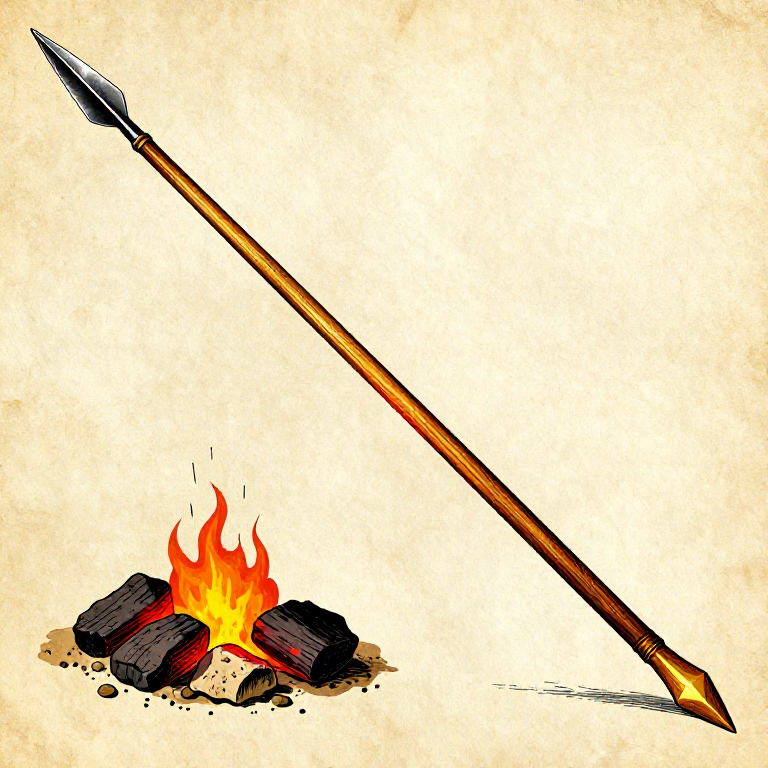
Making a Fire-Hardened Hunting Spear — The Oldest Weaponsurvival
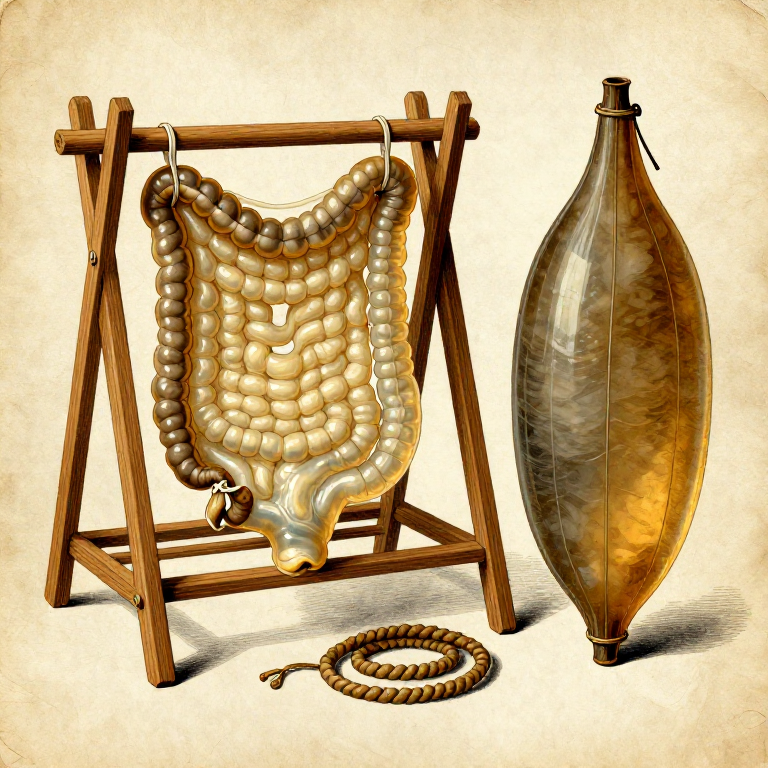
Preparing Animal Gut for Cord and Containers — Waterproof Material from Intestinessurvival
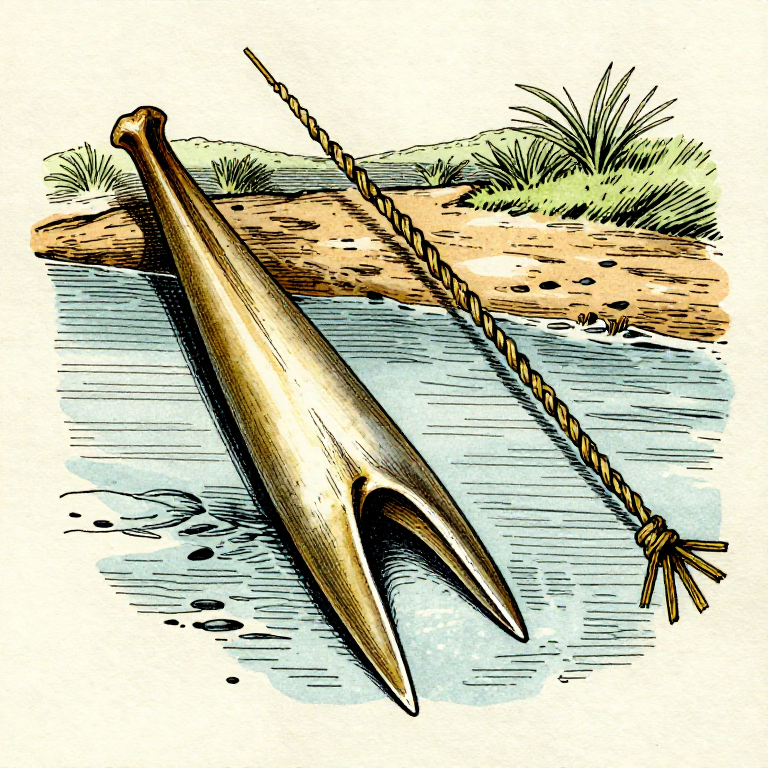
Making a Bone Fish Gorge — The Oldest Fishing Devicesurvival
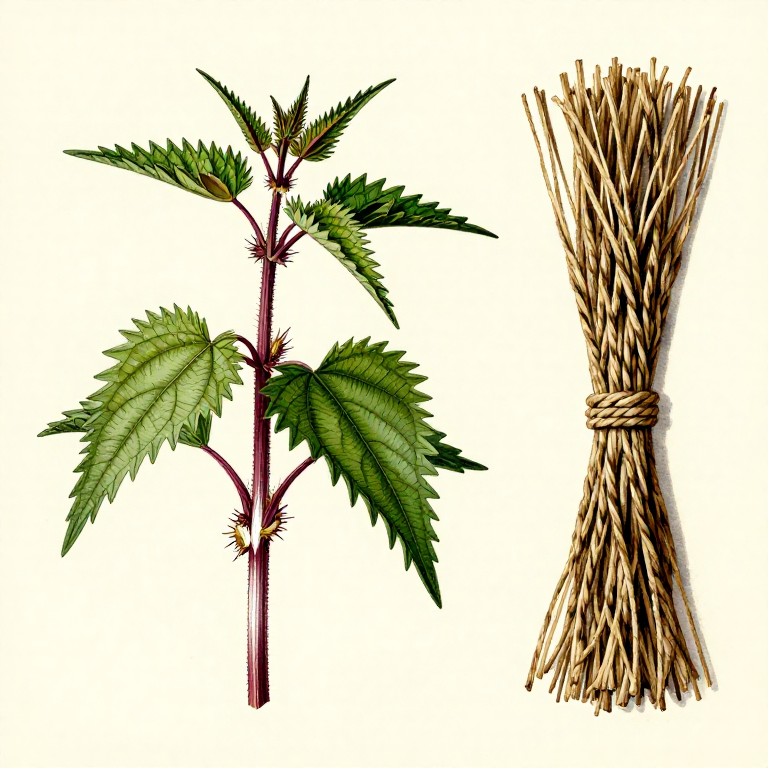
Making Rope from Stinging Nettle Fibre — Plant Bast Extraction and Reverse Twistsurvival
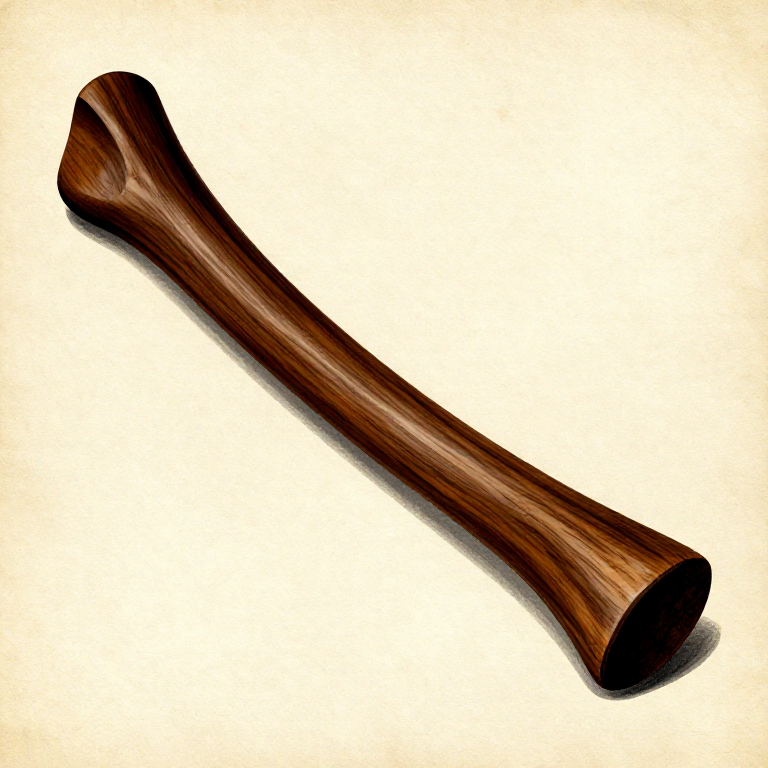
Making a Prehistoric Throwing Stick — The Simplest Hunting Weaponsurvival

Making a Leather Sling — The Shepherd's Projectile Weaponsurvival
CC0 Public Domain
This blueprint is released under CC0. You are free to copy, modify, distribute, and use this work for any purpose, without asking permission.
Support the Maker by purchasing products through their Blueprint where they earn a Maker Commission set by Vendors, or create a new iteration of this Blueprint and include it as a connection in your own Blueprint to share revenue.