ART
BEAUTY & WELLNESS
CRAFT
CULTURE & HISTORY
ENTERTAINMENT
ENVIRONMENT
FOOD & DRINKS
REVERSE ENGINEERING
SCIENCES
SPORTS
TECHNOLOGY
WEARABLES
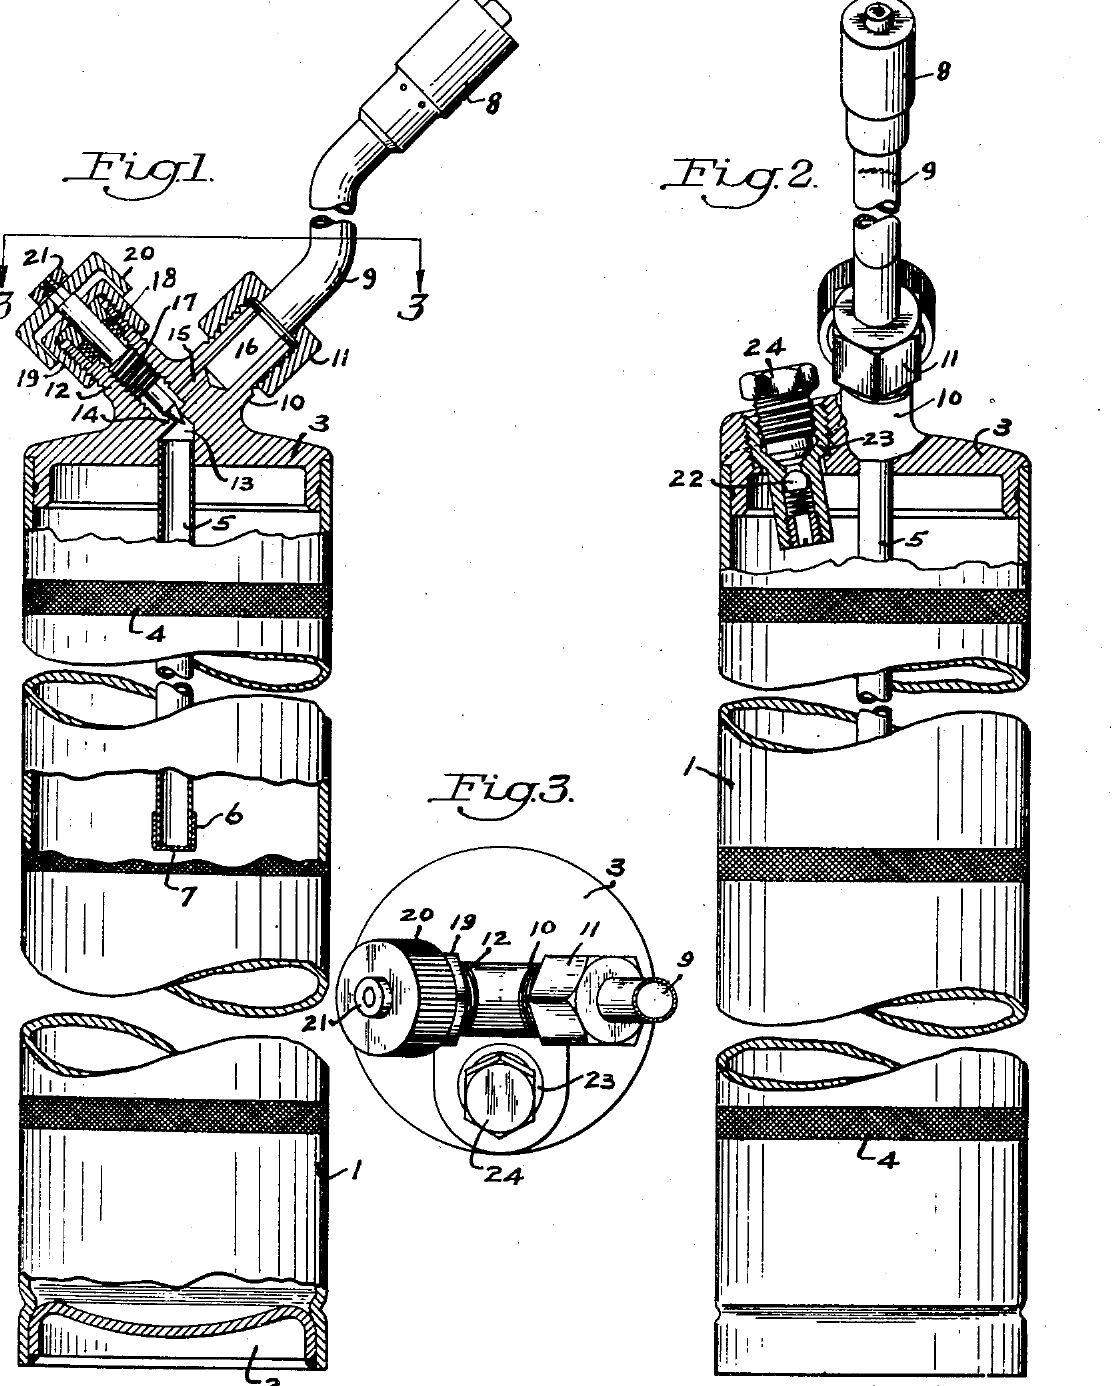


Propane Hand Torch: Goss, 1949
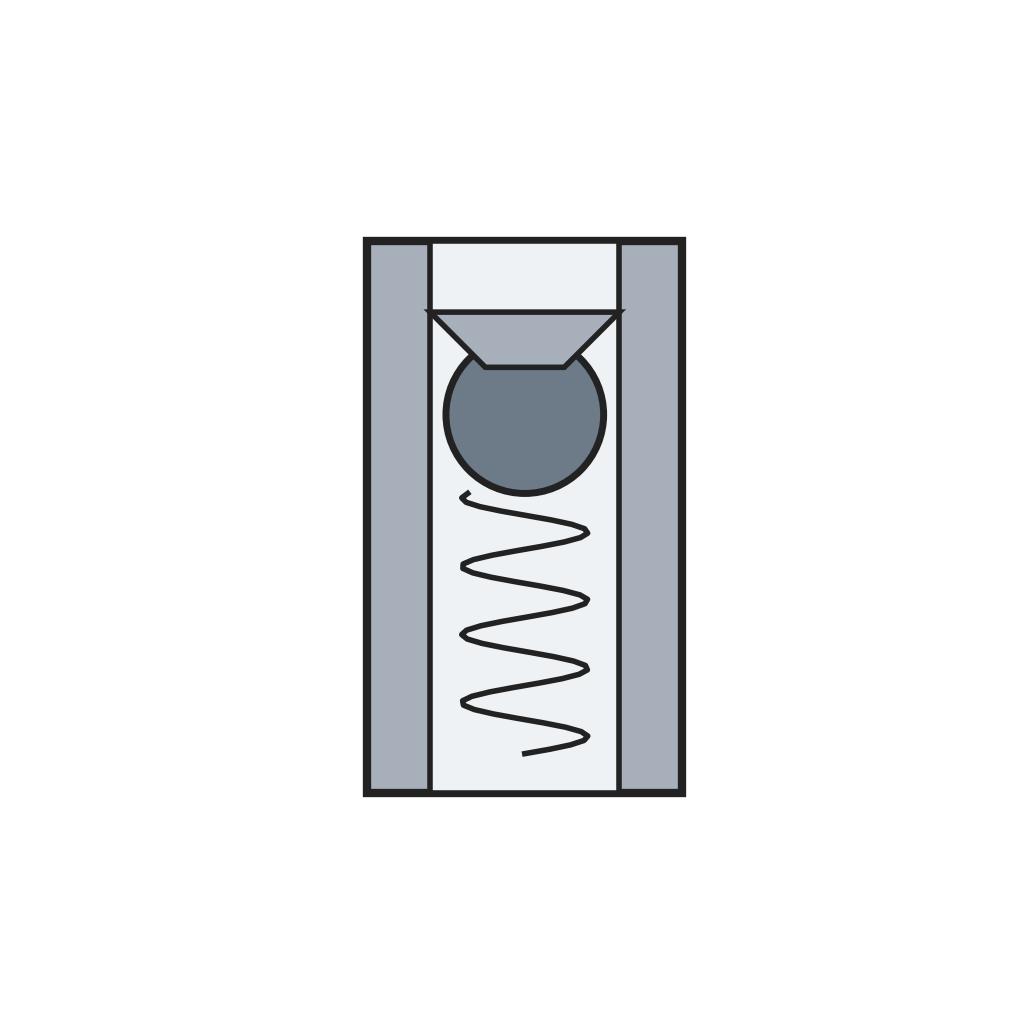
John C. Goss of Pittsburgh patented this hand torch, US 2,465,643, in March 1949. It burns propane, which turns from liquid to gas so readily that, shut in a tank, it makes its own working pressure: unlike the older blow torch, it needs no pump. The knurled cylindrical tank is also the handle. A dispersion tube hangs from the tank top to about half the tank's height and draws gas, not liquid, through a minute port in its end cap. A needle valve meters the gas to a nozzle bent back at about thirty degrees to the tank. A spring-loaded ball check valve lets the tank be filled from a supply bottle but lets nothing out.
Advanced
Workshop process
Instructions
1
1
Tank
Tank
Make an elongated, gas-tight cylindrical metal tank with a bottom and a top. Knurl rows of bands round the outside: the tank is also the handle.
Materials for this step:
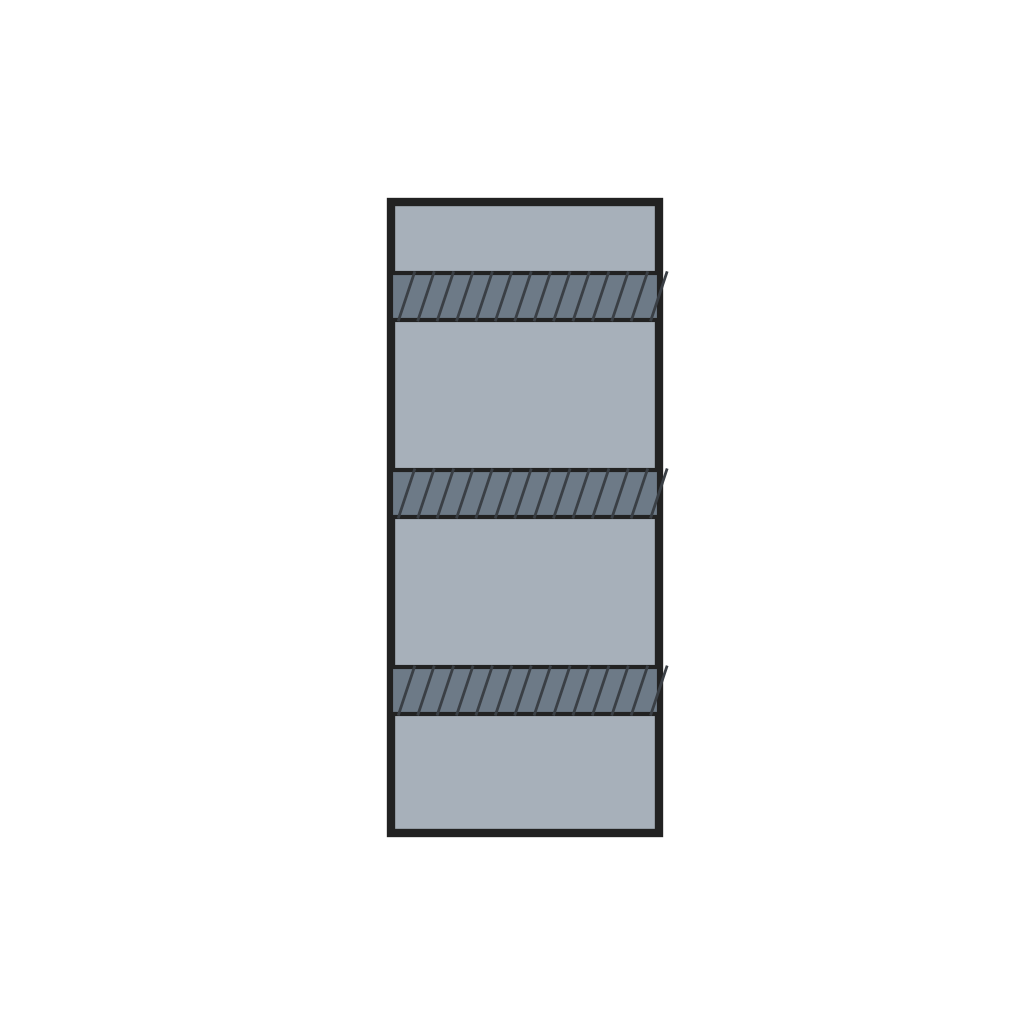 Knurled Torch Fuel Tank1 piece
Tools needed:
 Metal Lathe
 Knurling Tool
2
2
Top with bosses
Top with bosses
Form the tank top with a valve boss and a nozzle boss integral with it. The valve boss holds a chamber divided by a valve seat; a channel joins the chamber above the seat to the bore of the nozzle boss.
Materials for this step:
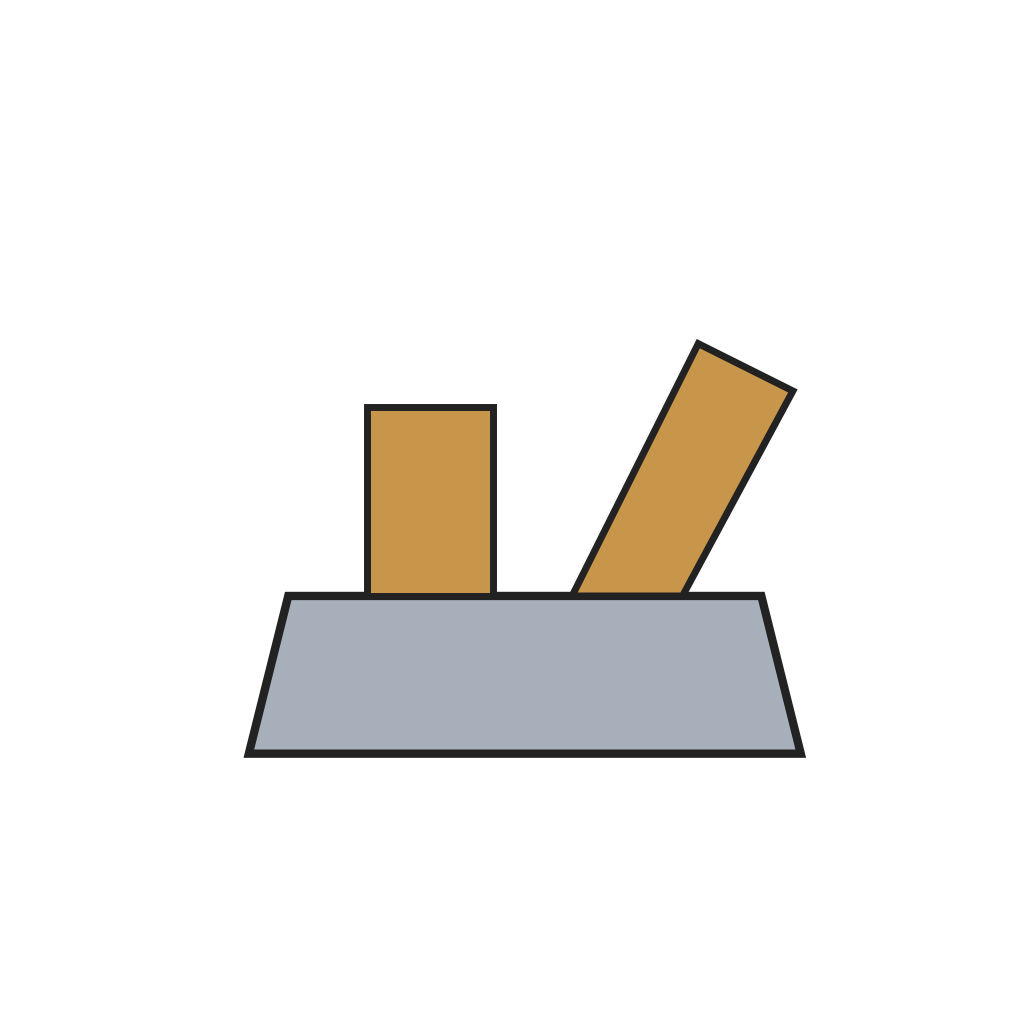 Torch Tank Top with Valve and Nozzle Bosses1 piece
3
3
Dispersion tube
Dispersion tube
Fix a dispersion tube in the top, near the centre, reaching down to about half the tank's height. Its upper end opens into the valve chamber below the seat; its lower end carries a fixed cap with a minute inlet port.
Materials for this step:
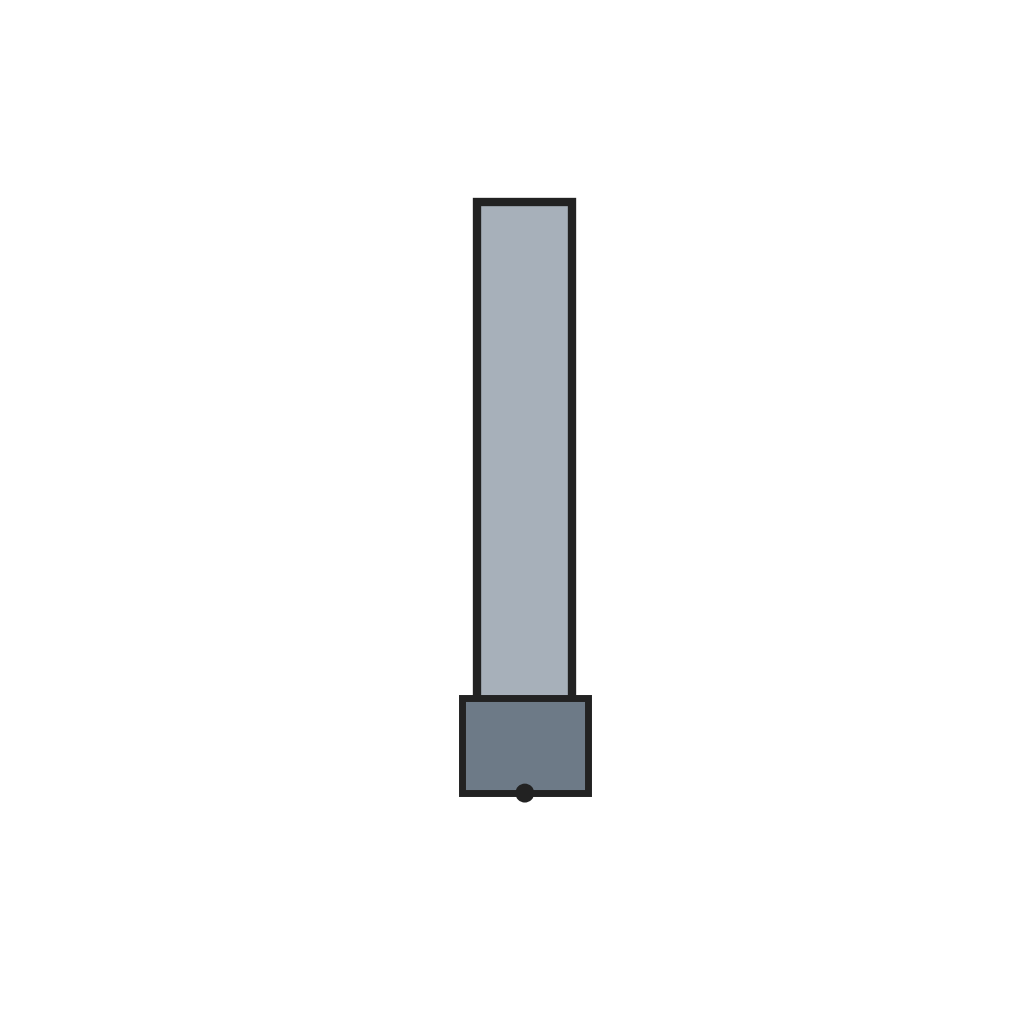 Dispersion Tube with Inlet Cap1 piece
4
4
Valves and nozzle
Valves and nozzle
Screw the needle control valve into the valve boss through a packing gland and nut, and fit the adjusting cap. Fix the nozzle pipe on the nozzle boss with a crown nut, angled back about thirty degrees to the tank. Mount the spring-loaded ball check valve in its casing in the top and close it with the sealing plug.
Materials for this step:
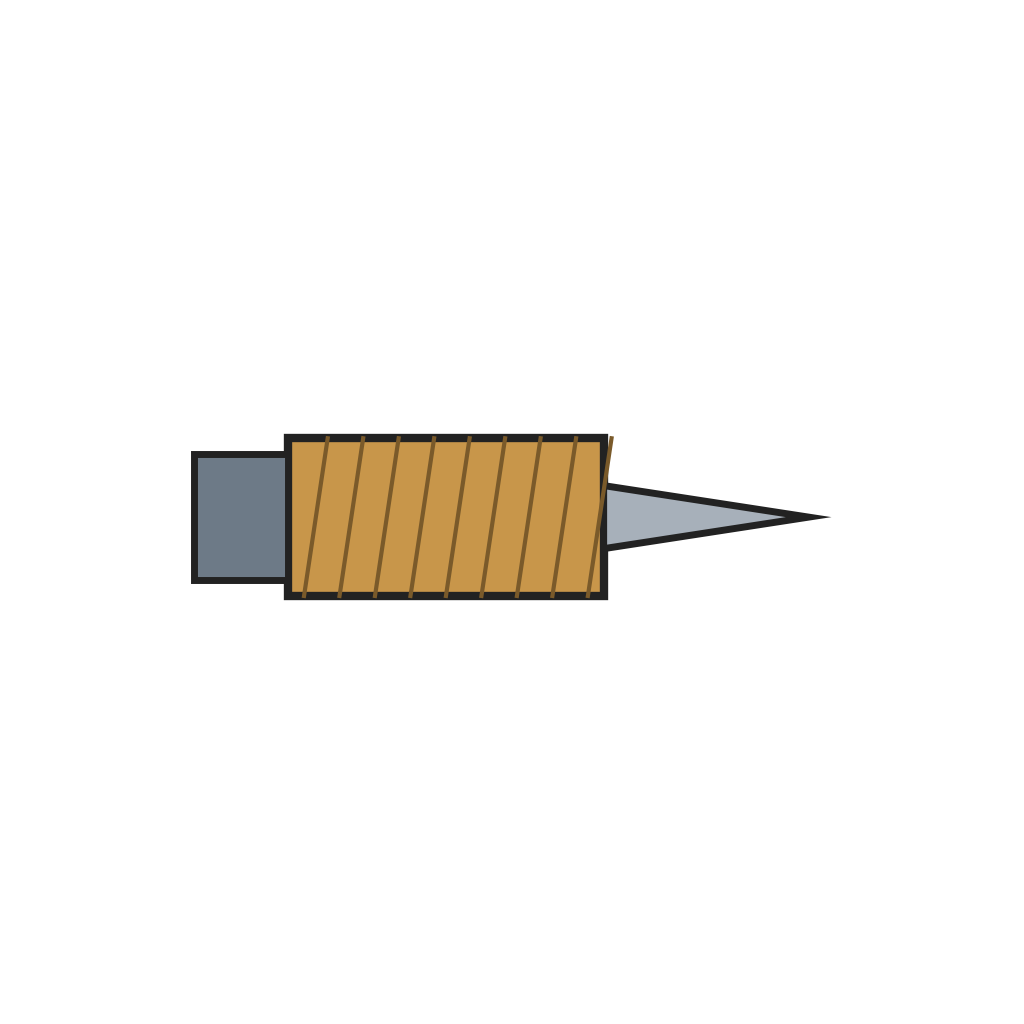 Needle Control Valve1 piece
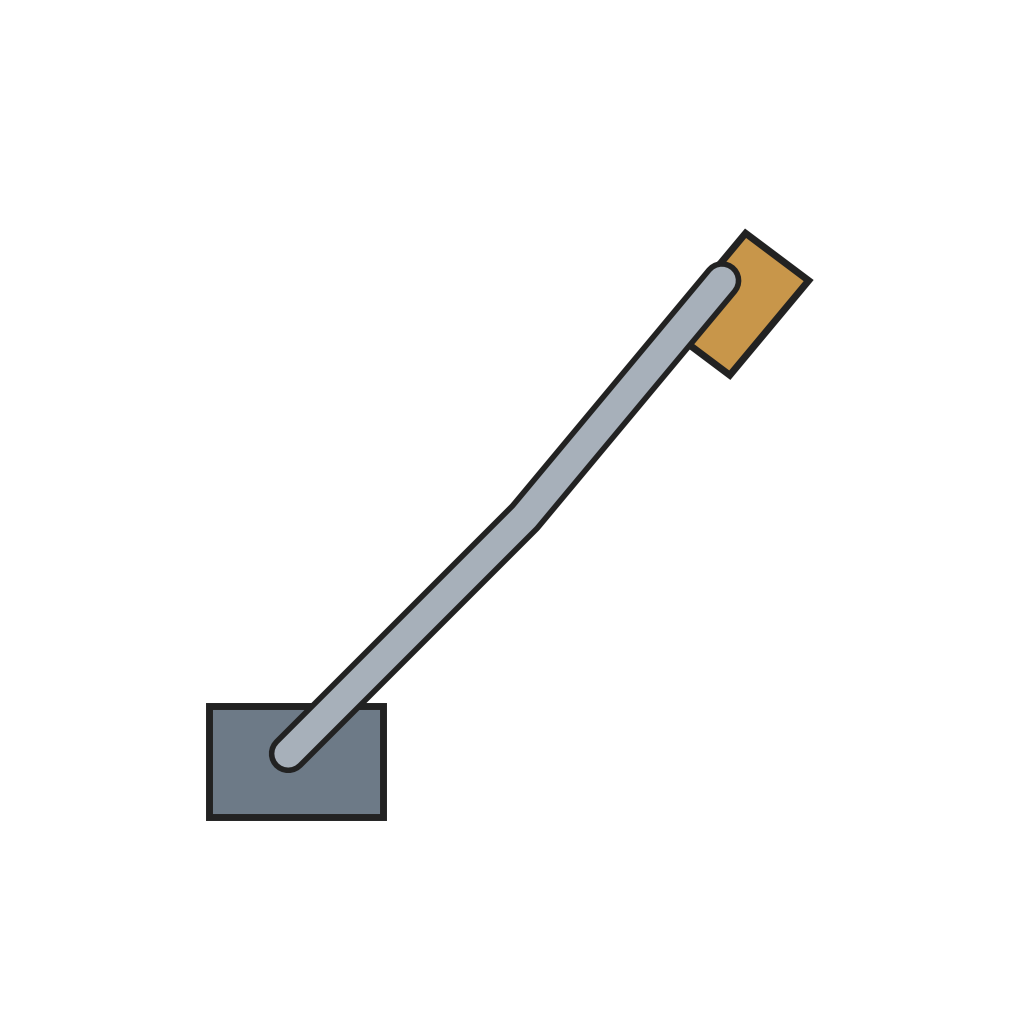 Torch Nozzle and Nozzle Pipe1 piece
 Ball Check Valve1 piece
Tools needed:
 Adjustable Wrench
5
5
Charge with propane
Charge with propane
Remove the sealing plug and connect the supply bottle: liquid propane flows in through the check valve. Fill to no more than half the tank. With the control valve open while charging, liquid spitting from the nozzle shows the level has reached the dispersion tube's end. Replace the plug.
Materials for this step:
 Propane1 as required
Tools needed:
Adjustable WrenchMaterials
7- 1 piecePlaceholder
- Placeholder
- Placeholder
- 1 piecePlaceholder
- 1 piecePlaceholder
- 1 piecePlaceholder
- 1 as requiredPlaceholder
Tools Required
3- Placeholder
- Placeholder
- Placeholder
This blueprint makes
Related Blueprints
These blueprints share knowledge with this one — techniques, materials, or principles that connect them in the learning graph.

CC0 Public Domain
This blueprint is released under CC0. You are free to copy, modify, distribute, and use this work for any purpose, without asking permission.
Support the Maker by purchasing products through their Blueprint where they earn a Maker Commission set by Vendors, or create a new iteration of this Blueprint and include it as a connection in your own Blueprint to share revenue.